Wednesday, February 28, 2024

Sally CT - Who can resist a rainbow?


Hi There! Thought I would have a little play with one of my favourite stamps of the moment and make a simple card using emboss resist.

I began by blending distress ink across a piece of smooth white card. I used crackling campfire, mustard seed, peacock feathers, blueprint sketch and villainous potion.
once this was totally dry I gave it a wipe with an antistatic bag, then stamped the leaves in versamark ink and heat embossed using clear embossing powder. 
I let this cool for a few seconds then sponged black soot distress oxide ink over the top, wiping over with a dry cloth to reveal the embossed areas. 
On a scrap of black card I stamped the sentiment in versamark ink and embossed using white embossing powder.
Finally I matted and layered the rainbow panel and the sentiment to a 13x18cm card. 

I used:
A 7.5x13cm piece of smooth white card
Distress inks in crackling campfire, mustard seed, peacock feathers, blueprint sketch and villainous potion
paper for matting and layering
13x18cm card blank
Versamark ink

Tomorrow is the last day of the current 'white Space' challenge over in the bee Crafty Stamps group, so you still have time to enter. 
There is also the #beecraftydeck2024 challenge where this week's prompt is 'rainbow'.
Thanks for looking! 

Sunday, February 25, 2024

Alison CT - Appreciate Everything

Hi everyone, today I'm sharing a card created using the stitch in time and dragonfly stamp sets.

To create the background, I stamped the stitch in time stamp using seedless preserve distress ink, which I spritzed with water and left to dry naturally. 
I then stamped the watch piece of the same stamp on seperate card using the same ink. I then used a damp paintbrush to move the ink on the outer edge of the watch and the winder. When it was dry I cut it out.
Next, stamp the line and dot border from the freehand borders 2 set twice onto the background, also stamp some on a seperate piece of card. I used the same ink as all previous stamping.
Then I stamped the largest dragonfly from the dragonfly stamp set using morning mist versafine clair. I colouredcit with the sniw flurries and winterberries distress crayons, but as these colours didn't quite go with the background I added a watered down layer of seedless preserve distress ink over it using a paintbrush.

Next, I edged the background piece with a black pen and glued it to a card blank.

Then, I cut the extra piece of border into five pieces and edged them with a black pen.

Then, I placed the watch piece over the corresponding area on the background and carefully glued the strips of border so that the ends were tucked under the watch. I then glued the watch in place.

Next I added the dragonfly using foam pads to raise it slughtly away from the card.

Finally, I stamped the sentiment on to a piece of card using versafine clair morning mist, cut it out and glued it to the card. 
PRODUCTS USED:
Art stamps - A stitch in time, dragonfly, freehand borders 2 
Wordage stamps - ticker tape 4
Distress crayons - winterberries,  snow flurries
Distress ink - Seedless preserve
Versafine Clair - morning mist 

Thanks for taking a look. 
Alison 


Wednesday, February 21, 2024

Sally CT - A Butterfly for You!

Hi There! I am here with another step by step for a simple card with white space (which is the current theme of the challenge over on the Bee Crafty Stamps group)

I began by masking off the central third of the square of smooth card with sticky notes
I then placed the Bakewell big one inkable over the card and blended approximately two thirds across the top with peacock Feathers and the bottom with Wilted Violet
I removed the inkable and the sticky note and added some kitsch flamingo through Mandala #1 inkable. 
On a scrap of mixed media card I stamped the doodle art butterfly (plus a few extras to colour in and add to the fodder box) in black Versafine Clair.
I also stamped the butterfly onto the background. 
I cut out and coloured the butterfly using ecoline markers, adding a few highlights with a white gel pen
Finally I added the butterfly, background and a stamped sentiment to the front of a 6" square card with a purple mat.
Here is the finished card once more. 
I used:
5.5" square smooth white card
Sticky notes
Distress oxide inks in Peacock Feathers, Wilted Violet and Kitsch Flamingo
Versafine Clair ink in Nocturne
Ecoline markers
White gel pen
6x6" blank card

I do hope you can join in the challenge over in the facebook group! I will be live at 8pm this evening over on the Bee Crafty Page too.
Thanks for looking!

Sunday, February 18, 2024

Alison CT - Embossing resist tag

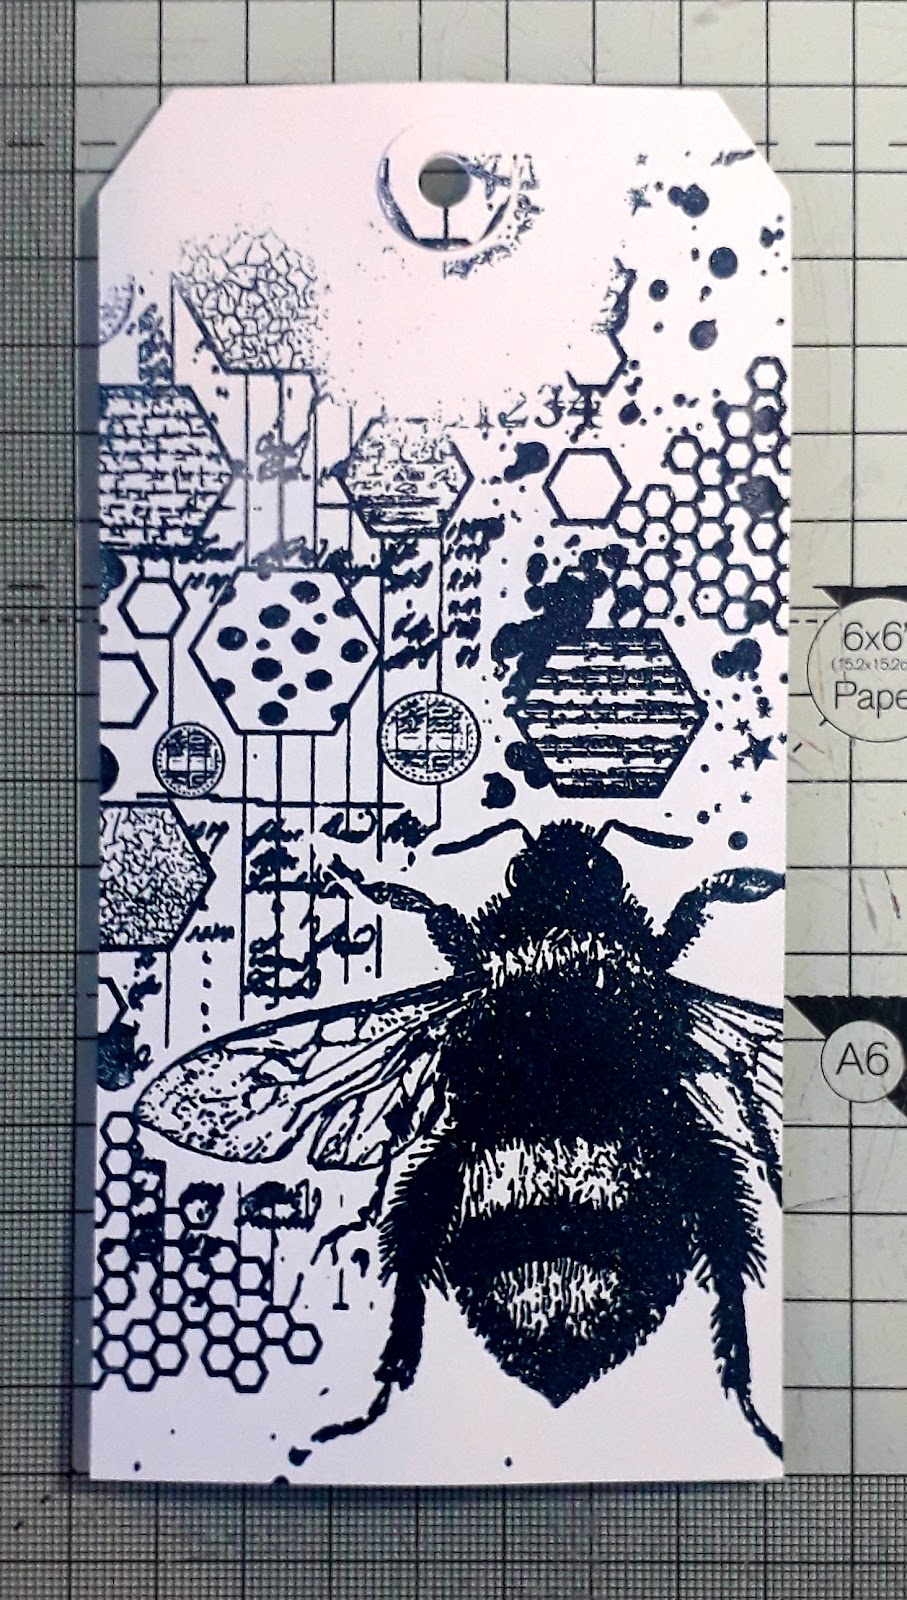
Hi everyone,  today I'm sharing a tag which I have created using the embossing resist technique. I have also used one of Bee Crafty's larger stamps on a smaller project to show their versatility. 
To begin I inked the Scripted Bee stamp with versafine clair twilight ink and stamped the part I wanted onto a blank Dina Wakley Media #8 tag. I then covered this with Ranger clear embossing powder and heat set it.
Next I spritzed the tag with Picked Raspberry and Spun Sugar distress oxide spray and then a little water. I left this to dry a little, then used kutchen towel to wipe excess spray off the embossed areas.
I then stamped the bee part of the stamp on seperate card using versafine clair warm breeze. I heat embossed this with clear embossing powder. I cut the bee out.
Next I used Ranger collage medium to glue the bee over the bee on the tag. I used blobs of the glue, so that it is raised up from the tag.

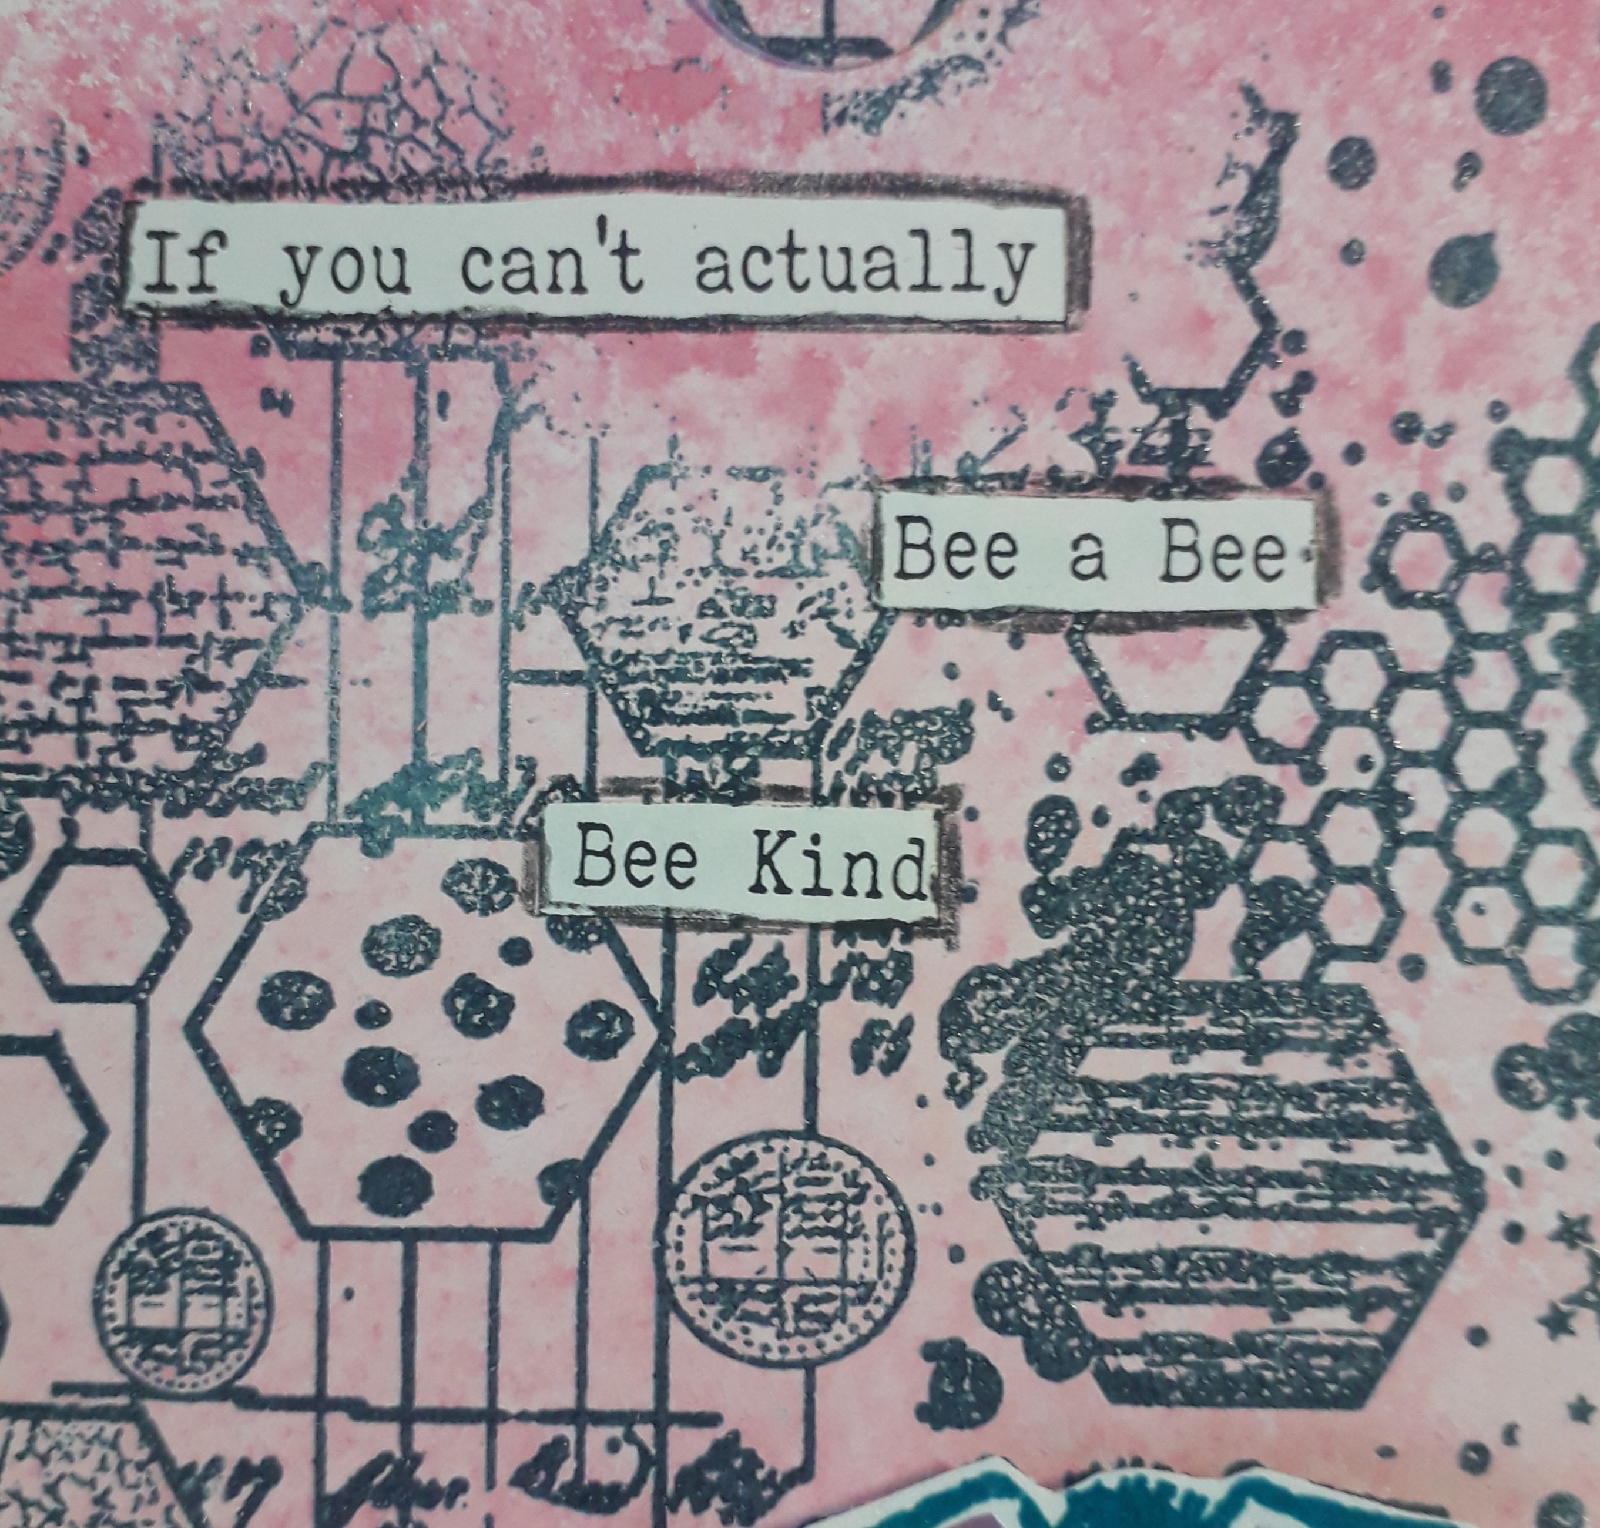
Finally I chose some of the Bee Wordy sticker sentiments and cut them down before adding to the tag using collage medium. I then drew a black pencil line around them on the tag.

Products used:
Versafine Clair - Warm Breeze, Twighlight 

Thanks for taking a look.
Alison 

Wednesday, February 14, 2024

Sally CT - Favourite colours and stamps

Hi There! What do you do when your mojo is on holiday? I get out my favourite colours and favourite stamps and just have a play. This card was the result of just such a play. 

I began by painting a piece of watercolour paper with laidback lilac, blue lagoon and fresh lime dylusions paint using a wet brush and blending the edges together
Once this was dry, I painted white gesso through the Circles Big one inkable using a stencil brush. This too was left to dry.
I used the Mandala stamps to add to the background, stamping in Versafine Clair Summer Breeze and embossing with clear embossing powder. 
I matted and layered this onto a White A5 card. 
On a piece of mixed media card I stamped the sunflower, using versafine Clair, and coloured it with Ecoline markers before cutting out.
I attached this to the background using ultra thick gel medium. 
on a scrap of card I stamped the sentiment from mixed messages #1 and sponged a little ink around the edge, shaping the ends of the strip. 
Here is the finished card again. 
I used:
Dylusions paint in Laidback Lilac, Blue Lagoon and Fresh Lime
White gesso
Versafine Clair in Summer Breeze, Nocturne and Monarch
Ecoline markers
Ultra Thick gel medium

I really enjoyed making this card and it certainly helped to find my mojo again. 
Thanks for looking! 

Sunday, February 11, 2024

Alison CT - Simple Art Journal Page

Hi everyone, today I'm sharing a simple art journal page using the new Galleria Transparencies. 

I began by using a page where I had cleaned the Chrysanthemum 6 inch inkable.

Next, I used a blending brush to blend carved pumpkin distress oxide around the edge of the page.

Next, I stamped the strip of boxes, from the Journaling Essentials 2 stamp set, to the top right and bottom left of the page, but I only applied ink to 10 of the boxes. 

I then used distress collage medium to add two of the faces, from the Galleria Transparency sheet, to the page.

Next, using the Typewriter Alpha stamp set, I stamped the word Sisters in the bottom left quarter of the page using Versafine Clair Nocturne ink. 

Finally, I cut out three of the smaller words from Beautiful and Brave Transparency sheet and added them to the top right quarter of the page using distress collage medium. 

Products used:
Transparency Prints - Galleria, Beautiful and Brave clear on black
Wordage Stamps - Typewriter Alpha 
Art Stamps - Journaling Essential 2
6" Inkables - Chrysanthemum 
Distress Oxide - Carved Pumpkin 
Versafine Clair - Nocturne 

Thanks for taking a look.
Alison

Wednesday, February 07, 2024

Sally CT - A Valentine card with white space

Hi There! It is February and the challenge theme over in the Bee Crafty Facebook group is White Space, so here is a Valentines card that fits the theme. Here is a step by step showing how I made it.

I began by placing some stencil tape approximately half way down the card, then blended distress ink over the top half
Next I placed the hearts desire 6x6" inkable over the card and blended more of the abandoned coral ink through the inkable onto the inky half of the card. 

I removed the inkable and tape before stamping the heart border across the card using Versafine Clair ink.
I used the heart and another of the worker stamps from the Sam Journaling Girl set and added to the inky section of the card, as well as on the ends of the heart border. 
Using the distress inks and a paint brush I coloured the hearts. 
I stamped the love sentiment from Mixed Messages #3 using two shades of Versafine Clair to match the inky panel and added a few highlights with a white gel pen around the stamped hearts.
Here is the finished card once again. 
I used:
6x6 white card blank
Distress inks in Wilted violet and Abandoned Coral
Versafine Clair ink in Purple Delight and Tulip Red
White gel pen
Thanks for looking!