Sunday, June 30, 2024

Alison CT - The Magic of Words

Hi everyone, it's Sunday again, and my turn to post a step by step project. This week I wanted to do something that can be easily adapted if you don't have many supplies.
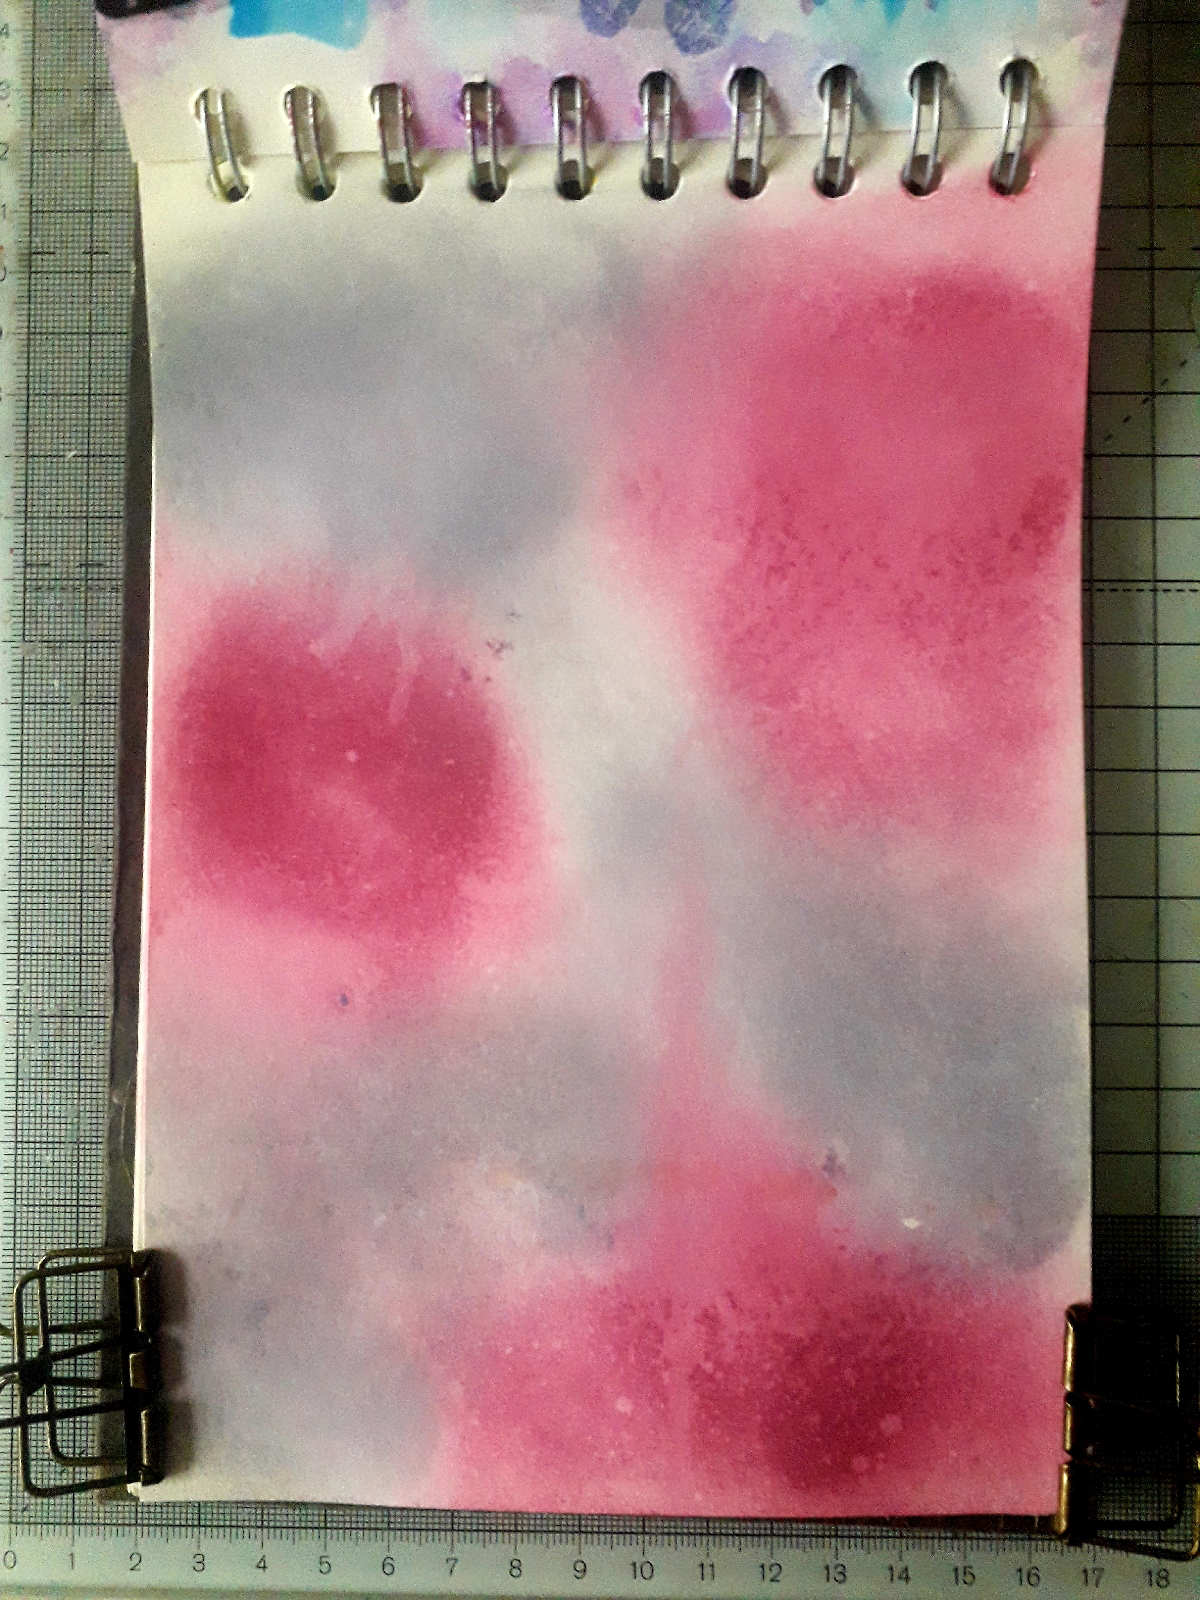
To begin, I used my Kuretake Gansai Tambi Starry and Pearl Color watercolour paints to create a wash style background.

Once the background had dried naturally, I used a black posca pen to add splats. I left them to dry naturally. 

Next, I drew round the edge of the inner part of the octagonal 6" easy frame using a 3M black posca pen. I removed the easy frame and drew two more freehand lines.

Then I took the leaf border, from the freehand borders 1 stamp set, and stamped it several times using versafine clair nocturne ink. 

Next I stamped the crosses and dots stamp from Journaling Essentials 1 using the nocturne ink. 
Then I stamped a selection of words (sometimes just a single word from longer sentiments) from a my collection of Wordage stamps. I cut them out.
If you don't have many sentiment stamps these could be cut from magazines, newspapers or old book pages.
I, then, glued these words randomly around the bottom half of the octagon.

Next I stamped the word 'magic' using the typewriter alpha stamp set, cut it out and edged with a black pen.
I glued the word magic to the top left of the octagon and hand wrote the words 'the, of and words' in the appropriate place around it.

Products used:
Kuretake Gansai Tambi Starry Colors and Pearl Colors watercolour paints
Black 3M posca pen

Thank you for taking a look. 
Alison 

Wednesday, June 26, 2024

Sally CT- More spots!

 Hi There! I am here with a little journal page for you as more inspiration for the Facebook Spots challenge this week.

I selected an A6 catalyst card, cut off the white border and added a faux stitching line around the edge.

I stuck this onto a Kraft page in the mdf journal I made as a sample a couple of weeks ago.
Next I added some spots through a dinkable using black Distress Oxide ink. I also stamped some dots using a small stamp from Journaling Essentials #6
I added a piece of book page with Matte medium and stamped the lines from the same stamp set across it using Versafine Clair Charming Pink. 
I cut out the dotty circle from Transparencies- journaling Birds and sprigs set and added it to the page using matte medium.
I stamped the spotty bird in black versafine clair ink and heat embossed it using clear powder. 
Finally I added the bird and wordy stickers to the page using Matte Medium. I also added some faux stitching around the wordy stickers using a white pen and filled in a few of the dots on the circle with the gelly roll pens.
Here's the finished page again.
I used :
Black Distress oxide ink
Versafine Clair ink in Black and Charming Pink
A scrap of Book page
If you want to make your own journal you will need the MDF journal kit

I will be live over on the Bee Crafty Facebook page at 8pm this evening. I so hope you will be able to join me. I hope you will join in the challenge too, which finishes on Sunday.
Thanks for looking! 

Sunday, June 23, 2024

Alison CT - Spots

Hi everyone, today I'm sharing some inspiration for Sally's challenge in the Bee Crafty Facebook group,  link below. the https://www.facebook.com/groups/1511225329105390/?ref=share

The theme is spots so I have created an art journal page.

To begin I ripped one if the A6 greyscale catalyst cards in half diagonally and glued it to the page.

Using the spotty dinkable from set 13 blend picket fence distress ink through it along the black strip of the page. I used the spotty dinkable from set 2 with grit texture paste to add some raised areas to the catalyst card.

Next I used one of the gelly roll moonlight pens to add dots to all the larger white circles.

Then I used the small zig zag stamp from the Journaling Essentials 5 with versafine clair nocturne on the white border of the catalyst card.
On seperate card I stamped the smaller flower from Journaling Essentials 5 three times and the matching leaf seven times. I coloured the spots with gelly roll moonlight pens. 
Next I glued the flowers and leaves to the page. 

Finally I stamped the sentiment on to seperate card, cut it out and glued it to the page.
Products used:
Journal with black pages.
Journaling Essentials 5 (currently out of stock)
Distress ink  - Picket fence

Thanks for taking a look.
Alison

Sunday, June 16, 2024

Alison CT - Face Journal Page

Hi everyone,  today I'm sharing an art journal page created using a couple of distress oxides, two inkables tags and three Transparency Prints. 

To begin I blended seedless preserve and weathered wood distress oxide ink over the page. I then spritzed the page with water and left it to dry.
Next I used the numbers inkable tag with weathered wood distress oxide to add detail to the grey areas of the page.

Then I used the line and circle inkable tag with the seedless preserve distress oxide on to the same coloured area. When I had finished I spritzed the tag with water and pressed this onto the page, too add more texture. This was left to dry.

Next I chose the transparencies I wanted to use and cut them out. 
I then used a wide paintbrush to apply distress collage medium all over the back of each transparency and adhered them to the page.

Products used:
Faces 2 Transparency Print
Creative Words black on clear Transparency Print 
Journal Circles Transparency Print
Inkables Tags 1
Inkables Tags 5
Distress Oxide - weathered wood, seedless preserve 

Thank you for taking a look.
Alison 

Wednesday, June 12, 2024

Sally CT - Spots and Rainbows!

Hi There! I am still loving playing with the latest stamps, Wordy stickers and D'inkables from Bee Crafty. Today I decided to get inky whilst providing a little more inspiration for the monthly Facebook group challenge, where the theme is spots. 

I began by inking a piece of watercolour card with a rainbow of distress oxide colours. 
Next I sprayed the leaves from the D'inkables with water and laid them on the inked surface. After a few seconds I lifted them off and blotted the excess water. This is known as faux bleaching. 
Once this was dry, I used another of the dinkables to add a little gesso inbetween the leaves.  

I added some more ink (seedless preserves and black soot Distress Oxide) through another D'inkable, along with Some stamping around the edges and in the middle. I set this aside to dry thoroughly.
I cut some circles (you could use dies or punches) from white card in two different sizes. I added faux stitching around them. 
I added wordy stickers to some and stamped on the others using stamps from Journaling Essentials #3
Finally I attached the white spots to the background using 3d foam tape, and attached it to the front of a 6x6" card.
I used:
6" square card blank
5.5" square of watercolour card
Distress Oxide inks in Lumberjack Plaid, Mustard Seed, Lucky Clover, Blueprint Sketch, Seedless Preserves and Black Soot.
gesso
circle punches or dies
Foam pads

I hope you like the results and I hope you will join in with the challenge. I will be live this evening at 8pm over on the Bee Crafty Facebook page doing some journaling with the new stamps if you fancy joining me there too. 
Thanks for looking! 

Sunday, June 09, 2024

Alison CT - Leaves and Birds

Hi everyone, I've still not put the new stamps away. Today I have a step by step guide to creating this journal page.

To begin I painted a mix of squares and rectangles of colour onto a page using my Kuretake Gansai Tambi Pearl Colour watercolour paints. I left this to dry naturally.

Next I stamped the script background stamp, using versafine clair morning mist ink, along the bottom of the page. 
Next I used prize ribbon and lumberjack plaid distress oxide with part of the ripped hole dinkable from set 14 to give the background some texture. 

Then I used the zig zag stamp from Journaling Essentials 7 with versafine clair nocturne to edge some of the squares of paint.

Next I took the rainbow from Journaling Essentials 1 and used versafine clair strawberry to stamp it three times on the page. I heat set the ink to ensure everything was thoroughly dry before doing the next step.

I used a wow embossing ink pad to stamp the rounded leaf from Journaling Essentials 7 twice on the page. I added white embossing powder and heat set it. I wasn't worried that I had missed a bit of both of the leaves as I could cover it with an image. 

On seperate card I stamped the two largest birds from Journaling Essentials 6. For one I used versafine clair chianti and the other versafine clair very peri. I cut them out.

Next I glued them to the page to make it look like they are perched on the branch. This allowed me to hide the missing embossing on the leaves.

Finally I chose a sentiment from the new transparencies, cut it out and used collage medium to glue it to the page.
Products used:
Kuretake Gansai Tambi watercolour shimmer paints
Paintbrush
Versafine Clair ink  - strawberry,  chianti, very peri, morning mist,  nocturne 
Transparency Prints  - Creative Words black on clear
Distress Oxide ink pads - lumberjack plaid, prize ribbon 
Wow embossing ink pad

Thanks for taking a look. 
Alison