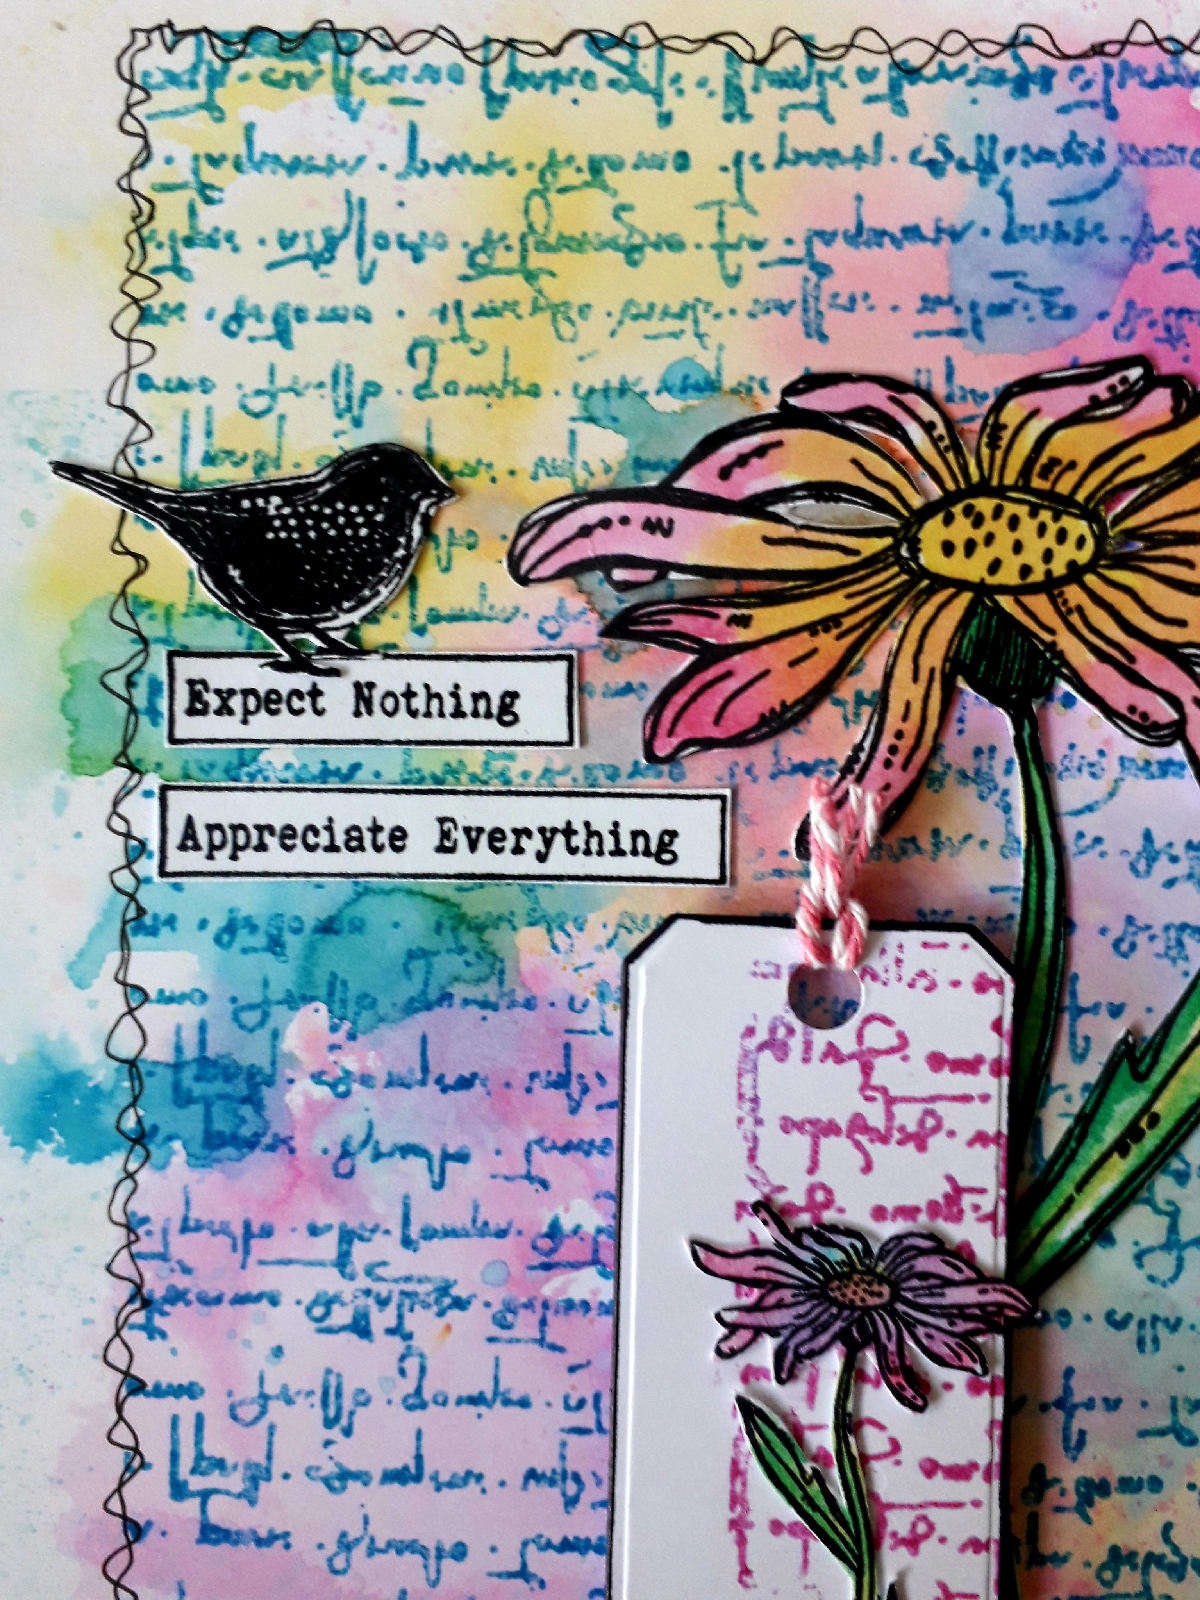
To begin, I cut a matt to fit a 5 x 7 inch card. To create the background I smooshed the yellow distress ink onto the large square supper skinny slim. I then spritzed this with water before placing it, ink side down, onto my card. I repeated this with the pink and blue inks. I left this to dry to allow the inks to blend into each other.
Next, I inked the whole of the script stamp with the blue distress ink and stamped it centrally on my background. I then drew a freehand double birder around the script area, using a sekura pen.
Next, I die cut the second from smallest tag from the die set. I stamped some of the script background on to it using the pink distrsss ink and edged it with black pen.
On seperate card I stamped both of the Dancing Daisies. I coloured them with distress ink and a wet paintbrush, following the technique Bev did on try it out Tuesday this week.
(https://www.youtube.com/live/FHUhkkbxjMw?si=GymwY9KKqS8WTNnu)
I also stamped the smallest bird from Journaling Essentials 6. I cut these images out.
I glued the small flower to the tag. I then punched a hole and added some matching bakers twine.
I glued the background to the card blank and added the large daisy to the right of the card.
Next I added the tag using foam tape.
Finally I stamped a sentiment, cut it out and added it to the card, along with the small bird.
Here's another look at the final card.
5 x7 card blank
White card
Distress Ink - picked raspberry, fossilized amber, mermaid lagoon, lucky clover
Versafine Clair nocturne ink pad
Thank you for taking a look.
Alison


No comments:
Post a Comment