Saturday, July 31, 2021

Jane DT - 'Just 2 Colours' Card

 Hello!

This week I decided to use just two colours to create a card...

I chose brown and teal as it is a combination that I love!

1) I started by using the Salvaged Patina and Vintage Photo distress inks, blending them with a brush over a piece of watercolour cardstock. 

2) Then water was sprinkled over and lifted with kitchen roll to create a more distressed look.

3) Using the Metal Alpha inkable and the Vintage Photo distress ink, I added some light pattern to the background.

4) At this point I cut my card down to the size I wanted and cut the waste strips into pieces.

5) Extra Vintage Photo was swiped around all the pieces and then glued down to the card.

6) The sentiment from Small Words was added to another strip and glued to the bottom of the card.

7) I stamped and die cut a butterfly from the XL Birds and Butterflies set and added a small amount of Salvaged Patina using a brush.  This was then added to the card with a piece of white cotton underneath.


Here are links to the products used:

* Distress Inkpads

* XL Butterflies & Birds stamps and dies 

* Small Words stamp set

* Metal Alpha Inkable

Thank you for looking and happy crafting!

Jane xx


Wednesday, July 28, 2021

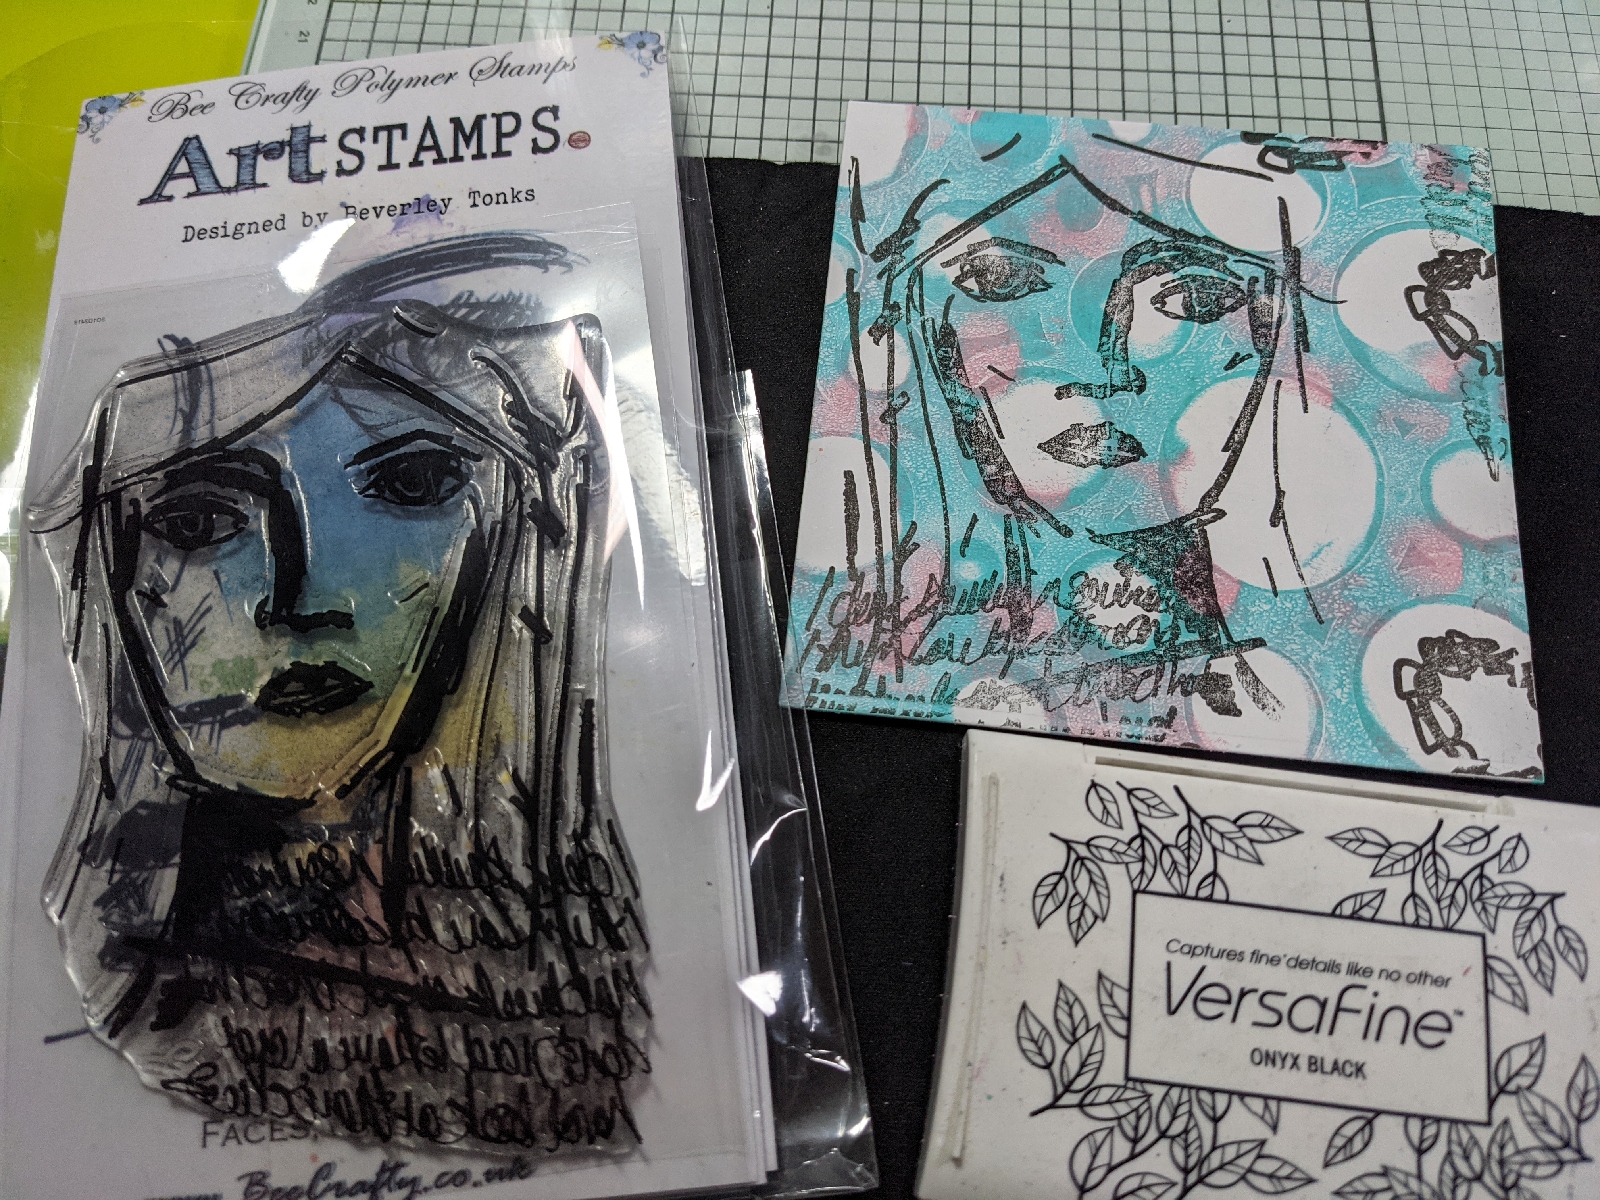
Caz DT - CAS gelli print card

Pink neon clean and simple gelli print card...


PRODUCTS USED:
Acrylic paint
Gelli plate 6x6
Versafine onyx black ink
Brayer
Card/paper


HOW TO MAKE:

Dot some teal and pink acrylic paint onto the gelli plate, brayer out and place ink'able on top...


Take prints by placing a sheet of paper or thin card over the top, press down firmly - one with stencil and then remove and print again...


Die cut into square - Add stamp details using 'look' & the journal art elements. NOTE: Because of the paint background the stamped impression isn't perfect but I like it, it gives a distressed look...


Mount onto a pink neon background to make it pop...


Add ticker tape sentiment from set 3 to complete your card. Simples!

That's it.
Hope you like
❤️
Thanks for looking 

Monday, July 26, 2021

Sally DT - Circles Galore!

Hi There! I am here with a quick and simple card for you today. It has been rather hot and sticky here in the UK and so a little simple crafting was just the ticket.

I began with a 6x6" white card blank. I used the innie from the small scalloped circle easy frame, Distress oxide ink in seedless preserves and a blending brush to go around it three times. It doesn't need to be central.

Next I took the circles D'inkable and inked through it with a blending brush and blueprint sketch Distress Oxide ink.
In the centre of the card I stamped the Dragonfly using versafine clair ink.

I then stamped the coffee stains in the same shades of Distress Oxide ink randomly around the card. 
I added a sentiment from the small words set, stamped on to a scrap of white card and edged with the seedless preserves ink. I used gel medium to attach it to the card.

Finally I added a little pastel blue ecoline to the body of the dragonfly and then made it sparkly with a gelly roll clear stardust pen.
Here are links to the products I used:
Ecoline pens 
Here is the finished card once again
Thanks for looking! 

Saturday, July 24, 2021

Jane DT - 'Hello You' Arrows Card

 Hello!

This week for my blog post project I wanted to try to create a card where I kept some white space!  This can be quite challenging for me but hopefully you will think I succeeded...

1) I recently bought two of the newer Dylusions shimmer paint colours and really wanted to use the Polished Jade.  So I used my brayer to apply some of the paint then added some Lime shimmer paint as well...


2) To create a background I stamped a selection from the Journaling Girls Arrows set with black archival ink...


3) I wanted to add some pops of colour and decided to go with red, using the scarlet Ecoline pen, then some green to enhance the question mark circles.  To really make the designs pop I used white gelly roll pen to add extra details...


4) To finish off the card I just wanted to add a sentiment and some extra hearts.  I used some words from Everyday sentiments 1 and the heart from Journaling Girl Sam...


5) These were then added to the card with some foam to raise them slightly, I felt that only three hearts were needed so will use the others in another project.  The whole card was then matted onto black and then the card blank...


Here are links to the products used:


I think this background would be good fun to recreate in an art journal, so I think I may try it with a different colour combination!

Thanks for looking and happy crafting!
Jane xx


Wednesday, July 21, 2021

Caz DT - New journalling girls mix up

Today's project is a card using a combo of the new journalling girls & the journal art elements stamps...
PRODUCTS USED:
Distress oxides & inks
Versafine onyx black ink
Hero arts unicorn white
Double sided foam tape
Watercolor card
Black fine posca


HOW TO MAKE:

I swiped the ink pads down the page of my watercolor card...


Sprayed with water and allowed it to run...


Once dry I stamped out some of the journalling art elements in the same colours I used on the background. Then lifted some of the colour with a wet wipe and the Cotswold stone bigone ink'able...


Added some arrows in black versafine...


Cut my page to fit a 7x7 card blank. Die cut circles from the left over background & stamped out Bev and the hearts (fussy cut)
Drew a border in black posca to frame the whole thing...


Mounted the elements onto foam tape...


Attached to card and added my sentiment. 

That's it! 
Hope you like
❤️
Thanks for looking

Monday, July 19, 2021

Sally DT - See the Stars plaque


Hi There! I've got a little mdf plaque mixed media project for you today. Here is how I made it.

I stuck some of the mdf space pop outs onto one of the pages from the mdf tag journal and painted them with black gesso. You could also use one of the mdf tags and add additional holes. The space pop outs are available on the Craft Store Website. 
Next I used a dry brush to lightly paint white gesso across the pop outs.
when this was dry I sprinkled with Pretty Gets Gritty Explosion powders in Mermaid, Neptune and Unicorn.
These were activated with water from a mister bottle.
Once the explosion powders were dry I used the unicorn white ink to stamp the border, circles and swirls onto the mdf.
I selected 6 pop out stars and sprayed them with Dina Wakely gloss sprays and left them to dry.
I stamped the sentiment using the white ink on to heat resistant acetate and heat embossed it with fine detail white embossing powder.
I stuck the sentiment to the bottom of the mdf using gel medium and splattered a few drops of white gloss spray over the plaque.
I added some black ricrac through the holes and stuck the stars to it using gel medium. I also gave the plaque a light spray with a spray varnish to seal it.
And here it is hanging on the wall. 

Here are links to the products I used:

Thanks for looking! 

Saturday, July 17, 2021

Jane DT - Floating Jellyfish Card

 Hello!

This week I have created a card which incorporates some acetate to create floating jellyfish...


1) I started by creating a sea like background on watercolour cardstock using some of the Pretty Gets Gritty amazing sprays...


2) Next I added some explosion powder to texture paste and put it through one of the big inkables...


3) To create a bit of sea foam I added some splatters with gloss spray...


4) For extra interest I used the bubbles from the Jellyfish stamp set and coloured them in with white pen...


5) For the focal points I wanted to add some jellyfish but without losing any of the details and to give a bit of a floating effect.  I decided to stamp them onto a piece of heat resistant acetate and embossed them using black powder.  To add colour I painted some shimmer paint onto the back of the acetate and then added white pen to the front for extra details...


6) To attach the acetate to the background I used a brad in each corner, then mounted this with foam onto a piece of black cardstock.  Then I stamped out a sentiment onto black card and heat embossed in white before mounting all the pieces onto a card blank...


Here are links to the products I used:

* Art Stamps - Jellyfish  Half price in end of line
* Pretty Gets Gritty Amazing Sprays - Coastal Waters, Emerald Haze, Deep Ocean

Thank you for looking and happy crafting!
Jane xx
Related Posts Plugin for WordPress, Blogger...