I'm excited to share all my samples for the Hochanda show on the blog today xx
Absolutely love the new Bee Script and Bee Monarchy stamps that were released 😁🐝
Also used:
Time Measure
Ledger Measure
Ticker Tape: 2 & 3
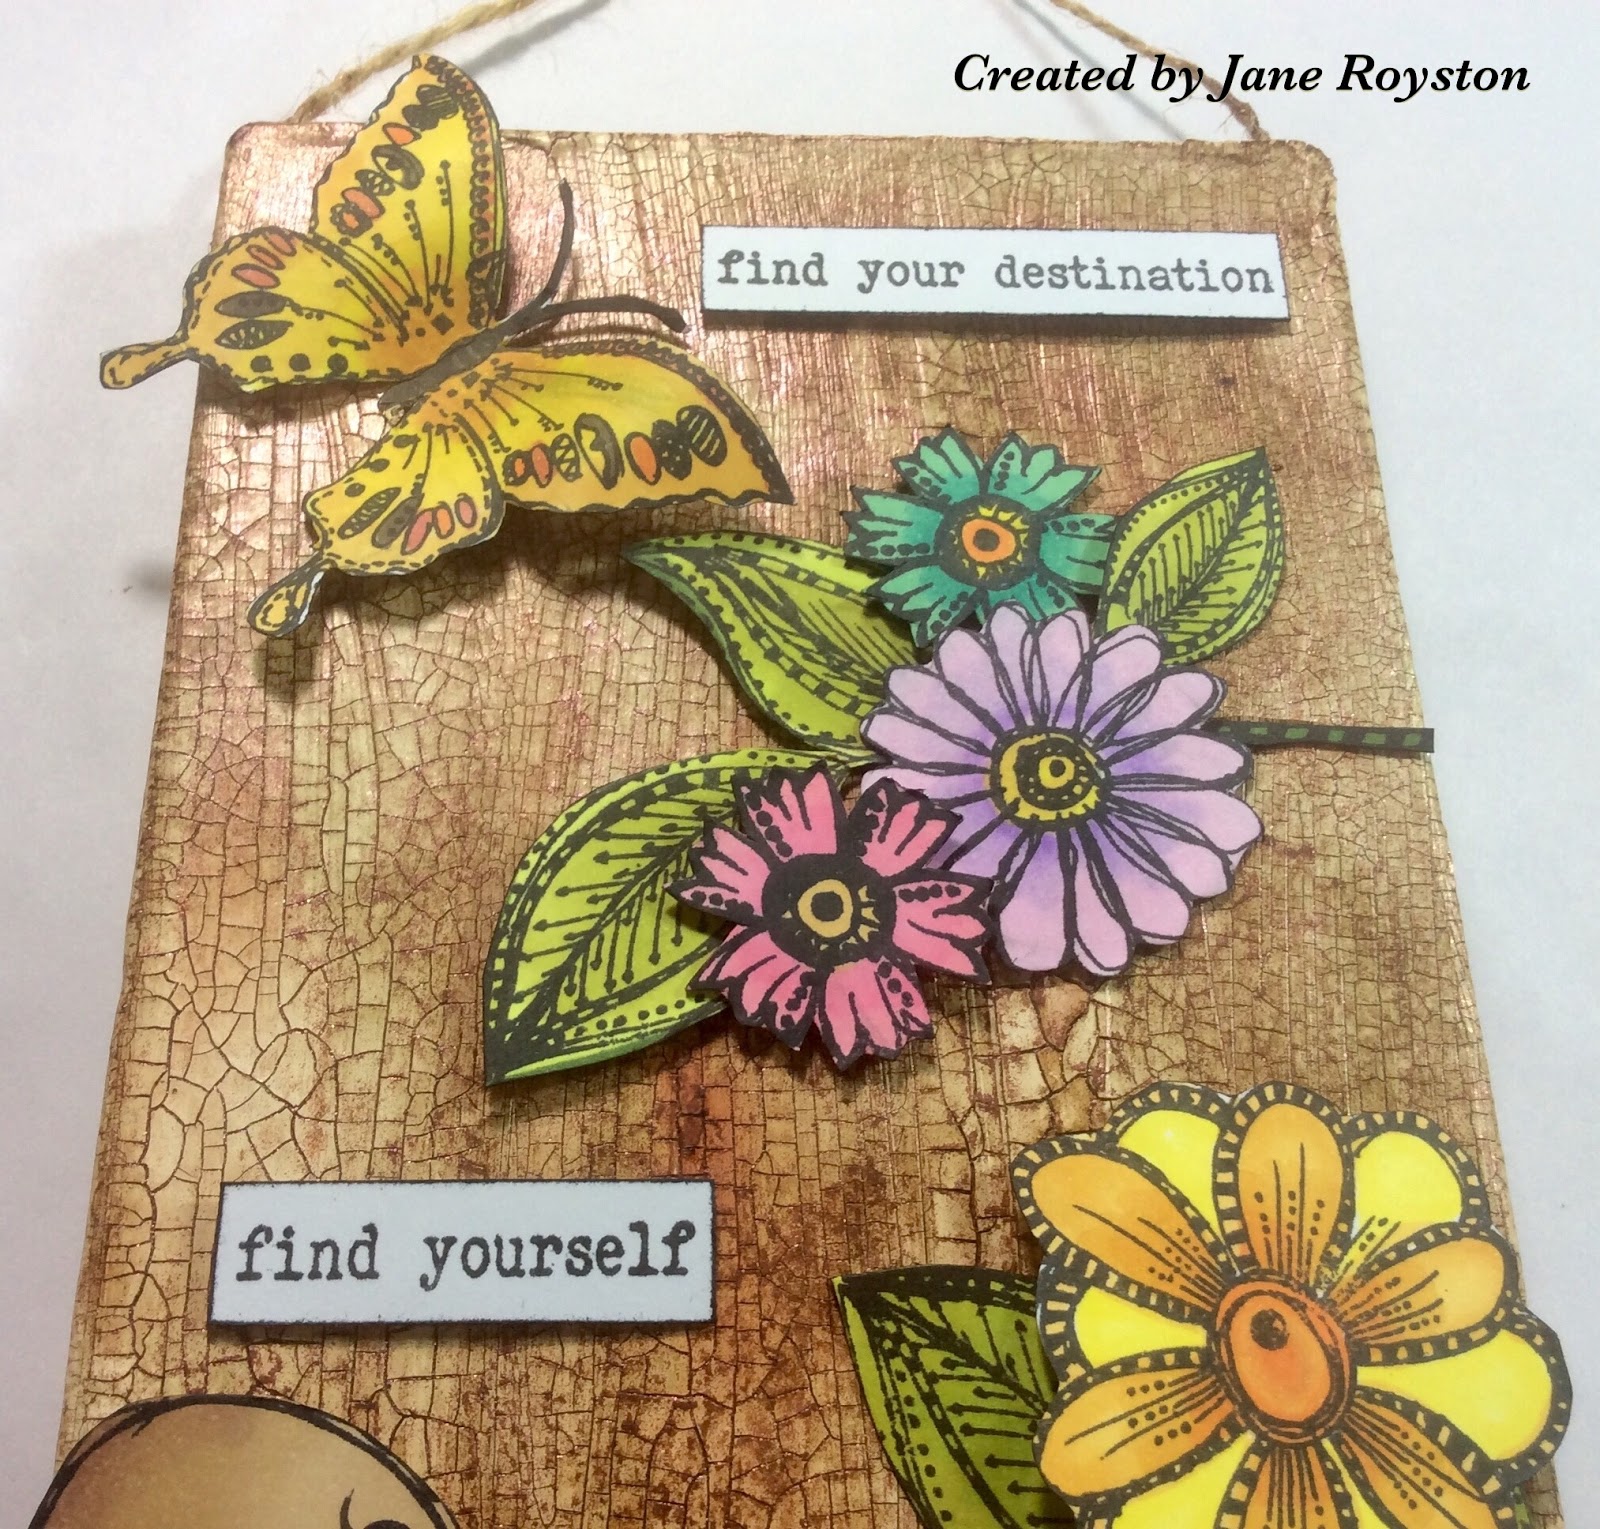
MDF Artboard
Inkables: Big Ones
Dinkables
Distress Oxides
Texture paste
Sparkle pens

Acrylic paint
White gel pen
MDF Artboard

Sparkle pens
Ticker Tape set

Big Ones Inkable
Texture Paste
Pixie Powders
Sparkle pens

Gelli Plate
Distress Oxides

Distress Oxides
Bleaching technique

Distress Oxides
Easy frame Inkable

Distress Oxides
Sparkle pen

Big One Inkable
Sparkle pens

Gelli Plate
Distress Oxides
Lines and dots Dinkable
Many thanks for taking the time to have a look through my post today
Crafty hugs xx