Sue CT Faces- Seen
I hope
you are all still enjoying using the latest faces stamps and are having fun with them.
They are such an amazing set of stamps with lots of potential for so many
different styles. This week I have gone for a clean and simple card for those
times when we need something in a hurry. I first saw a similar effect with the
stencil on one of Ali’s cards and loved it.

Products
I Have Used This Week
Bee
Crafty Stamps
Inkable
Big Ones
Oxide
Inks
Distress
Inks
7x5
inch card
Black
Card

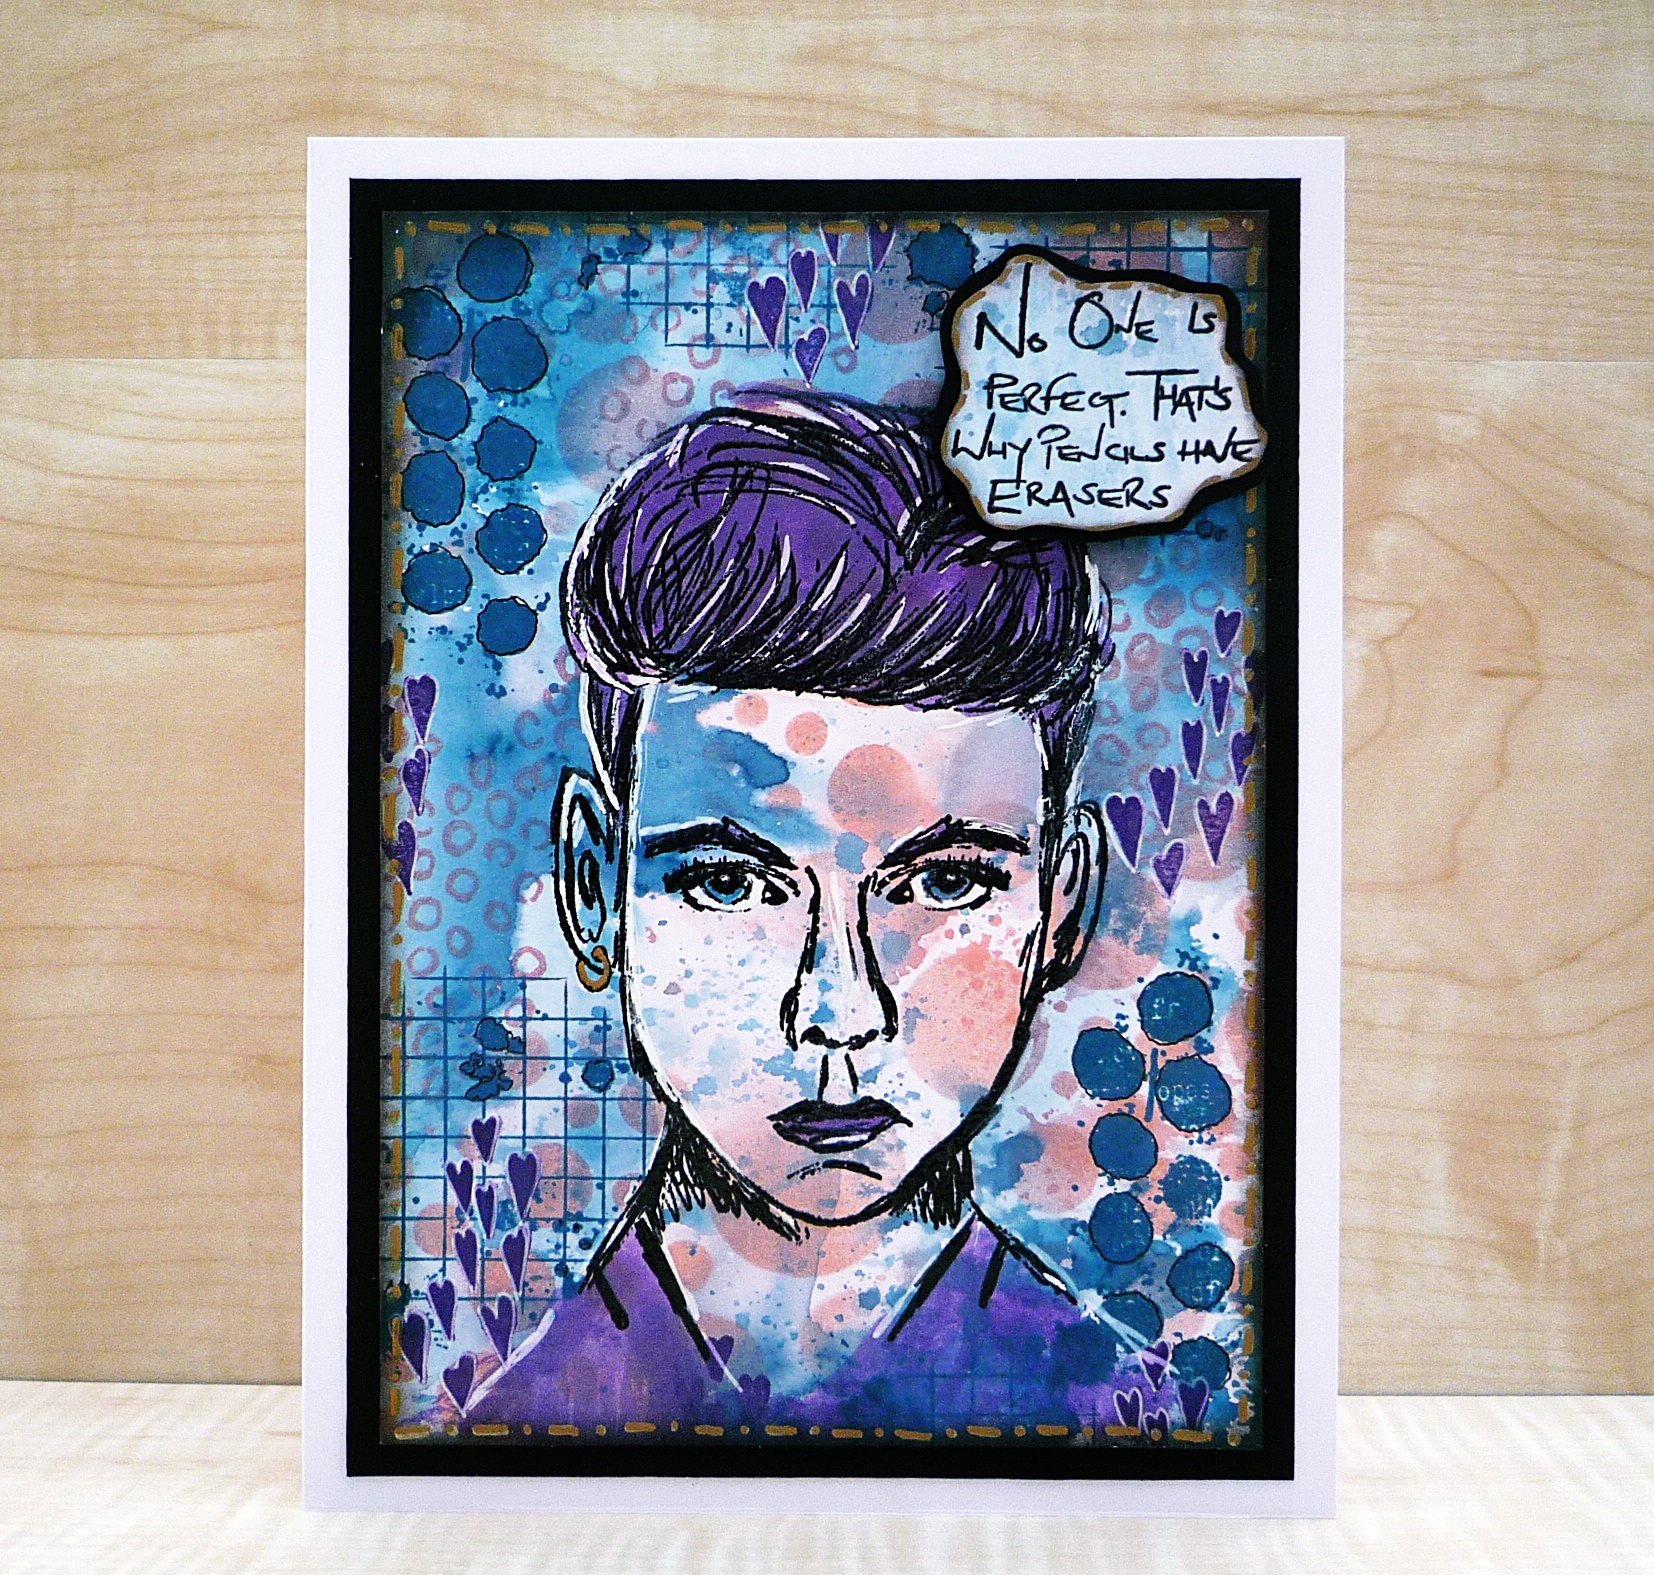
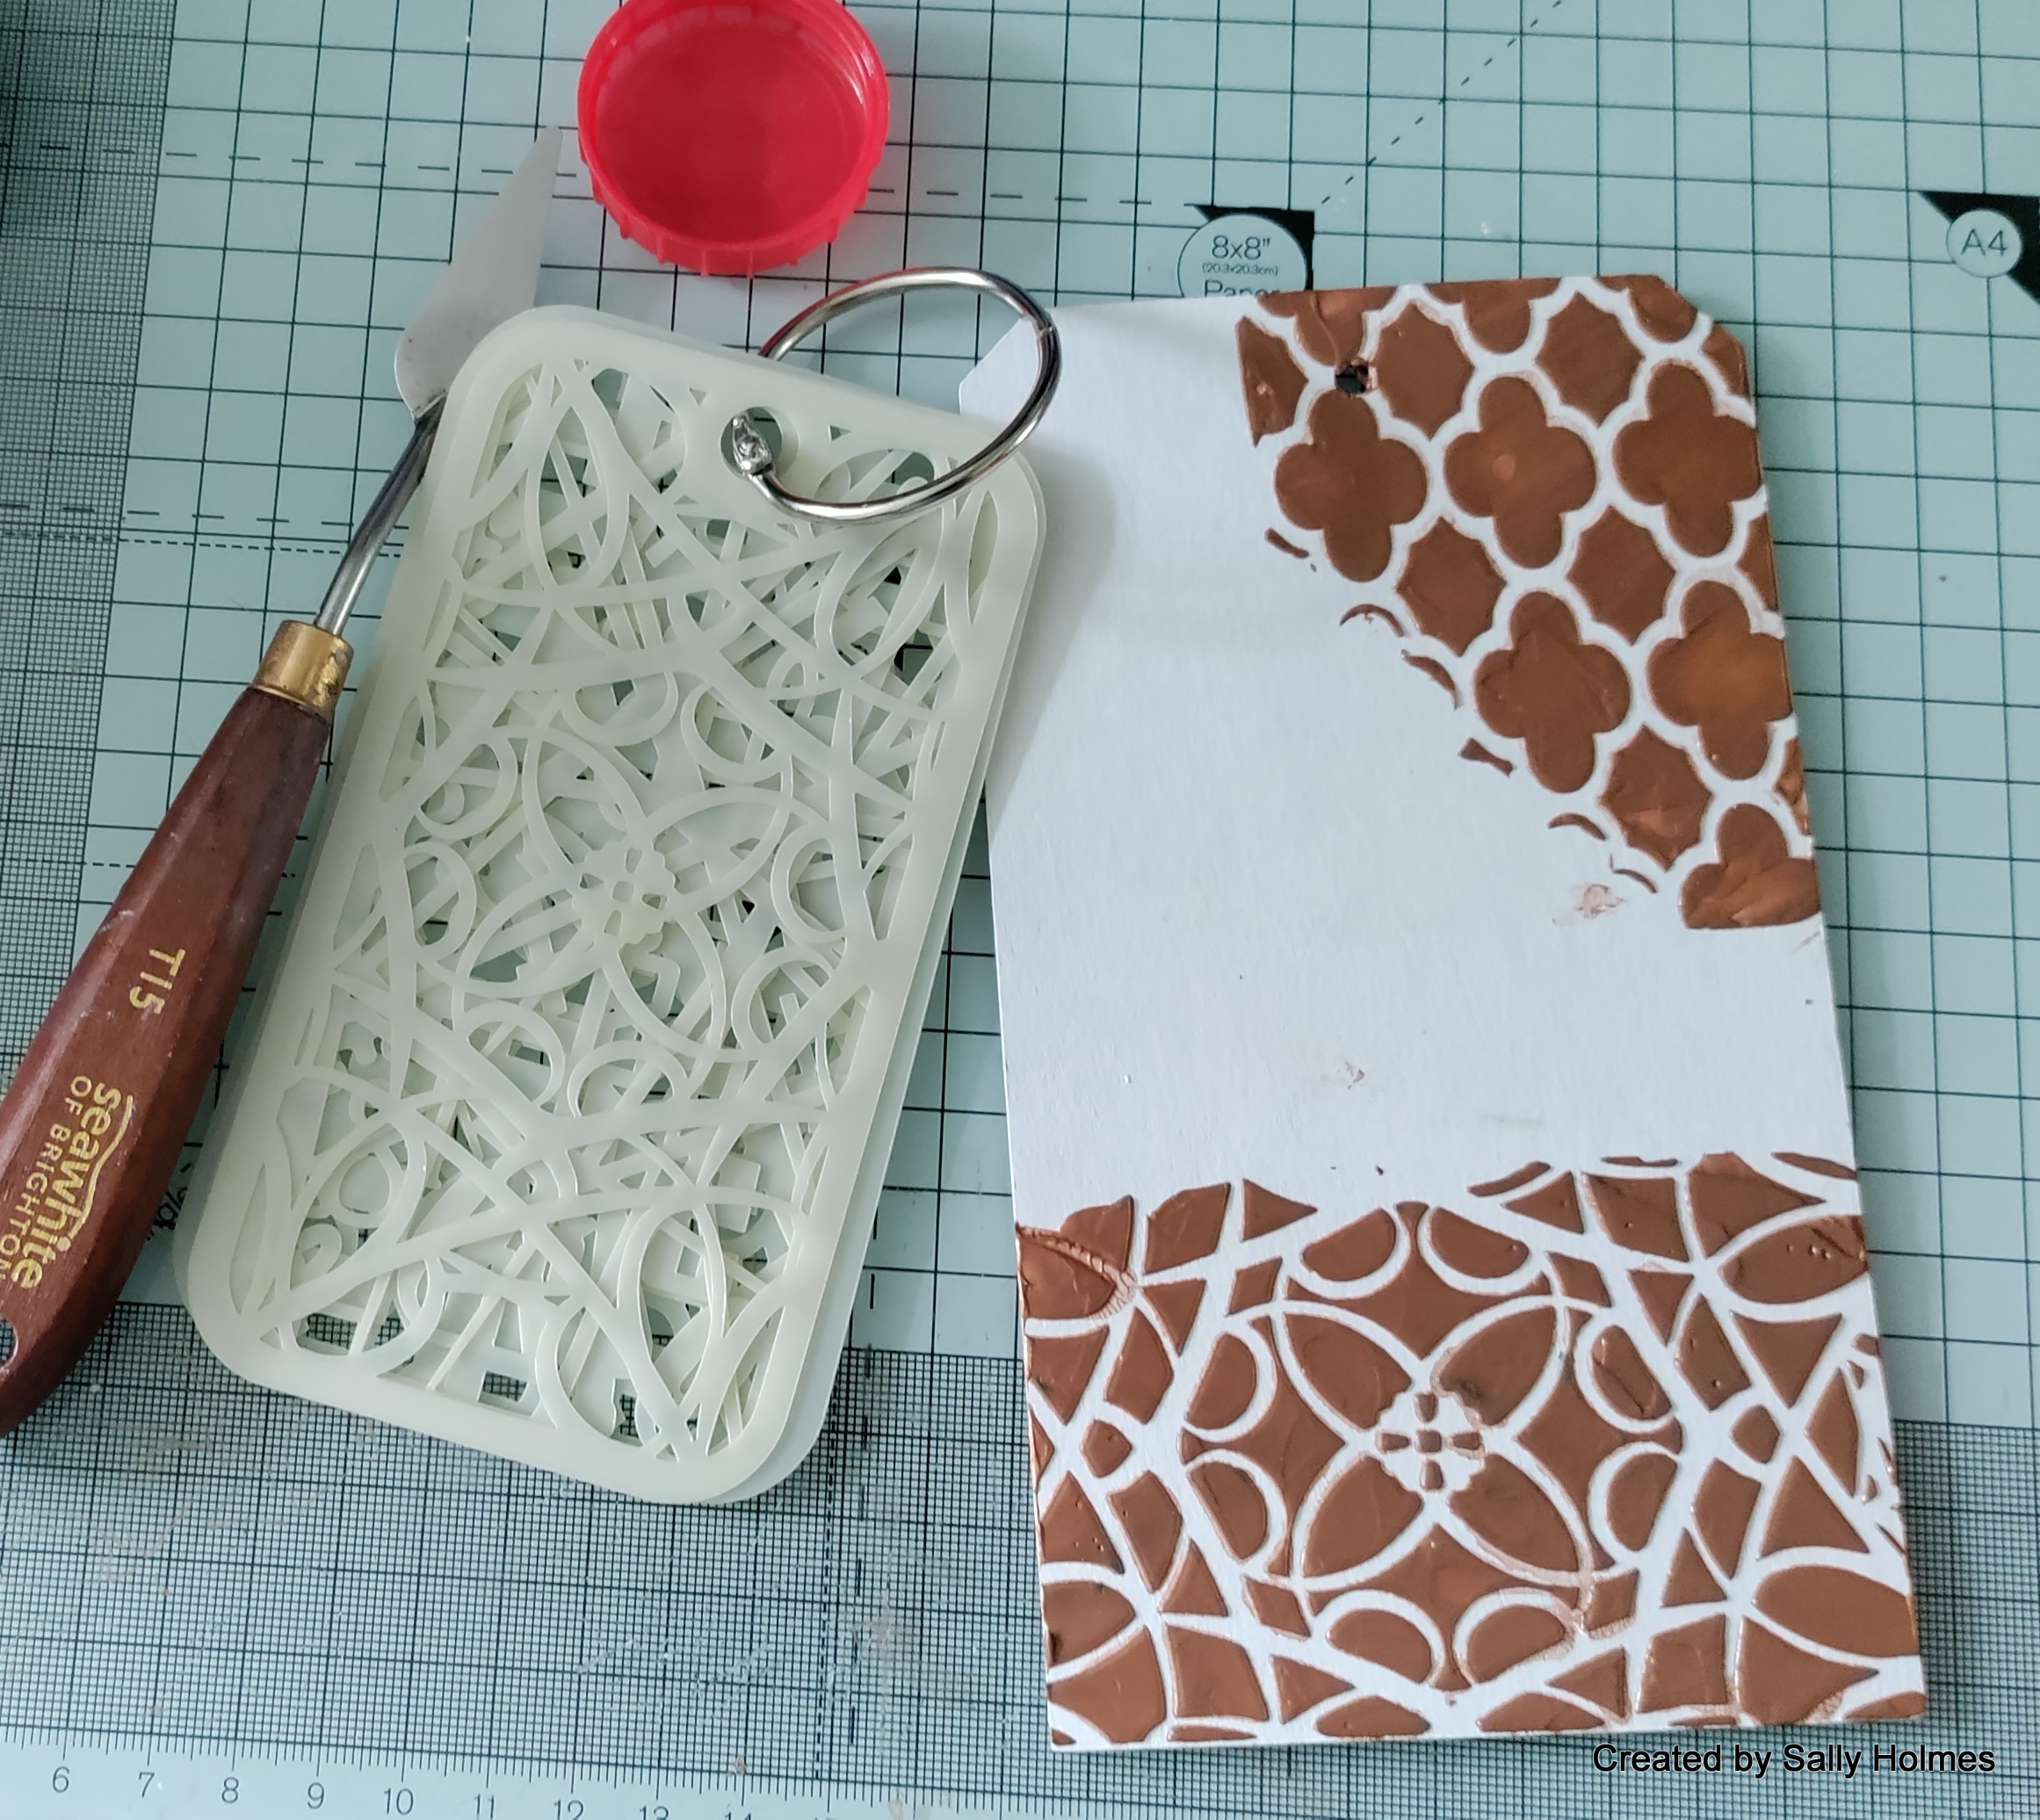
I then
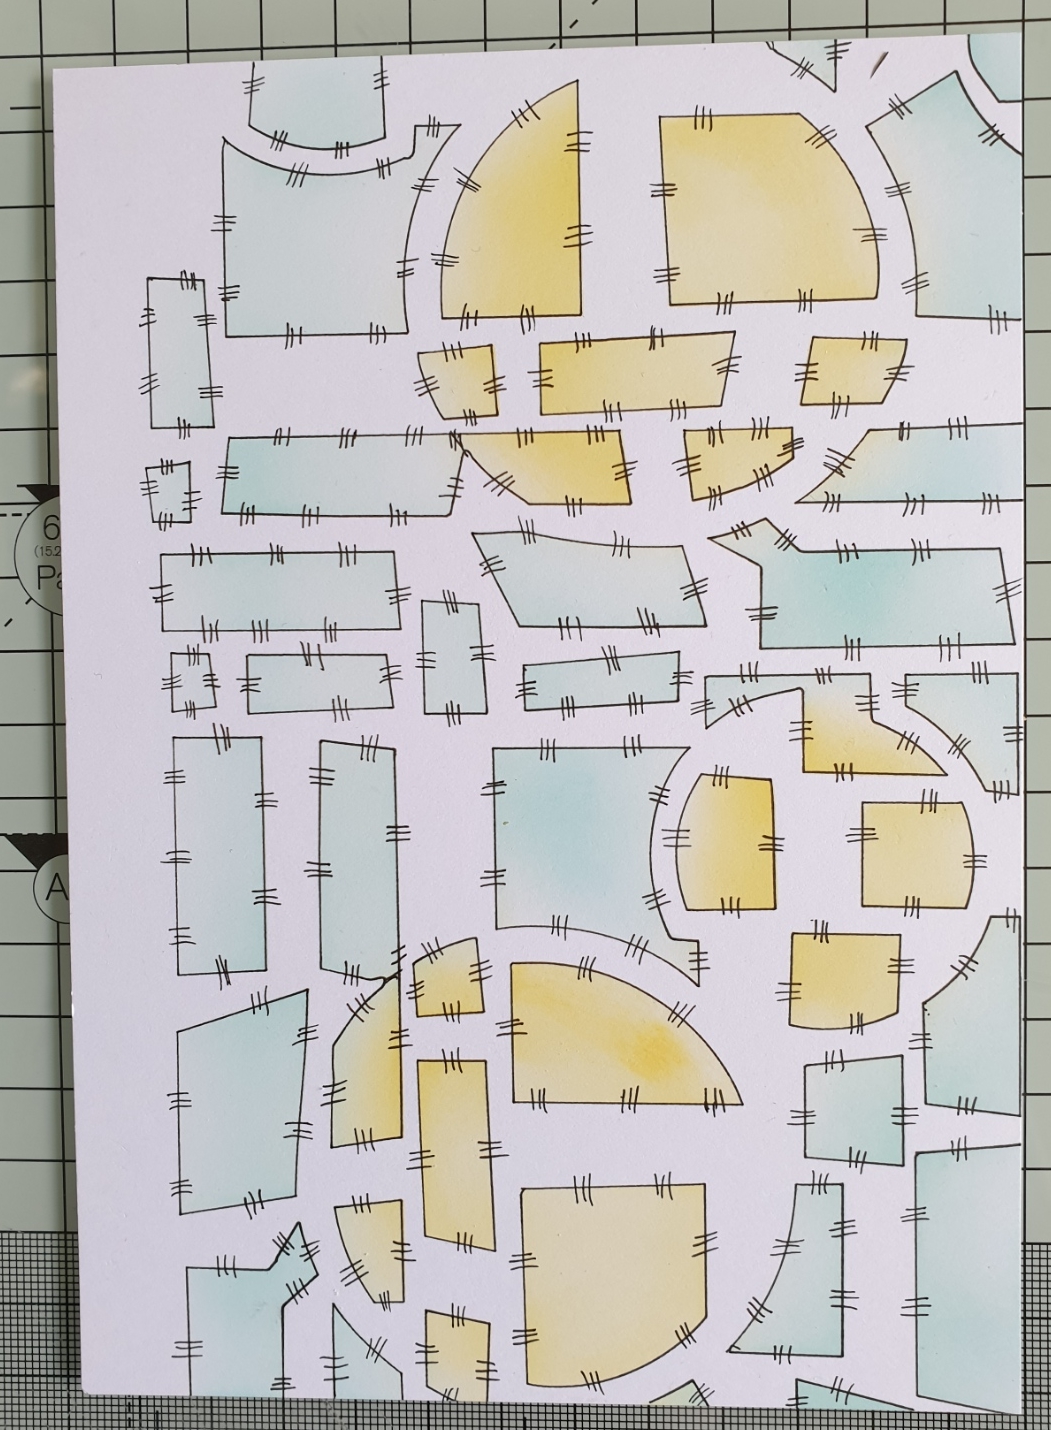
outlined all the shapes using the fine black Micron pen and removed the stencil
to add the details around the edges of the shapes.


I stamped the Faces Seen stamp onto some spare white card and coloured him using Vintage Photo slightly watered down for the hair and then very watered down with a hint of Saltwater Taffy for the skin tone. I also used Peacock feathers for his top. I cut him out leaving a narrow border around the edge.

Next, I stamped the sentiment onto a scrap of card and then used Squeezed Lemonade to stamp the small circles from the Art Journal Elements 3 around the edges. Once this was thoroughly dry, I coloured the circles with Peacock feathers which I watered down quite heavily.

Thank
you for looking at the blog today. I hope you are having fun crafting this week.