Monday, November 30, 2020

Sally DT - A Snowflake Mandala

 Hi there! I am here with a really simple card using Bee Crafty products. This sort of card is really useful for posting abroad as it has no extra layers, and can be done reasonably quickly. I also find them very relaxing to do - almost like mindfulness colouring!

Here is what you will need:
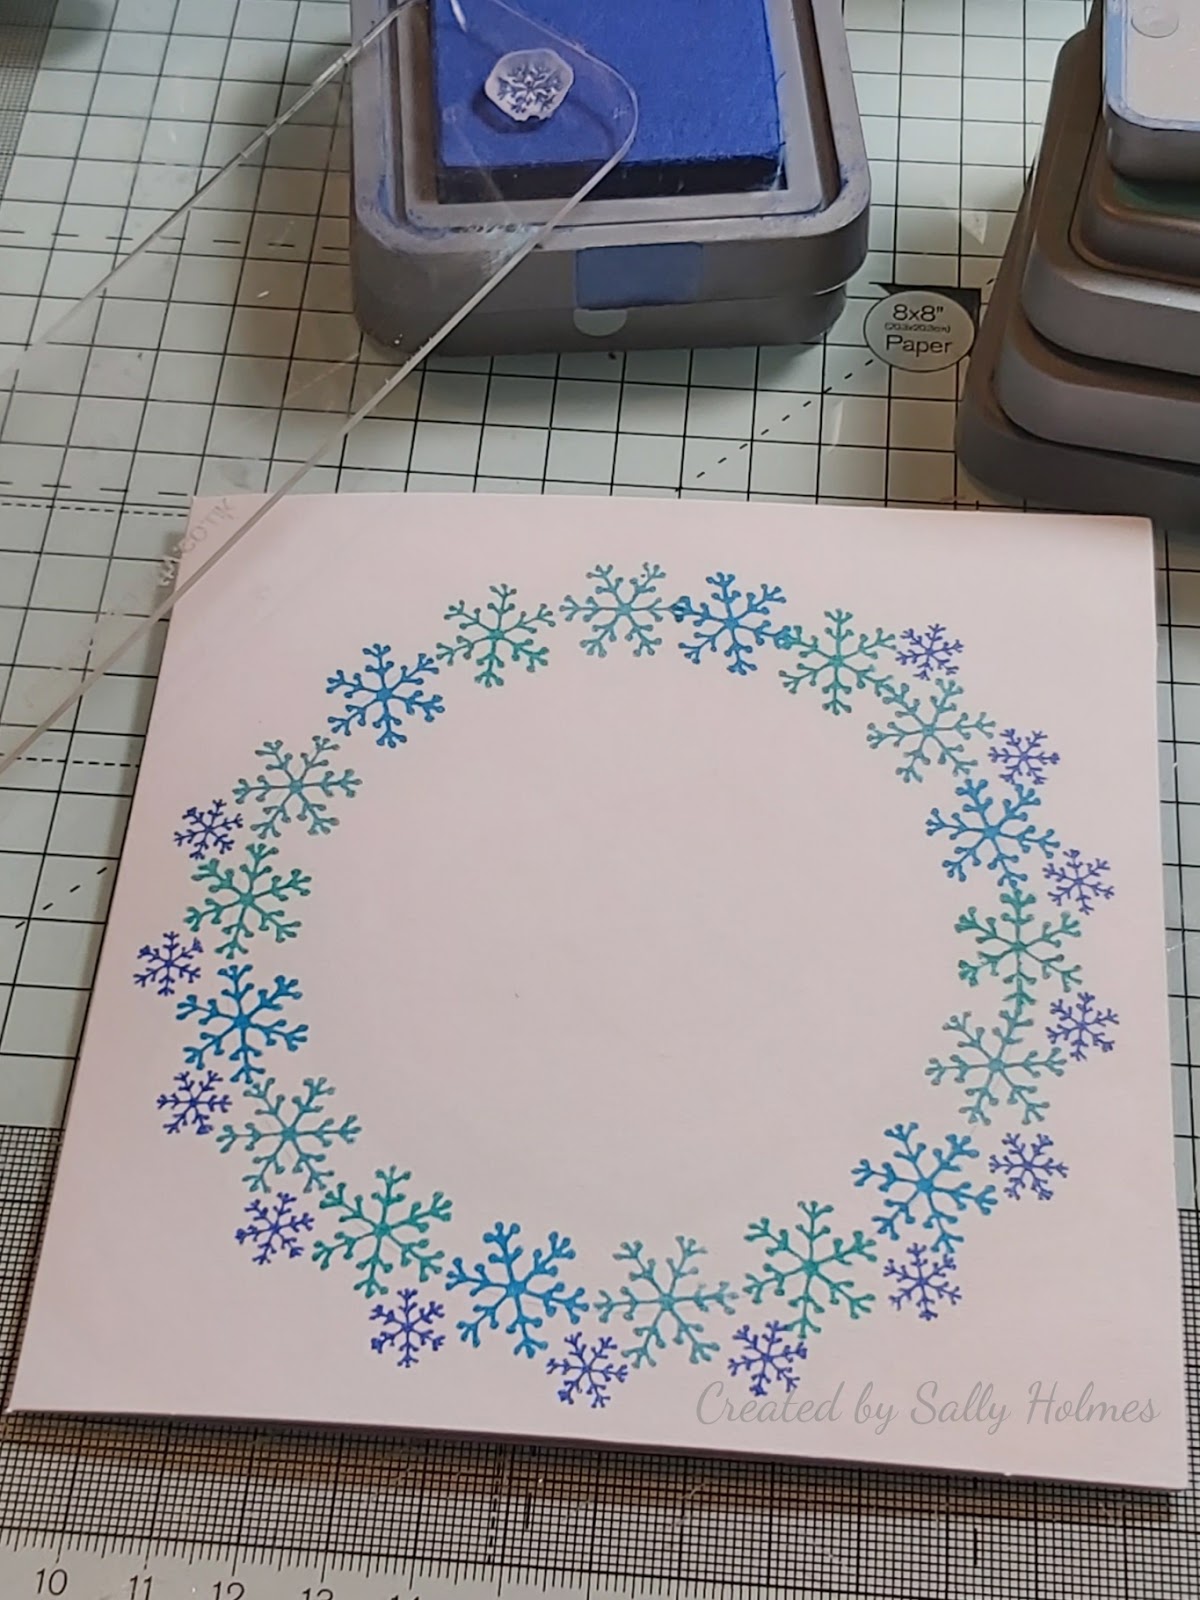
The inkable easy frame 6" circle (the circle 'innie' is 4 inches across)
Journalling Girl- Warm (the snowflake and the stars stamps)
Wordage Small Words winter (the snowflake and a sentiment of your choice)
I used Distress oxide inks in broken china, peacock feathers, salty ocean, blueprint sketch and speckled egg.
A 13.5cm square card blank
Glitter glue/Diamond Stickles (optional)
Pencil and rubber

 First I used the 'innie' from the circle inkable to draw a light pencil circle onto my base card.
 Next I took the snowflake stamp from the Warm journalling girl set and stamped alternately along the pencil line with the broken china, peacock feathers and salty ocean Distress Oxide inks. Each time I lined up the central line of the snowflake along the pencil line, almost touching the end of the previous snowflake. Continue until the two ends meet.
 Next stamp the smaller snowflake from the sentiment set around the outside where each snowflake joins the next one. This was using blueprint sketch Distress Oxide ink.
 Using the Speckled Egg oxide ink, stamp the star stamparound the inside of the circle. I placed them at every other join of the snowflakes.
 Stamp the sentiment of your choice with the Blueprint sketch ink in the centre.
 Making sure all the ink is definitely dry, rub out the pencil like carefully.
Add something sparkly to the centres of the snowflakes and stars - you could use glitter glue, tiny gems or a sparkly gel pen.
And 
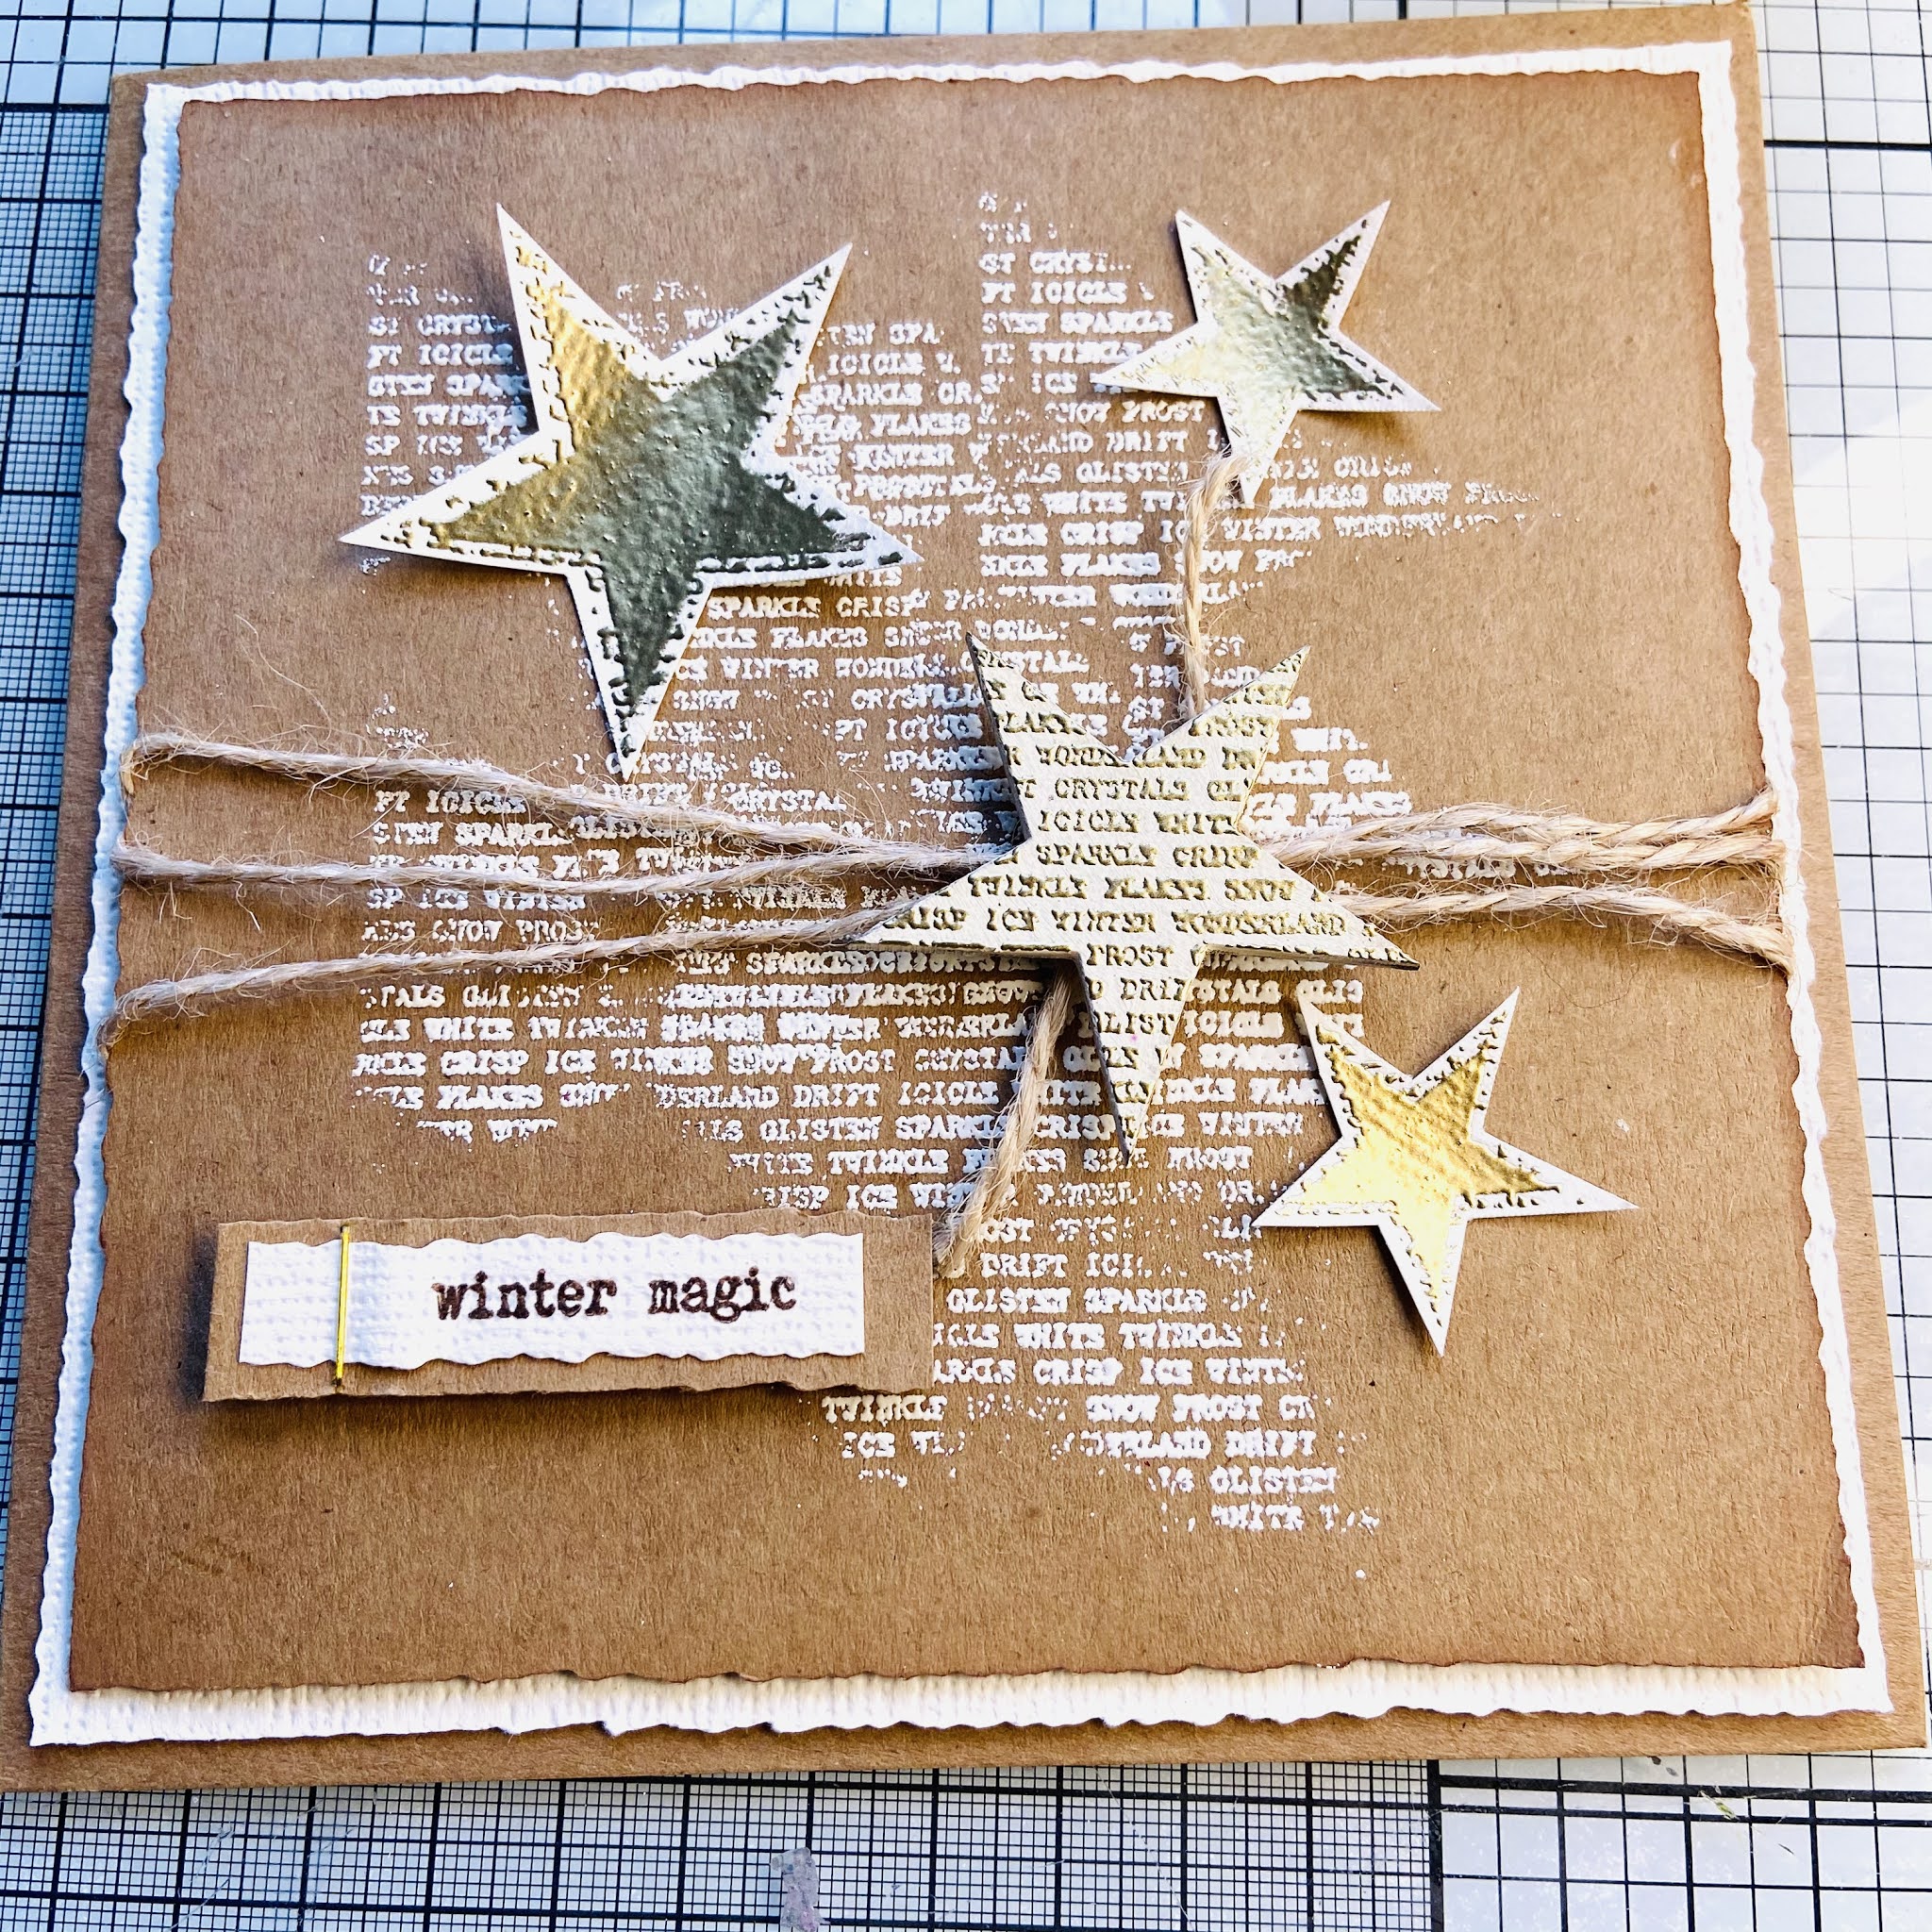
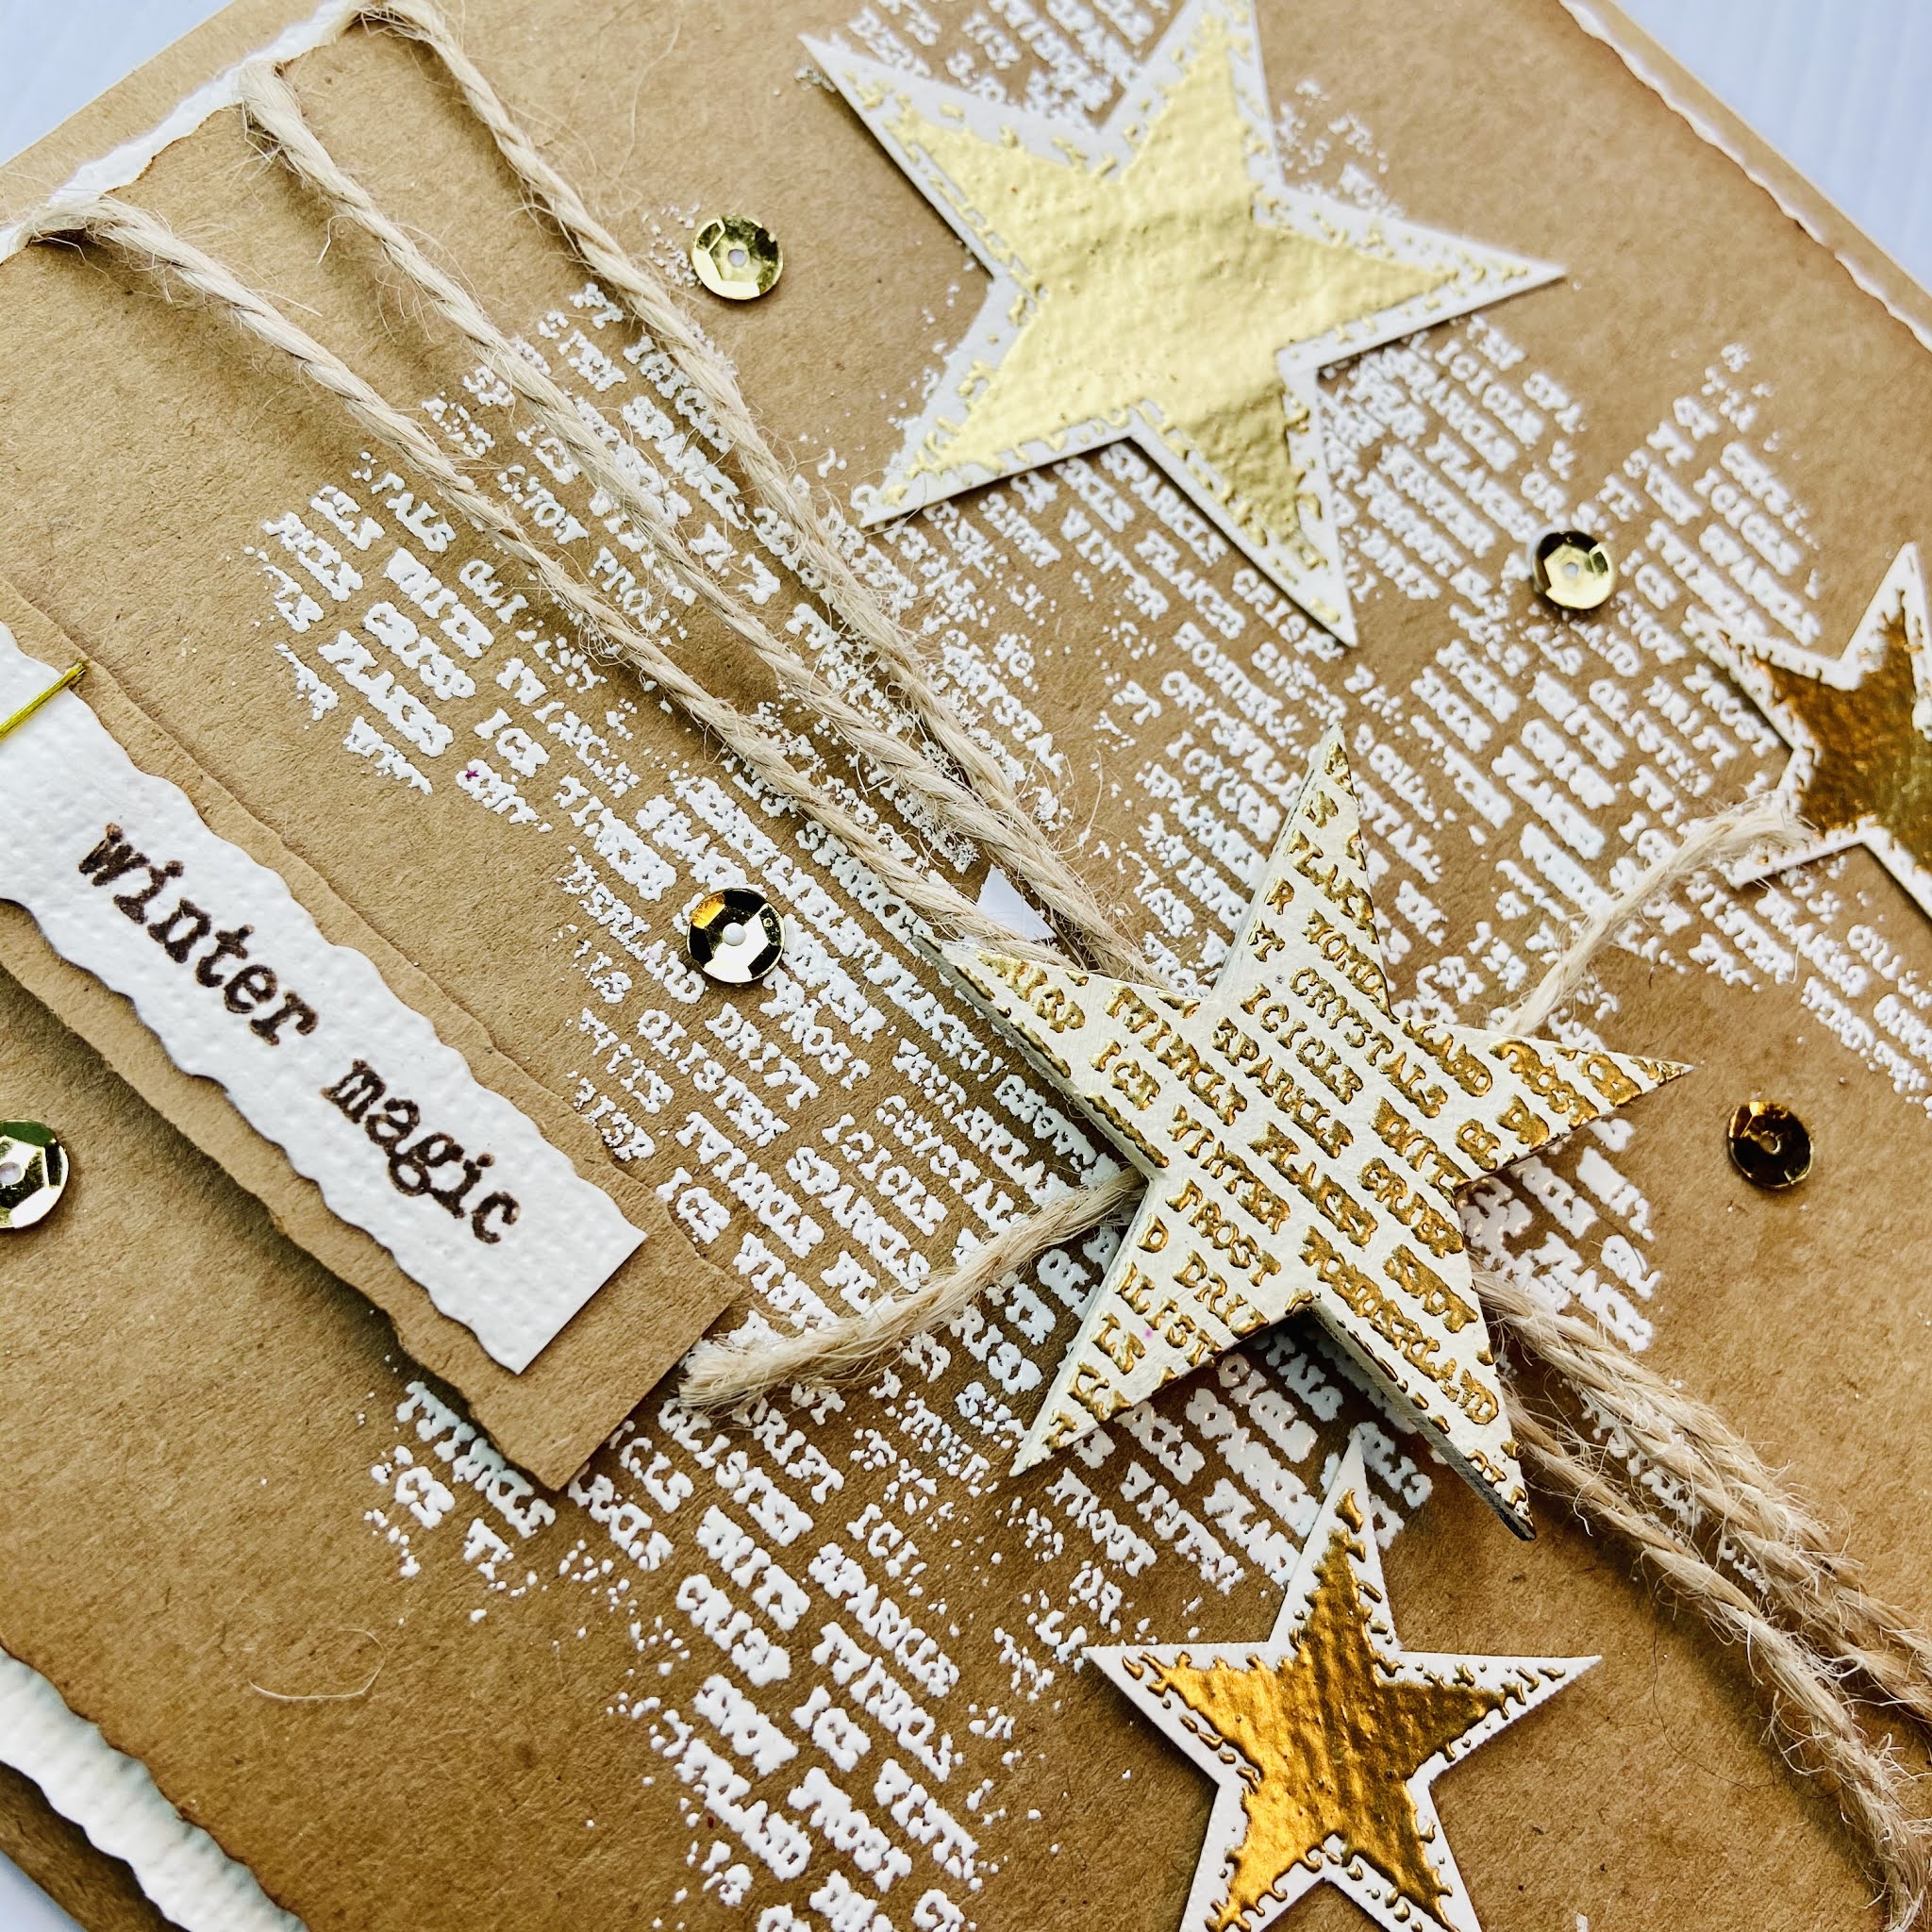
here is the finished card. I was really pleased that the dimensions of the stamps and the stencil allowed for this to work so well. The super skinny slims also help to align the stamps perfectly.
Thanks for looking! 

Saturday, November 28, 2020

Jane DT - Winter Wonderland Tag

 Hello!

This week on the blog I am sharing a tag that I have made...  


I seem to be in a bit of a blue phase at t he moment with snowflakes as my theme! 

These are the steps of how I made the tag:

1) I cut the two largest tags from the tag die set out of watercolour card.

2) Using a brayer I applied distress oxide ink (peacock feathers & broken china) to part of the smaller tag.

3) The smaller snowflake stamps and the text stamp from the Doodle Snowflake set were stamped using distress oxide inks (salty ocean, broken china & faded jeans).

4) Faded jeans oxide was used again to stamp the sentiment.

5) I stamped the larger snowflake out onto watercolour card twice and cut them out.  These were then coloured using Ecoline watercolour pens.  I layered them up and added glossy accents with some glitter whilst it was still wet.

6) Finally the elements were added and some ribbon tied on before layering the tag onto the larger one with foam tape.

Here are links to the products used:

* Doodle Art Yuletide Stamps - Snowflake (regular)

* Tag die set

* Distress Oxide Inkpads

* Ecoline Pens

* Glossy Accents

Thank you for looking and happy crafting!

Jane xx

Friday, November 27, 2020

Winter Magic by DT Ann


   Winter Magic by DT Ann 


Winter can be such a magical time & I was inspired to create a card that could be for Christmas or winter birthday.. 


I used: 

Stamps: Stars Textures, Small Words Winter & the Snow Boarders & Words set.

Versamark Ink 

Embossing powders : cream & gold

Wooden star  ( pop outs ) 

Kraft card, 6x6 Kraft card, cream paper/card, sequins & string. 

Available at: https://www.beecrafty.net/


Cut a piece of Kraft card 5 1/2” x 5 1/2” & a piece of cream card slightly bigger (5 3/4”)  .. 

Stamp, freehand, the mini words in Versamark ink across your paper.. cover in cream embossing powder, remove excess & heat set. 


On a piece of cream paper stamp, again with Versamark, some stars & emboss in gold. I always stamp a few extra .. just in case! Fussy cut the stars out .


Paint the mdf star in cream, dry, then stamp mini words on the star with Versamark & emboss in gold. 


Stamp a word/phrase/sentiment on to cream card in Vintage Sepia Versafine, mat with Kraft car & glue or staple together. 


Wrap some string/twine around the top piece of kraft card, use some red tape to secure the ends. 


Add some 3D foam tape to the back, stick to the cream “mat” (piece slightly larger) then on to your 6x6 Kraft card. 


Add your stars, sentiment... 


 ...and sequins! 


Thank you for stopping by...Ann x

Wednesday, November 25, 2020

Caz DT - Dream it! Wish it! Do it!


PRODUCTS USED:

Mount board panel
Crackle texture paste
Archival ink
Ink sprays
Gilding polish 
Ripped book page
Camel lash twine
Dimensional glue

HOW TO MAKE:
Stamp the crackle background over the entire panel...

Spritz with ink sprays, I used pink and yellow...

Add a smear of crackle texture paste done the centre...

Accent the texture with gilding polish, also around the edges to frame it...

Stamp butterfly vertically and spray some more ink at the top and let it run down into the texture...

Glue on a ripped piece of book page and then add some offset dots with texture paste for more interest...

Stamp and die cut the dragonflys and ticker tape sentiment, cut some camel eyelash twine and use the dimensional glue to adhere the twine on (if you put it on the back of the die cuts it will hold in place) subtly colour the dragonflys and sentiment with a water brush and spray inks...

You're done! 

Hope you like 
❤️
Thanks for looking


Monday, November 23, 2020

Sally DT - Snow Blizzard samples

  Hi There! I am here with the samples I made for the Bee Crafty Hochanda show last Tuesday. First up are the wonderful bauble decorations. I added some acetate on two and added glitter in between to make them into 'shakers', as well as painting and decorating with the snowflake, star and tree frame inkables and pop outs.


The stamps are absolutely gorgeous and I really enjoyed playing with them making all sorts of inky backgrounds...

The bauble easy frames work really well with them too.


 You can probably tell how much I have enjoyed playing with them, and I have plans to play with them quite a lot more over the next few weeks! If you didn't get chance to see the show, it is still available on Hochanda, and both Bev and Jane have done facebook lives with the stamps which are available to watch on the Bee Crafty Facebook page

You can find the stamps here

 MDF pop-outs are here

The easy frame baubles are here

The snowflake, tree frame and stars inkables are here 

I hope you have as much fun with them as I am having 😁

Thanks for looking!  

Saturday, November 21, 2020

Jane DT - Snow Blizzard Hochanda show samples

 Hello!

Today on the Bee Crafty blog I am sharing the samples that I made for this weeks Hochanda show...


Thank you for looking and happy crafting!

Jane xx


Friday, November 20, 2020

More Snowflakes by DT Ann


More Snowflakes! 


It’s Friday again, where do these weeks go! Did you see Bev with the fabulous stamps, stencils & MDF on Hochanda last Tuesday? Have to say it was an absolute pleasure to create samples with the gorgeous goodies! It was a quick turnaround to get them back to the Bee Hive, but the ideas kept coming .... so one more quick card on my post today. I hope those of you lucky enough to get these products will be playing with them soon, enjoy x


I used: 

             Snowflake Boarders
Inks: Versafine Clair Nocturne 
         Distress Oxides- Hickory Smoke/Candid Apple/ Weathered Wood

Available at https://www.beecrafty.net/


Cut a piece of card 6” x 6” & place the outer of the Inkable, mandala stencil on top, I secured mine with some washi tape . 


Then using the largest snowflake I stamped (in black) 3 times. 


Next use the stars & stamped around the edges in Candid Apple.  


Then using the other large snowflake stamp, add another 3 in Weathered Wood, to your wreath.


Then add 6 of the smaller snowflakes in between the larger ones, I used Hickory Smoke. 


If you need to fill in with a few stars there are 3 at one end of your stamp that you can ink ( if you get ink on other stars you don’t want, wipe away any excess with a cloth) and use. 


                  Stamp your chosen sentiment into the centre of your wreath. 


To finish I added some gems & Star Dust Stickles to the centres of the snowflakes. 

Mat & layer with black & red card & glue to a 7” x 7” card. 


Some samples from Tuesdays show .


Thanks for stopping by... Ann x
Related Posts Plugin for WordPress, Blogger...