Thursday, April 30, 2020

Karen DT - A Masterpiece Tag

Hello everyone xx

Its Thursday so I'm up on the Bee Crafty blog and today's make is an MDF tag, using stamps from the Bee Script and Bee Monarchy collection.  Xx

Also used:
Dinkables
Distress Oxides 
Gilding Wax
White gel pen
Ticker Tape Sentiments 


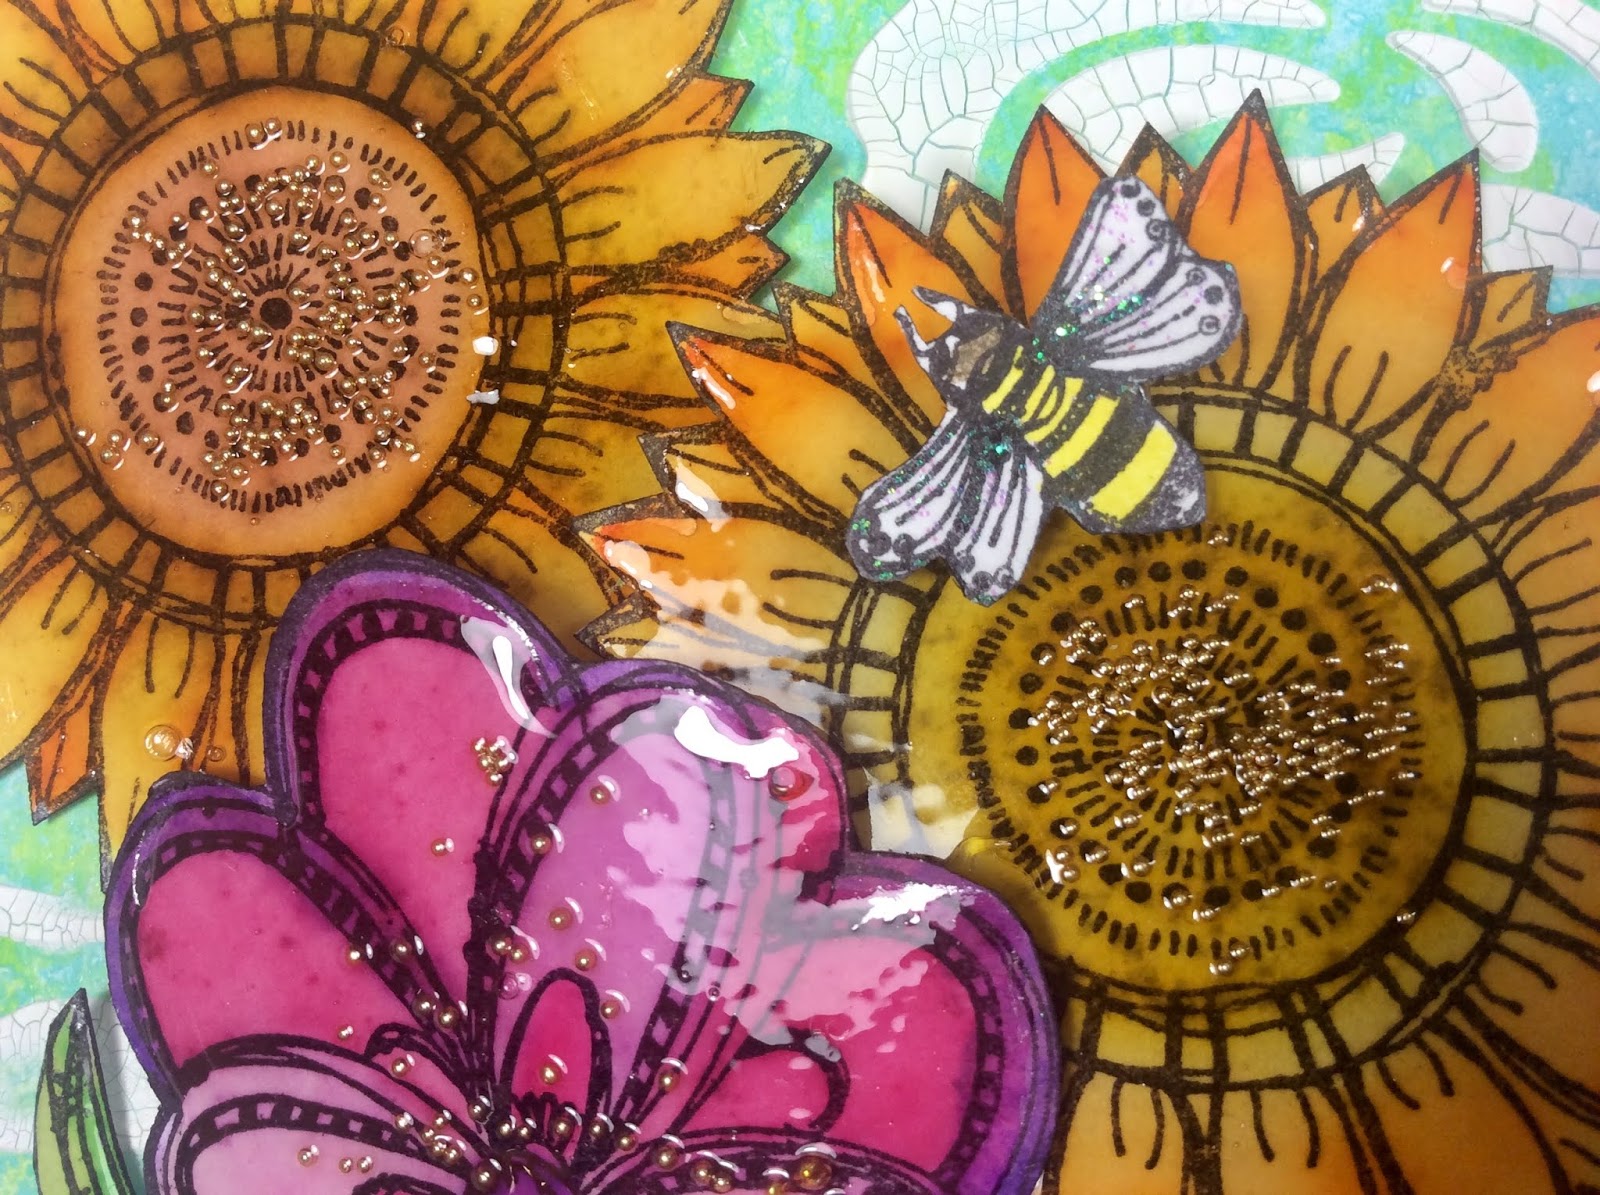
To begin I applied Fossilized Amber Distress Oxide over the tag then blended Picked Raspberry randomly,  through the Honeycomb Dinkable 


I stamped one of the Honeycomb stamps randomly in Black Onyx Versafine 


Holding the Bee Script stamp in the palm of my hand, I applied Tumbled Glass Distress Oxide and stamped random parts over the tag.


I used a white gel pen to add highlights and dots. This creates some depth, light and shade to your design.


I stamped the Bee and coloured it in with Sparkks Pens then adhered that, and the Ticker Tape Sentiment  with 3d glue gel. 

I hope you enjoyed todays post and I'll be back again soon 

Crafty hugs xx 

Wednesday, April 29, 2020

Caz DT - Light bulb card


PRODUCTS USED:

Bee Crafty light tomorrow stamp set

Bee Crafty film, texture and circles stamp set

Card blank 6x6
Distress oxide/ink blueprint sketch and twisted citron
Versafine black ink
Versamark
Clear embossing powder
Foam pads
Inktense blocks (any water colour is fine)

HOW TO MAKE:

Stamp straight onto the card blank front with the blueprint sketch distress ink pad, staggered squares at random for the background

Then stamp the lightbulb partially off the card front in versafine black ink, I like to work in 3s

Next use the twisted citron oxide ink to stamp out the texture stamp which almost looks like a watercolour effect, adding interest to the background

Then stamp one of the circles in the same twisted citron...

And another circle in the blueprint sketch ink

Next stamp and fussy cut the light bulb, and water colour it yellow

Cover in versamark and clear embossing, heat set for a glossy finish. 

Stick the bulb on using foam pads for more demention, stamp out the light today sentiment and also mount on foam pads. 

You're done! 
Hope you like 
❤️
Thanks for looking.

Saturday, April 25, 2020

Jane DT - Doodle Flower Book Cover

Hello!

As the weather here at the moment is very spring like I was in the mood for a bright and happy project this week!

I have been watching lots of crafty videos in the past few weeks, and the other day was reminded during one by Dina Wakley of a book you can make using one sheet of paper (there will be videos/tutorials available in various places online if you want further details).  This made me want to create my own, but I didn't want a tiny book so used a sheet of A3 mixed media card.

Once I had folded it into the correct shape I used media tape to seal up some of the sides but left some tops open for tags to fit into and added smaller tags inside to create pockets. 

Then I created my bright and happy cover...


I started by spraying the cover with turquoise gloss spray from Dina Wakley, then with lime green through the Fernando big inkable.  Once this was dry I used the same stencil again but this time with white crackle paste...


Then I stamped out images from some of the doodle art stamps: Regular Sunflower; Regular Butterfly; Regular Bee.  These were cut out and coloured using watercolour pens.  I covered the flowers with glossy accents and added a few gold micro beads whilst the glaze was still tacky...


I left them to thoroughly dry overnight then the next day added them to the cover using glue gel.

Finally I stamped out one of the phrases on the Small Words stamp set and inked around the edges before adding to the cover as well...


Here are links to the products I used:

* Doodle Art Stamps - Sunflower Regular
* Doodle Art Stamps - Butterfly Regular
* Doodle Art Stamps - Bee Regular
* Wordage - Small Words
* Inkables Big Ones - Fernando

I am looking forward to filling up my little book!

Thank you for looking and happy crafting!

Jane xx


Thursday, April 23, 2020

Karen DT - Why?..Art Journal

Morning everyone xx

I'm over on the Bee Crafty blog today with a spread from my Art Journal. 
I wanted to use my Doodle Art stamps, but had no specific idea in mind, so I just went for it, and this was the end result lol. That's what I love about my Art Journal, the freedom to just create...

Products used:
Doodle Art stamp sets
Big One - Inkable - Chrysanthemum 
Ticker Tape 2 Sentiments 
Sparkle pens from my Crafty stash 


Having gessoed my pages first, I blended Distress Oxides randomly through the Chrysanthemums Big One Inkable. I wasnt careful and I applied different pressures, to create depth and dimension.

I stamped all the Doodle flowers, from all the different sets I had, randomly across the bottom of the pages. 

The Butterfly was then stamped twice, going off the edge of the page, again to add dimension and perspective. 

I used a couple of the small embellishment stamps, from some of the sets, randomly across the spread, including the splatter of dots one, around the flowers. 

I then coloured in using my sparkle pens. I wanted a watercolour effect to this spread, so I coloured in very loosely, leaving white spaces, going over the edges, and blending colours together. I love how this technique gives a completely different look to a more precise, neat colouring technique.  

The Ticker Tape sentiment was stamped on white card, cut out and adhered, to complete my spread.

I hope you liked it, it was a lot of fun to create.
Until next time, 
Crafty hugs xx 

Wednesday, April 22, 2020

Caz DT - Dragonfly grunge tag


PRODUCTS USED:

Bee Crafty dragonfly stamp

Bee Crafty ledger stamp

Bee Crafty distressed harlequin D'inkable

Ticker tape sentiment set 3 stamps

Tag die cut
Gold embossing powder
Versamark ink
Archival black and grey ink
Vellum
Tattered rose distress oxide
Nuvo acorn brown ink
Book page
White gesso
Posca pens

HOW TO MAKE:

Swipe the versamark ink down the tag randomly and sprinkle with gold embossing powder - heat it. It's a great easy grunge look background!

Ink over the rest of the tag with tattered rose oxide ink...

Stamp randomly with the ledger stamp inked in acorn brown nuvo (or other permanent brown ink)...

Stencil some gesso through the harlequin D'inkable - I like to do 3 patches...
Let it dry!

Take a piece of book page and stamp the ledger onto it, then rip it and glue it across the tag for more interest...

Stamp the dragonfly onto card with versamark and emboss in gold - also stamp onto vellum using black archival (fussy cut both) then colour on the back of the vellum dragonfly using posca pens, the colour with show through...! 
Glue the gold embossed dragonfly down and then stick the vellum one on top slightly off set so you see a hint of gold. 
Add ticker tape sentiment  and you're done. 

Hope you like 
❤️
Thanks for looking.

Saturday, April 18, 2020

Jane DT - Jellyfish Memorydex Card

Hello!

This week I am sharing a sea themed card that I have made to go on my Memorydex spinner...


I started on a a mixed media card base and used the alternate circles stencil with crackle paint...


Then I used liquid watercolour inks in blue, turquoise and green to add colour...


Using one of the sentiments from the regular jellyfish stamp set, I stamped along both the sides using blue archival ink and also added some around the edges...


Next I used the bubbles from the same set with clear ink and gold embossing powder, then decided to add gold around the edges of the card instead of the blue ink...


Then I used black versafine clair to stamp the jellyfish on and coated it in clear embossing powder...


Finally I re stamped the top of the jellyfish and coloured it with sparkle pens, before adding the same sentiment on another piece of card...


Here are the products that I used...

* Inkables - Alternate Circles
* Art Stamps by Sam - Jellyfish (regular)

Thank you for looking and happy crafting!

Jane xx

Thursday, April 16, 2020

Karen DT - LIFE tag

Morning xx

My turn over on the Bee Crafty blog and I have an MDF tag for you, using the gorgeous Birds on A Wire and Wildflowers xx

Also used:
Versafine
Ticker Tape
Ink Sprays


Here is the completed tag 😁


To begin I sprayed the tag with various ink sprays, including some Dylusions ones.

Once dry I stamped the Wildflowers first and second generation, in both Black Onyx and Smokey Grey Versafine. This adds depth and dimension.


I then stamped the beautiful Birds on a Wire in the Black Onyx Versafine.

To complete I stamped and heat embossed the Ticker Tape sentiment then adhered with 3d glue gel. 


I hope you liked todays make and I'll see you all again soon. 

Crafty hugs xx 


Wednesday, April 15, 2020

Caz DT - Rainbow butterfly tag


PRODUCTS USED:

Bee Crafty D'inkable small dots
Clear embossing powder
Versamark ink
Distress oxide inks
Archival ink
Watercolours

HOW TO MAKE:

Stamp the crackle background onto the tag using versamark, sprinkle over clear embossing powder and heat set

Blend peacock feathers and twisted citron oxide inks over the tag (the crackle resists the ink) 

Stamp out the butterfly (x5) and sentiment in grey archival ink

Mount the sentiment and watercolor the butterfly's in rainbow colours - fussy cut them

Stencil small dots using a D'inkable

And edge the butterfly's using the black distress ink. 
Glue the sentiment and butterflies onto the tag in a staggered cascade. 
You're done! 

Hope you like 
❤️ 
Thanks for looking.

Saturday, April 11, 2020

Jane DT - Mandala Brusho Card

Hello!

Today on the Bee Crafty blog I am sharing with you a card I made this week.

One of the advantages of having more time at home is it gives me the opportunity to try out some of those techniques I have seen other people do and have never gotten around to trying myself so this week I had a go on the spur of the moment at using my brushos through a stencil...


As this wasn't planned I unfortunately didn't take step by step photos but I will try to explain what I did.

To start with I used the Mandala 1 inkable on a piece of stamping card, I put some clear gel through with a palette knife then sprinkled brusho powders on top (turquoise, leaf green and emerald green).  I let it sink in for a few moments then very carefully removed the stencil (which I then printed onto some extra card a couple of times).  I gave it a gentle spritz of water then allowed it to dry...


Before the gel was totally dry I decided to experiment by sprinkling some gold embossing powder onto areas and heating with my heat tool.  This worked in some places so I added a bit more to create a few small areas of gold.

After this I cut around the flower shape of the main stenciling, then took one of the extra pieces I had printed and cut around the circular part, I inked around both sets of edges using black archival ink then layered them onto the faintest print I had made.

Once these were all adhered together I used a green Pitt Pen by Faber Castell to add some shading...


I wanted a bit more interest along the other edge of the card so used one of the texture border stamps with clear ink and gold embossing powder.

Finally I stamped one of the sentiments from the Everyday Sentiments 1 XL onto black card and embossed in gold before cutting it into a banner shape and applying it to the card using foam tape...


Here are the products I used...

* Inkables - Mandala 1
* Background, Textures & Borders - Texture Borders
* Wordage - Everyday Sentiments 1 (XL)
* Gold Embossing Powder

All Bee Crafty stamps and inkables (including d'inkables etc) currently have a 20% discount, if you would like a browse you can visit the website here... https://www.beecrafty.net/

Thank you for looking, I hope my steps made sense :)

Stay safe and happy crafting!

Jane xx

Thursday, April 09, 2020

Karen DT - Go be free

Morning everyone xx

I'm on the Bee Crafty blog today with a spread from my Art Journal, using the fabulous, and quirky, Journaling Girls.

Also used:
Journaling girl- Cheer Sassy
Acrylic paint
White Posca pen
Versafine
Alcohol Markers
Travel Words


To begin I Gessoed the pages and then applied Acrylic Paints randomly over the spread. I then drew random white circles with my white Posca pen


I used a black pen and drew very loosely around the circles,  to make them pop. 


I stamped some of the small embellishment stamps from the Journaling Girls collection, around the pages, in black onyx Versafine 


The Journaling Girls were stamped on super smooth card and coloured in with my Alcohol Markers. I also stamped out the Journaling Blocks and stamped some of the Travel Words on them.
These were then cut out and adhered to the pages, to complete this weeks make.


Many thanks for taking the time to have a look. Please leave a comment and let me know what you think of these fabulous girls.

Until next time 
Crafty hugs xx 


Related Posts Plugin for WordPress, Blogger...