Wednesday, May 31, 2023

CT Ann - Trust the Process

 Trust the Process 

By CT Ann  


Don’t know about you but when I don’t get into my craft space for a while my mojo goes awol!!! After a few day’s absence from my desk, I started creating a few backgrounds & eventually a little spark of mojo showed itself … thankfully! Sometimes you just have to trust the process & your mojo might just show itself  :)


Stamps: Sketchy Flowers #1Freehand Borders #1

Inkables: 6x6 Distressed Diamonds 

D’Inkables: set 1

Distress Oxide Inks: Broken China & Fossilized Amber

Bee Crafty Stamp & Stencil Tape

Wordy Stickers 2B

Micron Pen 

White Pen 

Versafine Clair Nocturne 

Mixed Media Paper ( 9cm x 14cm )


https://www.beecrafty.net/


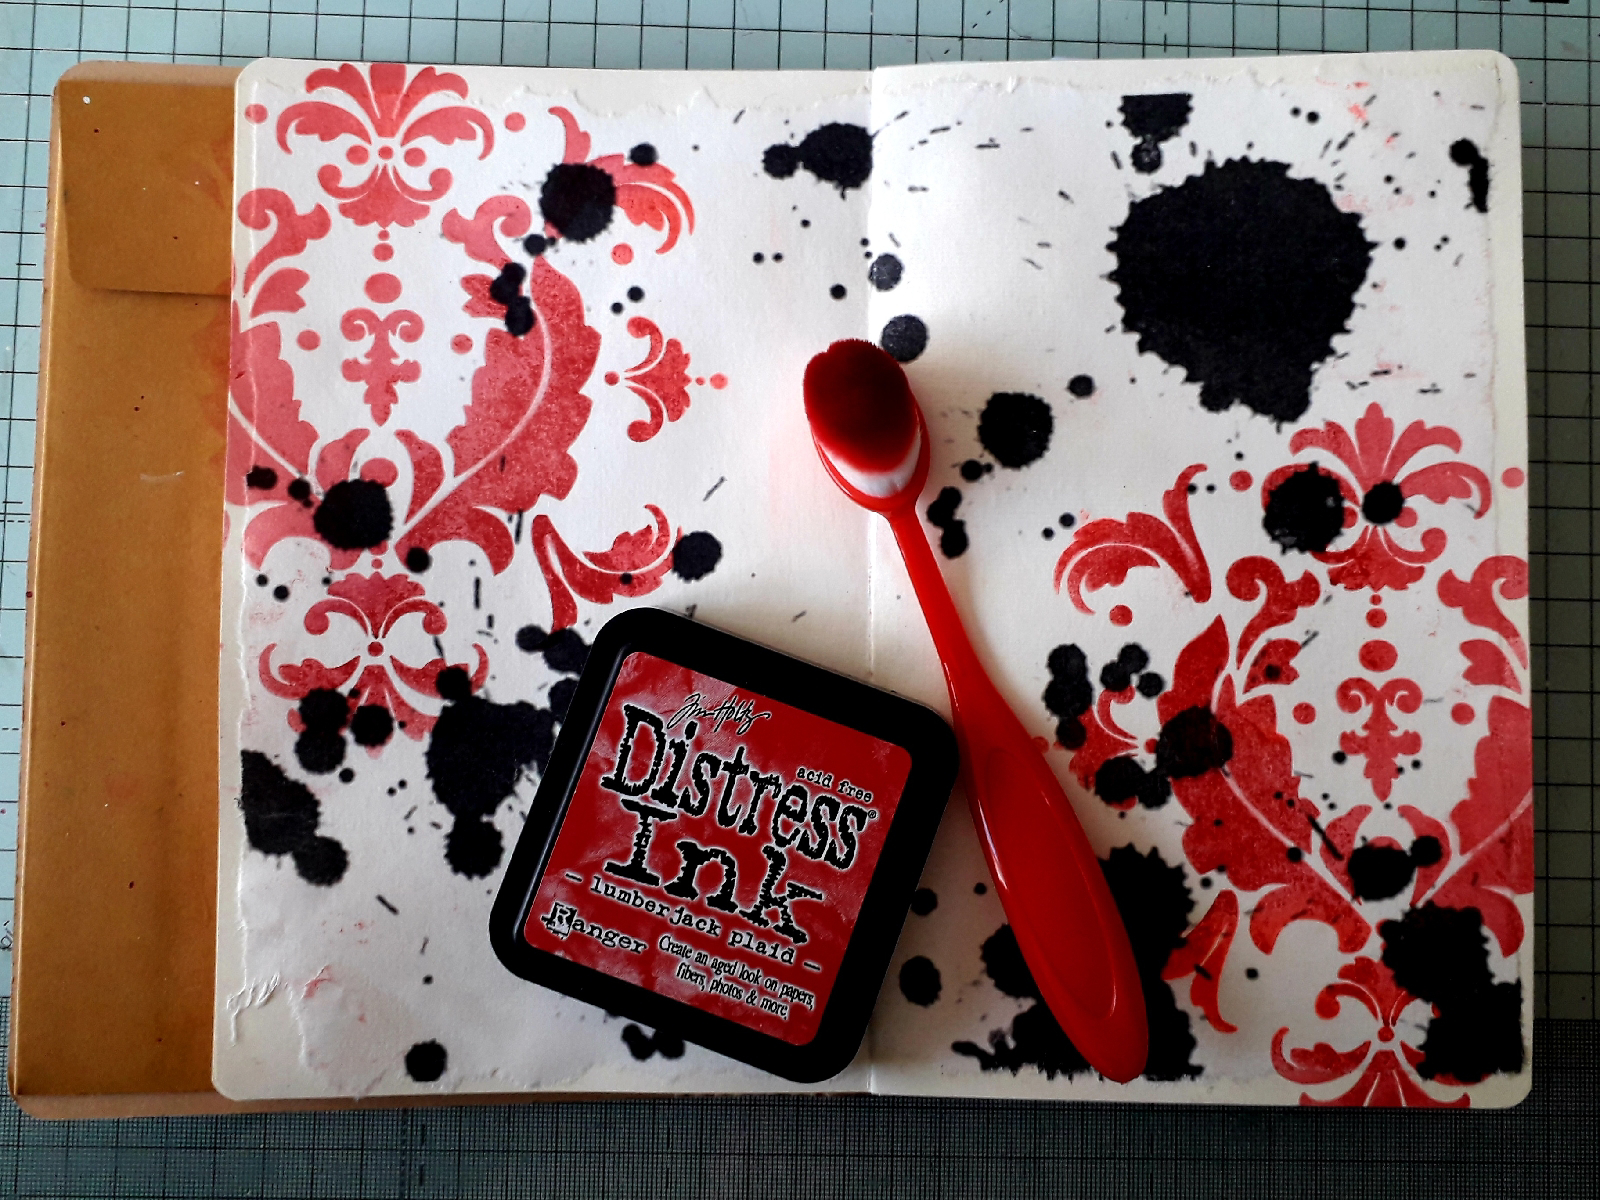
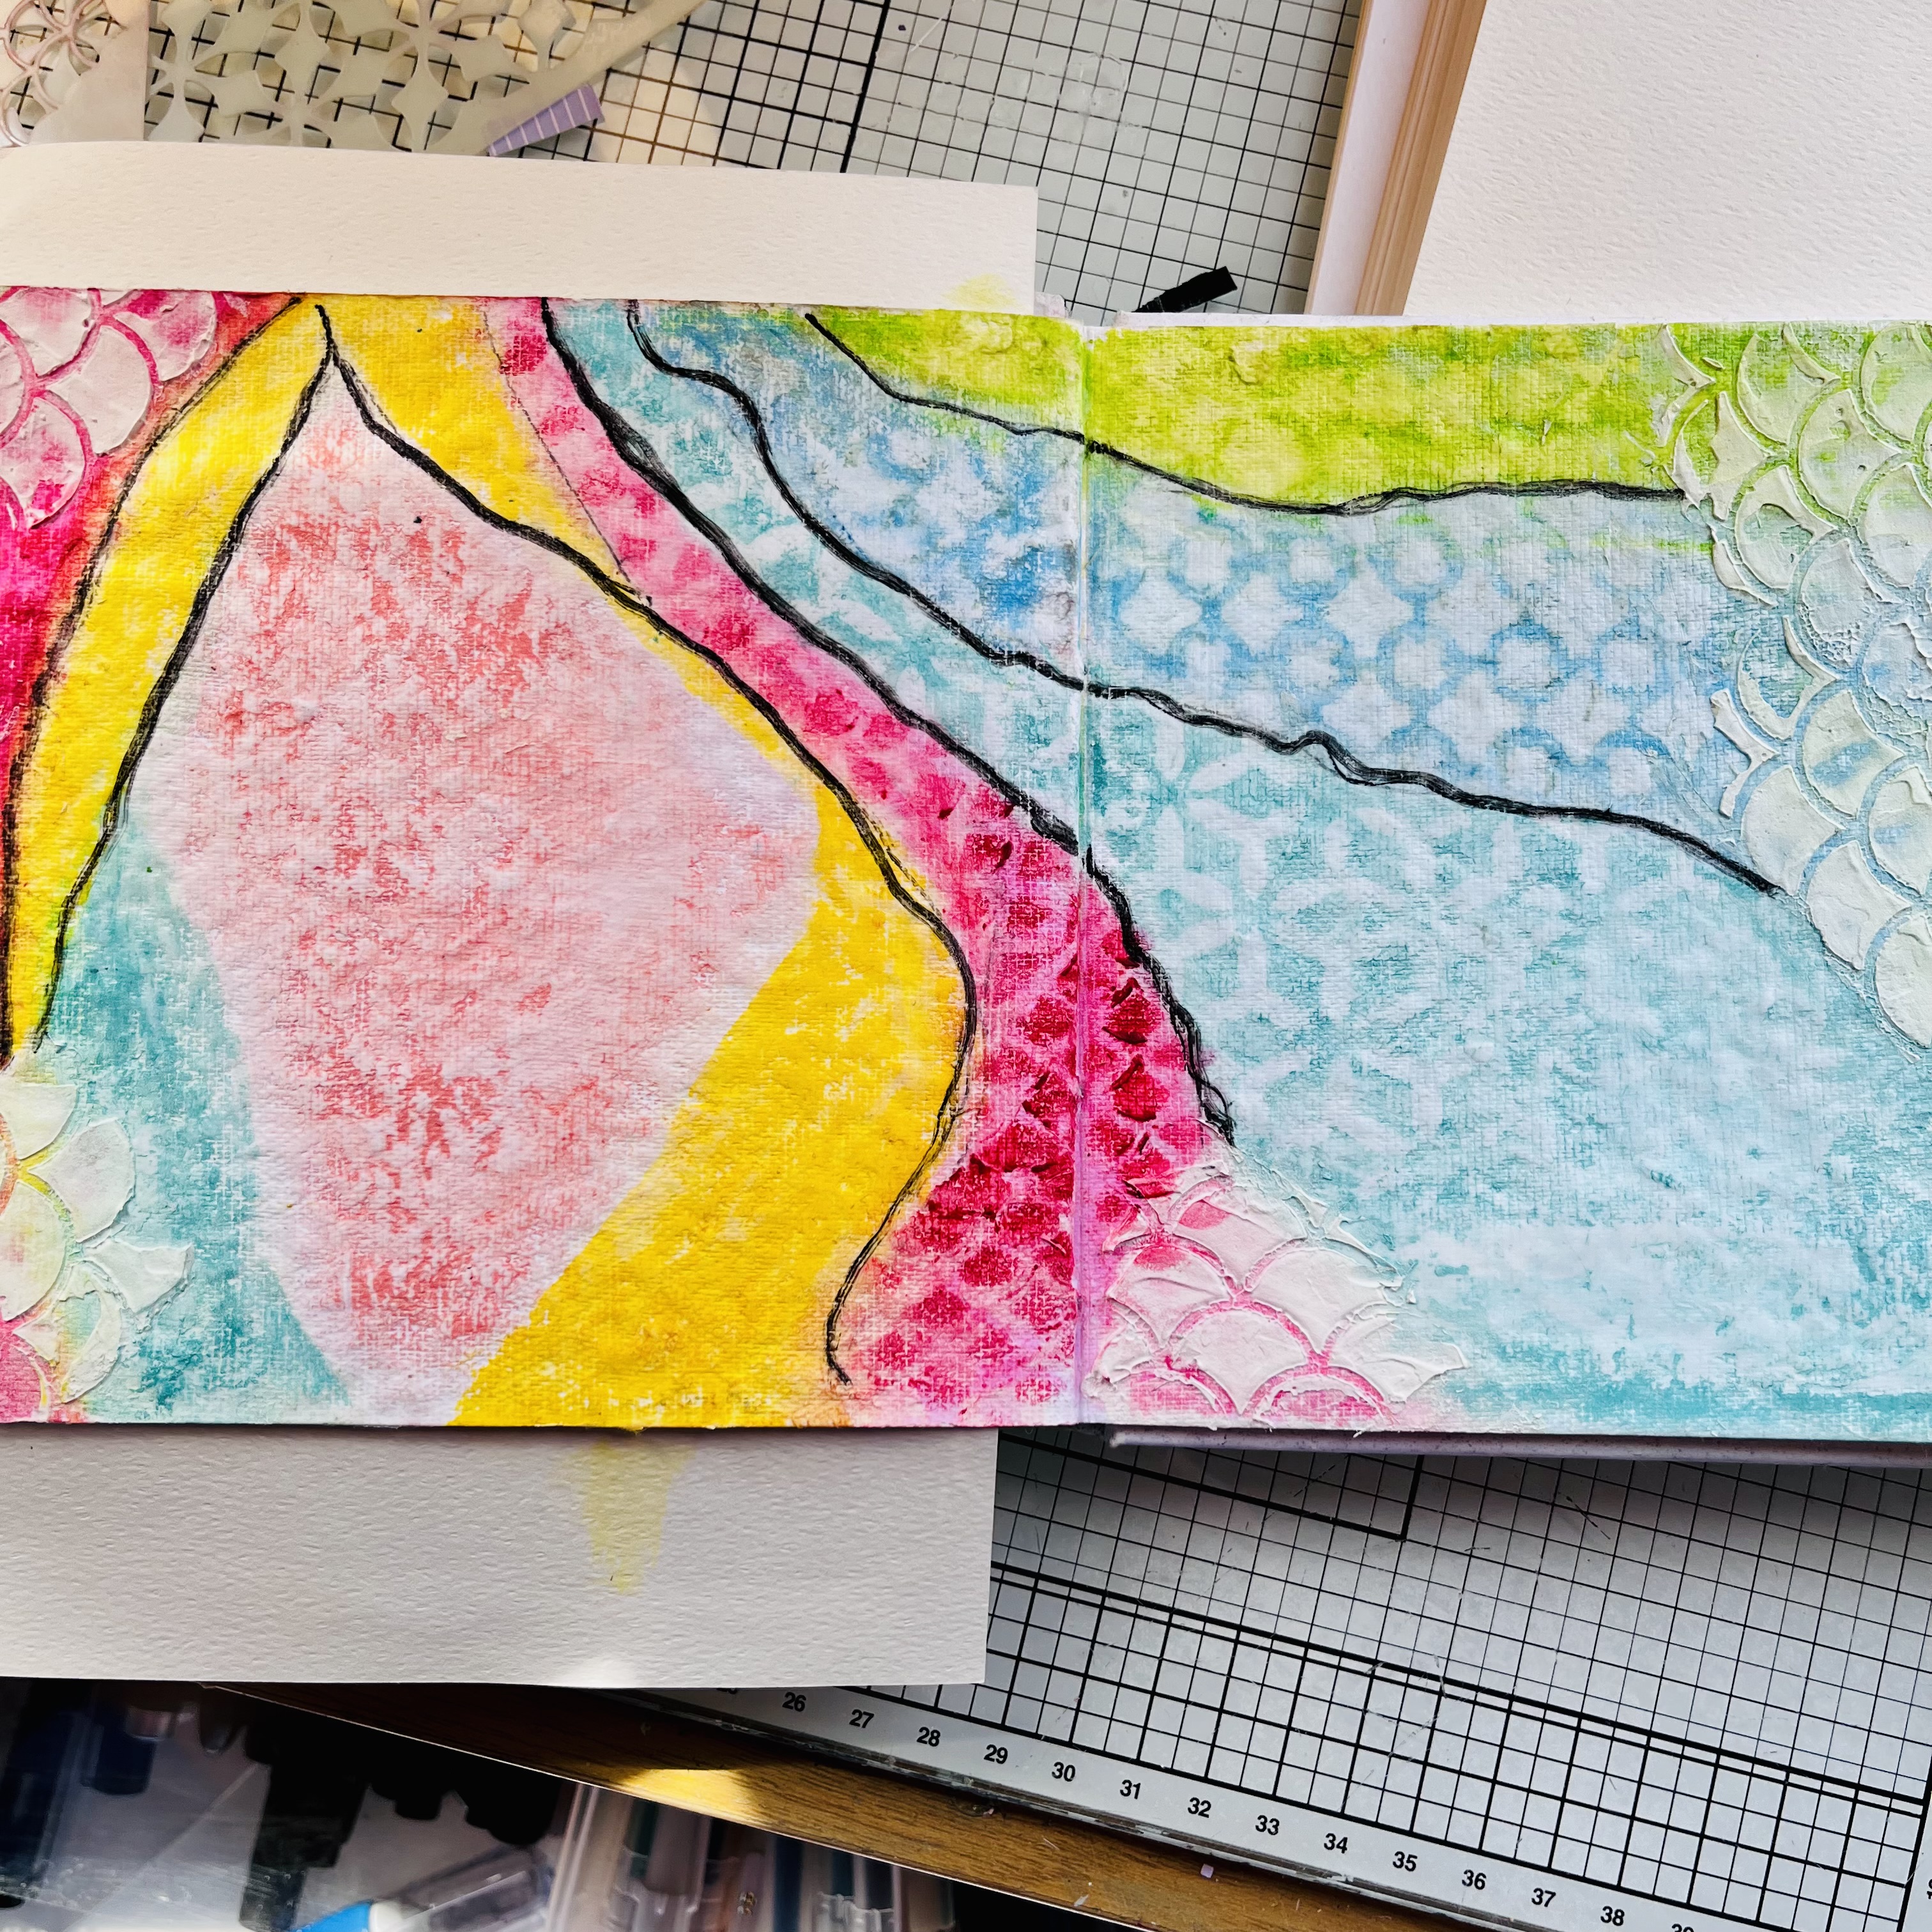
Blend Broken China Distress Oxide ink in opposing corners of the mixed media card…


 Add Fossilized Amber diagonally between the two remaining corners… 

Overlap the two colours gradually giving a third colour, green … 

Spritz water into your hand & splatter onto card, this gives bigger splats! Let the water ‘sit’ for a couple of minutes & then dab with some kitchen towel to absorb the excess…


Press each of the ink pads on to a craft mat & spritz lightly with water, pick up the ‘beads’ of colour with a small sheet of acetate & dab on to the background… 


Repeat this a few times, drying in between each stage, creating a mottled effect… 


When it’s dry & you’re happy with it add some Fossilized Amber through the Distressed Diamond Inkable… 


Next add Broken China through the hexagonal D’Inkable from set 1… 


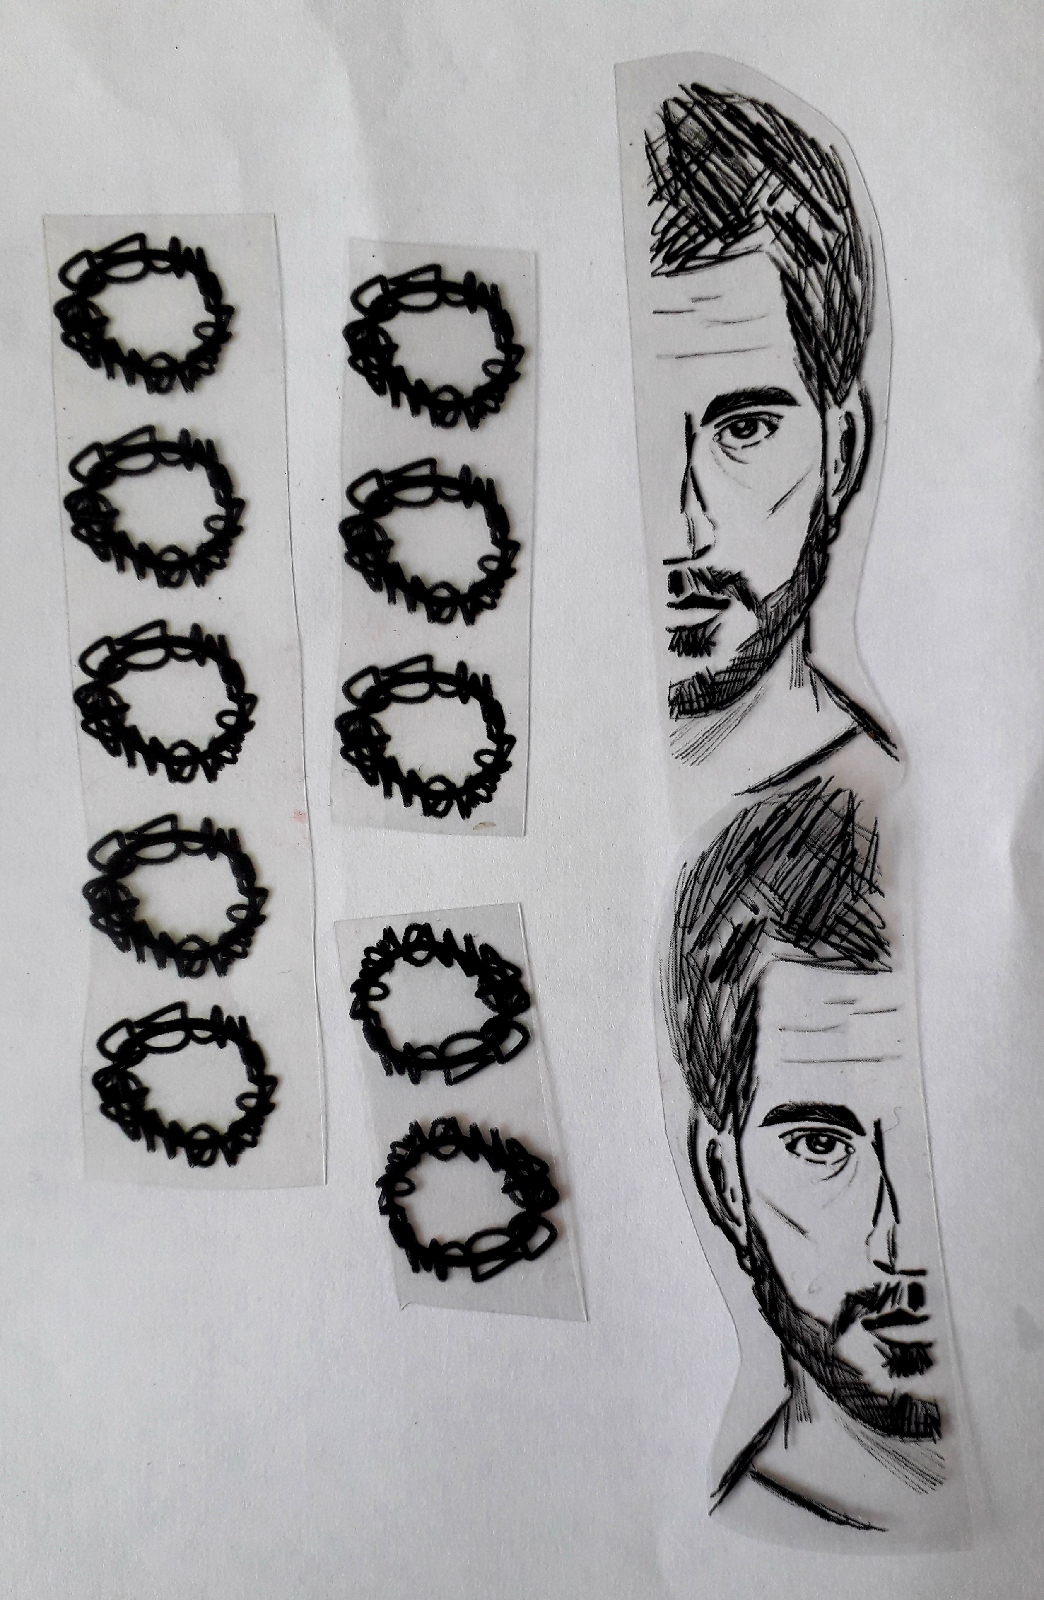
Tear a strip of Stamp & Stencil tape long enough to go across the card (portrait). Stamp one or more of the borders from Freehand Borders #1 set, in Versafine , across the tape to create your own washi tape… 


Tear another piece of tape, lay approximately where you want your washi to sit & add another border above & below the tape, add your washi… 


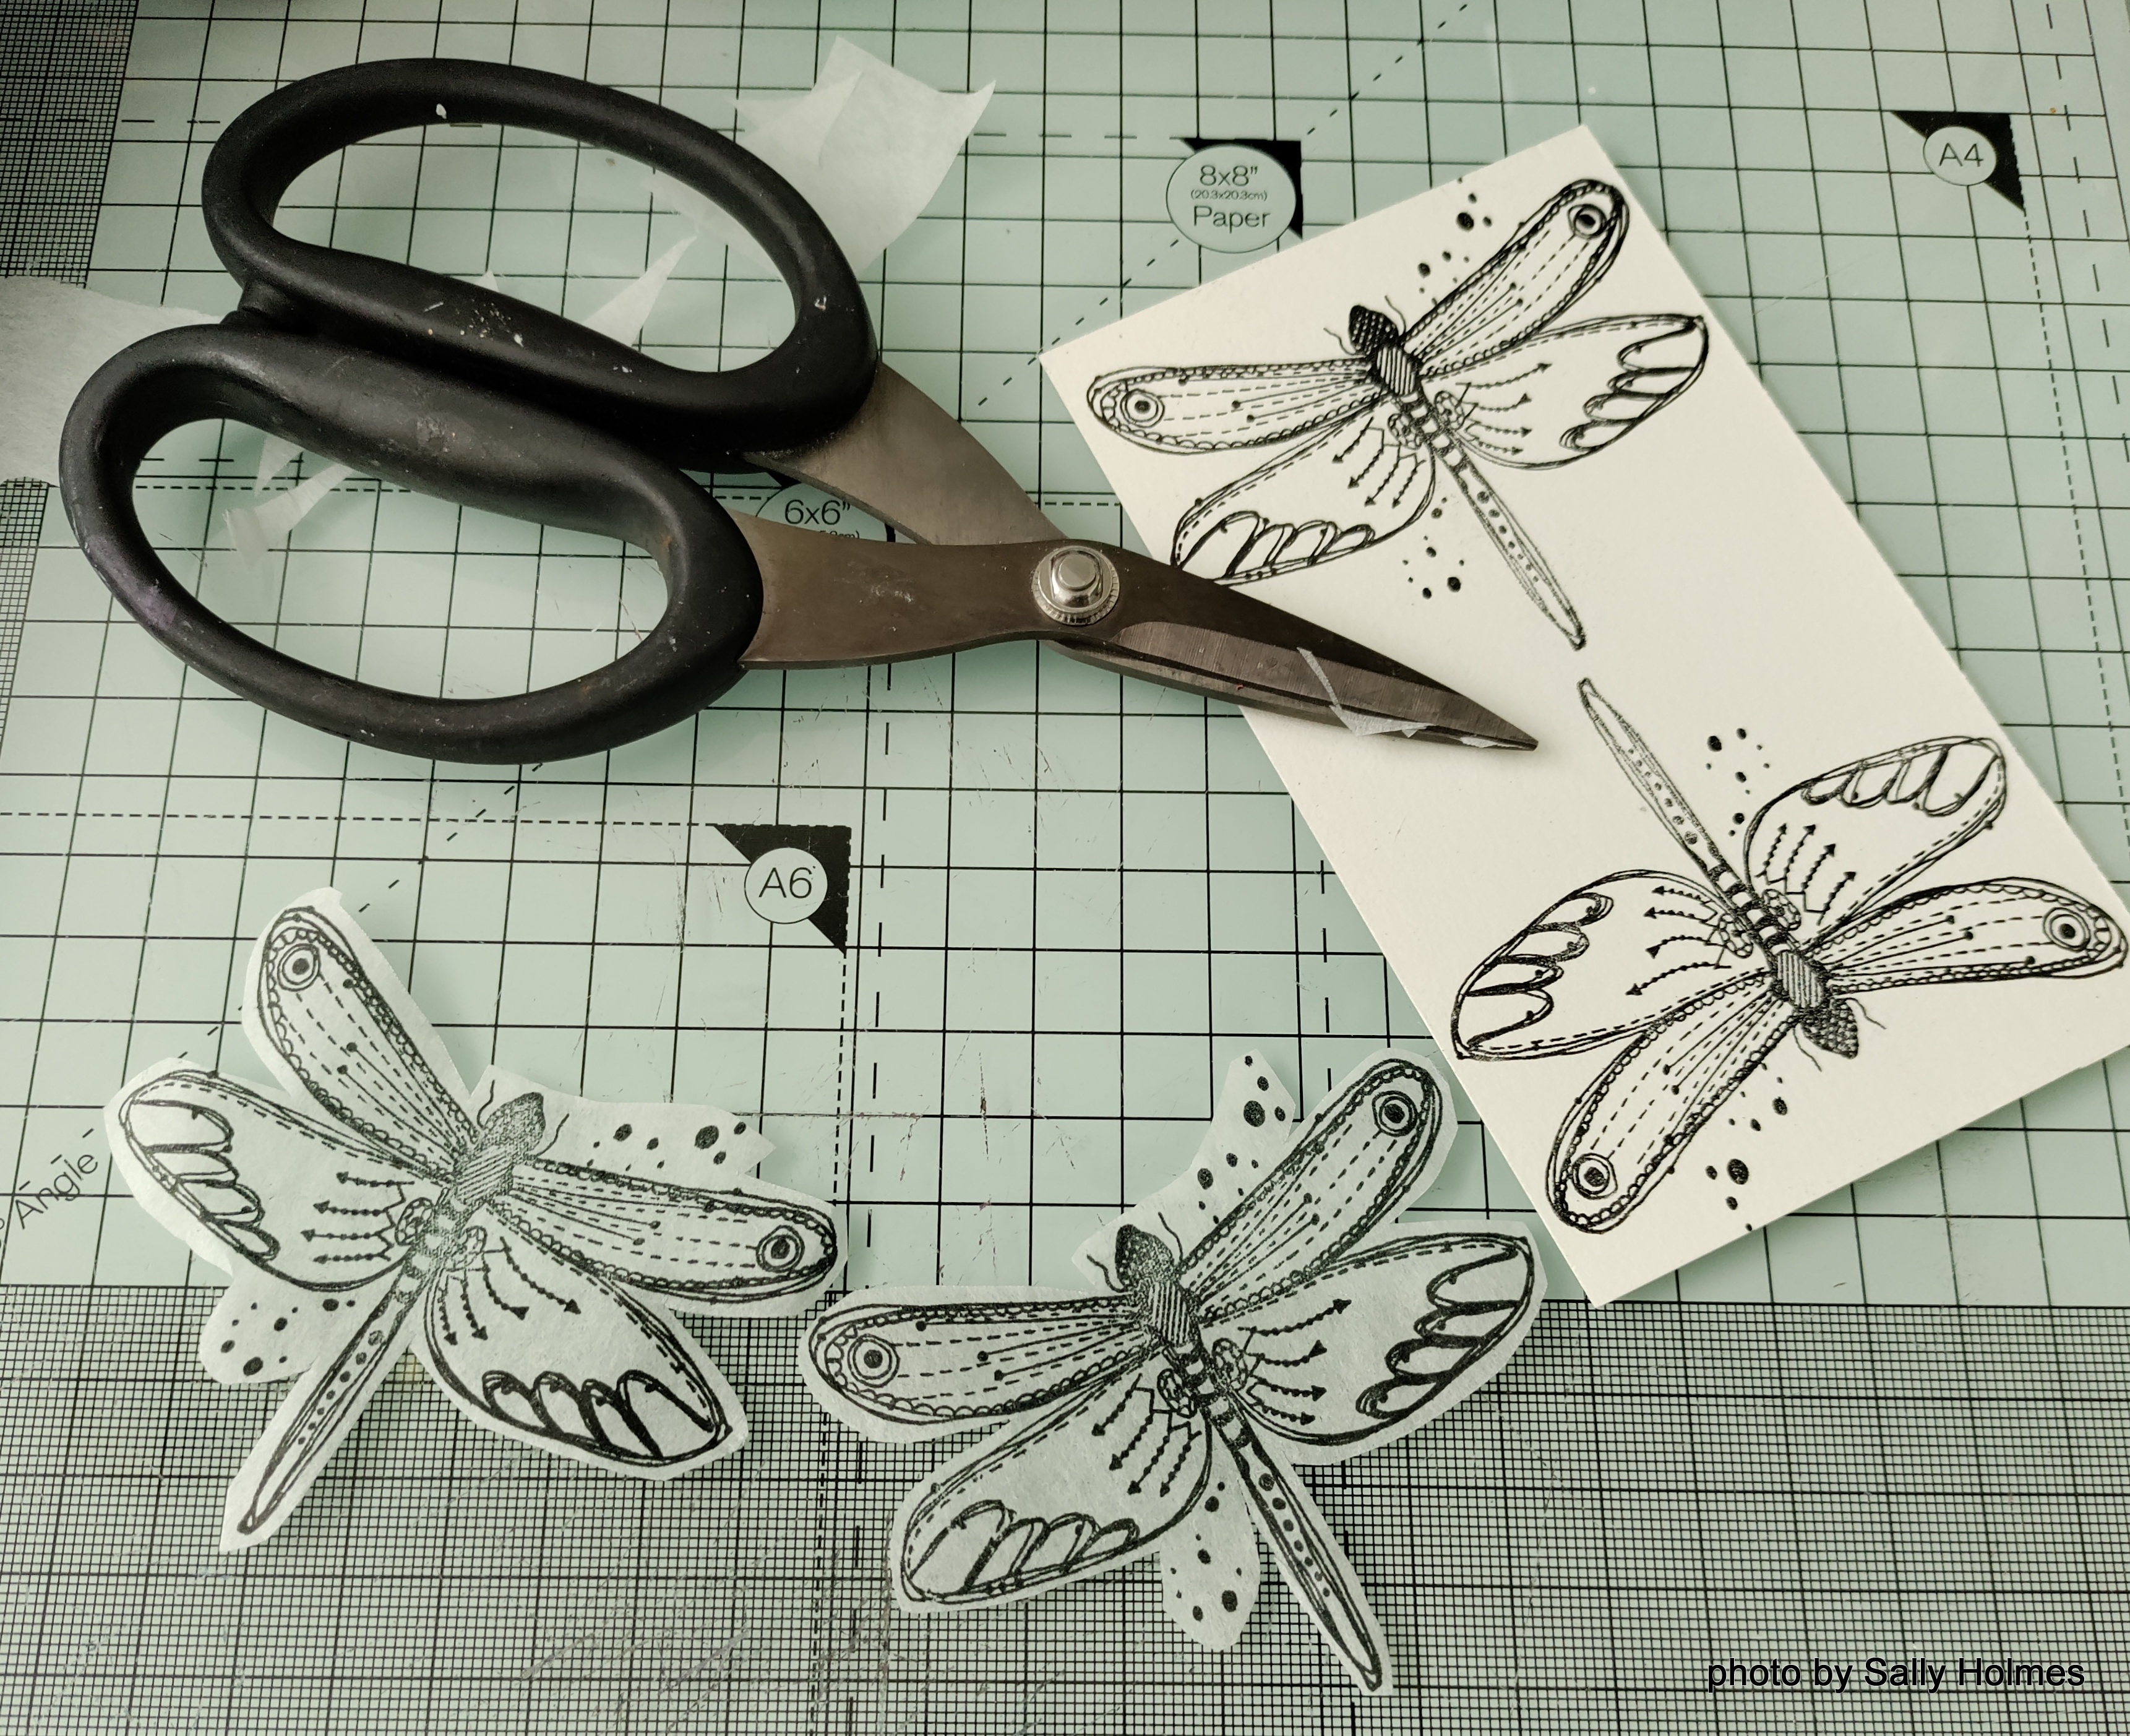
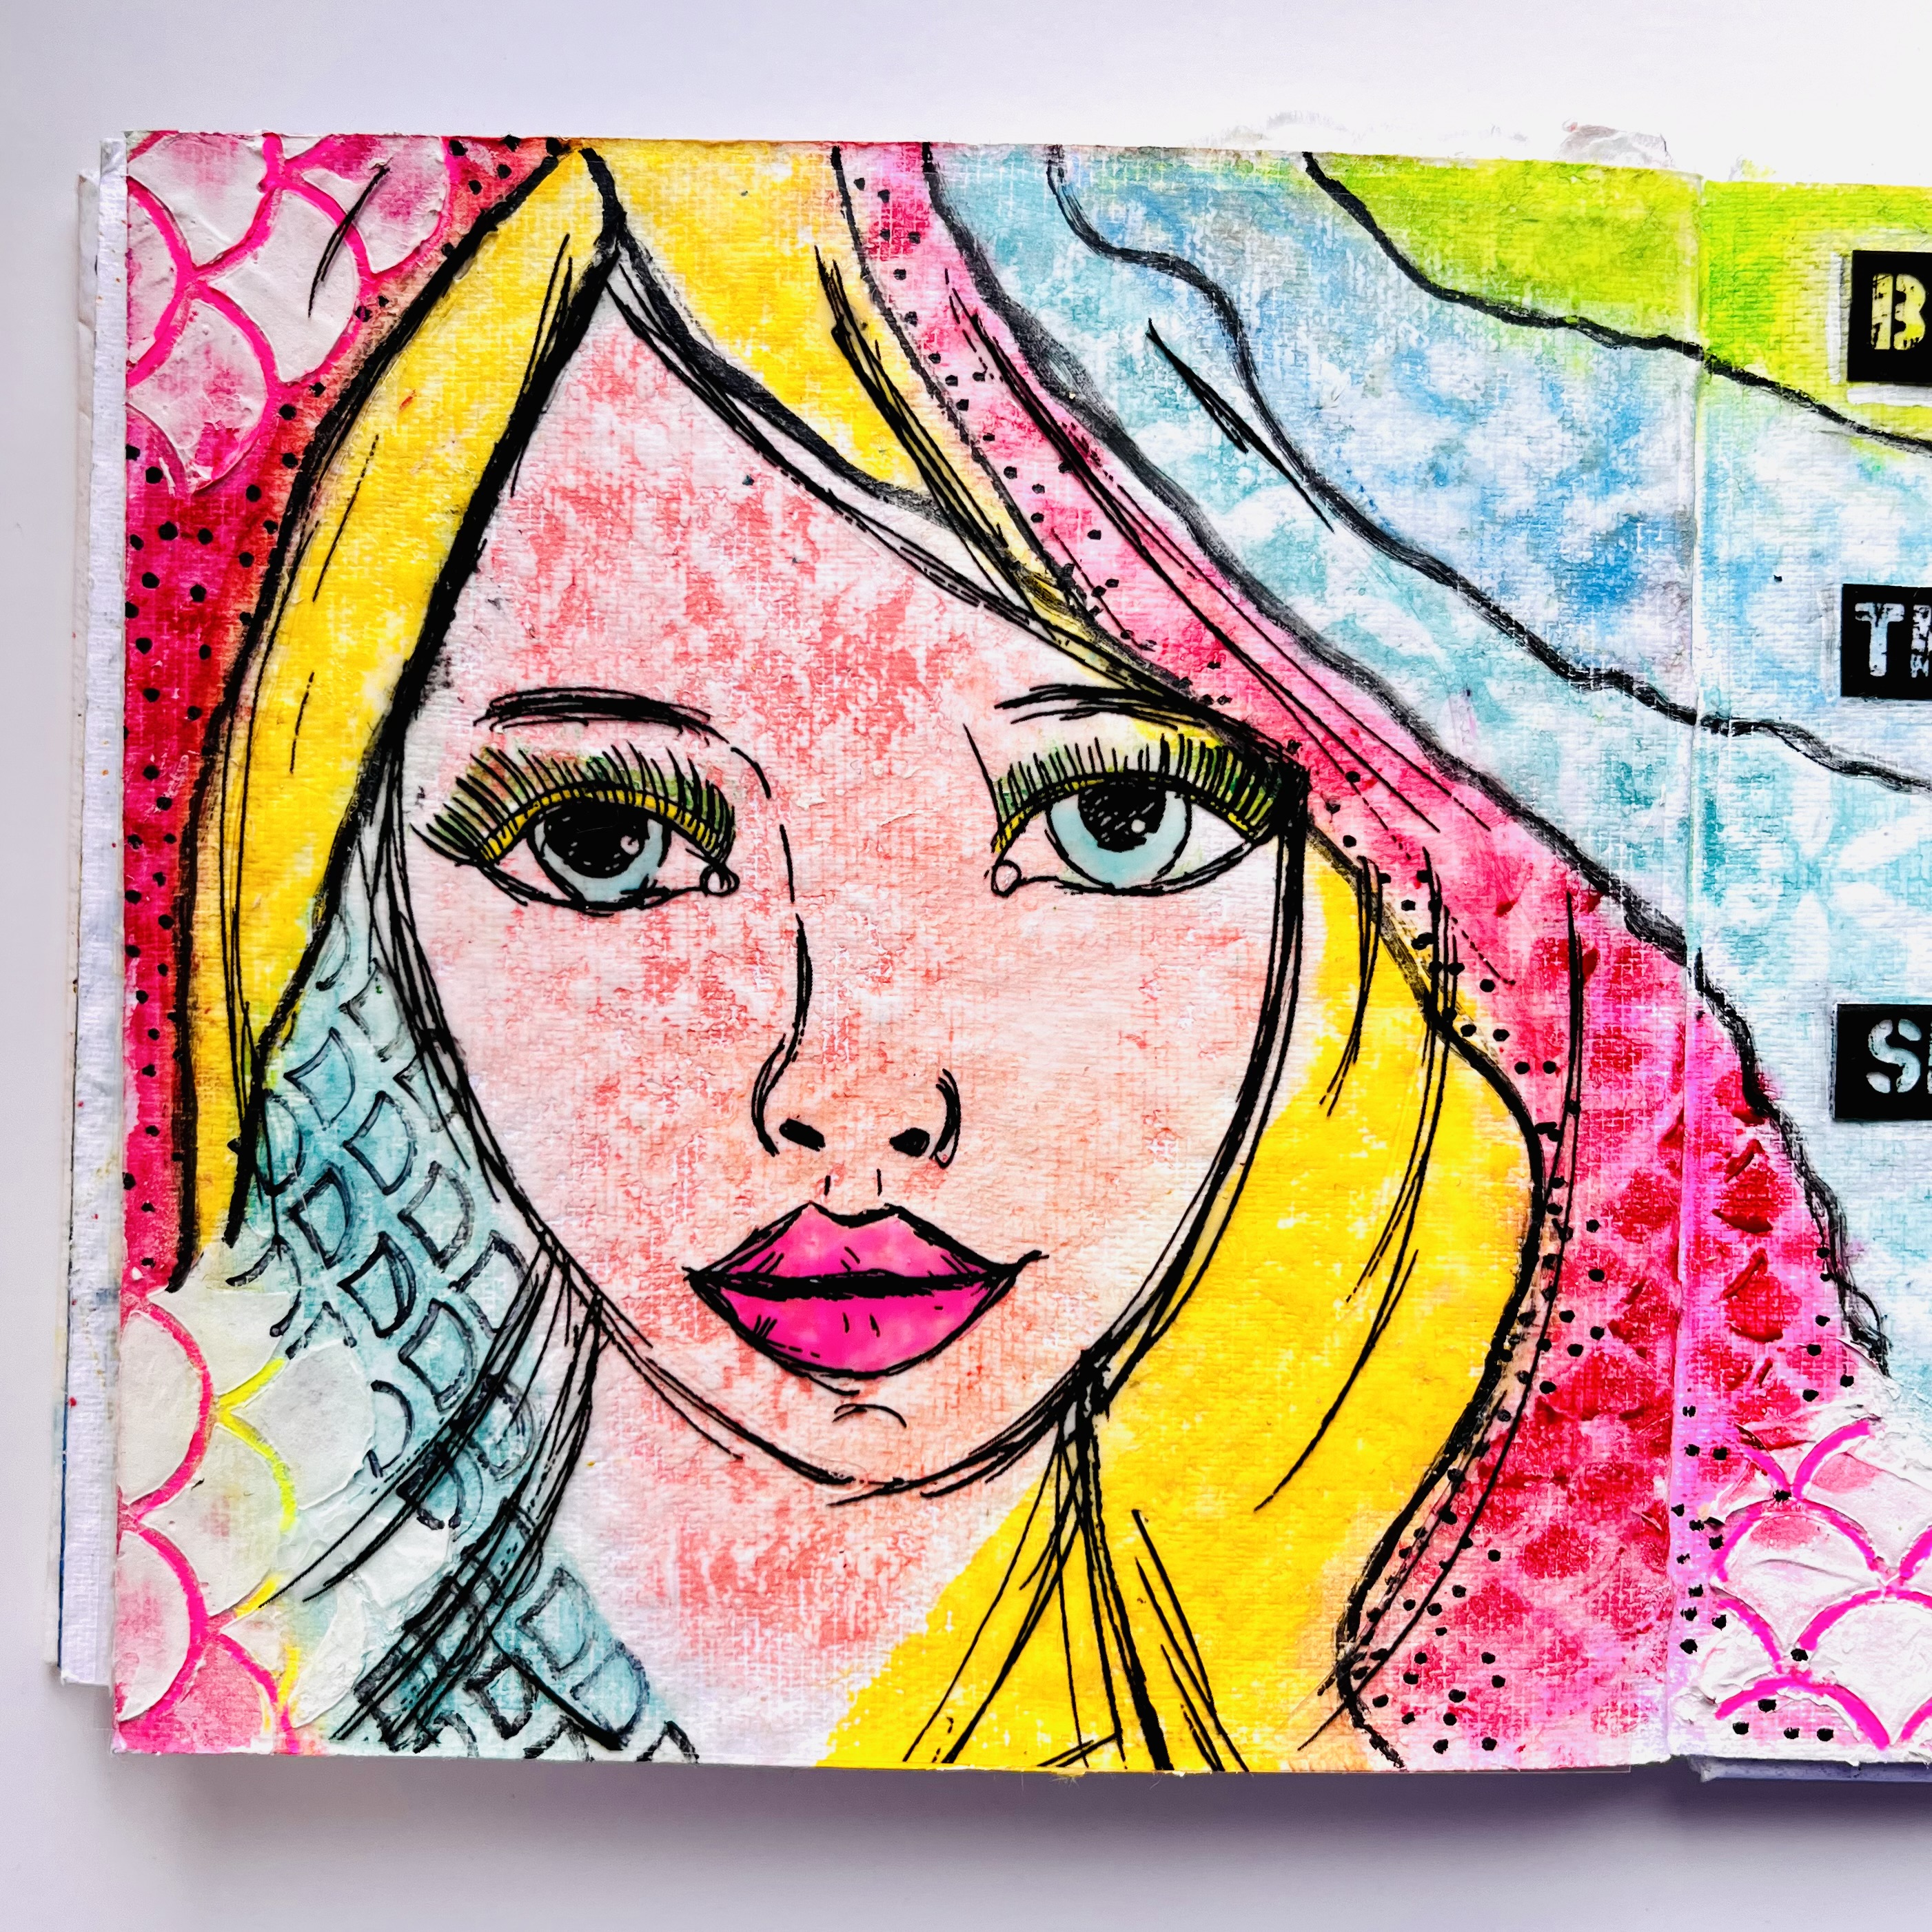
Stamp the larger Daisy from Setchy Flowers, on to a separate piece of card & cut out… 


Add hexagonal lines using a black Micron pen & the D’Inkable . Then add some marks using a white pen… 


Choose a sentiment, mine was from the Words set 2B & I fixed it to a white piece of card… 


I added more borders around the edges to frame the focal points… 


Add the flower with either dimensional glue or  foam pads, with a little bit if black thread behind it… 


Finally Mount this onto a slightly bigger piece of white card & then a 5” x 7” card … 

A lengthy post but I hope you enjoyed it!! 


Thank you for stopping by… Ann xxx

Tuesday, May 30, 2023

Sally CT - Glad you are here journal pages

Hi There! thought I would show you how I made these journal pages for my blog post today. 

I began by spreading dylusions paint with my fingers over the two pages.
I gave it a little dry with a heat tool then sponged through a couple of tag inkables using white gesso
I set this aside then stamped the doodle Art mandalas onto stamping tissue using Monarch versafine clair ink. I cut them out and added them to the page using Matte Medium
Next I mixed a little gold mica powder with some water on a piece of acetate and smooshed and blobbed it onto the page, leaving it to dry. 
I stamped the doodle art dragonfly twice on to stamping tissue and twice onto some mixed media paper. I cut them all out and coloured the mixed media paper ones using pencil crayons.
I stamped the mixed messages sentiment onto stamping tissue and cut it out
Back in the journal I stamped a few of the worker stamps from the dragonfly set using embossing ink, then heat embossed with detail gold powder.
Finally I added the sentiment and dragonflies to the page, positioning the coloured dragonflies over the tissue ones to replace the legs and dots I cut off when I cut them out.
Here is the finished page once more.

I used:
Dylusions paints in Blue lagoon, laidback lilac and peony blush
Tag inkables set 1 and 3
Gold mica powder
Embossing ink

I will be live over on the Bee Crafty Facebook page at 8pm tomorrow, so I hope you will join me.
Thanks for looking!

Thursday, May 25, 2023

Alison CT - Transparency print with media paper background.

Hi everyone, I decided I wanted to use the paint splat media paper for a background in my Dylusions creative mini journal. Here are step by step instruction for what I did to create this page.
To begin, I placed the media paper over a double page and carefully drew a light pencil line just inside the edge of the page. Next I followed this pencil line with a wet paintbrush and tore along the wet line carefully.

Next I applied distress collage medium to bith the page and the back of the media paper. I then carefully positioned it on the page. Then I used a large flat brush, with more collage medium to brush the media paper into the crease of the double page. I then applied collage medium from the crease out to the edge of the page to ensure all edges were stuck down. Leave to dry.

Next I used the damask inkable with lumberjack plaid distress ink to add two areas of the design to the top right and bottom left of the page. Dry this ink, with a heat gun, as the collage medium will slow drying time.
Next I applied grit texture paste through the perspective dots inkable and dried it with a heat gun. Next I used the crackle stamp with lumberjack plaid ink. 

Next I stamped one of the freehand borders 2 onto the two pages using the lumberjack plaid ink. 

I cut out my chosen transparencies. 

I then stamped a selection of the rainbows from the journaling essentials 1 stamp set using the same ink around the page and glued the transparencies in place using collage medium. I then stamped two sentiments, cut them out and glued them to the page. 
Products used:
Inkables 6x6 - Damask, Perspective Dots
Distress Ink - Lumberjack Plaid
Art Stamps - Crackle Background, Freehand Borders 2, Journaling Essentials 1
Wordage Stamps - Mixed Messages 1 and 3

Thank you for taking a look.
Alison


Wednesday, May 24, 2023

CT Ann - What’s Missing?


 What’s Missing? 

By CT Ann 


Another challenge to myself, create a journal page without using… what ??? 

Bee Crafty do so many amazing products including the fantastic Transparencies…. So many possibilities!!! 


Journal 

Transparencies: Faces #1 & Walk Your Own Way

D’Inkables: Set 2 & 7

Inkables Tags Set 2 & 6x6 Scales

Scribble Sticks

Posca Pens

 Sakura Moonlight Pens

Clear Gesso 

Texture Paste

Distress Glaze

Collage Glue

https://www.beecrafty.net/


Paint clear gesso over a double page in a journal. Whilst this dries cut a Transparency Face ( I used Dream ) to fit the page… 

Using the lines on the Transparency as a guide, draw pencil lines faintly, to extend Dreams’ hair… 

Start colouring each section using Scribble Sticks (you could use Distress Crayons or anything that is water-soluble) … 

Add some light texture paste through the Inkable on the right hand side of the pages & some smaller sections around the edges… 

Leave the paste to dry.

Place the Inkable tag over one of the coloured in sections of hair, use a dampened cloth to remove some of the colour… 

Repeat this method with the D’Inkables over different colours… 


Add some extra scales (from D’Inkables set 7) using a deeper colour of pink … 


Colour the back of the Transparency using Posca, Micron & Sakura pens….


Draw over the pencil lines with a black Posca…


Add some background details with a black pen & the small scales D’Inkable…

Gently rub some Distress Glaze over both pages, use a dry cloth to wipe off the excess, this ‘fixes’ the colour, so it shouldn’t move /smudge across the pages, it also enhances the colours… 

Fix the Transparency face onto the page using Collage Matte Medium … 

Cut out a sentiment or separate words to make your own, from the Walk Your Own Way Transparencies, and glue to your page with Collage Medium.. 


All done, can you guess what’s missing … 


No stamping !!! 

Thank you for stopping by… Ann xxx


Related Posts Plugin for WordPress, Blogger...