Saturday, August 31, 2019

Jane DT - 'Vintage Floral' MDF Tag

Hello!

Today on the Buzzy Goings on at Bee Crafty blog I am sharing a large MDF tag that I have added lots of mixed media layers and texture to...


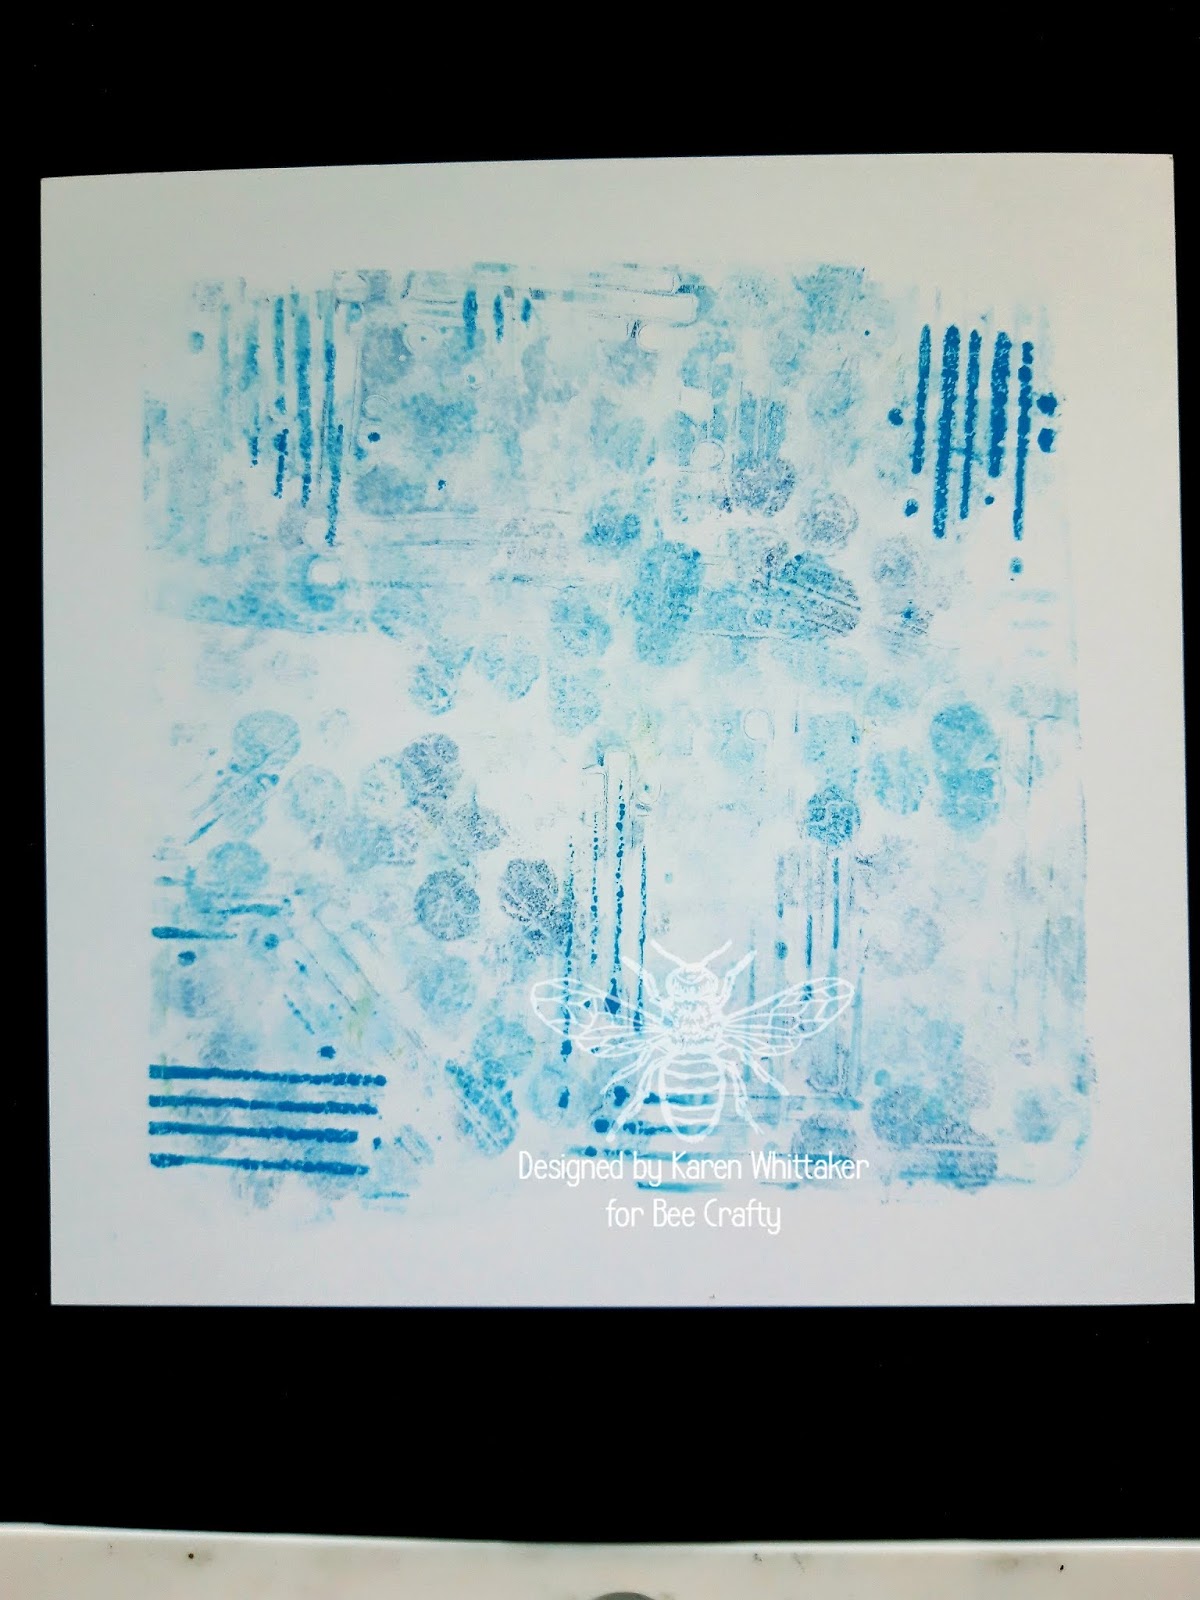
First I primed the surface with white gesso before adding some crackle paint that I tinted with burnt umber to create a lighter shade of brown.  Once this had dried I added watered down burnt umber to the tag, allowing it to drip in areas...


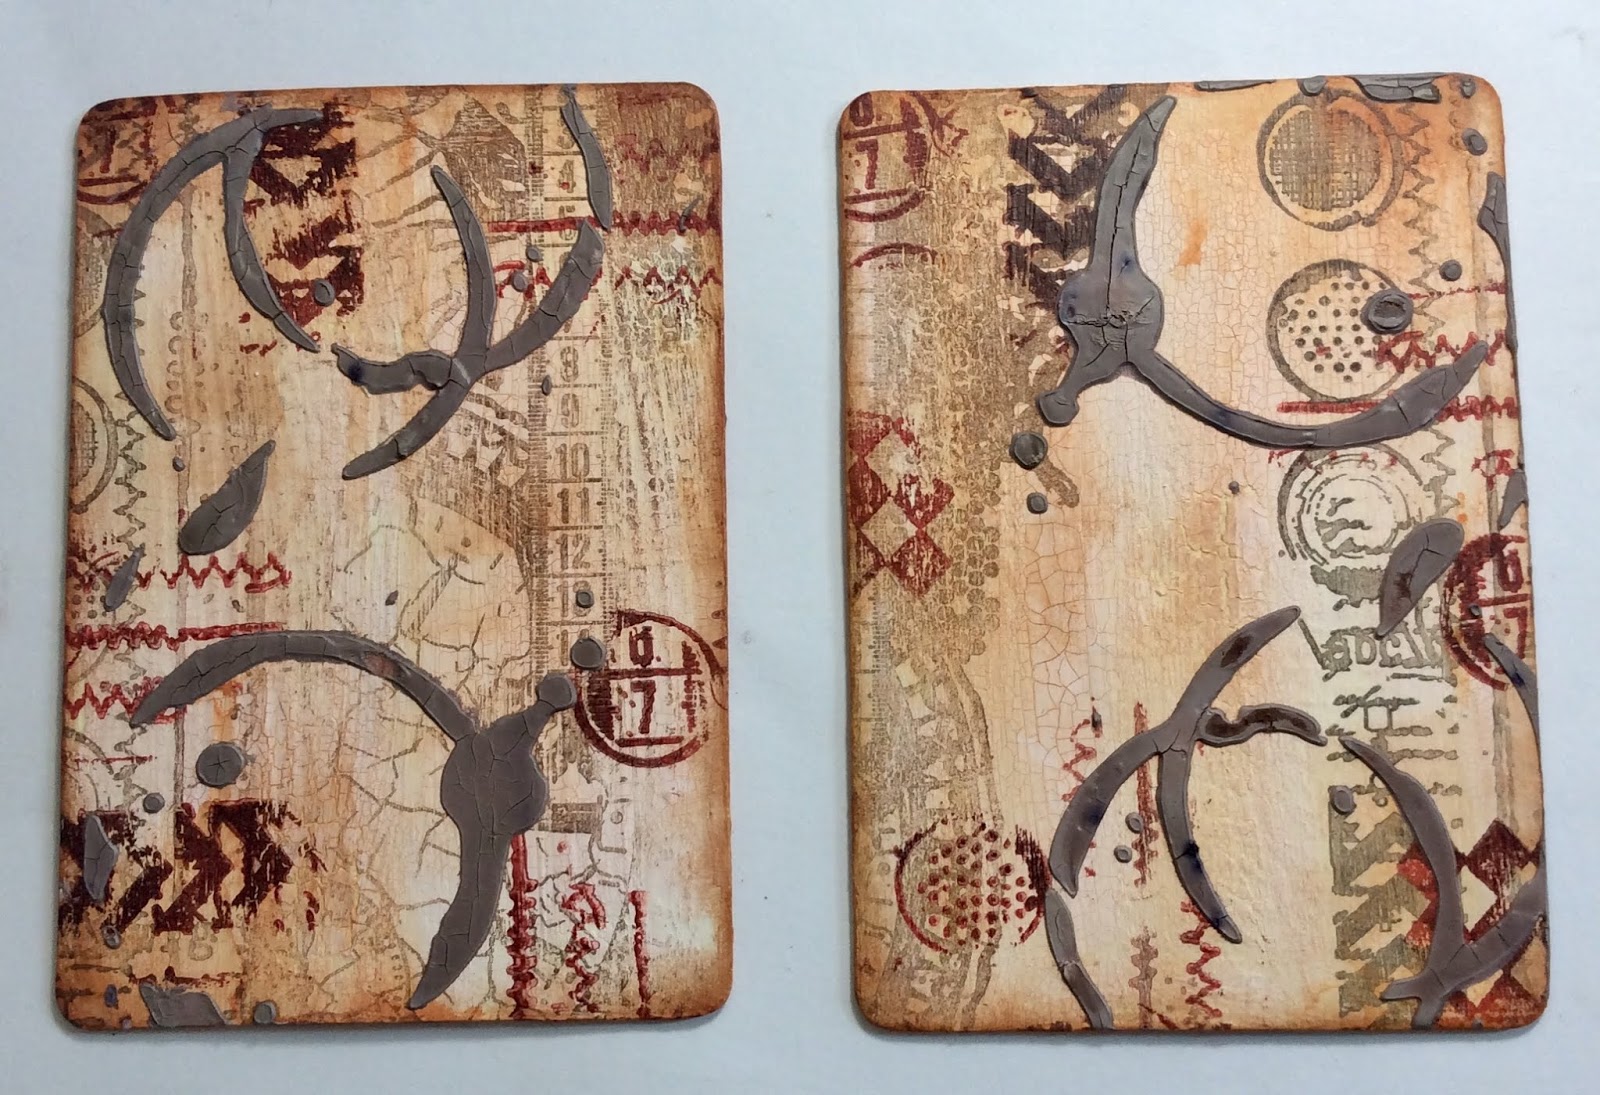
I then used crackle paste with some sepia pigment powder mixed in and put it through the Mandala 4 inkable.  Once this had dried over night I rubbed some gold gilding wax over the top...


To create a bit more detail in the background I used the Script XL stamp with clear ink and gold embossing powder...


I wanted to create a really built up tag with lots of different textures and materials, so I first added a piece of cambric which I coloured with some burnt umber acrylic paint.  For another layer I took a length of black thread and placed it on top of the cambric.  Next I used some pieces of music and book paper which I had coated with resin and stapled them together...


So far the colours had all been very vintage in tone and I wanted my next layer to be more colourful and act as the main focal point.  I stamped out the Beautanicals Large Poppy, Large rose and Large Sunflower using sepia Versafine and coated the lines with clear powder.  After cutting them out I coloured them using watercolour paints...


As a contrast and to add some extra dimension I painted some of the MDF cogs and keys in burnt umber then added gilding wax.  I stuck these to the tag then added a metal dragonfly from the Steampunk and Junk pieces.  The colours were all fading into the background too much for my liking so I added some dry brushing using green gold and titan buff acrylic paint, then when I was happy added some gold acrylic splatters...


Finally I raided my bead stash and added a few clusters of beads, then chose the sentiment which I stamped out and cut into sections before adding to the tag...


Here are the products that I used:

* Beautanicals - Large Poppy; Large Rose; Large Sunflower
* Backdrops - Script XL
* Wordage - Life and Rain (Large)
* Inkables - Mandala 4
* MDF - Large Tag
* MDF - Cogs
* MDF - Keys
* Steampunk and Junk - Dragonfly

I really enjoyed creating this piece and thank you for looking!

Happy crafting,

Jane xx

Thursday, August 29, 2019

Karen DT - Laugh Loud

Good morning crafters xx

It's Thursday which means I'm on the
Bee Crafty blog today xx

I've been playing with the stunning Time Measure stamp set xx

Also used:
Everyday sentiment 2 set
Dinkables
Texture, circles and film strip set
Kuretake clean colour pens
Distress Oxides
Versafine


To begin I stamped the fabulous Time Measure stamp in black onyx Versafine.
I used my Kuretake clean colour pens to colour in the 2 butterflies, within the design
I stamped some of the texture circles randomly in Distress Oxides
I also blended Distress Oxides through the Honeycomb, and Dots and Lines Dinkables.
The sentiment was stamped in black onyx versafine and a black wiggly frame was drawn around the edge of the card.
I adhered the card to the front of the card blank to complete my make.

Thankyou for popping by and I'll be back again soon.

Crafty hugs xx


Wednesday, August 28, 2019

Caz Harwood - Live in the here and now tag


PRODUCTS USED:

Doodle art flower stamp set

Doodle art bird stamp set

Ticker tape 2 set

Ink'able triangle stripes

Acrylic paints
Gel plate
Versafine onyx black
Black soot distress ink
Cherry pink stazon

HOW TO MAKE:

I made a selection of prints using my gel plate.
For this tag I used the neon print in the top right corner.

Cut out a tag, then stencilled on some stripes using the Ink'able and black soot distress.

Then I stamped the doodle sunflower onto separate card - coloured and fussy cut it.

I added some decorative stamps to the background from the doodle bird set...and stamped the flower where I wanted to place the fussy cut one.

Stuck down the pieces and added a ticker tape sentiment from set 2. 

Hope you like! 
♥️
Thanks for looking. 

Monday, August 26, 2019

Lorre-Anne DT - Be Yourself!

Hi everyone, for my Bee Crafty DT post this week I've been using the amazing Octopod.. I'd created this inky background a while ago and as I was flicking through my stamps I thought it would work brilliantly with the Octopod.


Materials
What to do
  • Cut black card slightly smaller than the card blank, and white card slightly smaller again.
  • Create the background by spritzing each Dylusion colour over the square of white card, spritzing over these inks with water and then drying with a heat tool.
  • Stamp some bubbles and seaweed over the background using Mermaid Lagoon and Mowed Lawn Oxides and then mat this to black card and attach to card blank.
  • Stamp the Octopod using Versafine ink on spare white card, add some colour with the Crayon and carefully cut out.  Spritz with the Mica spray and then affix to the card with foam pads.
  • Stamp the sentiment on white card using Versafine ink, chop in to 2 pieces and mat to black card.  Attach to card with foam pads.
  • Add some highlights using the white gel pen.
That's it for this week, I'll be back soon with a new project to share.

Hugs, Lorre-Anne x


Saturday, August 24, 2019

Jane DT - 'Shimmering Shells'

Hello!

Today on the Buzzy Goings on at Bee Crafty blog I am sharing some small projects that I created using an under the sea theme. 

I have also made a video of how one of them was made which you can watch here...

https://youtu.be/WJ-zhvKVkXI


* I started by using some distress oxide inkpads to create a watery effect background by placing some ink on my mat then adding water - Broken China and Peacock Feathers
* Next I used Salty Ocean distress oxide to add some stamping using the positive soapy bubbles stamp
* After using my anti static bag I put clear texture paste through the circles d'inkable and then sprinkled a white glitter embossing powder over the top.  As this is heated up it also bubbles the paste which is the effect that I wanted
* Using black archival ink I stamped out two different sizes of shell and after cutting them out painted them using some metallic watercolours.  I then used Dylusions paint pens to add in extra details
* These were then stuck down using glue gel
* Finally I chose sentiments from Ticker Tape 2 which were stamped in black then cut out with scissors


Here are the products I used:

* Art Stamps - Conch Shell (regular)
* Art Stamps - Conch Shell (XL)
* Backdrop Stamps - Soapy Bubbles Positive
* Wordage Stamps - Ticker Tape 2
* D'Inkables - Circles
* Distress Oxide Inkpads
* Dylusions Paint Pens

Thank you for looking and happy crafting!

Jane xx

Thursday, August 22, 2019

Karen DT - Doodle Art Bird

Morning xx

Hope everyone is good. Any crafty plans for today?

I've been getting a bit festive, (yes its August!!) with my Doodle Art sets. These make such fun and festive Christmas cards and here are a selection of cards using the delightful Bird, as the focal image. Love the wellies and this image is perfect for a couple of little girls I know 😁

Hope you enjoy today's weekly Bee Crafty blog post xx

Products used:
Doodle Art sets: all of them!! 🤣
Distress Oxides
Versafine
Kuretake clean colour pens
Sparkle pens
Gelli Plate


Whilst I have made my backgrounds for these particular cards, on my Gelli Plate, you can achieve a similar effect by applying Distress Oxides to an acrylic block. Spritz with water and apply the ink direct to the card blank. Then stamp your desired images within the inked panel to create a random design

All my images were stamped in Black Onyx Versafine as I like the bold, contemporary feel of this look. It's simple, crisp, clean and fun..just like me?? 🤣

I coloured in some aspects of the images, either with kuretake clean colour pens or sparkle pens, but you can use whatever you have in your crafty stash 

I hope you enjoyed looking through today's post. I'll see you again soon.

Crafty hugs xx


Wednesday, August 21, 2019

Caz Harwood - CAS Dragonfly tag


Products used:

Distress oxide inks - cracked pistachio, twisted Citron, peacock feathers.

Ledger measure stamps 
https://www.beecrafty.net/bee-crafty-art-stamps-ledger-measure.ir

Dragonfly and butterfly art stamp
https://www.beecrafty.net/art-stamps-large-birds-butterflies-dragonfly-butterfly-set.ir

D'Inkable regular dots
https://www.beecrafty.net/dinkable-regular-dots.ir

Ticker tape set 2 wordage stamps 
https://www.beecrafty.net/wordage-sets-ticker-tape-stamp-set-2.ir

Versafine onyx black
Plain white tag
Crystal stickles

How to make:

Blend a background using twisted citron and cracked pistachio oxides

Flick with water to add some "bleached" spots

Add some stencilling using the dots D'Inkable

Then stamp the ledger measure stamp down the left hand side using versafine onyx black ink

Next stamp the dragonfly central down the right side and add couple of off stamped wings to fill the space

Add crystal stickles to the wings for a sparkly effect. Glue on the ticker tape sentiment. 
You're done! 
Hope you like
❤️
Thanks for looking!


Monday, August 19, 2019

Lorre-Anne DT - Lily

Hi everyone for my Bee Crafty DT post this week I'm sharing a very simple CAS card I made using my Distress Oxides and 2 stamps.  I've opted not to put a sentiment on the card as I want it to be suitable for any occasion.


Materials

What to do
  • Cut black card slightly smaller than the card blank, and white watercolour card slightly smaller again.
  • Stamp the lily in the centre of the watercolour card using Versafine ink.
  • Stamp the lily onto a masking sheet, carefully cut out and stick over the stamped image on the watercolour card.
  • Stamp the script over the masked image using Versafine ink.
  • Carefully peel off the masking sheet.
  • Add some colour to the flower using the Distress Oxides and a water brush.
  • Use the water brush to add some Black Soot Oxide around the flower, this will give the impression of a shadow and make the flower stand out more from the script.
  • Mat the watercolour card to the black card and secure to the card blank.
  • Add some gems.

That's my project complete for this week, I'll be back soon with a new card to share with you all.  Until then, Happy Crafting!

Hugs, Lorre-Anne x

Saturday, August 17, 2019

Jane DT - 'Marvellous Sunny Day'

Hello!

Today on the Buzzy Goings on at Bee Crafty blog I am sharing a card that was quick to make and the theme and colours were chosen to try to help brighten up the unseasonal weather...


* First I cut a piece of white smooth stamping card to a square of 5 and a quarter inches
* Then I used distress inks in worn lipstick, wild honey and mustard seed in layers by adding the ink to my glass mat before spritzing with water to place the card into
* I inked up the smaller doodle sunflower stamp using archival ink and stamped my background
* Using pitt pens by Faber Castel (which are a permanent ink) I coloured the sunflowers
* To add a little more interest to the background I used the lines stamp from the doodle dragonfly with the wild honey ink
* The dragonfly was stamped onto the background then again onto another piece of card which I then cut out and coloured before sticking it onto the card
* Finally I stamped the sentiment onto black card and used white embossing powder which I heated


These are the products I used:

* Art Stamps - Doodle Sunflower (regular)
* Art Stamps - Doodle Dragonfly (regular)
* Wordage - Everyday Sentiments 1 (XL)
* Distress Ink Pads
* Archival Ink Pads

Thank you for looking and happy crafting!

Jane xx

Thursday, August 15, 2019

Karen DT - Dreams are the touchstones

Hello everyone xx

Its Thursday which means I'm on the
Bee Crafty blog 😁

I decided to mix up my stamps for this weeks make, so here's what I've used

Pocket Watch
Feathered Wings
Doodle Art Bird
Doodle Art Dragonfly
Bubble Wrap Positive stamp
Ticker Tape 2 sentiment stamp set
Dinkables
Distress Oxides
Gelli Plate


I created this background using my Gelli Plate, brayering it with Distress Oxides, then stamping with the Bubble Wrap Positive and blending through the Stripes and Dots Dinkables. 
I printed this onto a piece of square card 


I stamped the Pocket Watch and masked it off.
I then stamped the Feathered Wings, and various flowers from the 2 Doodle Art sets, in Versafine.
The masking tape was removed. 
I coloured the flowers, and parts of the Pocket Watch, with my watercolour pencils. 
I adhered this on to black card and then on to my card blank.
To finish I stamped my sentiment, cut it up and glued with 3d gel

Thanks for popping by.
See you soon

Crafty hugs xx 

Wednesday, August 14, 2019

Caz Harwood - Time measure butterfly tag


PRODUCTS USED:

Time measure stamp

Dragonfly & butterfly art stamp

Ticker tape set 2

D'Inkable distressed harlequin
Pixie powders
Distress oxides
300gsm tag
Versafine onyx black ink

HOW TO MAKE:

Sprinkle and spritz some pixie powders onto your tag base. I used the blue, green and purple. Let it dry.

Use picked raspberry oxide to ink around the edge of the tag to frame it. 
Then stamp the time measure in versafine onyx black.


Take the distressed harlequin D'Inkable and add some details to the spaces. I used broken China oxide.

Stamp out the butterfly twice - fussy cut and colour. Stamp and cut sentiment of your choice. I used the ticker tape 2 set.
Glue them onto the tag and you're all done! 

Hope you like 
♥️
Thanks for looking.


Monday, August 12, 2019

Lorre-Anne DT - Happy Birthday

Hi everyone I'm up on the Bee Crafty blog again today sharing my weekly DT project and this weeks make is another card suitable for a male.  I decided to use the fabulous Photographer and wanted to use him with the film strips this time round.


Materials
What to do
  • Cut some white card slightly smaller than the card blank.
  • Put some of each Oxide on to a blending mat, spritz with water and drag the white card through it.  Dry with a heat tool.
  • Stamp the film strip and the numbers using Mermaid Lagoon.
  • Blend some Rusty Hinge through the Distressed Harlequin and some Walnut Stain through the Regular Dots.
  • Blend some Walnut Stain around the edges and glue to the card blank.
  • Stamp the Photographer and sentiment using Walnut Stain and cut out.  Blend some Walnut Stain around the edges.  Fix to the card blank using foam pads.
That's it for this weeks project, I'll be back soon to share another.

Hugs, Lorre-Anne x


Saturday, August 10, 2019

Jane DT - Vintage Notebook

Hello!

Today on the Buzzy Goings on at Bee Crafty blog I am sharing a notebook holder that I have made and decorated...


I started by cutting the covers and die using mount board in my bigz die.  To create an aged looking surface I used some different types of crackle mediums and chalky finish paint, then edged the pieces using sepia archival ink...


Next I added some stamping.  Using archival ink in sepia and vermillion I stamped 'Time Measure' in larger sections then added smaller more specific parts in the brighter colour...


Then to create some more texture I mixed some crackle paste with a small amount of sepia pigment powder and put it through the 'Coffee Stain Script' stencil...


At this point the colours were looking a bit too bold for me so I dry brushed some cream coloured chalky paint across the covers then added some gold gilding wax...


Whilst working on a jewellery project recently I had some clear resin left over and spread it across some different types of paper to create resin paper.  I used this to stamp some butterflies onto and to build up some elements for the cover...


Once these had been added to the cover on top of some cambric that I coloured and some thread, I stamped one of the 'Ticker Tape 2' sentiments onto another piece of resin paper to layer up and painted one of the MDF cogs which I cut in half then added some gold gilding wax...


I also added some holes and eyelets for a piece of organza ribbon to close the notebook and some elastic to the edge for putting a notebook inside.

Here are the products that I used:

* Art Stamps - Time Measure
* Art Stamps - Dragonfly and Butterfly
* Wordage - Ticker Tape 2
* Inkables - Coffee Stain Script
* MDF - Cogs
* Archival Inkpads

There is currently a summer sale over on the Bee Crafty website so if you are interested in any of the products now is a great time to grab a bargain!!

Thank you for looking and happy crafting,

Jane xx

Thursday, August 08, 2019

Karen DT - Enjoy the journey

Hi everyone xx
For this weeks Bee Crafty blog  post, I'm sharing the August page of a Calendar I made as a gift 😁
I used the gorgeous Seahorse stamp from the Under the sea collection.

Also used:
Distress Oxides 
Clear sparkle pen
Versafine
Glitter card


To create this Calendar page I cut a piece of glitter card, and a slightly smaller piece of white card.
I blended Distress Oxides, spritzing water droplets on, in between each layer.
Using the Oxides I stamped the Seahorse and seaweed.
I added a hint of sparkle to the Seahorse, with a clear sparkle pen, and also to the air bubbles to create the effect of dimension. 
Once dry I adhered this to the glitter card and then on to the Calendar page.
The Sentiments were stamped in Versafine,  to complete the page. 

These handmade Calendars make such a lovely personalised gift for friends and family. 

Thankyou for popping by and I'll be back soon

Crafty hugs xx

Wednesday, August 07, 2019

Caz Harwood - Men's birthday card


PRODUCTS USED: 

Roman numerals border stamp 

Steampunk stories colonel stamp 

Texture discs set 1

Border stamp from Doodle art girl

Typewriter alpha stamps

Distress oxides
Versafine onyx black
Versamark ink
White embossing powder
7x7 card blank and black mat layer slightly smaller.

HOW TO MAKE:

On the black card panel stamp the numerals in Versamark and sprinkle on white embossing powder. (Heat set)

Using the sphere squares texture disc add some detail with antique linen distress oxide ink

Stamp and fussy cut the colonel

Stamp out a sentiment using the typewriter alpha stamps - I chose Happy Birthday old chap! 
Stick your elements down and you're done! 
Hope you like! 
♥️
Thanks for looking. 


Related Posts Plugin for WordPress, Blogger...