Saturday, February 27, 2021

Jane DT - Hochanda Birds & Butterflies samples

 Hello!

This week I am sharing the samples that were made for the recent Hochanda show...


Thank you for looking and happy crafting!

Jane xx


Friday, February 26, 2021

Birds & Butterflies By DT Ann


BIRDS & BUTTERFLIES 

by DT Ann


I hope you enjoyed the show on Hochanda, here are all my samples, made for the show...   you can watch on Rewind

MDF - birdcages/ clocks 

Products available at : https://www.beecrafty.net/


I covered the cage in crackle paint, when dry I used watered down acrylic paint to colour the cage.  Once dry I glued one of the papers to the back of the cage. Then I stamped & die cut butterflies on acetate, coloured the backs with alcohol pens & glued on to the cage. Added the sentiment. 


This was created using the papers only on a DL Card. 


I used a pale Gelli plate background, then a pale ink to stencil through a mandala Inkable. Then used GellyRoll moonlight pens to add dots. 


I used an old frame .. stamped the Small Words in dark green ink, on to some cream card for the background. Stamped & diecut a butterfly using the same card & ink, then die cut some old book pages with the same butterfly. Glue the centres together ( butterfly) & then onto background in frame. 


Smooshed some Distress Oxides onto the background & added some stencilling with the leaf/branch from the small cage Inkable, starting with pale colours & getting darker. Stencil through the small cage ( Frayed Burlap) & add some pen lines down one side to create depth. Stamp & die cut one each, of the large & small bird... & add a sentiment. 


Gelli print background to start, added Typewriter Alpabet & Small Circles ( from the Stitched Boarder set ) to it, then some lid circles ( dipped in black gesso). When dry I added some doodles in posca black & white pens. Stamped, coloured & die cut the large Swallow. Created a  sentiment using Typewriter Alphabet stamps&  glued to the card . 


Used the papers & die cut a tag, I stuck a couple of extra tag blanks together to add stability. Add some interest with texture discs & Background Stamps in Distress Oxides. Add some doodles & a die cut butterfly with some thread behind it . 


I used Distress Oxide Inks through the Mandala Inkable using Squeezed Lemonade, Crackling Campfire & Spiced Marmalade, I did this 3 times, I then fussy cut each one & layered them using foam pads. Finished with some doodles with GellyRoll pens & a sentiment. 


This one took a long time.. painting the background first using pinks, blues & greens. The I used some texture paste through the branch Inkable & left it to dry. I added some stamping to the background using lots of @beecraftystamps. I created a patina/rustic effect on the 3 clocks. Embossed the MDF butterflues in white, stamped & used gilding flakes on the Swallow then die cut it out.. again I added 3/4 extra layers for stability. 


Last one ... was created using paints, washi tape, stencils & the ledger is in the background.Added some Posca marks & 2 die cut butterflies... Matt & layer onto a 6x6 card.
 
Any questions please ask ... 

 Thanks for stopping by... Ann x

Wednesday, February 24, 2021

Caz DT - Birds and butterflies show samples

Today's blog post is showcasing all my samples for the birds and butterflies Hochanda show...

PRODUCTS USED:


CARD: Backing papers with layered circles, stamped elements from stitch borders, die cut butterfly and dragonfly & small word sentiment elements. 


CARD: Backing paper, inked birdcage over top, gold embossing details, die cut dragonflies and small word sentiment.


CARD: Nettle easy frame used to make the background, inked with distress, stamped nibs and stitch borders elements, die cut large butterfly and small word sentiment added.


CLOCK MDF: Backing paper behind the MDF clock, bird stamps die cut from another backing paper, bird cage MDF piece added, painted with browns/blues for rust effect, metal charm added along with small word sentiment.


CANVAS: Backing paper to cover canvas, stamp typewriter alpha words, floral stencil border using texture paste, mdf elements and butterfly pop outs. Painted to finish. 


CARD: Swiped ink pad background, butterflies stamped in corresponding colours, then die cut butterflies added slightly off set from the stamped ones. Small word sentiment to finish. 


CARD: Maple easy frame for focal point, inked in brown, stamped elements in the background - little butterflies, stitch borders and small words, then inked the border in tea dye ink, added die cut butterfly and sentiment. 

HOPE YOU LIKE 
❤️
THANKS FOR LOOKING

Monday, February 22, 2021

Sally DT - A bit of inky playtime!


I've been having a bit of a play with my newest distress oxide colours and thought I would share the results. It is a bit of a cross between a journal page and a card, but I think it would work as either. 

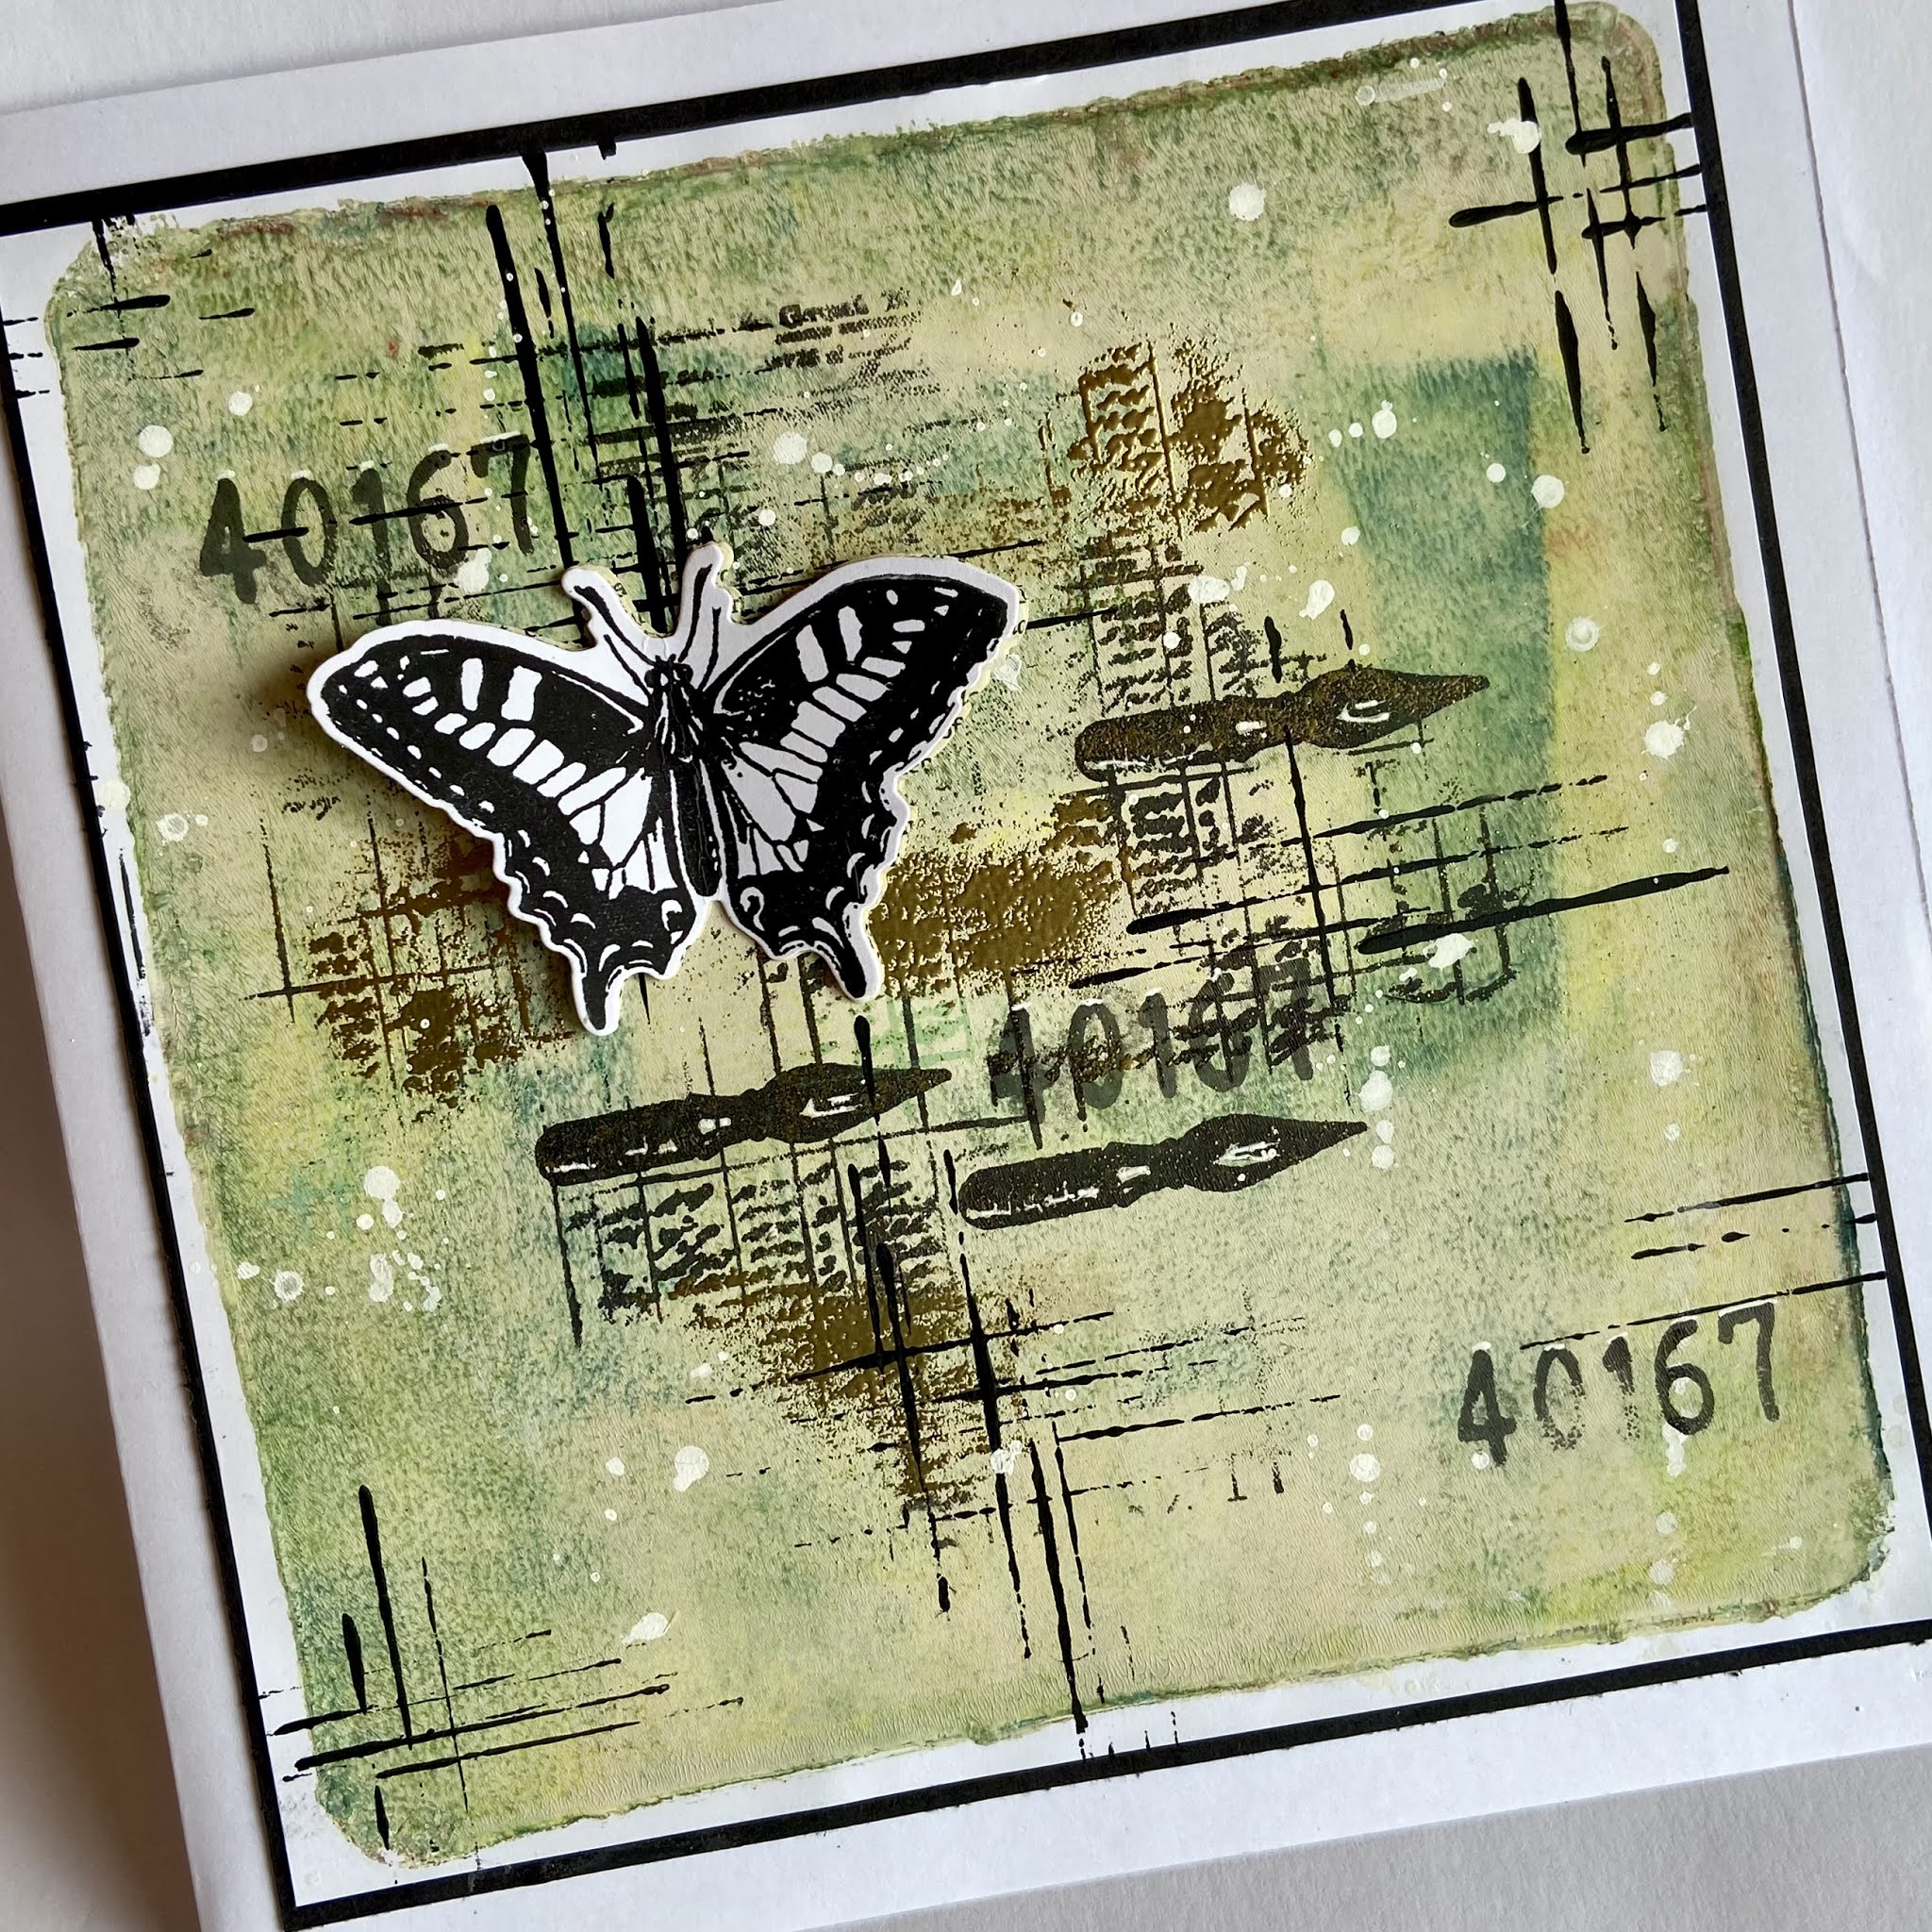
Here is how I made it. I started off with a 14cm square piece of mixed media card and painted it with Dina Wakely Clear gesso

This allows the ink to move more when you apply it and not soak in immediately. After that I swiped the Crackling Campfire Distress Oxide pad onto a piece of acetate, misted with water and then splodged it in a couple of places down one edge. 

It wasn't runny enough so I sprayed it again and let it run across the page. I then dried it with a heat gun. 

Next I did the same thing in the gaps with the Rustic Wilderness Distress Oxide ink and dried it. Then I used both inks to make some splatters using a fan brush.

once this was dry I used the same inks to stamp the zig zag stamp from the Texture Borders set going in the same direction as the dribbles.

I then stamped the lines from the Texture Borders set down the inkiest edge using black Versafine Clair.

Next to that I stamped the dots border using the same ink.

I die cut a circle from black card and stamped 2 circles from the Texture Circles set in black ink about two thirds of the way down the side. 

I stamped the butterfly from the reguar butterflies and birs set and cut it out with the matching dies.

I coloured it with ecoline pens.


After matting and layering the background on to a 15cm square card I added the circle of black card and the butterfly using 3d glue.

And here is the finished card again. 

I hope you like it! Don't forget to tune in to Hochanda tomorrow for the Bee Crafty show at 1pm for oodles of butterfly and bird stamps, dies, inkables and mdf! Loads of goodies! 

Thanks for looking!

Saturday, February 20, 2021

Jane DT - 'You Are Enough' Card

 Hello!

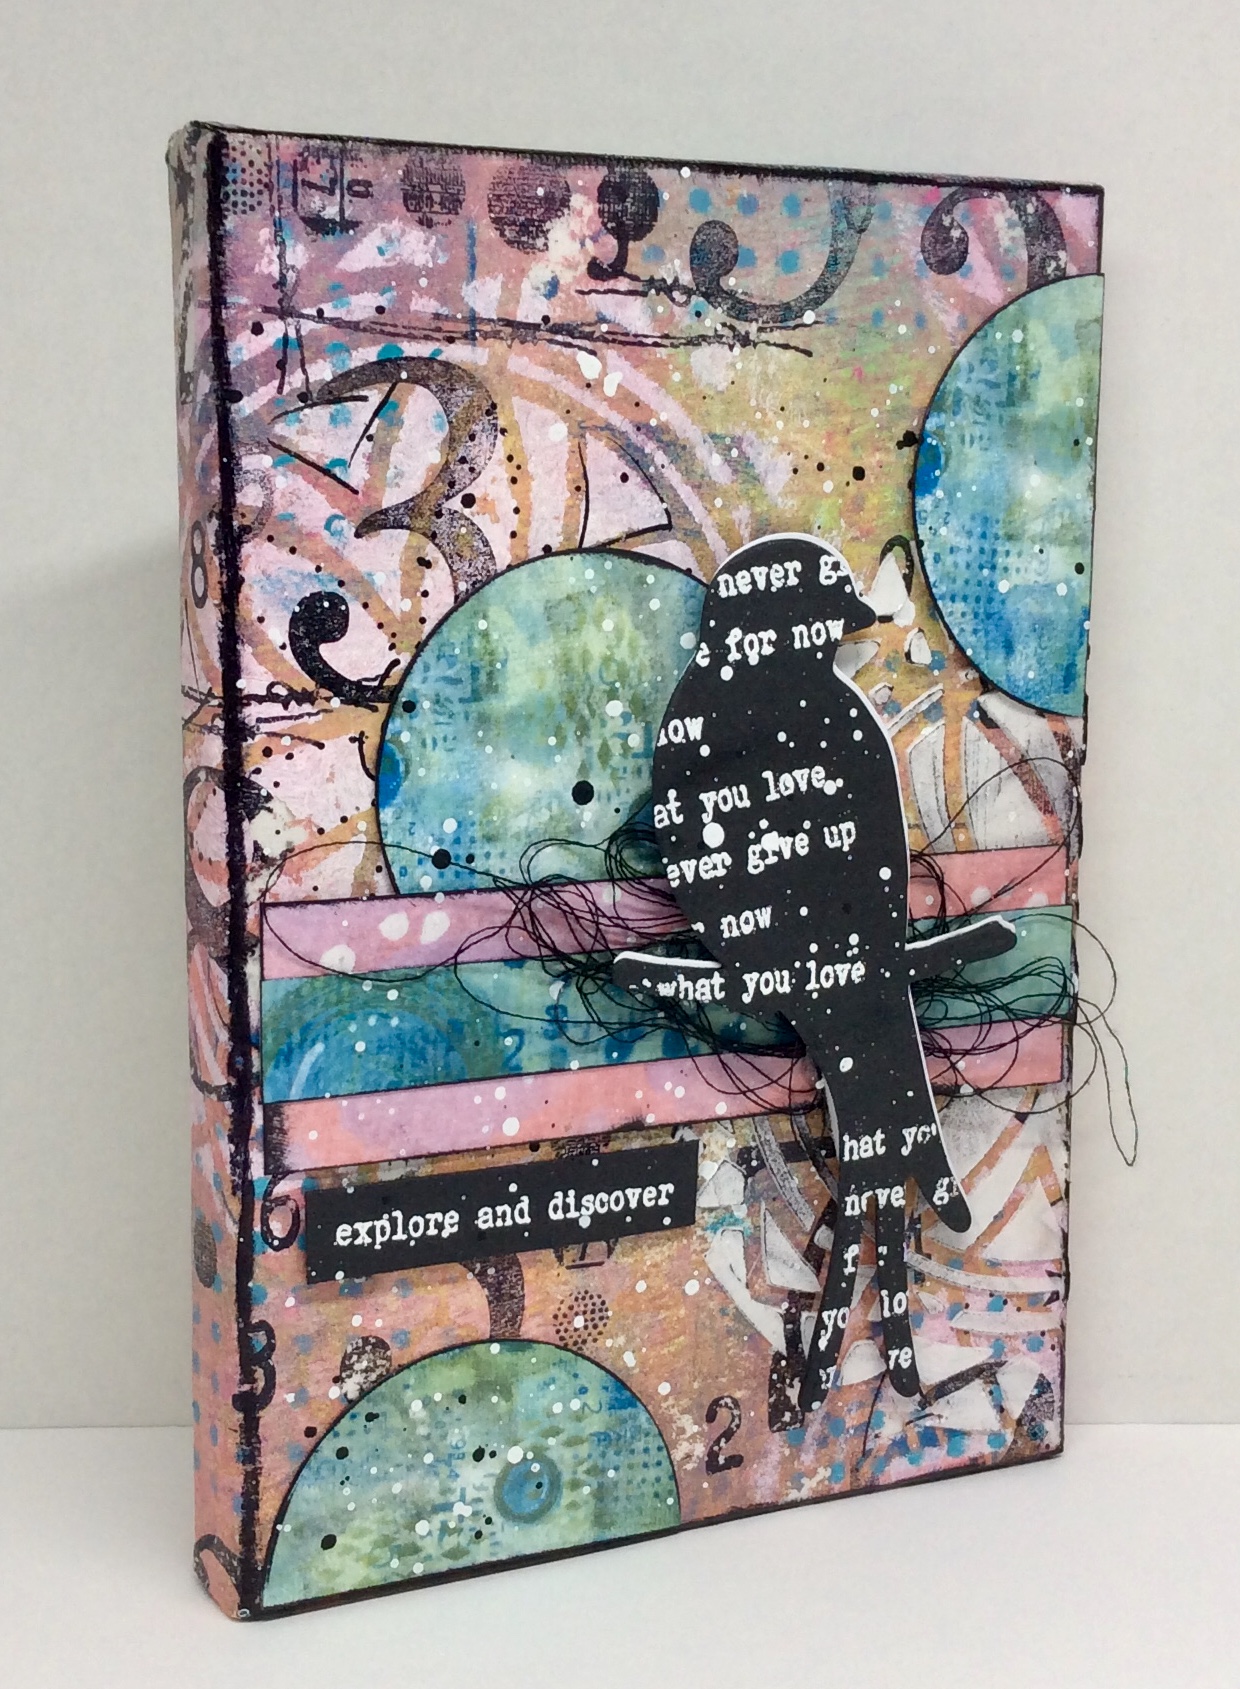
This week I decided to redo an idea that I had used on a journal page to become the main feature on a card.  

Over on the Bee Crafty Facebook page I had used a stapler with some pre cut elements for part of a journal page and I liked the effect so much that I decided to use it again...

1) I started with a piece of distress watercolour card stock which I sprayed with Peacock Feathers distress oxide spray...


2) I made sure this layer was dry before spraying Wild Honey distress oxide spray through the Honeycombe Multi inkable...


3) To create an extra layer I used the distress matte texture paste through the Fernando big inkable.  Even though the distress oxide had been dried they still bled through into the paste which created an effect that I really liked...


4) Next I added small parts of the Script XL using black archival ink...


5) Using the Bee Monarchy stamps and dies I cut out some of the elements along with the film strip stamp.  I used staples to attach the pieces together to form my focal point...


6) This was added to the card with some black thread underneath and then more staples to attach.  To create a frame it was layered onto a piece of black cardstock...


7) Finally I stamped and heat embossed one of the sentiments from Small Words and added all the elements to a card blank...


Here are the products used:


Thank you for looking and happy crafting!

Jane xx


Friday, February 19, 2021

Seahorse Bubbles by DT Ann


Seahorse Bubbles 


I love a walk along the seashore, it’s a 2 hour drive, so out of the equation just now... what better way to remind me of the sea than to use the Seahorse stamp in my new journal. Yes I purchased a new Dylusions Creative Journal.. what can I say ♥️♥️♥️


Inkables: Regular Dots & Bubbles
Seahorse XL stamp
Dylusions Journal (85/8x 85/8)
Stazon Ink Jet Black
Paint: Mid blue, light blue, chartreuse & white. 
Dina Wakley Media Papers
Distress Collage Medium 


Let’s begin!


Tear some strips from the circle Media papers, using both sizes. Use the Distress Collage Medium to adhere to your page, as you can use other mediums over it. 
Paint a frame in a mid blue (I used a denim colour) ... 


When dry add some light blue & chartreuse paint in vertical “stripes”... 


Leave to dry. 

Stamp your image on to tissue paper in Stazon this ink dries very quickly, it won’t smudge when you stick it to your project. Note: Stazon does dry really quickly the stamp can stick to your tissue, be careful when lifting your stamp off.
 I used a stamp press as this Seahorse is a large image. 

Put to one side.. 


Go back to your page... use a light blue paint to stencil through the Bubbles Inkable.. let it dry. 


Use the collage medium to adhere your image to your background.. let it dry ( only takes a few minutes).


I added some colour to the seahorse using Inktense pencils 


Add some white paint through the Regular Dots Inkable.. 


Stamp the seaweed element straight onto your background using Stazon Ink, it doesn’t matter if it’s not a clear image. Colour with GellyRoll moonlight #403, these pens are great on painted backgrounds! 


Add some doodles... with Sakura GellyRoll pens... 


Stamp the word ‘Seahorse’ into tissue, as before, with Stazon & adhere to your page... 


Continue doodling til you’re happy!!! 


Thanks for stopping by .... Ann xxx


Related Posts Plugin for WordPress, Blogger...