Wednesday, November 30, 2022

Countdown to Christmas 4 by CT Ann

 Countdown to Christmas 4

By CT Ann 

I love using red, turquoise & silver on Christmas cards. This week I’ve used a stamp set that you would necessarily think of using for a festive card. 


Inkable Snowflakes Multi

Art Stamps: Art Backgrounds 2 & Wreath

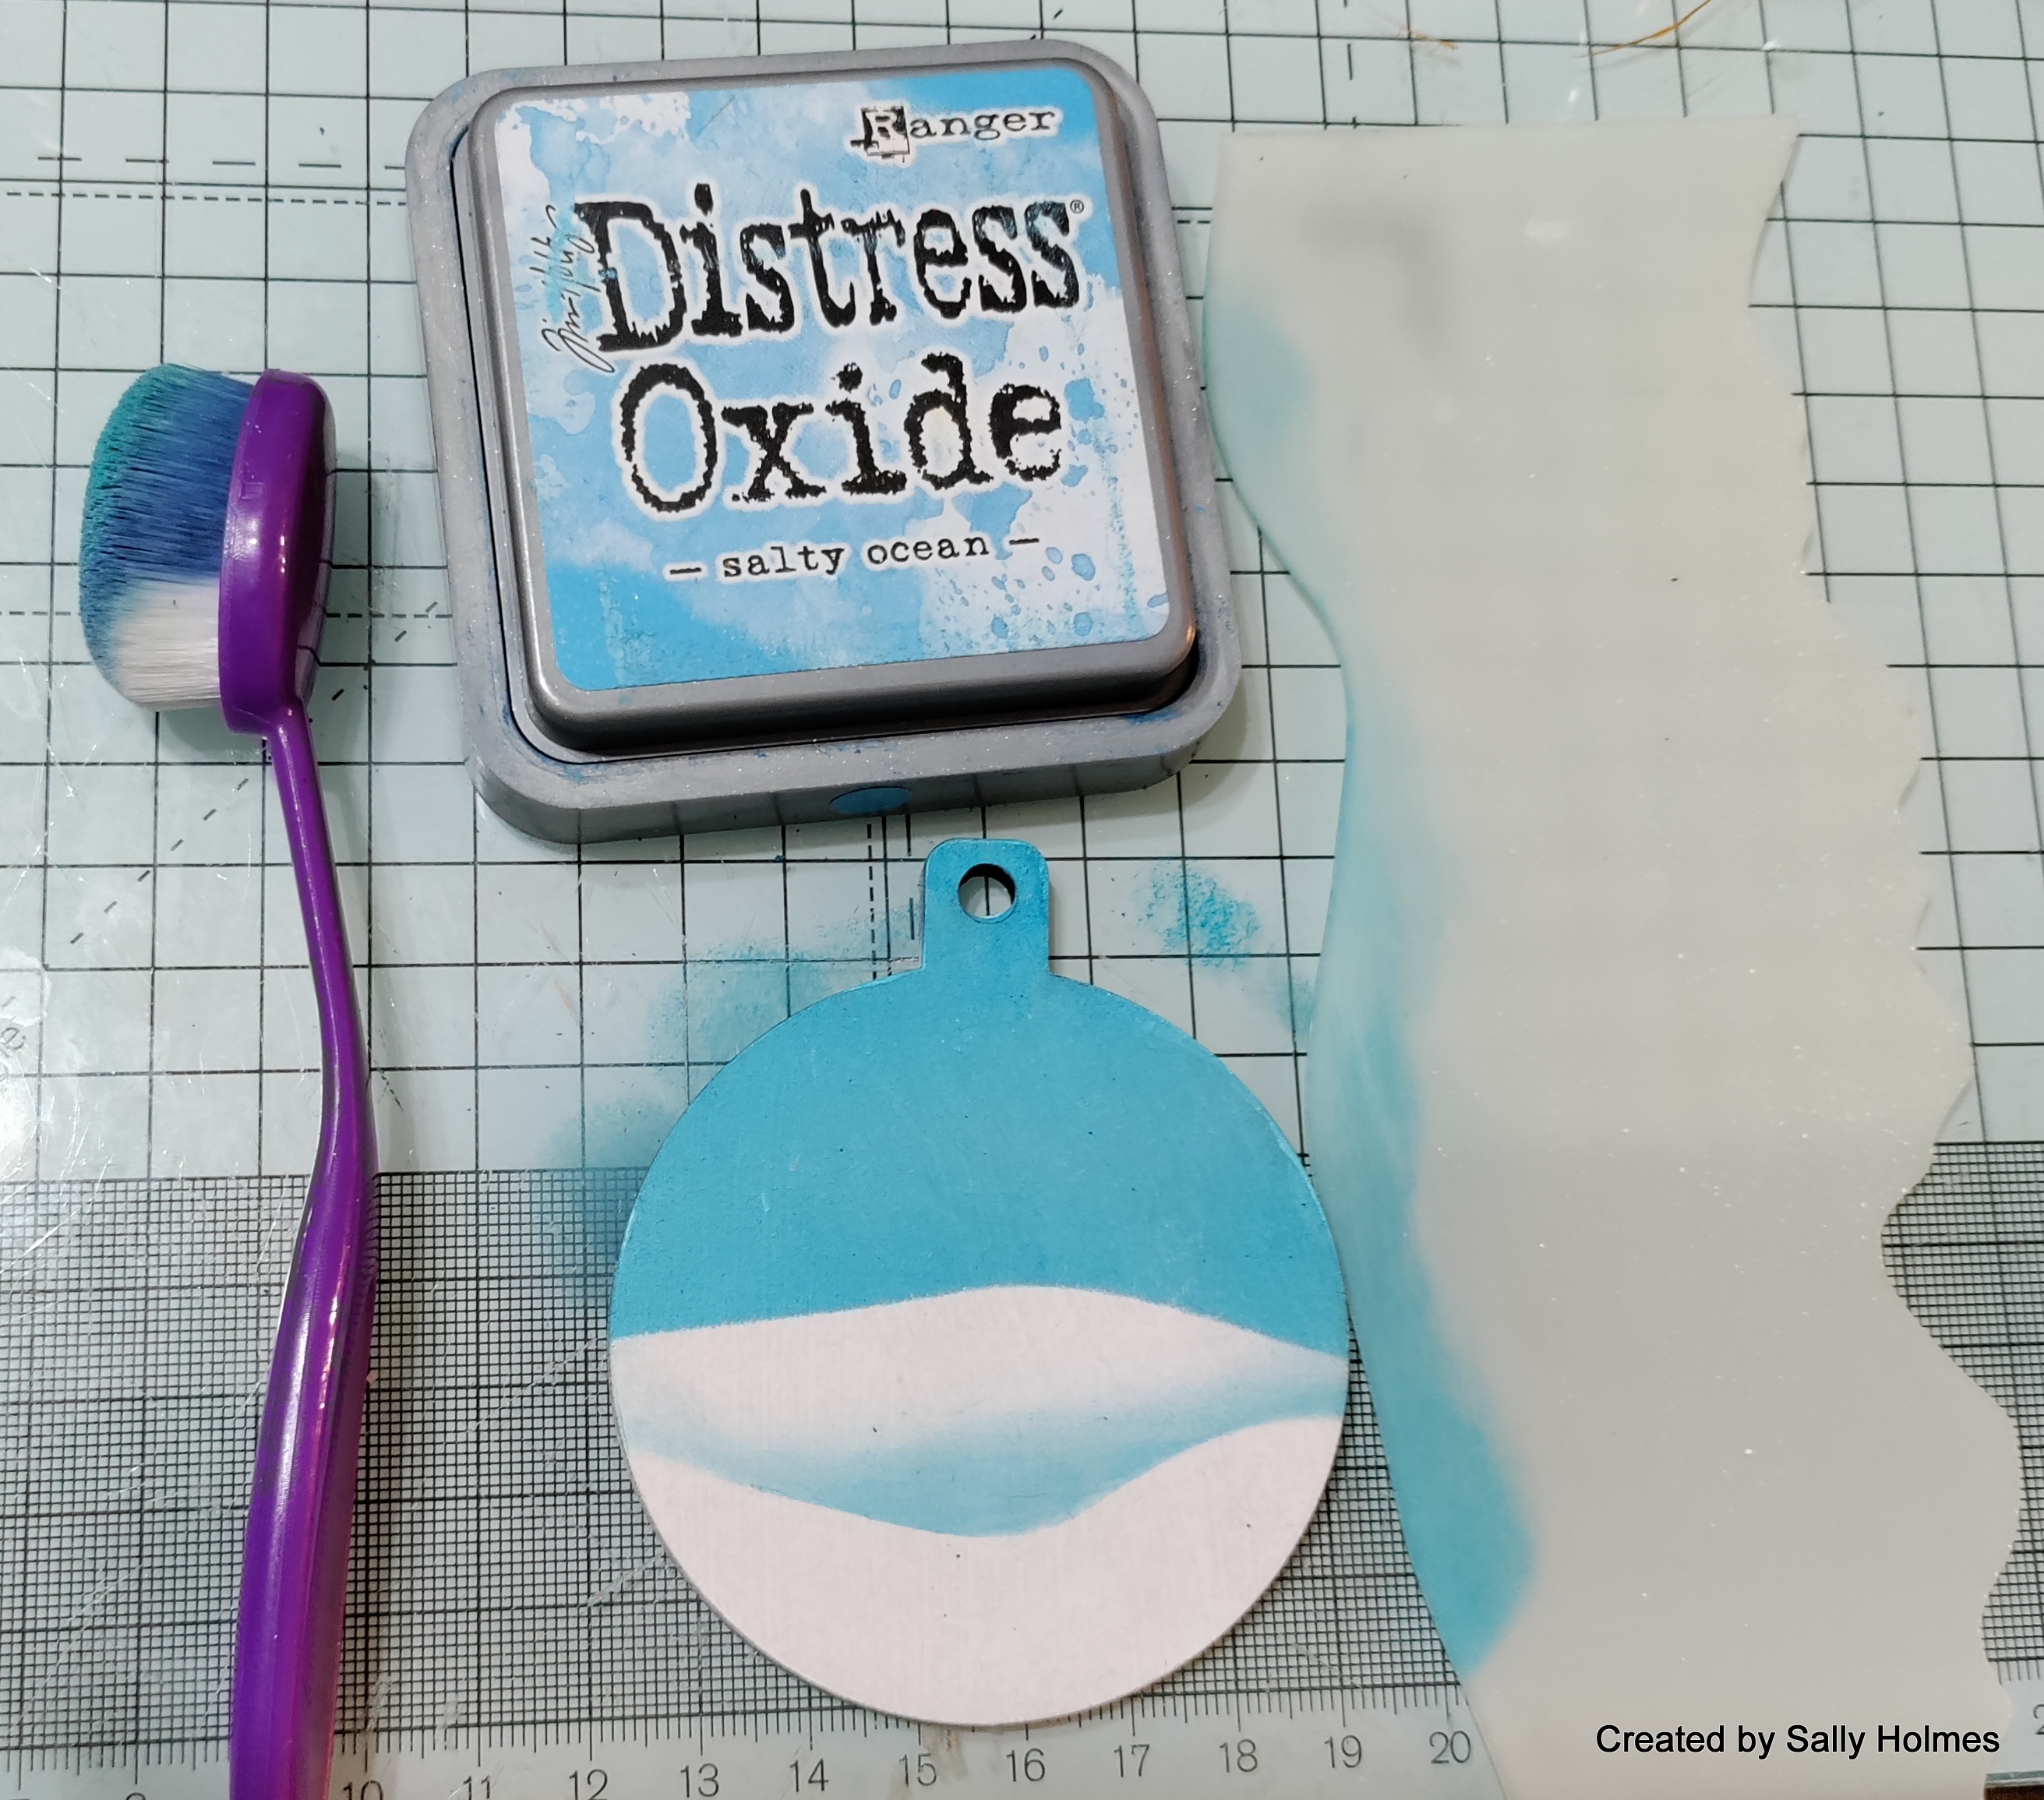
Distress Oxide Lumberjack Plaid & Broken China

Versafine Clair Morning Mist & Nocturne 

Pop Outs Stars

 Silver Embossing  Powder

Vellum, sequins, silver card, 5x7 card blank card 4.5” x 6.5” 

https://www.beecrafty.net/

Ink through the Snowflake Multi stencil with Broken China, on to a piece of card a little smaller than the card blank… 

I wanted to diffuse the background so stuck double sided tape to the back of the snowflake card, cut a piece of vellum slightly bigger & covered the front completely…

(it’s difficult to see on the photo, sorry). 


On a separate piece of card ( 2” x 41/4”) cover with the Lumberjack Plaid Distress Oxide.. then stamp the zig zag across it in nocturne (black) ink… 

Cut two more pieces of paper (2” x 41/4”) & stamp the scribble stamp using the Lumberjack Plaid ink… 


Cut three triangles from the inked & stamped pieces… 

Using the off cuts from the red triangle add them to the outer edge of the other triangles… 


From the ‘waste’ cut 3 oblongs to create tree trunks…

Glue the two scribble trees to the vellum the the red tree in between using some foam tape… 

Stamp & heat emboss in silver ‘Merry Christmas’ from the Wreath stamp set, then cut around it… 

Use a small Popout star, cover in Versamark ink & heat emboss in silver…. 

Glue the star to the top of the centre tree & the sentiment, add some sequins to the trees… 

Matt on to some silver card/paper & onto a card blank.. 


Thank you for stopping by… Ann xxx


Sunday, November 27, 2022

Alison CT - Doodle Art Windmill

Hi everyone, today I'm sharing a double journal page spread using the new catalyst papers and the Doodle Art Windmill.
To begin I used a wet paintbrush to create two five and a half squares from one of the catalyst sheets. I then used distress collage medium to glue them to a double page in my Dina Wakely 6x6 inch white journal.
Next I smooshed gathered twigs distress oxide over the inkables big ones into the woods. I then lightly spritsed with water and applied it to both pages.

Next I created hills in the background by using the Hirizon 1 inkables skyline, with gathered twigs distress oxide and a blending tool. To do this place the stencil where required, then begin inking kn the stencil and swiping lightly onto the page.
Next I stamped the windmill, the well and  several trees and tulips using versafine clair pinecone ink on a seperate piece of card. I then used the dies to cut them out. Next I coloured them with Ecoline pens.

Then I stamped the sentiment using the pinecone ink. I cut this into four pieces and inked the edges with gathered twigs distress oxide. Finally I glued all the pieces to the background.
Products used:
Media Paper - Catalyst papers 2
Inkables big ones - Into the Woods
Skyline Inkables - Horizon 1
Doodle Art Stamp - Windmill
Wordage Stamps - Time Flies
Distress Oxide - Gathered twigs
Versafine Clair - Pinecone

Thank you so much for taking a look.
Alison

Saturday, November 26, 2022

Sally CT - A snowy Bauble

 Hi there! I thought I would show you how I decorated this MDF bauble.

I began by painting the back piece with gesso and the rim in gilt acrylic paint.

Whilst this dried I stamped sky terrace onto some shrink plastic and coloured it. On the frosted shrink plastic I thought by colouring it on the back with alcohol markers, it would show through, but it didn't once shrunk. I use stazon very rarely, but I find it is the least likely to smudge on shrink plastic

I shrunk it with my heat gun and added a bit of colour with coloured pencils to rectify my mistake.
Next I used the horizon 1 skyline inkable to add some snowy hills with salty ocean distress oxide
I added glitter glue to the tops of the hills and some snow
I used gel medium to attach the house, the frame and some super chunky glittery snow stuff I found in my stash (no idea where it came from, sorry!) I think the stickles glitter gel might work well for this too.
finally I added some white pen around the frame
Here is another look at it. 
I used:
Stazon ink
Coloured pencils
glitter glue
Chunky glitter/ fake snow 

If you haven't entered the Bee Crafty Facebook group Challenge yet, we are looking for creations on MDF this month, and you have until Wednesday night to get them done. hope this has given you a bit of inspiration! 
Thanks for looking! 

Wednesday, November 23, 2022

Countdown to Christmas 5

 Countdown to Christmas 5

By CT Ann

I realise it’s not quite December, but with the addition of the new Robin & Wreath stamp sets I couldn’t resist another festive make!! 

Wreath Stamp Set 

Ecoline Brush Pens 

Versafine Clair Morning Mist

Versamark Ink

Distress Oxide Inks

Gold Embossing Powder 

Stickles Glitter Gel

Skinny Super Slims

Acetate / empty sticky tape ring / ribbon / strong double sided tape 

https://www.beecrafty.net/


Stamp the whole Wreath twice in Versafine Clair Morning Mist, using a slim… 

Colour in one of the wreaths , I used Scattered Straw, Evergreen Bough, Rustic Wilderness, Gathered Twigs & Spiced Marmalade… 

On the second wreath colour the bells & ribbon with Ecolines.

I used 318-Carmine, 334-Scarlet, 201-Light Yellow, 202-Deep Yellow 

Cut out the coloured wreath & the bells with the ribbon… found it easiest to cut around the slice of orange to get to the middle of the wreath… 

Stamp the Merry Christmas in Versamark Ink & sprinkle with Gold embossing powder, heat until molten, cool & then cut around the sentiment… 

Cut a small strip of acetate, use some double sided tape to attach it to the back of the sentiment & add a small strip at the top of the acetate…

Using small strips of strong double sided tape around a used tape ring, add some ribbon to the top & the acetate strip at the bottom, so that it hangs down…


 Remove the red bits off the tape & attach the wreath, add some Stickles Glitter Gel for some festive sparkle… 

A mini hanging wreath.. 


Some photos of my samples from last week… 


Thanks for stopping by… Ann xxx


Sunday, November 20, 2022

Alison CT - Winter 2022 samples

Hi everyone, today I'm sharing my samples using the new wreath and robin stamp sets.
For this card I have used a piece of music paper on which I have used the script stamp and the birdcage and branch 6x6 inkables and the robin stamp set.


For this card I used the wreath stamp with the winter wordy stickers. I coloured it with my inktense pencils.

For this card I have used the Inkables 6 inch Easy Frame Holly to create the background and the Yuletide Everyday Christmas stamp sets.

For this card I used the Inkables Easy Frame 4 inch circle and stamped the holly and berries through it. I then blended some Bundled Sage distress oxide through it and coloured the holly and berries with Ecoline pens. I then drew the ribbon and added a red gem.

For this card I created a background using the 6 inch Easy Frame Octagon and mask, with distress oxides savaged patina and uncharted mariner. I then stamped and heat embossed the wreath with silver embossing powder. 

For this card I have used stamps from the robin set, with the winter small words.

For this card I have used the 6 inch circle easy frame and the winter wordy stickers. I have heat embossed the wreath with gold embossing powder and coloured with Ecoline pens.

For this card I have stamped the robin, then masked it off with the masking sheet and stamped the holly, which I coloured with Ecoline pens. I added stickers from the Winter Wordy stickers.

I hope you have enjoyed finding out how I created these cards.
Alison
Related Posts Plugin for WordPress, Blogger...