Saturday, August 20, 2016

Barbara DT - Christmas in August.....

Hi everyone, another quick post today, as we're heading off for a few days and I still have tons to do.....Just wanted to show you a couple of Christmas cards made for the recent Bee Crafty show on Hochanda.
 This was was created with the circle 'Inkables' and the small stamp from the new Yuletide set - Holly Swirl Tree & Borders. I used a Kaleidacolor inkpad so the leaves would be varigated. The sentiment is from the Yuletide Wordage set
I wanted this one to be elegant.....so kept to black and gold. Same set of stamps, but I heat-embossed the image and sentiment. I didn't add any embellishments as I don't think it needed anything.
Hope you like them.....lots more to come over the next few days.
Would love to read some comments if you have time to leave one.
Happy weekend,
Barbara.

Tuesday, August 16, 2016

Christmas Baubles

Morning Everyone. A little bit of a sneak peak today, Bev is back on Hochanda on Thursday (18 August) with some really stunning stamps, the marvellous Inkables and some fabulous sentiments. I know everyone loves baubles and I just couldn't resist putting some scenes in to these. For this design, I used the small tree from the Christmas Tree set, along with the circular Inkables.

My finished card was going to be 8 x 8''. I placed the card on to my mat and from copier paper cut a square to leave a 1/2'' border around my design. I taped this down over my card and then placed the circle design in place.

Using another sheet of copier paper, I tore a strip to use to form the landscape, I also used some scrap to cover my work.

For the first bauble I used blues, Shaded Lilac Distress ink for the hills with just a suggestion of Blueprint Sketch. I then added a little Drawing Gum from Pebeo with a brush, this would be the moon. I then blended the sky using Shaded Lilac, Blueprint Sketch, Chipped Sapphire and Black Soot Distress Ink. I blended the colours together keeping the are where it joined the land lighter, to form a halo effect. Then using the small tree and the ripped copier paper I stamped trees using less and less of it towards the back to give the distance.

Then I took the inner circle from the Inkables to cover my first bauble. I also placed the outer in position to make my next bauble.

For the second bauble, I used the same technique. This time using Scattered Straw and Wild Honey for the land, then Scattered Straw, Wild Honey, Rusty Hinge and aged Mahogany for the sky.

I then repeated the process using greens, Mowed Lawn for the land and a little Iced Spruce. For the sky I used Mowed Lawn, Pine Needles and a very small amount of Black soot around the edges.

Next I added my sentiment and some additional plain baubles using the Inkable before removing the outer mask to leave my border.

To finish my card, I used a black fine liner pen to add the strings to the baubles, I also added a scribbled frame around the edge. Lastly I added some Gold Cosmic Shimmer PVA, where the string met the bauble. I then backed my piece onto a black base card.

I loved making this card and think it give a really crisp, clean look. I really hope you have enjoyed the step by step I have shared today as well as the finished card. Pleased dont forget to tune in on Thursday. The stamps are superb and Bev's shows are not to be missed. Take care and Happy Crafting.xx

Monday, August 15, 2016

DT Kerrie - Christmas in August x

Hiya today I would like to share with you a little something I made using some of the new stamps that will be over on Hochanda with our Bev on Thursday

I used some of the new stamps for the background they are pieces of the pine needles from the trees
I repeat stamped them in shades of green distress inks to build up the background.

I stamped the large tree onto a piece of cardstock using the same inks tapped over the stamp to add texture

I then stamped and fussy cut 2 pieces of pine to add as an embellishment which I added 2 real mini pine cones to. 

I stamped on of the new sentiments which I fixed sideways onto the card front

I added some gems to finish

Don't forget to watch or set your planner's to record the shows on Thursday all the new stamps are so gorgeous you won't want to miss any xx

Friday, August 12, 2016

Emily DT - Friends

Hi everyone, hope you're all having a lovely week.

I have made a card for this week's project using different colours from my normal 'go-to' colours.

Here is the card I have made...


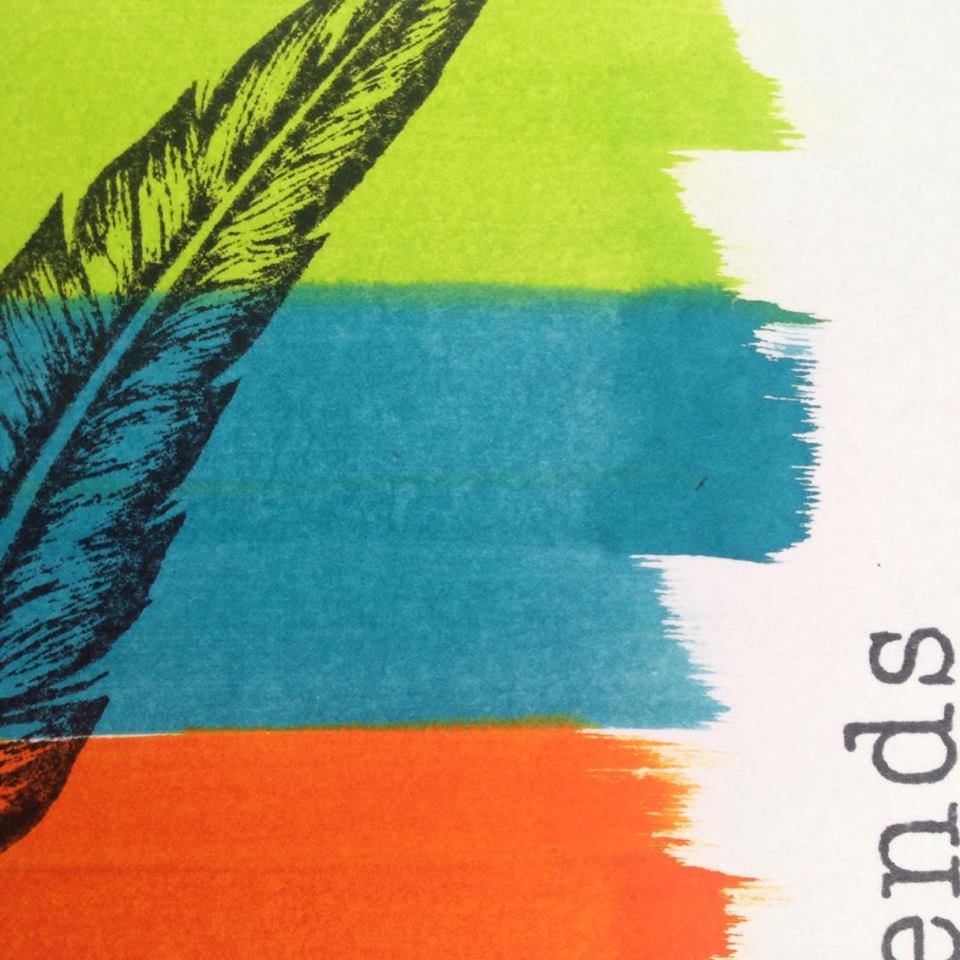
I started by choosing some colours of Distress Ink. I used Twisted Citron, Broken China and Dried Marigold. Using the mini ink pads, I just swiped the whole ink pad across the card to achieve the effect I was after. I like this technique as you never get the same effect twice.


Once it as dry I stamped the feather from the Ledger stamp set on top. I also stamped the word Friends down the side. (I chopped up my Friendship stamp to get Friends. The stamps are always easy to still use as a whole.)


I finished off the card with a black layer and it was done!

I love using this technique with the ink pads. You can choose whichever colours are suitable and I love putting feathers or foliage over the top. This technique looks especially good with the large Dandelion stamp.

Hope you all have a lovely week and are looking forward to Bee Crafty on Hochanda next Thursday!

See you next week with some of my Hochanda samples.

Emily x

Wednesday, August 10, 2016

Marleen DT - Dandelion CAS

Hey blogger friends..

Todays post is my weekly spot for

Ive made a CAS (Clean & Simple) card for this week.
Its not a style Im very good at, nor a style I do often but just once in a while it comes over me lol..

This week I pulledout my "Tall Dandelion" stamp, and the  "Every hour is a dream" stamps.

This one was very sinple to do. I cut my mat and drew little dots the whole way around the edge with a black fineliner. I then cut a smaller rectangle and stamped my dandelion a bit off the card. I covered up most of my greeting so i only inked up the word dream and stamped it in the corner.
I finished by matting my dandelion on to silver mirri card and added it to my card.

And that is all from me for today.
Many thanks for popping by and for any comments left behind.
And dont forget to come visit me on FaceBook, Twitter, Instagram, Pinterest or my FB page.
 Happy Crafting

Tuesday, August 09, 2016

Watery Feathers

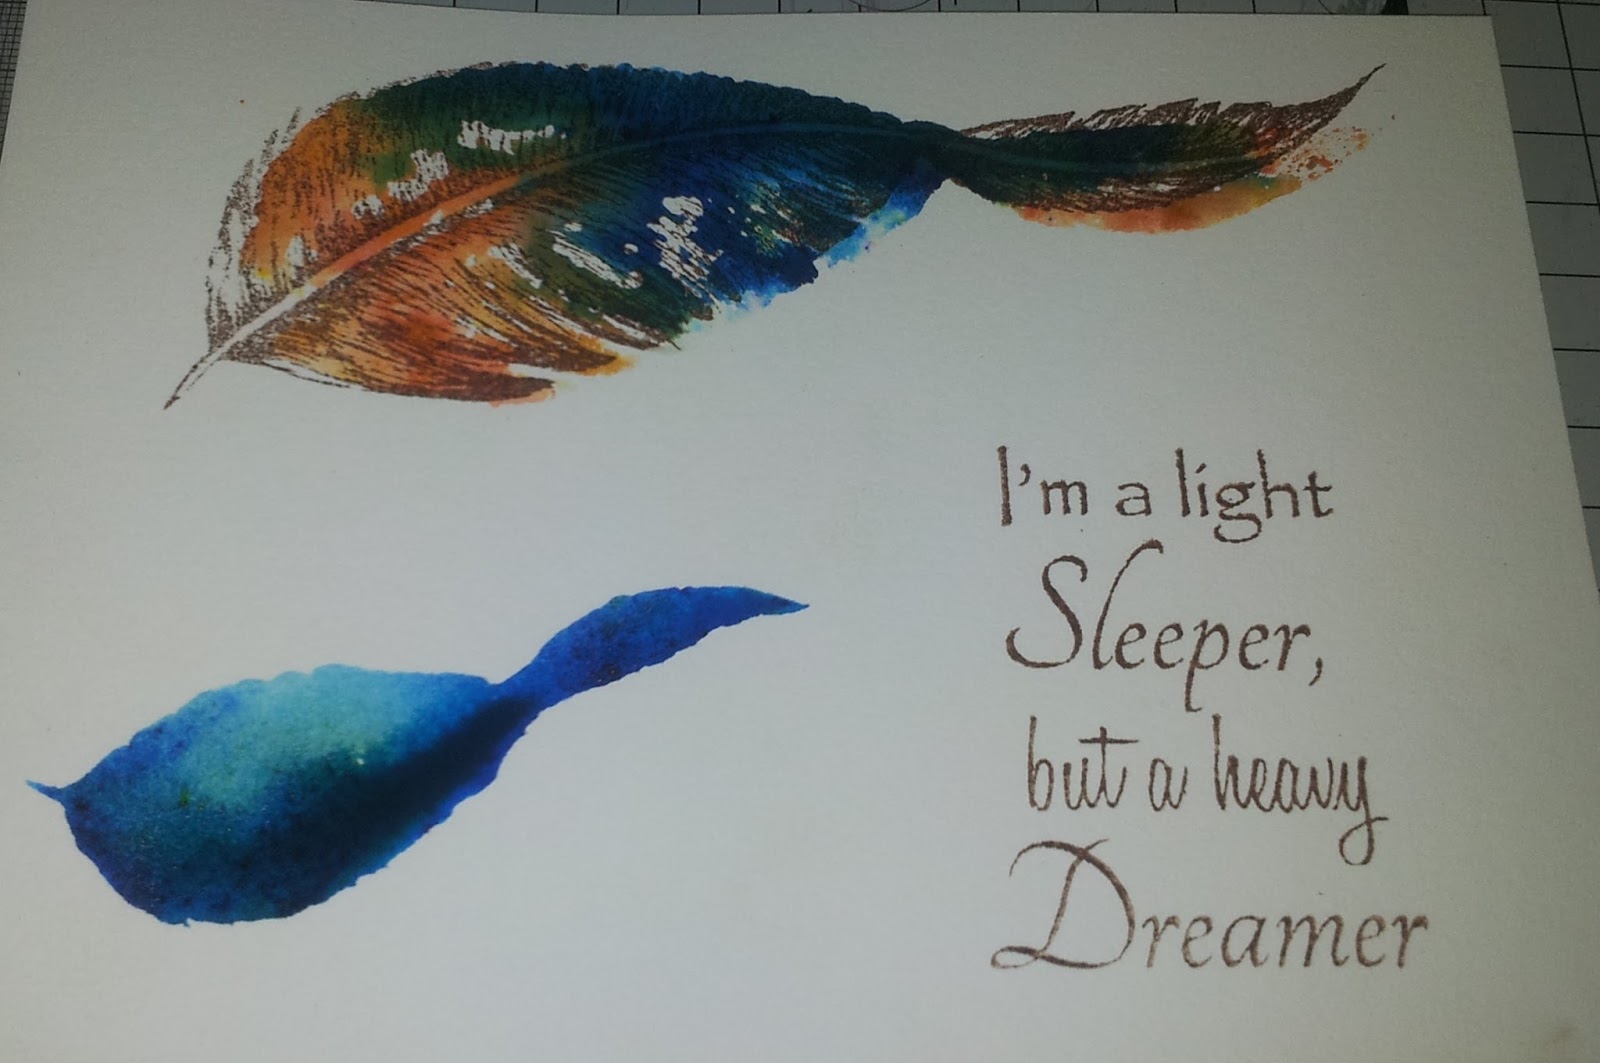
Morning. Well it's been a very busy few day's. I'm sure it's the same for a lot of crafters at the moment getting on with Christmas cards as well as everything else that needs doing. I have had to take a few days out as things around the home have really needed attention. Today I thought I would share something I made with the feathers collection that Bev launched on Hochanda a little while ago. The feathers really are beautifully drawn, and are so versatile, there are a whole range of card styles that you can make. This one is a fairly colourful, clean and simple.

I started of with a sheet of cream watercolour card. I took the large feather stamp and spritzed with some water. Then I sprinkled on Cobalt Blue and Gamboge Brusho and spritzed again with water.

Then I stamped this onto the card stock, I took the smaller feather and followed the same process and left to dry.

When the image was dry I overstamped the image with Coffee Archival Ink. I also stamped the sentiment in Coffee Archival.


Finally I layered the project onto a piece of Teal Centura Pearl and then onto Black Centura Pearl both from the dark's collection from Crafters Companion.Here is the finished piece.


Many thanks for joining me today, I have to say it feels like a long while since I shared a post. Just shows you how much has been going on since the last one. I hope you have enjoyed the step by step and the card I have shared with you today and hope that you will join me again. Thank you ever so much for all of your lovely comments both here and on Facebook.

Monday, August 08, 2016

DT Kerrie - Christmas in August

Hiya and Welcome to my Monday Post for Bee Crafty

Now that my Children's Birthday's are done its my tradition to begin my prep for Christmas which includes beginning my shopping plans for their gifts but also the start of my Christmas Cards so today I am sharing one of these new makes for the Festive Season...

I have used some of the Bee Crafty Stamps from the 'Yuletide' Collection


I created a background using the 'Yuletide' - Snowflakes' set along with light and dark blue chalk inks for some of the flakes and then clear embossing ink with a mixture of blue, silver pearl and tinsel white embossing powders which I then heated using a heat toolto create some texture, shine and sparkle.

I then stamped the 'Yuletide' - Believe' large sentiment using blue chalky ink which I sprinkled a little of the tinsel white embossing powder over. I trimmed the seniment, inked the edges by running a clear embossing ink pad accross them, I then dipped into tinsel while embossing powder to add sparkle. I matted the sentiment onto blue cardstock.

To finish my card I matted the background I created onto the same blue cardstock as the sentiment and attached this to a 7x7 card blank. I fixed the Sentiment to the card front using foam tape at a jaunty angle.


Next I repeat stamped the Snowflakes onto offcuts of cardstock in the same inks as before adding ebossing powders including some clear this time for the darker blue. I fussy cut them, used an embossing tool on the reverse of them to create dimention. I then arranged them at the corners of the sentiment layering them up a bit and adding gems to the centres. I added some extra gems to opposite corners of the card to finish


Thank you so much for visiting the Bee Crafty Blog today, please come back again soon to see more gorgeous makes from the Design Team x

Krafty Hugs xx
I would love for you to visit xx

Saturday, August 06, 2016

Barbara DT- Happy Saturday .....

Morning everyone, today is my Chippenham workshop, so this is a very quick post....I'm still on a 'high' from my birthday yesterday, I had such a wonderful day....LIFE IS GOOD! 
Anyway, here is my weekend post for
I've used the Octagon Inkable frame - HERE 
After inking both the positive & negative parts with Adirondack inks,  I stamped three of my favourite Bee Crafty stamps, Ground Elder,  Ferns and Branches - HERE 
 A sentiment from the BEAUtanicals range, a few sequins and I was done.
Hope you like it.
This week will be spent making samples for the next Bee Crafty show on Hochanda (Aug 18th), so next week I may have a sneaky peek for you :-)
Have a great weekend,
                                                                       Barbara xx

Friday, August 05, 2016

Emily DT - 'Family' Heart

Hi everyone,
So my blog post is quite late this week, but better late than never!

I have had a change from cards this week so I have decorated a wooden heart.

Here is my project this week...


I started by painting a wooden heart with white gesso paint. Once it was dry I coloured it using distress inks. 

I then stamped the large and smal teasels in brown and black. I added some birds and the sentiment and it was finished!

I love how it turned out and some twine really finishes it off.

See you next week!

Emily x

Wednesday, August 03, 2016

Marleen DT - and Brusho back in stock...

Hey Bloggers..
Time for my weekly spot for 
 
I've had a play with the "Feather Dreamer" Art set stamps.
Find them in the STORE with all the other amazing goodies from BeeCrafty.
 
 My appologies, this is not the best pic Ive ever taken. It got a bit blured over the text and im affraid the card has already gone to a new home so I cant re-take the pic.

This background is made with Brusho's. I love playing with them and a little bird told me that BeeCrafty has them back in stock. Find them HERE
 
My feather is stamped with versamark and embossed with gold embossing powder.
I did the same with the 2 big words in my greeting but I masked of the words and stamped the text in the middle with black.
I finished by adding a touch of gold embossing powder around the edges and matting on to black cardstock. 

And that is all from me for today.
Many thanks for popping by and for any comments left behind.
  If you want to see more of my work, come visit me on FaceBook, Twitter, Instagram, Pinterest or my FB page. Its where I share the most.
 Happy Crafting
 
Related Posts Plugin for WordPress, Blogger...