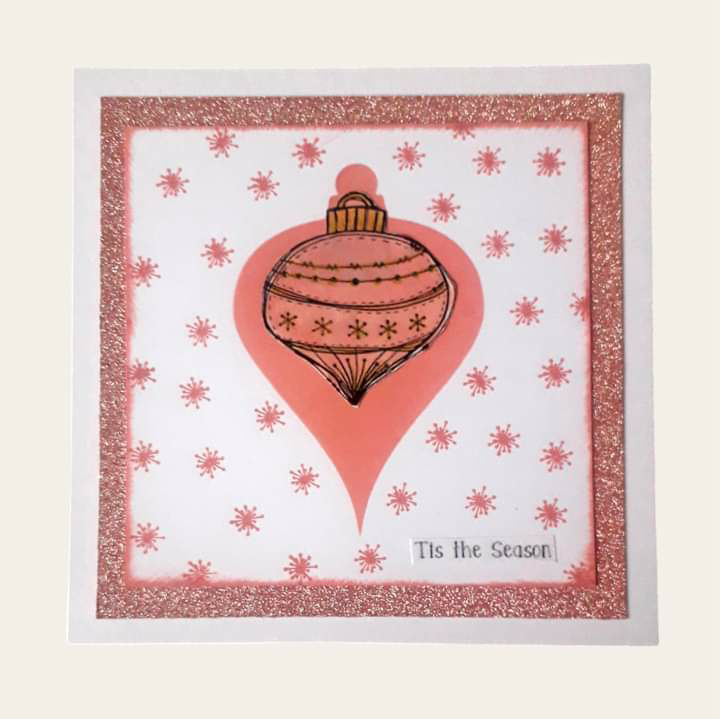
Sunday, November 10, 2024

Alison CT - Mixed Leaves

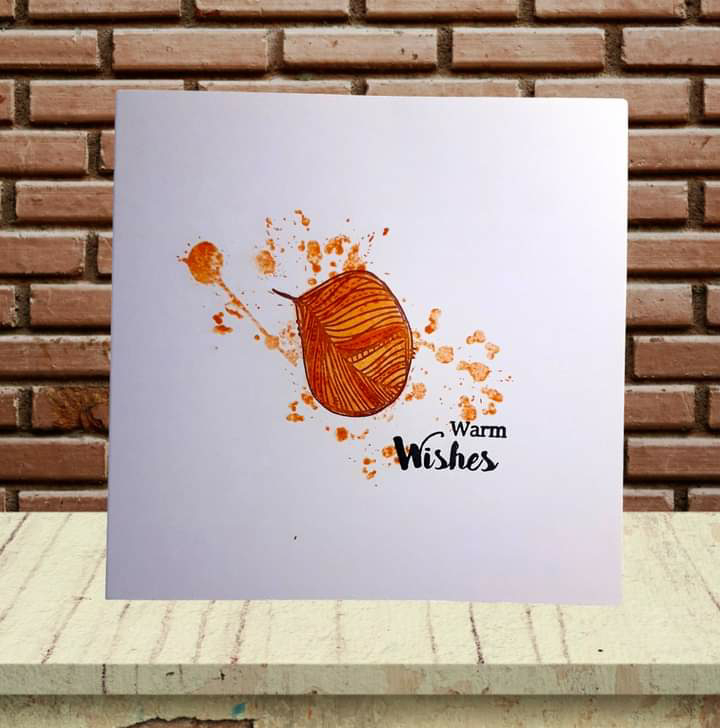
Hi everyone,  today I'm sharing a set of clean and simple cards that I have created using the new Mixed Leaves stamp set.
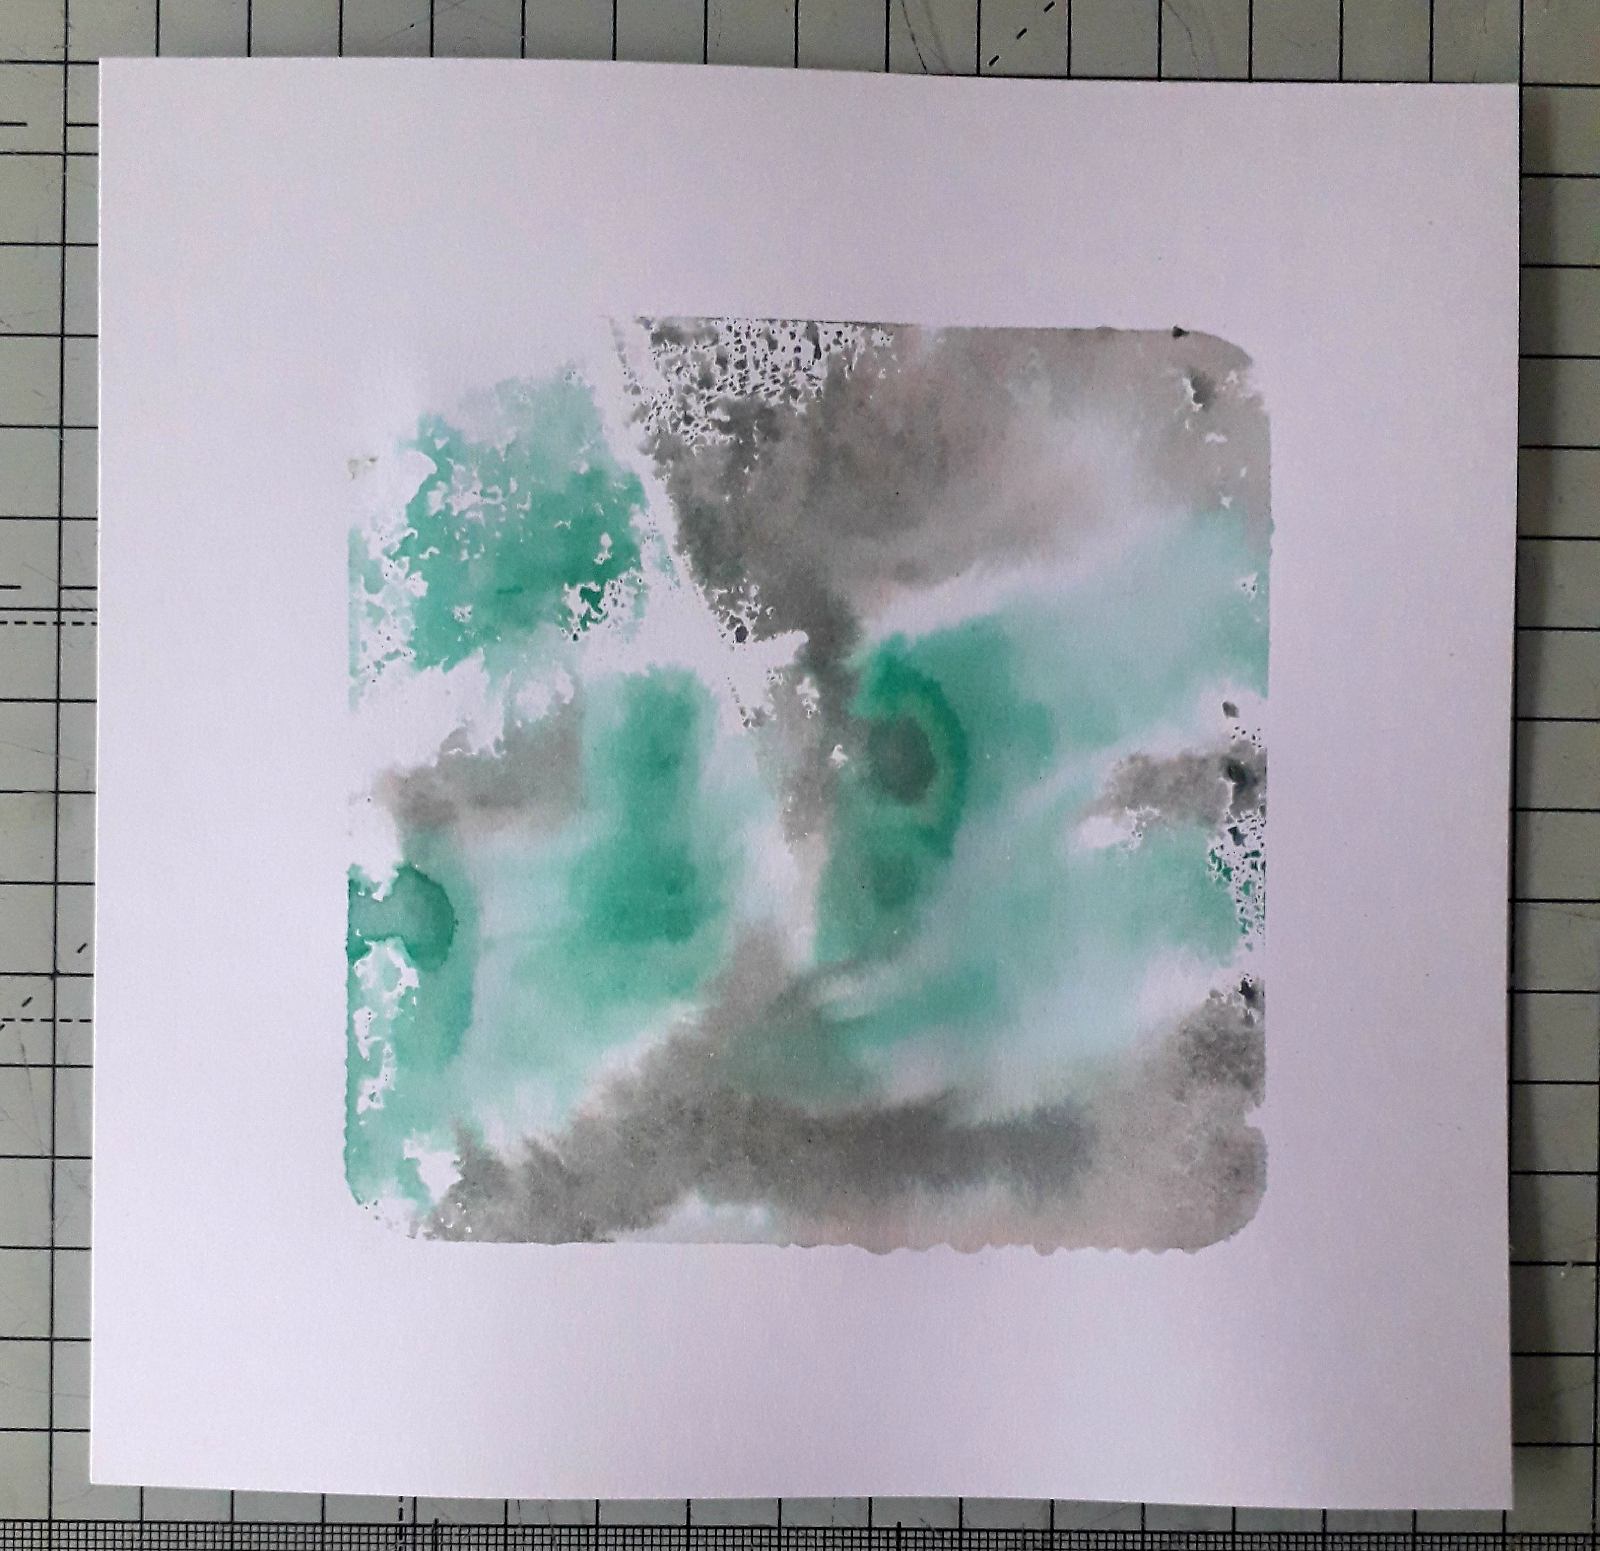
To begin I added to shades of green distress ink (iced spruce and evergreen bough) to the larger square super skinny slim.
I spritzed this lightly with water and  placed it ink side down onto the centre of a 6 inch card blank. I left it to dry naturally. 
Using the smaller of the two hiorse chestnut style leaves, mask of the square of ink (I used a post-it note) and add to white heat embossed leaves.
Using the larger of the three leaves on a stem, with versafine clair acorn ink, stamp two coming in from the sides of the card.
Using the small round leaf with the same ink pad, add threeeaves to the green area. Vary the orientation of each leaf.
Using the splat dinkable from set 3 add small areas of distress grit paste between the leaves. Leave to dry. Then add five gold sequins.
Finally I added a sentiment from the Everyday Sentiments 1 stamp set using the same brown ink.
Some further ideas are below.
Stamp the leaves using an embossing ink and clear emboss. Mask of an area just wider than the leaves and blend festive berries, ripe persimmon, mowed lawn and mustard seed distress ink over the leaves. Wipe off any excess ink on the embossed leaves. Add the sentiment from the Everyday stamp set using the festive berries ink.

Stamp the larger of the two leaves using versafine clair morning mist and colour with a pumice stone watercolour crayon and a damp paintbrush.  Stamp a second generation version of the splats from the asemic splats stamp set and morning mist ink. On seperate card stamp the same leaf with black ink and colour using tree lot and bubbling cauldron distress crayons. Cut out and glue slughtly off set to the image on the card. Add the sentiment from the Everyday set.

Stamp the leaf using versafine clair acorn. Colour using rusty hinge distress oxidecand a damp paintbrush. Stamp the splats stamp over the leaf using rusty hinge oxide. Add the sentiment using fallen leaves versafine clair ink.

On seperate card stamp three of the leaf using versafine clair portobello ink. Colour the leaves with Kuretake Gansai Tambi graphite colour watercolour paints.  Cut out and glue down the left hand side of the 5x7 card blank. Use a black pen to add a partial rectangle and stamp the sentiment. 

Products used:
Variety of card blanks
Sequins 
Distress Crayons
Graphite Kuretake Gansai Tambi Watercolour Paints 

Thank you for taking a look.
Alison

Wednesday, November 06, 2024

Sally CT - Pop-up Pumpkins!

Hi There! I've managed to do a bit more craft wise this week and it was great to get my journal out for a good play. Here's what I did.

I began by blending some distress oxide inks over the innie of the 4" oak easy frame inkable around a double page.
Next I stamped several different mixed leaves using a variety of autumn colours.
Using the script background stamp without a block I added some stamping in vintage photo distress ink. I also added some dots and lines from the pumpkin stamp set. 

I cut the sentiment from the transparency sheet and stuck it to the page using matte medium. 
On  a separate piece of watercolour card I stamped the pumpkins in versafine Clair ink and coloured them using ecoline pens. I cut them out and left to dry.
I folded the biggest pumpkin roughly in half, then equally distant each side of the centre fold, I added two more folds. I used a bone folder to burnish these and made sure the centre fold was a mountain and the two side folds were valley folds. Next I added a little matte medium to the outer edges beyond the outer folds. Making sure the journal page is completely flat, I lined up the centre fold with the centre fold of the journal and stuck that down flat to the page (just with the matte medium already applied) 
Once this was dry, I made sure the pumpkin centre fold popped out as the pages were closed.


Here's the finished page again. 
I used:
Distress oxide inks in Mustard Seed, Vintage Photo and Aged Mahogany
Distress inks in Fired Brick, Crushed Olive and Vintage Photo
Ecoline pens 
Versafine Clair Nocturne ink
12x12cm notebook
Watercolour paper

There are also some fabulous bundle offers on the website at the moment that you can find here

The wrist is progressing nicely and my lovely friend Jane has helped me by finishing the design on my cast, using sharpies and one of the mandala inkables. I'm able to do a lot more than I could as you can see from my pages above. All being well it will be cast free before the end of the month. 

Thanks for looking! 

Sunday, November 03, 2024

Alison CT - DL card

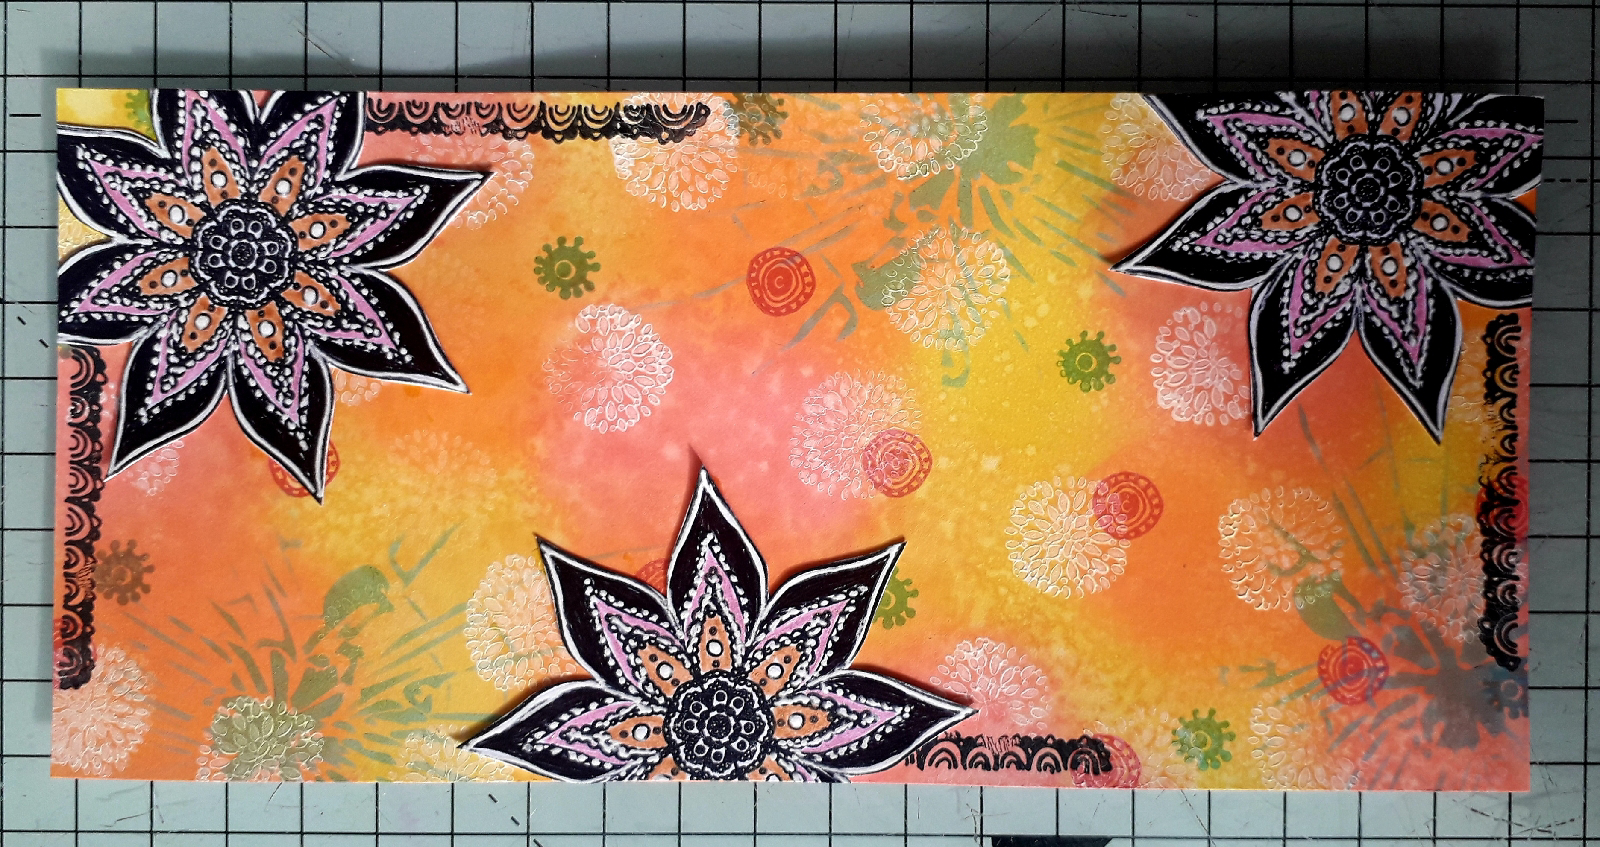
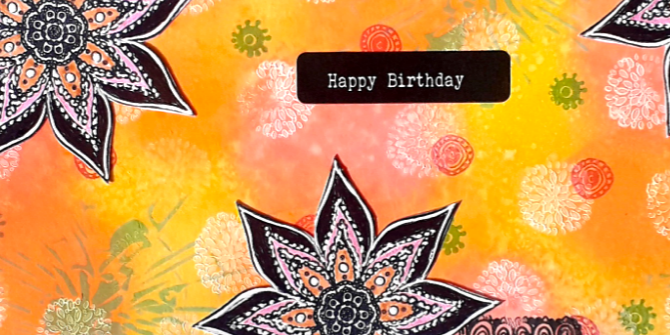
Hi everyone, today I'm sharing how I created this bright and cheerful DL card.

To begin I created a blended background using worn lipstick, spuced marmalade and mustard seed distress oxide ink pads. I then spritzed it with water and left it to dry naturally. 
Next I used tumbled glass distress oxide with the cracked glass dinkable from set 3.

Then I stamped the small multi petal flower from Journaling Essentials 8 using white gesso. I smeared a small amount of gesso onto my blending mat and lightly tapped the stamp into it.
I then stamped some of the small worker stamps from Journaling Essentials 3 and 4 using Bali Blue and Charming Pink Versafine Clair. 
I added the rainbow border from Journaling Essentials 8 using Versafine Clair nocturne. 
On seperate card I stamped three of the largest flower from Journaling Essentials 8. I coloured them with gel pens, then cut them out.
I glued them to the background puece and cut off any excess.
I glued this piece to a DL card blank and added a sentiment from the wirdy stickers 1b sheet.

Products used:
Versafine Clair  - bali blue, nocturne, charming pink 
Distress oxide - tumbled glass  spiced marmalade, worn lipstick, mustard seed 
White gesso

Thank you for taking a look. 
Alison 

Wednesday, October 30, 2024

Sally CT - Baubles Galore!

 Hi there! I am here with a couple of Christmas cards featuring the brand new Doodle Art Baubles. 


I began by blending some red and green distress oxide through a big one inkable. I took the foam layer off my stamp press and was able to use 4 magnets on the base to keep the inkable still enough to blend one handed.
Next I stamped the small holly leaves from the christmas pud set to stamp randomly over the background using old paper distress oxide.
On some smooth card I stamped two of the baubles using memento ink and coloured them with alcohol markers. Then I cut them out.
Using a ruler and a fine liner I added some threads to hang the baubles from. I did one straight line then went over twoce more in a doodle art style.
I added the background to a green 5x7 card then added the baubles using sticky pads.
On a scrap of white card I stamped and cut out the sentiment in Versafine Clair Strawberry.
Finally, I added this to the card with foam pads too. 
Here's another version using a different inkable and coloured base card.

I used:
Inkables Big ones  - I used Pearls for the first and circles for circles for the second
Distress Oxide ink  - I used Lumberjack Plaid, Rustic Wilderness and Old Paper
Memento Black ink
Alcohol markers

Thanks for looking! 

Sunday, October 27, 2024

Alison CT - Autumn/Winter samples

Hi everyone today I'm sharing some of my samples for the new autumn and winter release.

For my first sample I have used the Christmas pudding stamp with the mixed messages Christmas sentiment stamp set. I have used a mix of glitter gel pens and watercolours to colour the image. I used versafine clair strawberry to stamp the sentiment. 

My second sample has the fabulous pumpkins on it. The background was created using distress oxides in autumnal colours. I also stamped the leaf fro. Journaling Essentials 2 using versafine clair strawberry, acorn and summertime. 

My third sample has all three of the gorgeous baubles on it. I've coloured them with my inktense watercolour pencils. I created a clean and simple background using the script background stamp and a sentiment from the mixed messages christmas stamps.

For my fourth sample I just knew which of the autumn wordy stickers would make a fabulous sentiment for the new leaf stamps. I coloured the leaves with my colouring pencils, then after cutting them out I screwed them up so they looked runkled before sticking yhem on the card. I've used the splat dinkable from set 3 to add to the background. 

For my last sample I have used the 4 inch bauble 3 easy frame to create a background for the small bauble stamp. I used the small snowflake from the Doodle Art Christmas Tree stamp set. 

Products used:
Colouring pencils
Glitter gel pens

Thank you for taking a look. 
Alison 

Wednesday, October 23, 2024

Sally CT- Autumn/ Winter 24 samples


Hi There! I am here with a few samples that I made using the brand new Autumn and Winter stamps from Bee Crafty, released yesterday.  First up is a little journal page (on the right) featuring the Mixed Leaves Art Stamps, swirling over a smooshed stormy sky background.

This Bauble card was made using the Doodle Art Baubles, over a background of splattered Distress spritz on black card.

Next we have the Doodle Art Christmas Pud, which is a beautiful big stamp! I made it into a round easel card and it needed very little else.

Also on the Doodle Art Baubles is this beauty, which I teamed up with a smooshed and stamped background.
The Doodle Art Pumpkins are just so beautiful and I have paired them up on both of the following with kraft card to make the colours pop!
As you can see the new stamps are absolutely gorgeous! I am so excited about using them and have many more plans for projects. 

You can find the whole of the Autumn and Winter collection here with a lovely saving if you buy the whole bundle of stamps. There are also some fabulous transparencies too! 

AW24 Collection

I didn't make quite as many samples as I intended due to a little mishap

Fortunately I am left handed, so I am still managing a few bits of crafting. I discovered I can certainly still colour and cutting out is okay in small doses. If all is well when I have my next xray on Friday I should be able to try a few more things. Here's a couple of Baubles, coloured, cut out and waiting to be put onto a card very soon. 
Thanks for looking! 


Related Posts Plugin for WordPress, Blogger...