Sunday, January 12, 2025

Alison CT - Vivid

Hi everyone, today I'm sharing a card made as inspiration for Sally's Vivid challenge in the facebook group.
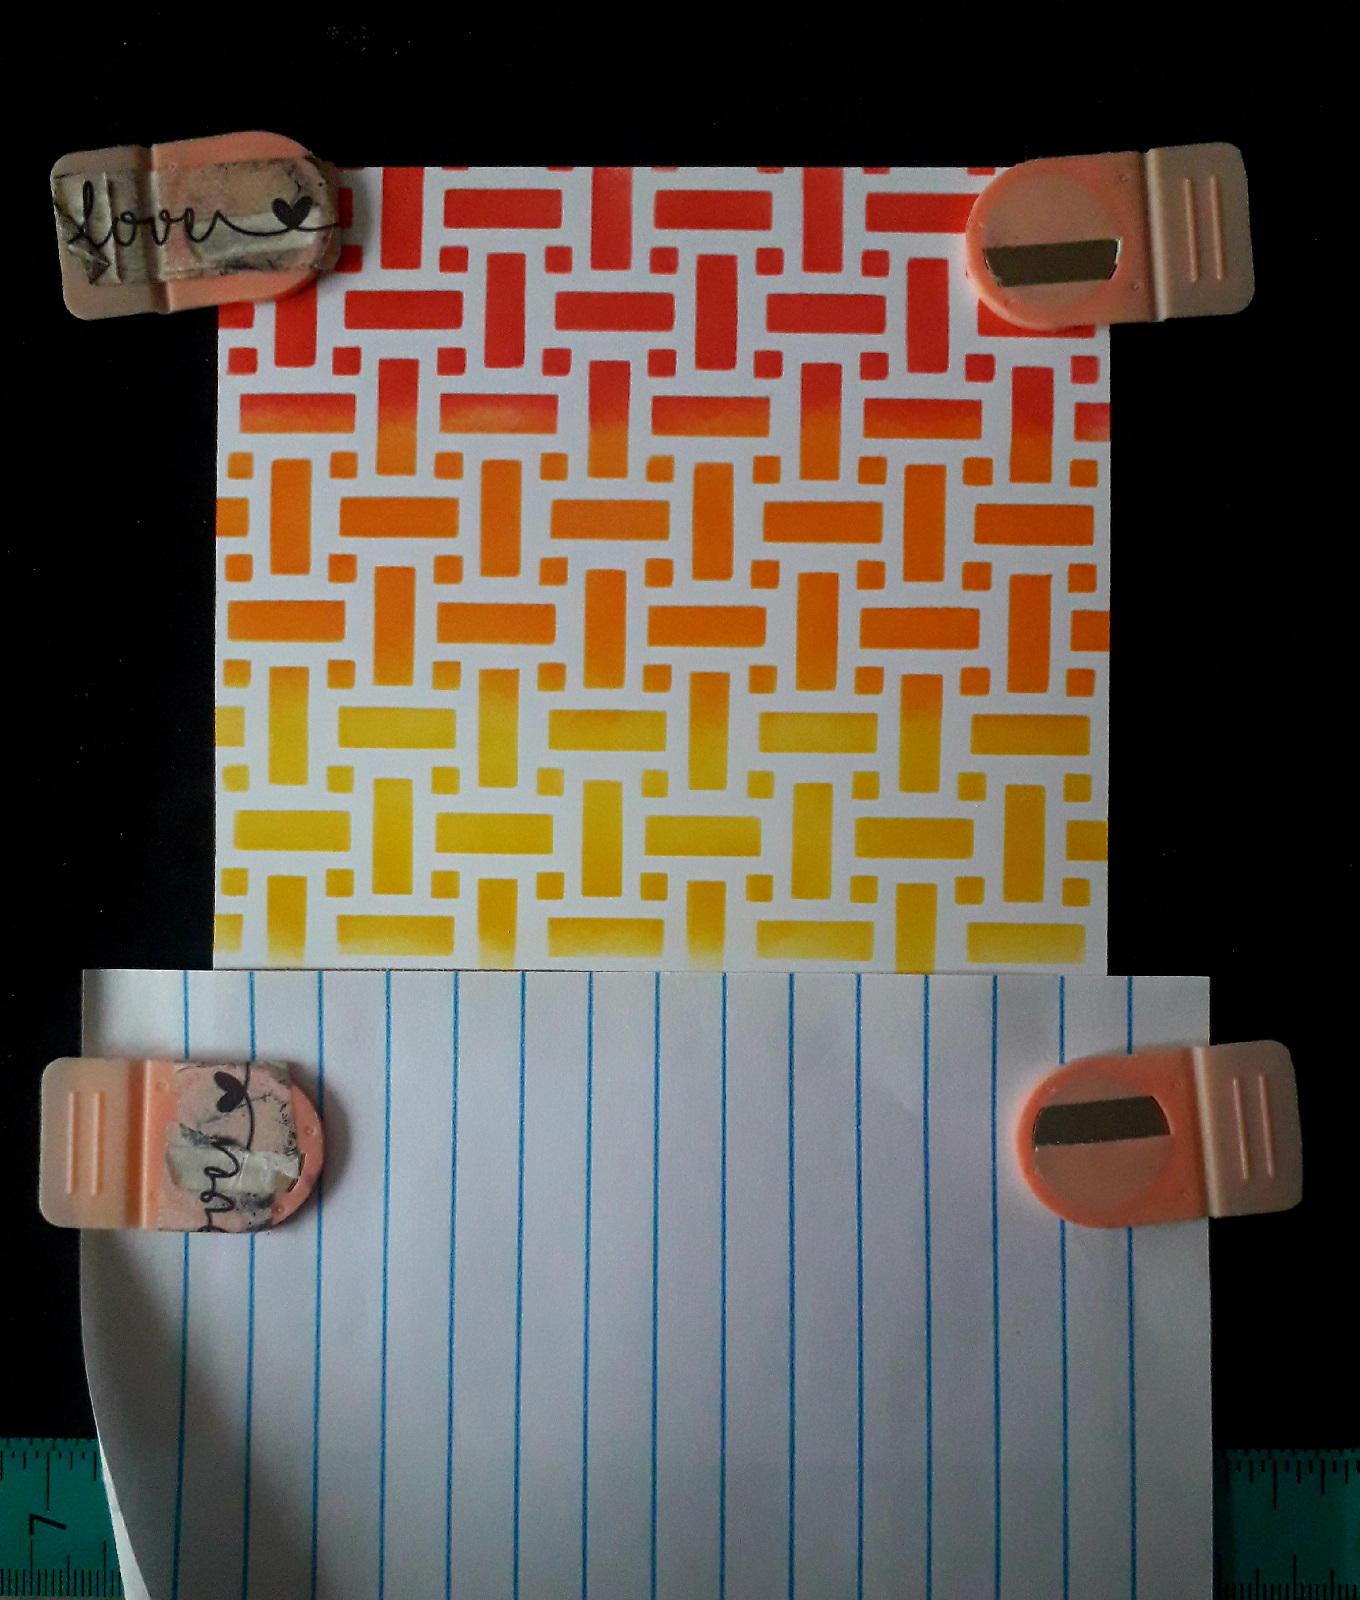
To create the background, blend mustard seed, spiced marmalade and candied apple distress oxide through the basket weave 6" inkable. Only covered the top two thirds of my 6.75 x 4.75 inch piece of card. This provides the vivid part of my make. Leave this to dry thoroughly. 
 
Next, rub an anti-static bag over the ink, then stamp the lace border, from the Dragonfly Art stamp set, using an embossing ink pad along the bottom edge of the stenciling. Cover with gold embossing powder, tap off any excess then heat set.

Place a post-it or a piece of paper, so that the top edge just covers the embossing and the blank part of the card. This was easiest to do in a stamping platform as the magnets kept everything in place.
Ink the top part of the image stamp, from the Dragonfly Art stamp set, using a black ink and stamp directly onto the background.

Use a damp paintbrush to add spiced marmalade distress oxide to the wings of the dragonfly, then when dry add deatil using a red gel pen.

Finally add a sentiment. This one is from the Everyday Sentiments 1 stamp set, then mount onto a 5 x 7 inch card blank.

Products used:
Post-it note
Anti-static bag
Embossing ink pad 
Distress oxide - mustard seed, spiced marmalade, candied apple 

Thank you for taking a look. This card could easily be recreated using different vivid colours, a different inkable, a different image and ribbon coukd easily replace the border stamp. Why not give it a go and see what you can create, then add it to the challenge folder in the Bee Crafty Facebook group. You could win free products.

Alison 

Wednesday, January 08, 2025

Sally CT - New Year, New Bird Notebook


Good Morning! Each year I have a little notebook in which we record birds we see in the garden each month. I had forgotten to pick up a notebook but fortunately I found one that I had cast aside as I couldn't get the label off. I decided it would do but I could get creative with the cover. 

Here it is before I started. 
First I cut the white edges off one of the A6 catalyst cards. This one is from set 1
On a piece of white card I stamped the Doodle art rainbow bird and sunshine in Versafine Clair black ink . 
I cut both out, leaving a small white border then painted them using Dina Wakley Gloss Drops, setting them aside to dry.  
On a scrap of black card I stamped the sentiment and embossed in white. I trimmed this ready for adding to the notebook. 
Finally I attached them all to the front of the notebook using Matte Medium. So much better don't you think? 
I used:
A6 notebook
A6 Catalyst Card - I used set #1 full colour
Dina Wakley Gloss Drops - I used Gnarly, Radical, Bodacious and Stoked
Versamark ink
I chose these bright colours as the current theme on the Bee Crafty Facebook challenge is 'Vivid', and I think this definitely fits the bill. The prize is a £20 stamp voucher, so definitely worth a go! I certainly won't lose the book, lol.
Thanks for looking! 

Sunday, January 05, 2025

Alison CT - Incredible

Hi everyone, today I'm sharing a step by step guide to creating this art journal page using an inkables easy frame, wordage stamps, a couple of other stamp sets and three catalyst cards.
To begin, I drew through the 4" star easy frame, using a pencil, onto three different A6 full colour catalyst cards.  I then cut the stars out.
I glued these stars down the centre of a page in my art journal.
Using embossing ink and white embossing powder, I added areas of the script background stamp.
On seperate card, I stamped three of the words, from the Incredible Words stamp set, using embossing ink. I added black embossing powder and heat set. I, then, cut them in to rectangular strips.
Next, I stamped two of the smallest bird from the Journaling Essentials 6 stamp set and one of the small burd from the Doodle Art Gerbera stamp set. I used embossing ink and black embossing powder then cut them out.
Finally, I glued the words and birds to the page.
Products used:
Embossing ink pad

Thank you for taking a look. 
Alison 
Wednesday, January 01, 2025

Sally CT - Happy New Year!

 Hi There! I often spend some time between Christmas and new year tidying my desk, and putting all the christmas stamps back in their folders so I can find them again (I have in the past lost things at this time of year). Once the desk space was clear I decided to do a little bit if journaling to welcome in 2025. I don't do new years resolutions, but I do like to choose myself a word or two to focus on with a positive mindset. How about you? What do you do?

I began by blending distress oxides across the pages. I used Picked Raspberry, Mustard Seed, Mermaid Lagoon and Wilted Violet. 
Next, I placed the mandala inkables onto the page and blended Black Soot Distress Oxide through them. I was thinking of using the same inkable twice, but changed my mind and used a different one as you will see in the next photo. 

Using an inkables skyline I added more Black Soot Distress oxide along the bottom of the page. 
I then added a few light sprays of Distress spritz in Fossilized Amber, Worn Lipstick and weathered wood. 
On a scrap of white card, I stamped the big numbers 2025 in Charming Pink Versafine Clair and cut them out. 
Finally I added these to the page along with sone wordy stickers using matte medium.
Here is the finished (?) page again. I may well add some white pen before I put it away😂
I used:
Mandala Inkables  - I used 4 and 7 
A square 5 inch journal 
Distress Oxide inks in Picked Raspberry, Mustard Seed, Mermaid Lagoon, Wilted Violet and Black Soot. 

Thanks for looking and I hope 2025 bring you joy and opportunities! I also hope you can treat yourself to something from the Twixmas sale which ends on 5th January! 

Sunday, December 29, 2024

Alison CT - Altered Playing Cards

Hi everyone, today I'm sharing my last five altered playing cards for the #beecraftydeck2024 challenge.


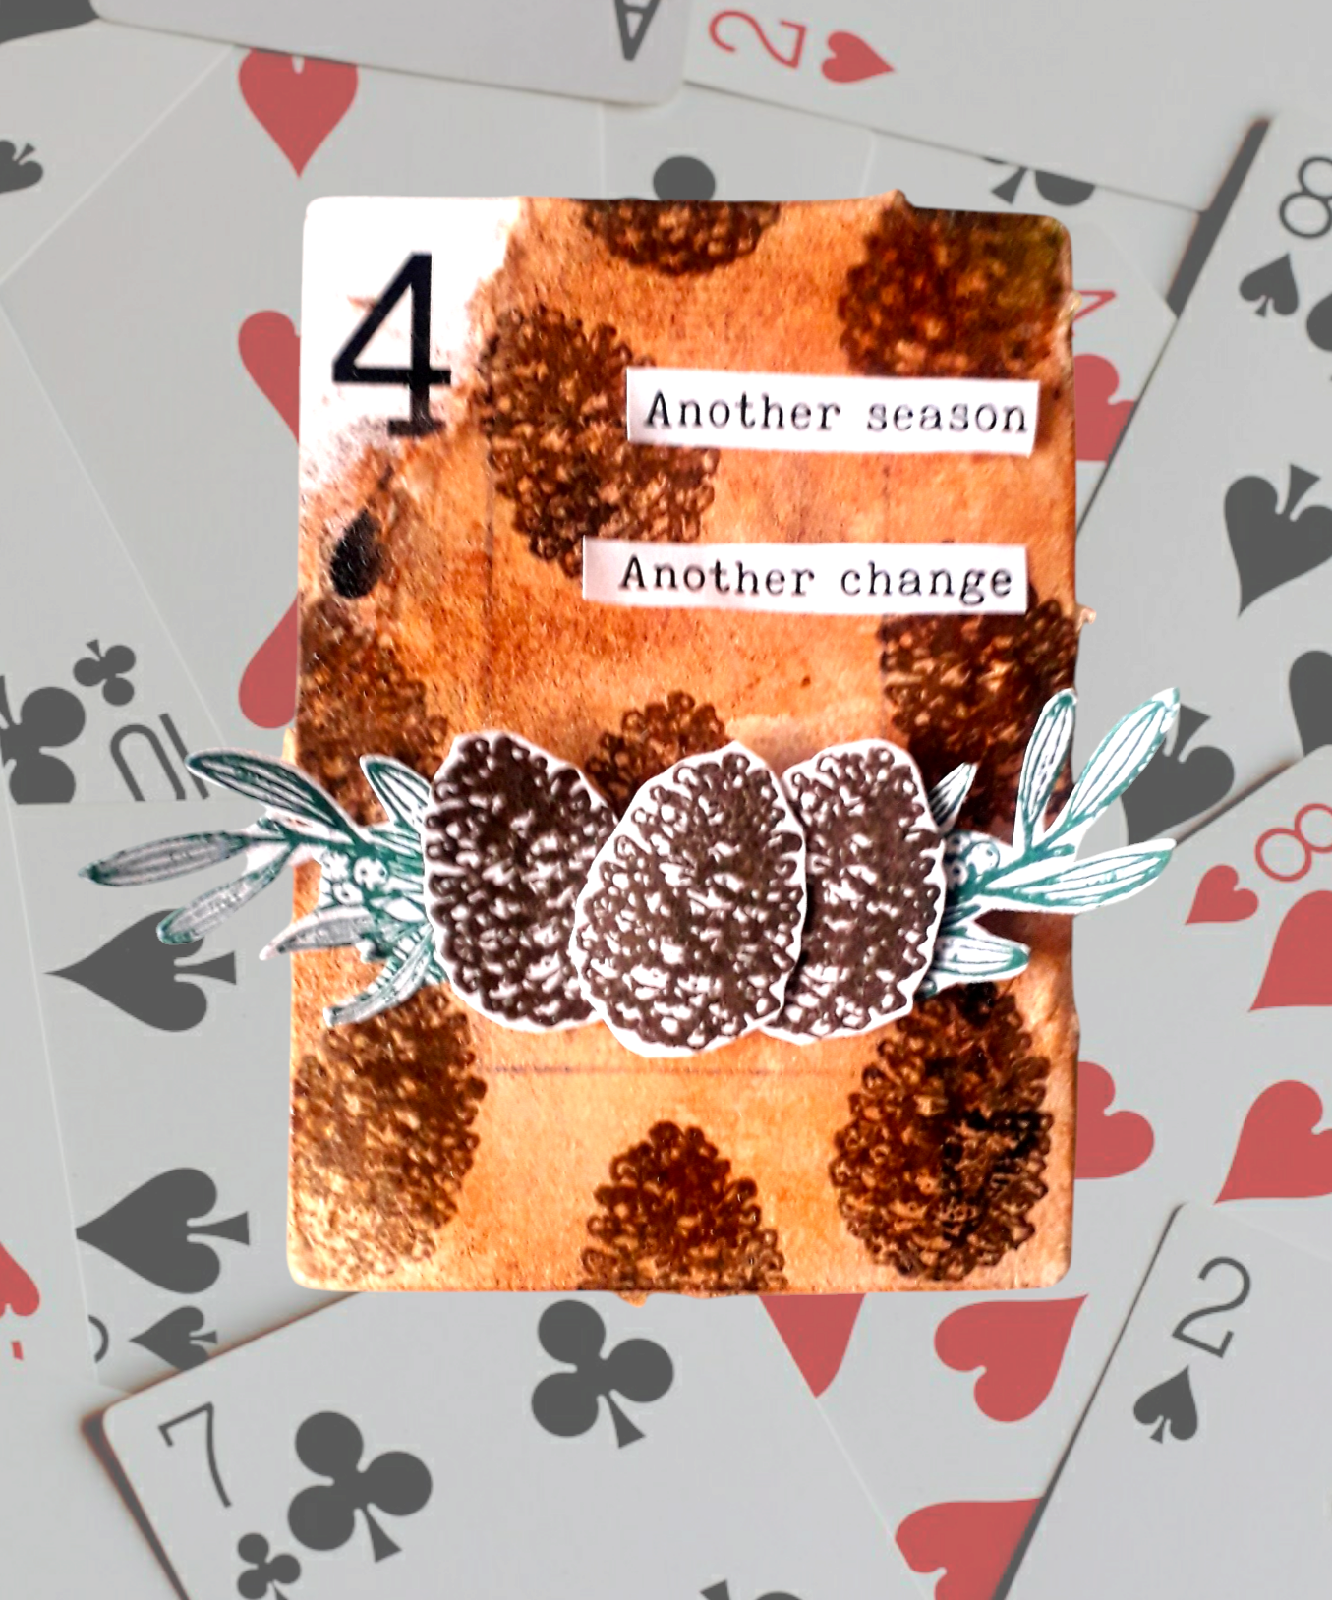
For the first one, week 48 pinecones, I have used tea dye distress ink to create a background. Then I stamped the pinecone from the wreath stamp set using versamark ink and heat embossed with Ranger scorched timber distress embossing glaze. I then stamped 3 cones on to separate card and heat embossed them with the same glaze. I stamped the leafy part of the wreath with versafine clair spruce ink and cut out the part I wanted. I glued the cones and leaves to the background and added a sentiment from the Christmas wordy stickers.

For the second one, week 49 bows, I created a background using the curckes and bakewell big ones with villainous potion and festive berrues distress ink. I added sari silk ribbon to make the card look like a parcel, then added the transparency bow from the yuletide sheet and a sari silk bow on top. Finally I added a sentiment from the Ticker Tape 4 stamp set.

For the third one, week 50 bells, I created a background using weathered wood distress ink through the arrows inkable tag from set 1, then added grit texture paste through the stars texture disc from set 3. After leaving thus to dry I added three sets of bells from the wreath stamp. These had been stamped using versafine clair nocturne and coloured using squeezed lemonade distress spritz and festive berries distress ink. Finally I added a sentiment from my stash.

For the fourth one, week 51 snowman, I began by stamping the words from the sniw birder, flakes and words stamp set using versafine clair warm breeze ink. Then I blended lost shadow distress ink through the snow flake dinkable from set 4 and grit texture paste through the splat dinkable from set 3. To create the snowman I blended lost shadow through the circles inkables big one and cut out 2 large and 1 small circle. I added snowman features using pens. I then glued the snowman to the card. I added a sentiment from the Winter wordy stickers.

For the last one, week 52 2024, I used a catalyst paper to create the background. On seperate card I stamped the 2024 using the numbers stamp set with versafine clair nocturne ink. I cut them out and glued them to the card. I then added spots of stickles glitter glue to each number. The sentiment is from the Winter Wordy stickers. 

Products used.
Big ones - Circles, Bakewell
Inkable tags - set 1
Dinkables - sets3 and 4
Art stamps - Wreath
Art stamps  - Numbers
Wordage - ticker tape 4
Distress ink - Festive berries, Villainous potion, Tea dye, Weathered wood, Lost shadow 
Distress embossing glaze  - scorched timber
Distress spritz - squeezed lemonade 
Versafine Clair - nocturne, warm breeze, spruce
Sari silk ribbon
Stickles glitter glue


Thank you for taking a look.
Alison 

Sunday, December 22, 2024

Butterfly heart

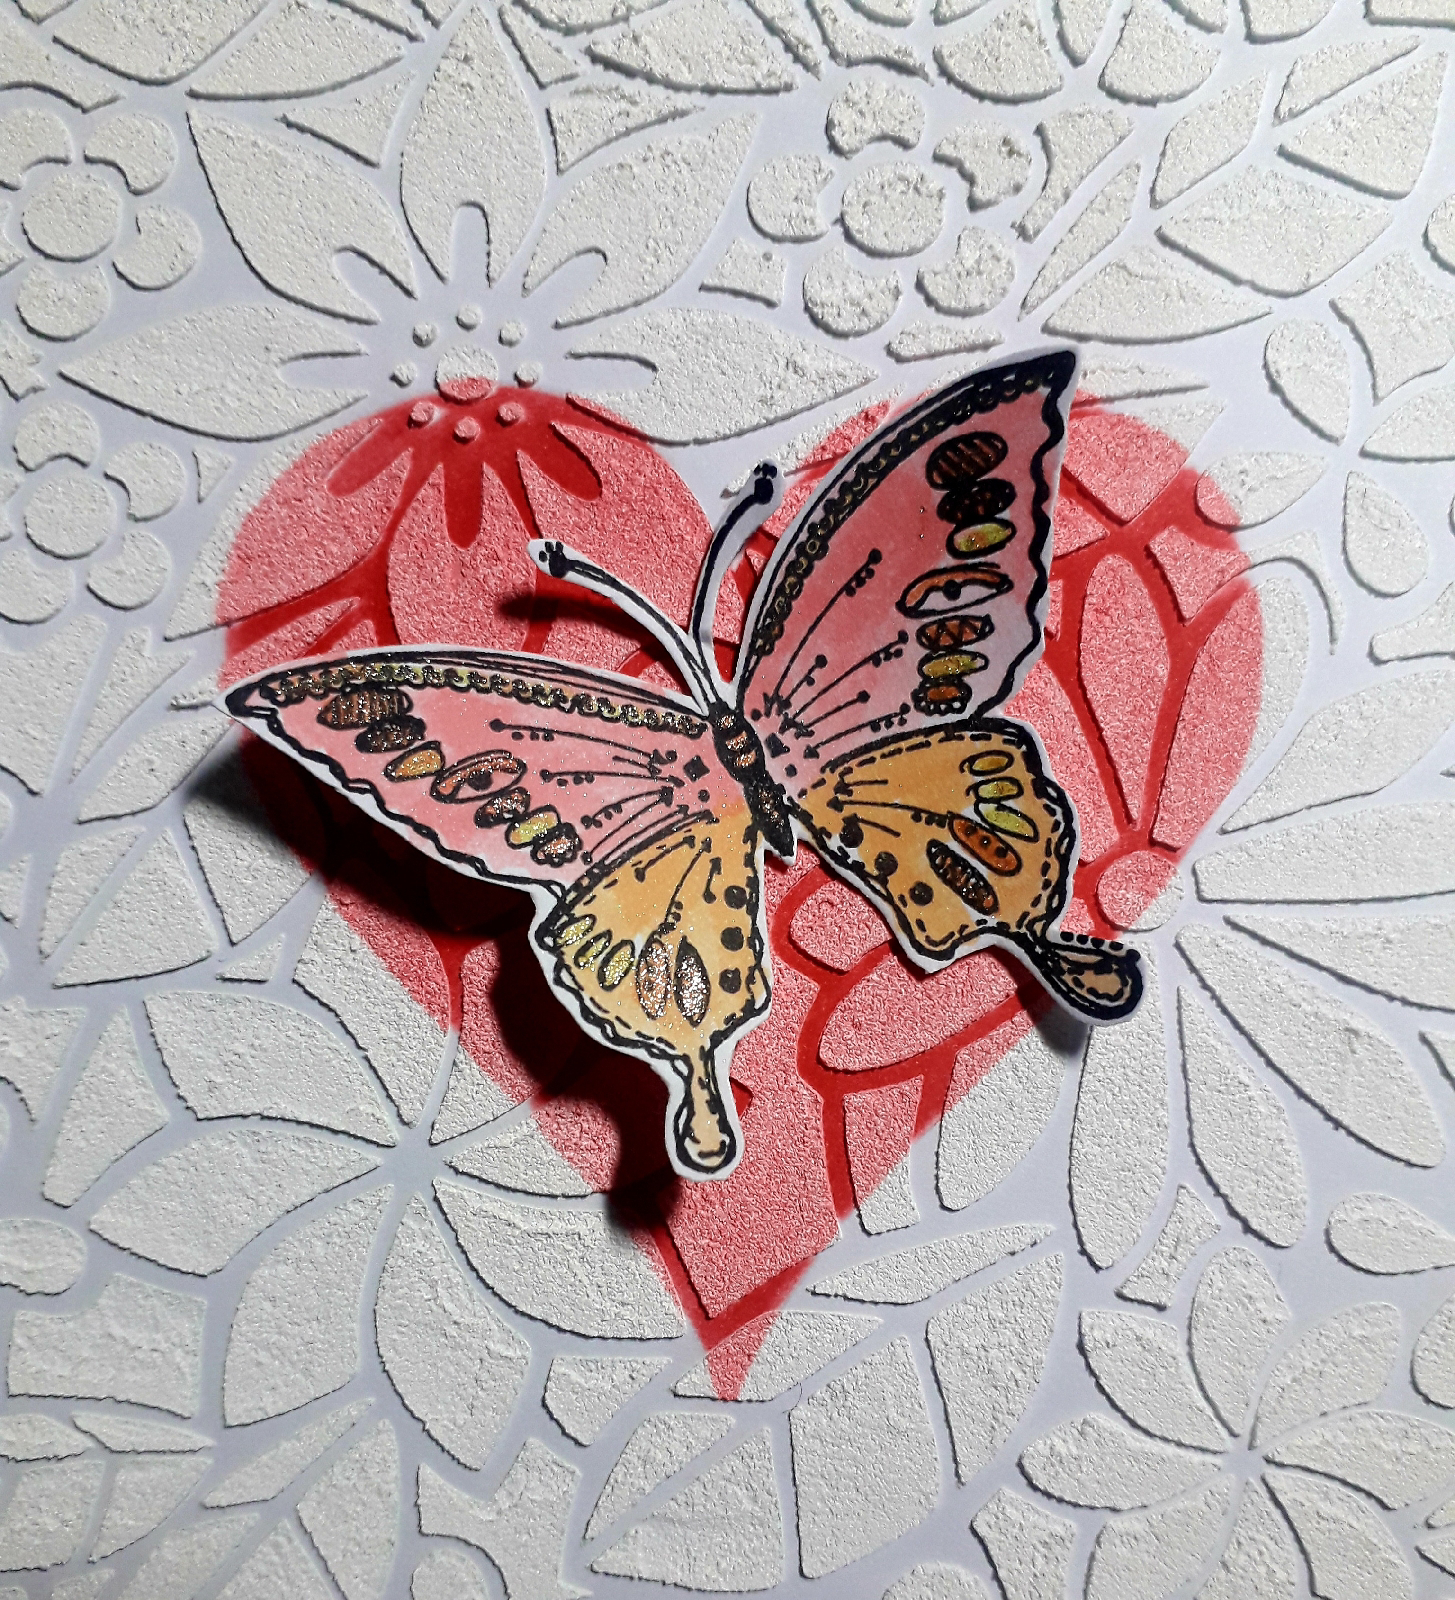
Hi everyone, today I'm sharing a step by step guide to creating this card using an inkables big one, two stamp sets and and an easy frame.
 
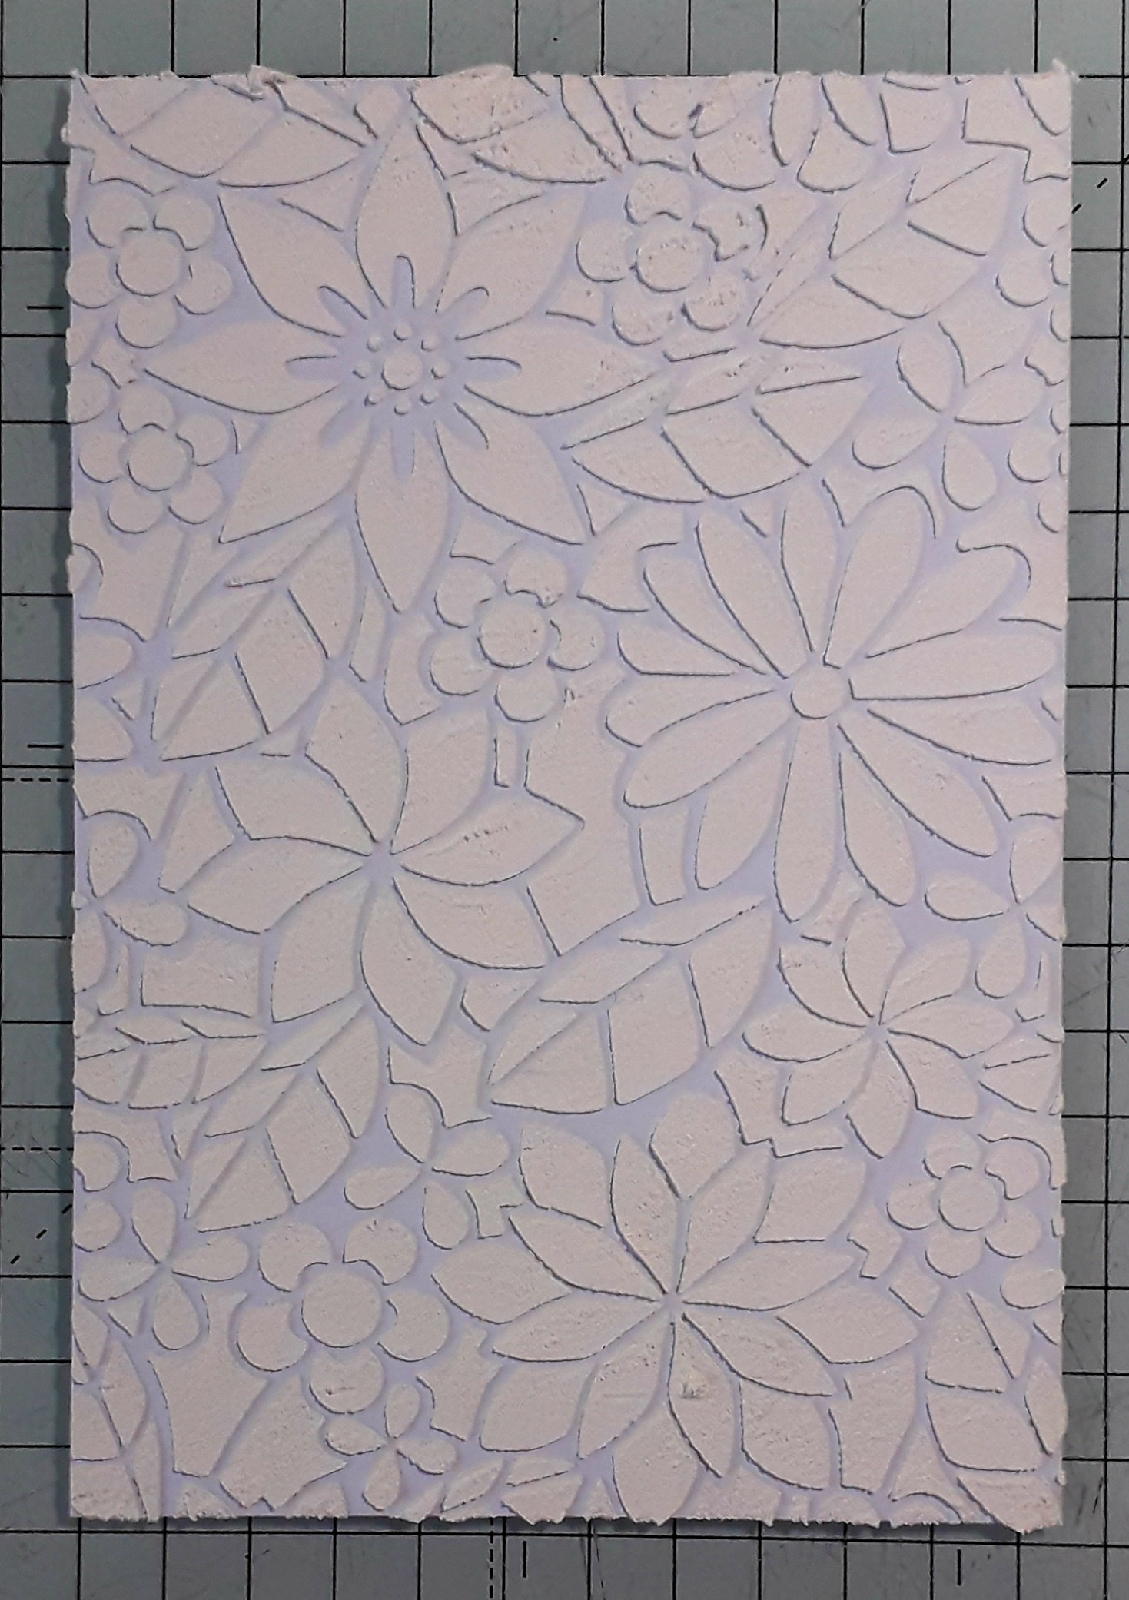
To begin I added grit paste through the botanical garden big one on to a piece of six and a half by four and a half inch piece of card. I left this to dry thoroughly. 
Next I carefully used the four inch heart easy frame to apply festive berries distress ink over the texture paste.

I then glued this to a five by seven inch card blank.
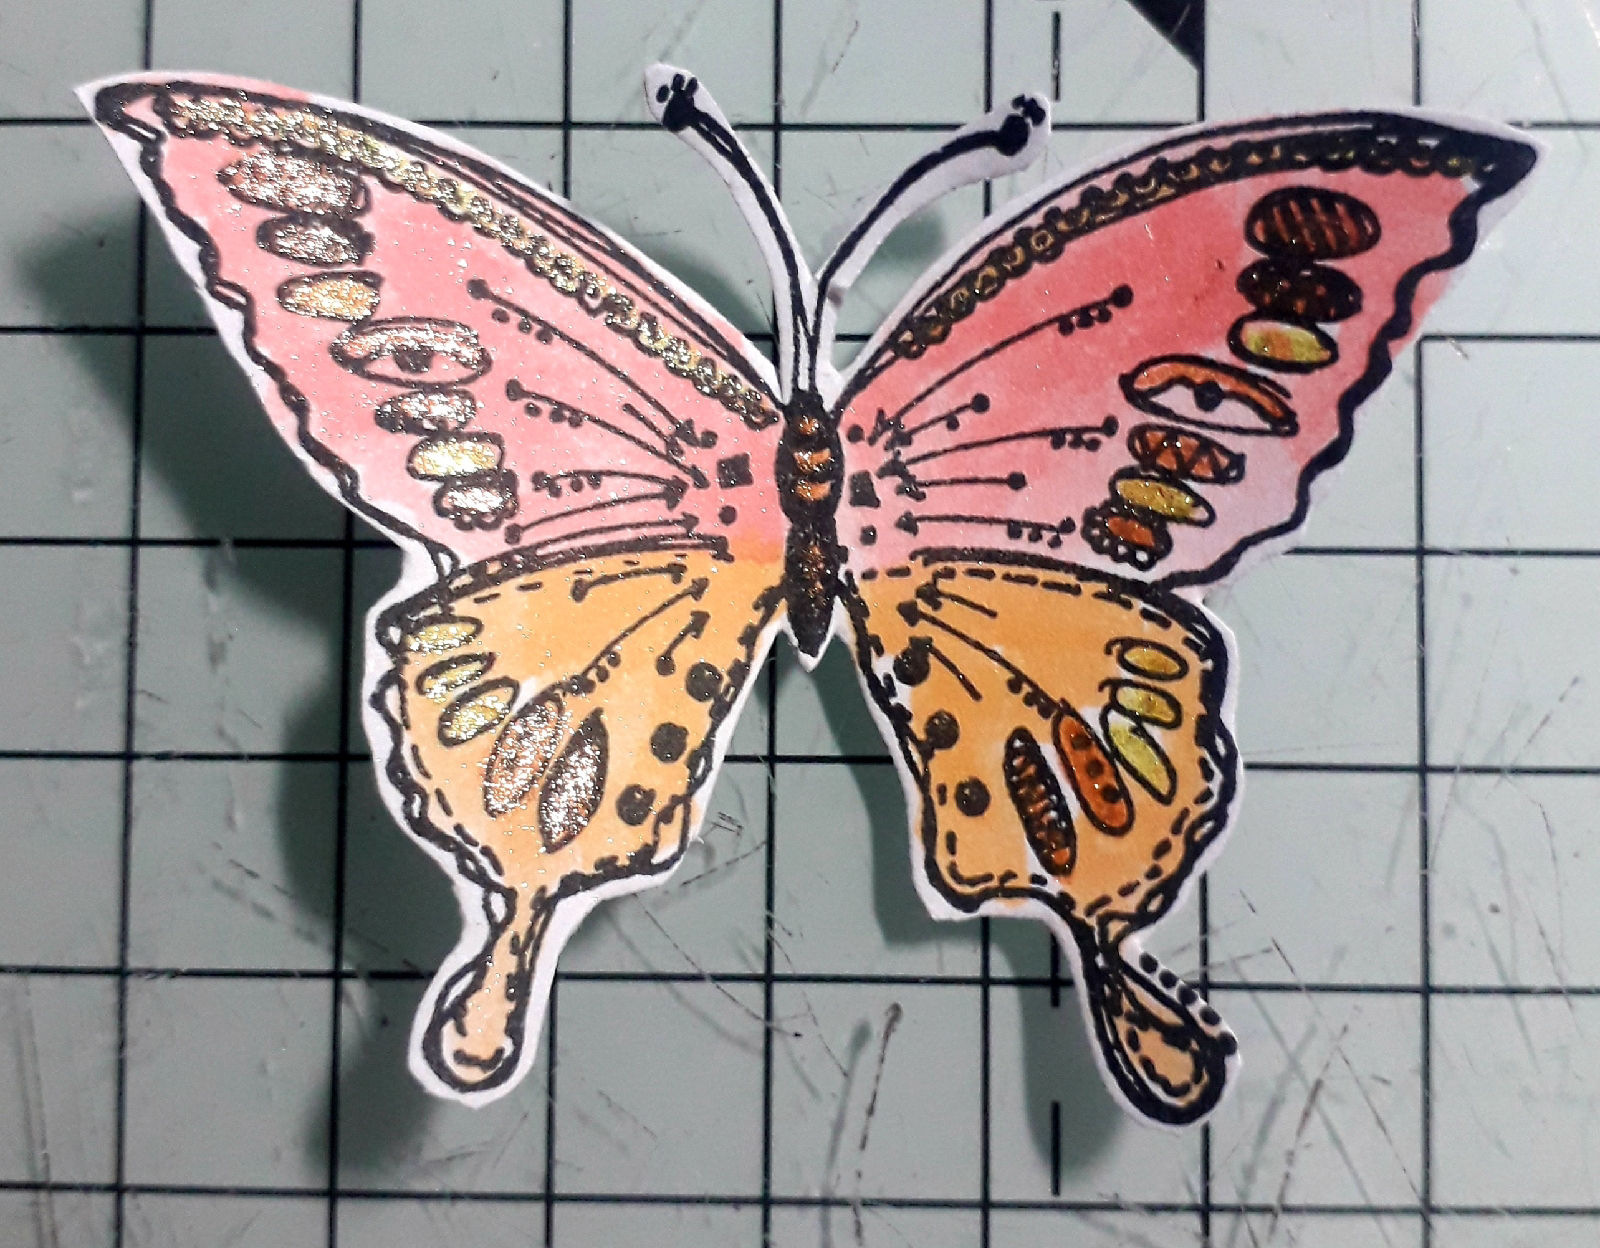
On seperate card I stamped the Doodle Art Butterfly and coloured it with glitter gel pens. I cut it out.

I then glued it over the heart on the card.
Finally I stamped a sentiment from the mixed messages 4 stamp set, cut it out and inked the edges with festive berries distress ink and glued it to the card.
 
Products used:
4 inch heart easyframe
Distress grit paste
Festive berries distress ink pad
Versafine Clair nocturne 

Thank you for taking a look. 
Alison 

Wednesday, December 18, 2024

Sally CT - Home note card


Hi There! Thought I would show you how I made this card today. 

I began by stamping sky terrace on to an A6 piece of greyscale catalyst card. 
Next I tore some strips of coloured catalyst card to make the hills. I chose 3 which contrasted in colour, playing with them until I was happy with the arrangement. 

on another piece of coloured catalyst card I painted a thin layer of gesso to make the colours a bit less vibrant. 
I blended a little mermaid lagoon ink onto the gessoed card too. 
After sponging a little walnut stain Distress oxide around the edges of each layer, I began to stick them together using matte medium. I tucked the edge of the house into the last layer.  
I attached the papers to the front of a 6x4" white card and added the Home sticker from the Winter wordy stickers. 
Here is the finished card again. 
I used: 
A6 Catalyst cards #1 Greyscale and full colour
Distress Oxide ink - Mermaid lagoon and Walnut Stain

Thank you so much for looking! Wishing you a wonderful festive season!
Related Posts Plugin for WordPress, Blogger...