Thursday, July 17, 2025

Calee CT - Work of Art


Hello , this week I have a small tile / coaster  for my step by step . I was lucky to be given an assortment of grey board so decided to see what I could create with the small 4in by 4in piece.

My first step was to choose a catalyst collage paper to use. I liked the idea of using one of the beautiful girls from the Painted Gaze collection . This  A5 one fitted really well . 

After playing around to see the actual piece I wanted to use , I cut it roughly to size and glue it down . 

When it was fully dry I gave it a quick sand around the edges to remove any excess and to help blend the catalyst paper on to the grey board . 

The next step was to ink around the tile , for this I used Distress ink in Villainous Potion .


Next I added a little  stencilling though this small circles D’inkable from set 2 , using distress ink Blue Print Sketch and added a few hand drawn hearts with a bright pink paint pen . 

With a sentiment from the Wordy Stickers 3B sheet and a stitched boarder in white posca pen my small work of art was complete . 
Thank you for stopping by and taking a look . 
Happy crafting 
Calee
Below is a list of the products I used this time 
A piece of grey board  , a white posca pen and bright pink  paint pen . 

Wednesday, July 16, 2025

Sally CT - You are Strong Journal spread

Hi There! I thought I would share a journal spread using the A5 Catalyst Collage papers today. Here's how it came together. 

I began by tearing the paper from the A5 Painted Gaze set to fit on my 5x5" journal page.
Next, I sponged Distress oxide inks in Wild Honey and Antique Linen across both pages. 
Using Picked Raspberry and Uncharted Mariner Distress Oxide ink, I  stamped some of the Journal Art Elements 3 circles around the page. 
I also added some ink blended circles using a dinkable and the same pink ink. 
Now this background was prepared I added the collage paper to it using matte medium. 
The edges needed to be disguised a little so I added more stamping using the Journal Art Elements 3 and the Doodle Art Blooming blooms stamp sets. 
Once I was happy with the extra stamping, I used the Incredible Words stamp set to add some words in versafine Clair ink. I knew I had see the ampersand (and sign) somewhere so set about thinking where 😆
On a separate piece of paper, I stamped some of the larger flowers from the blooming blooms set using Versafine Clair ink. I coloured them using coordinating Ecoline pens and a damp paint brush, before cutting them out. 
Finally, I remembered the Ampersand was part of the typewriter Alpha set, and added that to the page along with the extra flowers. 
I used:
Catalyst collage papers - A5 Painted gaze
Dinkables Set 3
Distress Oxide inks - I used Wild Honey, Antique Linen, Picked Raspberry and Uncharted Mariner.
Black Versafine Clair ink
Ecoline pens
Matte Medium

Thanks for looking! 

Sunday, July 13, 2025

Alison CT - Vintage doesn't have to be brown

Hi everyone, today I'm sharing a step by step guide to creating this vintage style card and showing that vintage doesn't have to be brown.
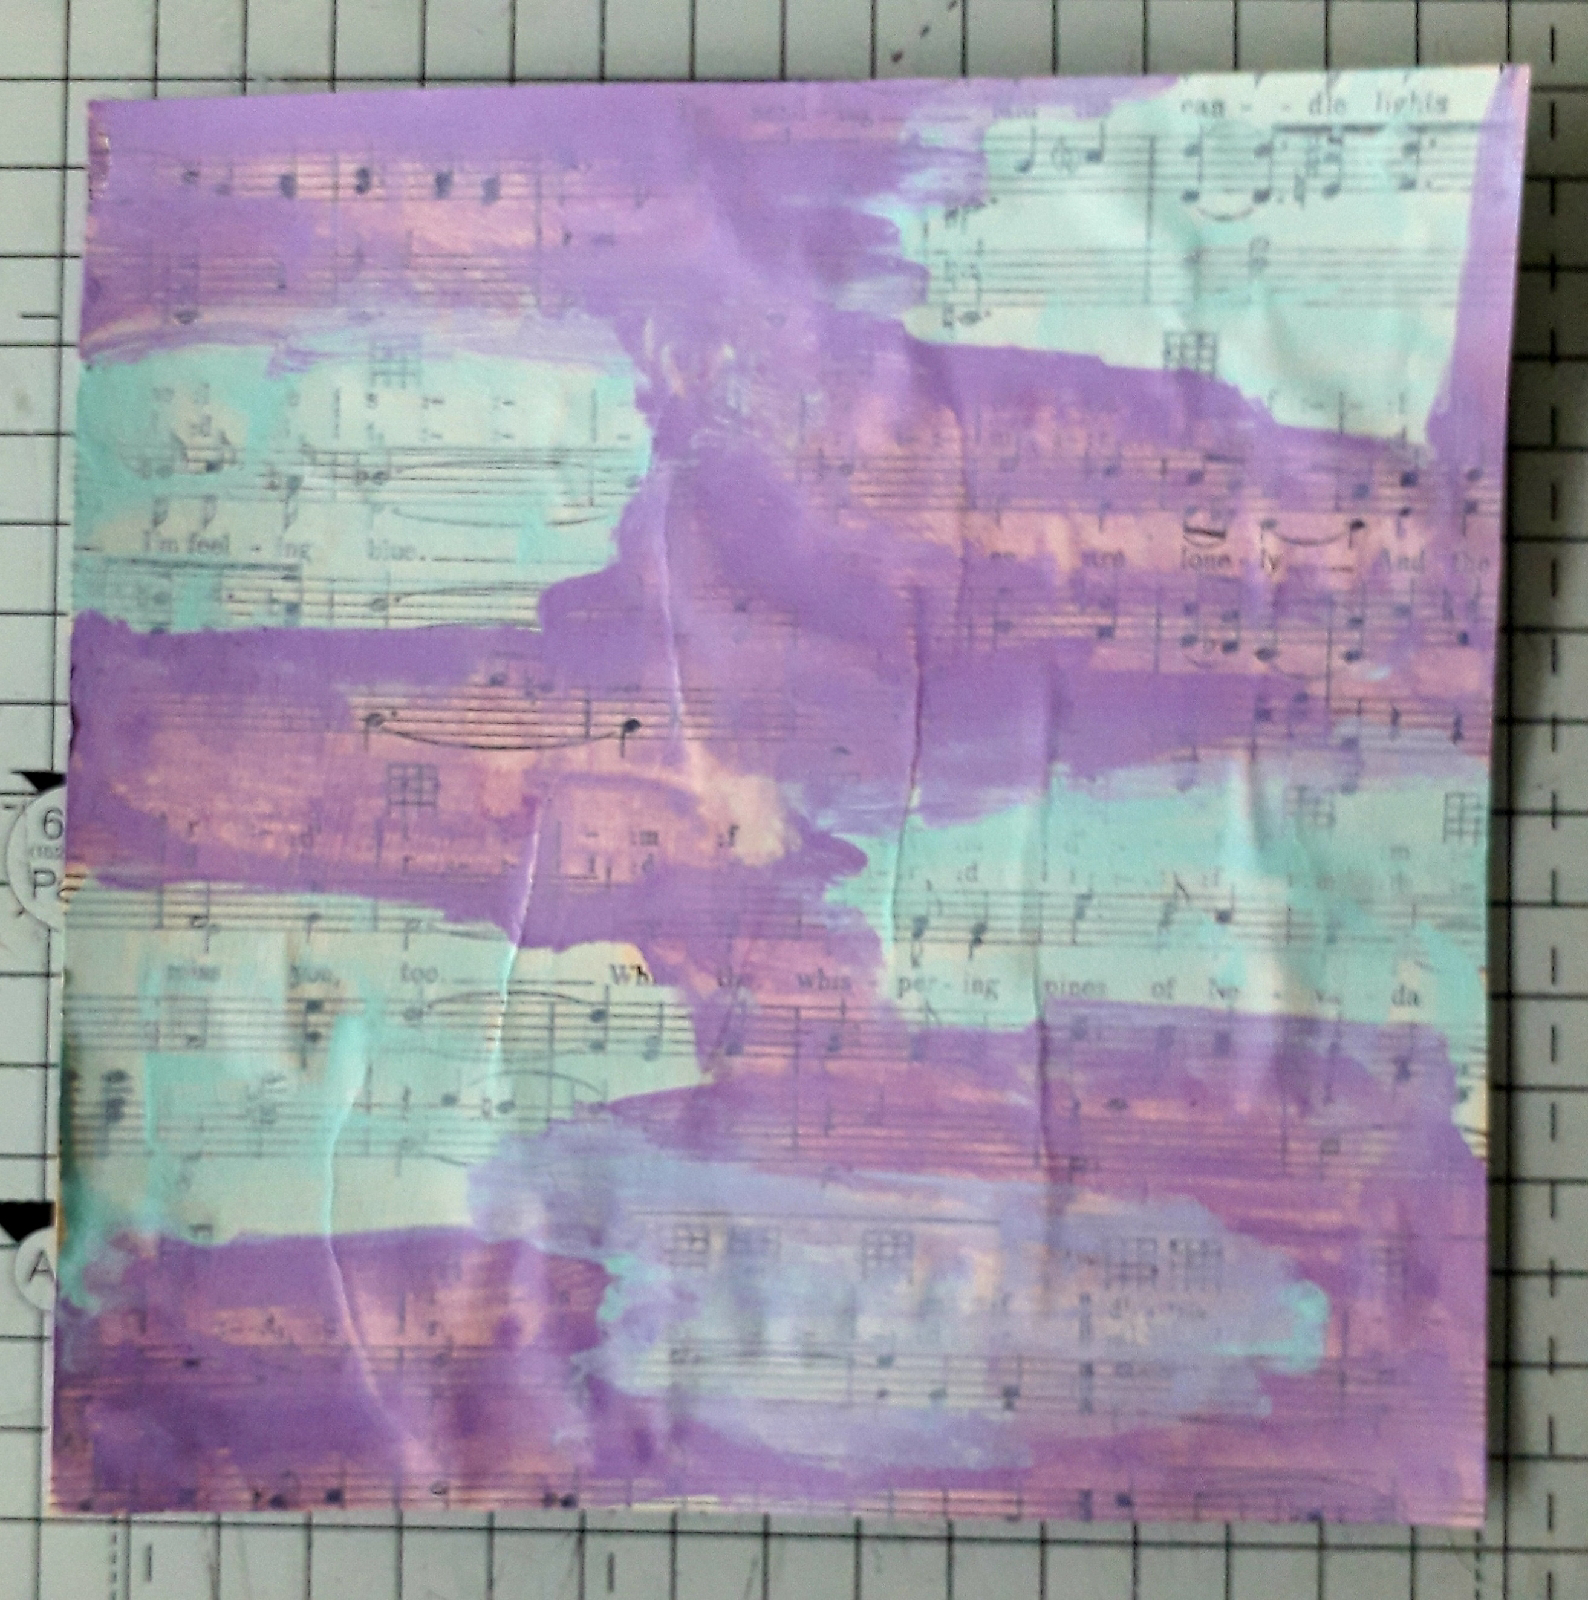
To begin I cut a piece of card and a piece of old music manuscript to 6 x 6 inches and then used matte medium to glue one to the other. 
Once the glue was dry, I painted over the manuscript with lavender and watery Dina Wakley acrylic paint. This I left to dry completely.
 
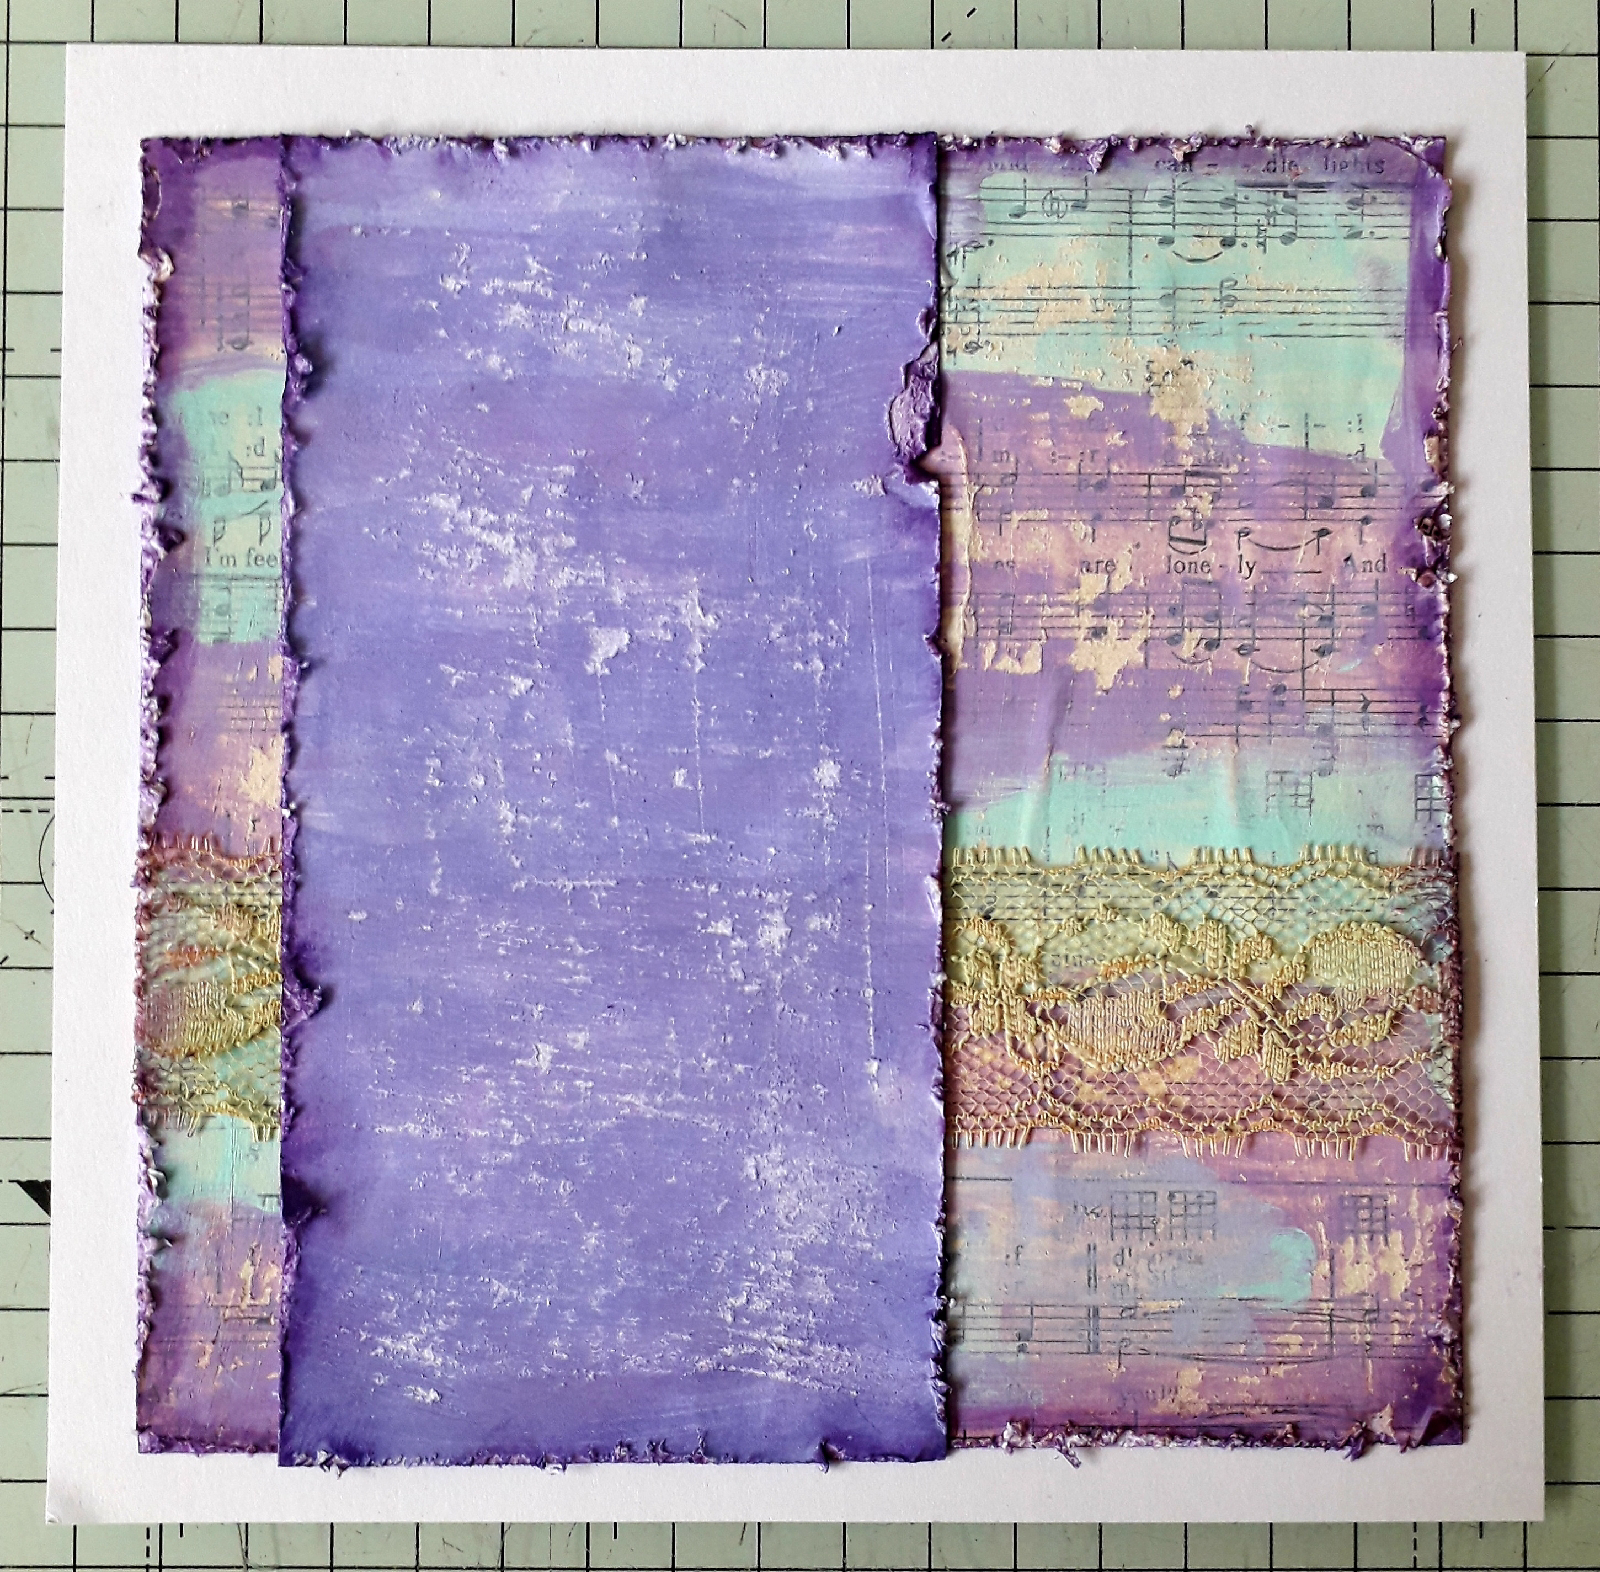
To add to the vintage look, I used one of the blades of my scissors to rough up the edges of the piece.
Then, I rubbed a sanding block over the painted areas to distress them.
Next, I cut a piece of white lace to the correct length to go round my card. I swiped my antique linen distress oxide pad over it to give it a more aged look.
Using double sided tape on the back of the card, I stuck the lace about one third up from the bottom. I then blended Versafine Clair Monarch ink around the edge of the card. 
Next I glued this to a 7 x 7 inch card blank.
Then I created a panel that is 6 x 3 inches, and using lavender Dina Wakley acrylic paint mixed with a small amount of sapphire acrylic I painted it so it contrasts with the background. I roughed the edges and sanded the paint back and blended Monarch ink around the edges.
I then glued this to the left of my card.
On seperate card I stamped the dancing daisy. I coloued it with milled lavender, shaded lilac, forest moss and antique linen distress oxide ink. I cut it out.
To creare the sentiment,  I inked the words Be your Own and stamped them on to a piece of card. I cleaned the stamp then inked the word cheerleader and stamped it under the other words. I cut it out and roughed the edges and blended Monarch ink around it. I then glued the daisy and sentiment to the card.
Products used:
Doodle Art Dancing Daisy stamp set 
Wordage Mixed Message 3
Old music manuscript 
Versafine Clair  - nocturne,  monarch
Distress Oxide - antique linen,  forest moss, shaded lilac, milled lavender 
Dina Wakley Acrylic Paint - lavender, watery, sapphire

Thank you for taking a look. I hope you have a go, maybe using different colours, at entering Sally's challenge in the Bee Crafty Stamps Facebook group. 
Alison

Thursday, July 10, 2025

Calee CT -Vintage Tag

Hi , this week I have some more vintage inspiration for you with this tag. I have also used various different materials to give added texture . 

My first step was to give the whole tag a vintage colour with distress ink - Vintage Photo , concentrating more on the edges to give them more depth of colour . 

Next I use the Background script Art stamp , with the same ink pad , stamping randomly all over the tag . 

My next step to create more texture was to take a sheet of rice paper and colour this with the same ink , just rubbing it over the sheet until I achieved the colour I wanted .  This was then torn into pieces and glued on to my tag .

I then distress the edges of the rice paper , giving them a curl . 
Next I stamped out a couple of leaves from the  Journaling essentials #7 Momento ink in Pine cone and Distress ink Fossilised Amber . 


Next I gave all of the edges of my tag a distressed feel by scuffing them with a pair of of scissors and them tearing out a couple of notches . 

This was added to with a couple of large coffee stain stamps from the Art stamp set of the same name .


Then taking a piece lace ribbon I gave it a vintage look  colouring it with Vintage Photo Distressed ink . 

The ribbon was the wrapped around my tag a couple of times and the stamped and cut out leaves tucked behind it. 


My next step was to stamp out and colour this bird from the Doodle Art Rainbow Birds stamp set . This I coloured with Ecoline watercolour pens in shades of purple and pink . I also stamped out my sentiment in a similar shade of purple - Distress Villainous Potion . These were then both given a light brushing of Vintage Photo Distressed ink to give them a more vintage tone. 


 Here’s is my finished tag , with the bird added and my sentiment mounted on some corrugated card . I also added a few paper flowers from my crafty stash . 
I hope you like it , I have used a few extra bits and pieces this week from my crafty stash but feel even if you don’t have these , this tag would still work without them . 
Happy crafting 
Calee 
Here’s is a list of the products I use to make my tag :
I also used from my craft stash , some lace ribbon , scraps of corrugated card , rice paper and some small paper flowers. 

Wednesday, July 09, 2025

Sally CT - A vintage card


Hi There! With our Challenge theme on the Bee Crafty Facebook group being Vintage I thought I would show you how I created this vintage style card. 

I began by blending Vintage Photo Distress ink across a piece of card measuring  4x4" .
Next I randomly stamped patches of the Crackle stamp in Tea Dye distress ink.
I also used the Tea Dye ink to add some shading using the distressed diamonds dinkable. 
After that I added some stamped leaves in the same colour. 
I decided that the background needed some contrasting colour, so added some stamping using Bundled sage and the Journal Art Elements #3 stamp set. 
on a separate piece of card I stamped the large Dandedaisy using Pinecone Versafine clair ink
I coloured it using washable pens and a wet paint brush and cut it out. 
I found a scrap of card that was blended with vintage photo ink, and stamped the sentiment using the Versafine Clair ink on to it, before cutting it out.  
Finally I added the background to an ivory deckle edged card, then added the flower and sentiment using 3d foam pads. 

I used: 
5x5" deckle edged card
4x4" piece of white card
Distress ink in Vintage photo, Tea Dye and Bundled Sage
Watercolour medium (I used washable pens) 
versafine clair ink (I used Pinecone)

Hope this inspired you enough to have a go at this month's challenge! 
Thanks for looking! 

 
Related Posts Plugin for WordPress, Blogger...