Wednesday, November 22, 2023

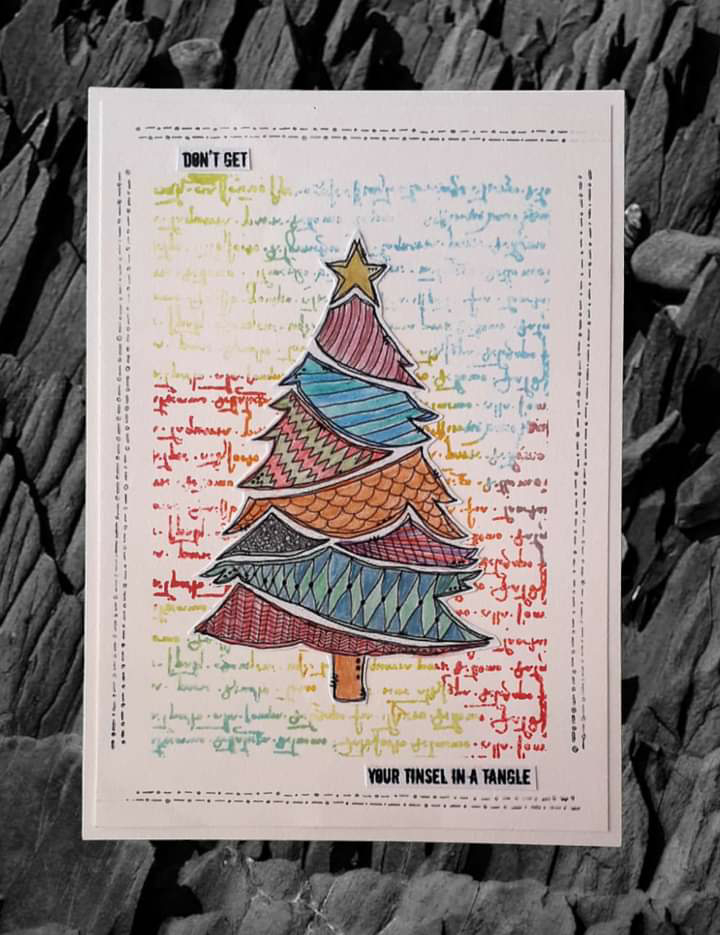
Sally CT - Tangled Tinsel Journal Page

Hi There! Are you feeling a bit frazzled at the mention of Christmas? Me too! This journal page is a reminder to me to not get my tinsel in a tangle with the preparations! Here is how it came together.

I began by painting a section of the page with black gesso.
Once this was dry, I used stickles gel through the star Dinkable from set 1 to add to the background. 
On a scrap of white card, I painted lines of the Dina Wakeley gloss drops in blended stripes.
When this was dry, I stamped and clear embossed the Christmas tree on to it, cutting it out carefully.
I attached it to the page using matte medium.
Using a scrap of the painted card, I stamped the tinsel mixed message, then stamped It's Christmas onto a piece of white card. I trimmed both carefully with scissors and added to the page.
Finally, I added some more stickles along some of the tree sections and onto the star. 
Here is the finished page once more. 

I used:

Thanks for looking and I hope you manage to keep your tinsel untangled in the run up to the festive season! 

Sunday, November 19, 2023

Alison CT - Three Butterflies

Hi everyone, today I'm sharing an art journal page created using my favourite butterfly stamp from Bee Crafty.
To begin I created a background by blending mustard seed, stormy sky and tumbled glass distress oxides across a page in my art journal.

Next I used the honeycomb dinkable, from set 1, with stormy sky distress oxide. I also drew through it with a black micron pen.

Then I used the dots and lines texture disc, from set 4, with salvaged petina distress oxide to add more to the background.

Next I used the cross dinkable, from set 12 to add texture paste to the page.
Then I used a selection of stamps from the stitched borders and coffee stains stamp sets, with versafine clair nocturne ink, to create a central panel.

Next I stamped the script stamp, using versafine clair nocturne, over my stamped panel. I did not worry if it did not stamp fully or clearly.

Then I added two of the largest butterfly, from the birds and butterflies regular stamp set, and stamped one at the top left and one at the bottom left, overlapping them with my stamped panel using versafine clair nocturne.

On seperate card, I stamped another of the same butterfly using the same black ink. I coloured it with salvaged petina and mustard seed distress oxides by smooshing a little of each ink on my blending mat and picking up with a wet paintbrush. When this was dry I cut it out and glued it to the centre of the stamped panel.
Finally I added a sentiment from the moon and stars sentiment stamp set.

Products used:
Distress oxides - mustard seed, tumbled glass, stormy sky, salvaged patina
Dinkables - sets 1 and 12
Art stamps - script background, coffee stains, stitched borders
Art stamps - birds and butterflies
Wordage stamps - moon and stars sentiments
Micron pen - black

Thanks for taking a look.
Alison

Friday, November 17, 2023

Lynne Guest CT - Not A Stamp In Sight (well, unless you look very closely!)

 Hi everyone!

I was thrilled to be asked by Bev and Sam to do a few blog posts for them as a guest CT, and here is my first post!

I’ve been stamping and cardmaking for well over 35 years, but never really did much with stencils. My early experiences with stencils were the sort of basic designs made from a type of oiled card or cut from thin flimsy acetate, such as you’d find in a child’s drawing and painting set, and I really couldn’t see where they would fit into my cardmaking.

However, that all changed when I discovered the gorgeous Inkables from Bee Crafty, and all the possibilities they offer! So for this post I decided to see what I could do just using Inkables, the only stamping to be the sentiments.

For my first card I made a background on mixed media paper (Talens Art Creations) with Dina Wakley gloss sprays. I didn’t want the characteristic speckled effect, though, and I don’t (yet!) have the new Gloss Drops, so having first lightly misted the paper with water, I used a paintbrush to apply the paint. When it was dry, I stencilled on top with a dinkable from Set 12, using a fine tip pen to draw round the outlines in one corner, and colouring through it with waterproof brush pens in the other (water based pens won’t dry on top of the gloss paints). The flower, from Inkables Texture Discs Set 4, was outlined with the fine pen, then I added some extra shading around the outside to make it stand out better. The sentiment from Mixed Messages 1, embossed in white, completed the card.


My second card uses the Botanical Gardens Inkables Big One  which I dry embossed on to the purple panel by putting it through my die cutting machine, and then sponged through it with various Distress Oxide inks to make the background for the dragonfly. I drew around the mask part of the Dragonfly Easy Frame (4”) set  on to a scrap of Catalyst Paper  and cut it out. The Dragonfly sentiment is from the Dragonfly stamp set 


My final project is a page from my Grafix Mixed Media Journal. My very first Grafix page, as it happens! I’ve had the journal for quite a long time, and although I loved the idea of it I was quite nervous of actually doing anything with it! The crafter’s advice “have a go, experiment, it’s only a bit of paper” didn’t work here, as the journal pages aren’t paper, they’re plastic! However, I told myself that if I didn’t have a go, I’d have wasted my money buying it anyway, so I bit the bullet and got out my alcohol inks.

I chose the Dura-lar Matte page for my first attempt, as it seemed as though it would be the most forgiving. I dabbed the ink on to the page with felt pieces attached to a blending tool, and found that the colours merged beautifully. Then, having watched a very helpful video by Kate Crane, in which she showed a couple of different techniques, I drew round a few of the motifs from the Botanical Gardens Big One with a Sakura Micron Fineliner pen which is waterproof and writes on plastic. Next (and this was the magic bit!) I removed the ink from the motifs with alcohol ink blending solution (isopropyl alcohol does the same job). I drew sketchily around the flowers with a white Posca pen and added a few details with the Micron pen.

I followed the same method for the two butterflies, which are from the Butterfly Away Inkable and finished with the sentiment from the Doodle Art Dancing Daisy stamp set which I diecut and attached to the page with Distress Collage Medium. 

I was quite happy with the page, but felt it really needed something more. The beauty of the Matte Dura-lar is that it is translucent, so I made a second page by cutting one out of a piece of ordinary card, to which I adhered an old book page, sponging lightly over it with Distress Oxide ink. I placed it behind the Dura-lar page, and the book print shows through the areas where the ink was removed, as hopefully you can see in the photo.


Anyway, having successfully achieved my first Dura-lar page without the disaster I was fearing, I now have more confidence that I can go on to complete the rest of the journal!

I hope that I’ve provided some inspiration for some different ways to use the brilliant Inkables, with (apart from the sentiments) not a stamp in sight!

Thanks for looking!


Here are the links for the products I've used:

Talens Art Creations Mixed Media Paper

Dina Wakley Gloss Drops

Dinkables Set 12

Texture Discs Set 4

Mixed Messages 1

Inkables Big Ones Botanic Garden

Dragonfly Easy Frame

Catalyst Papers 2

Dragonfly Stamp Set

Grafix Mixed Media Journal 6"x6"

Sakura Fine Liner Pen

White Posca Pen

Inkables Butterfly Away

Dancing Daisy Stamp Set

Distress Collage Medium


Lynne

Wednesday, November 15, 2023

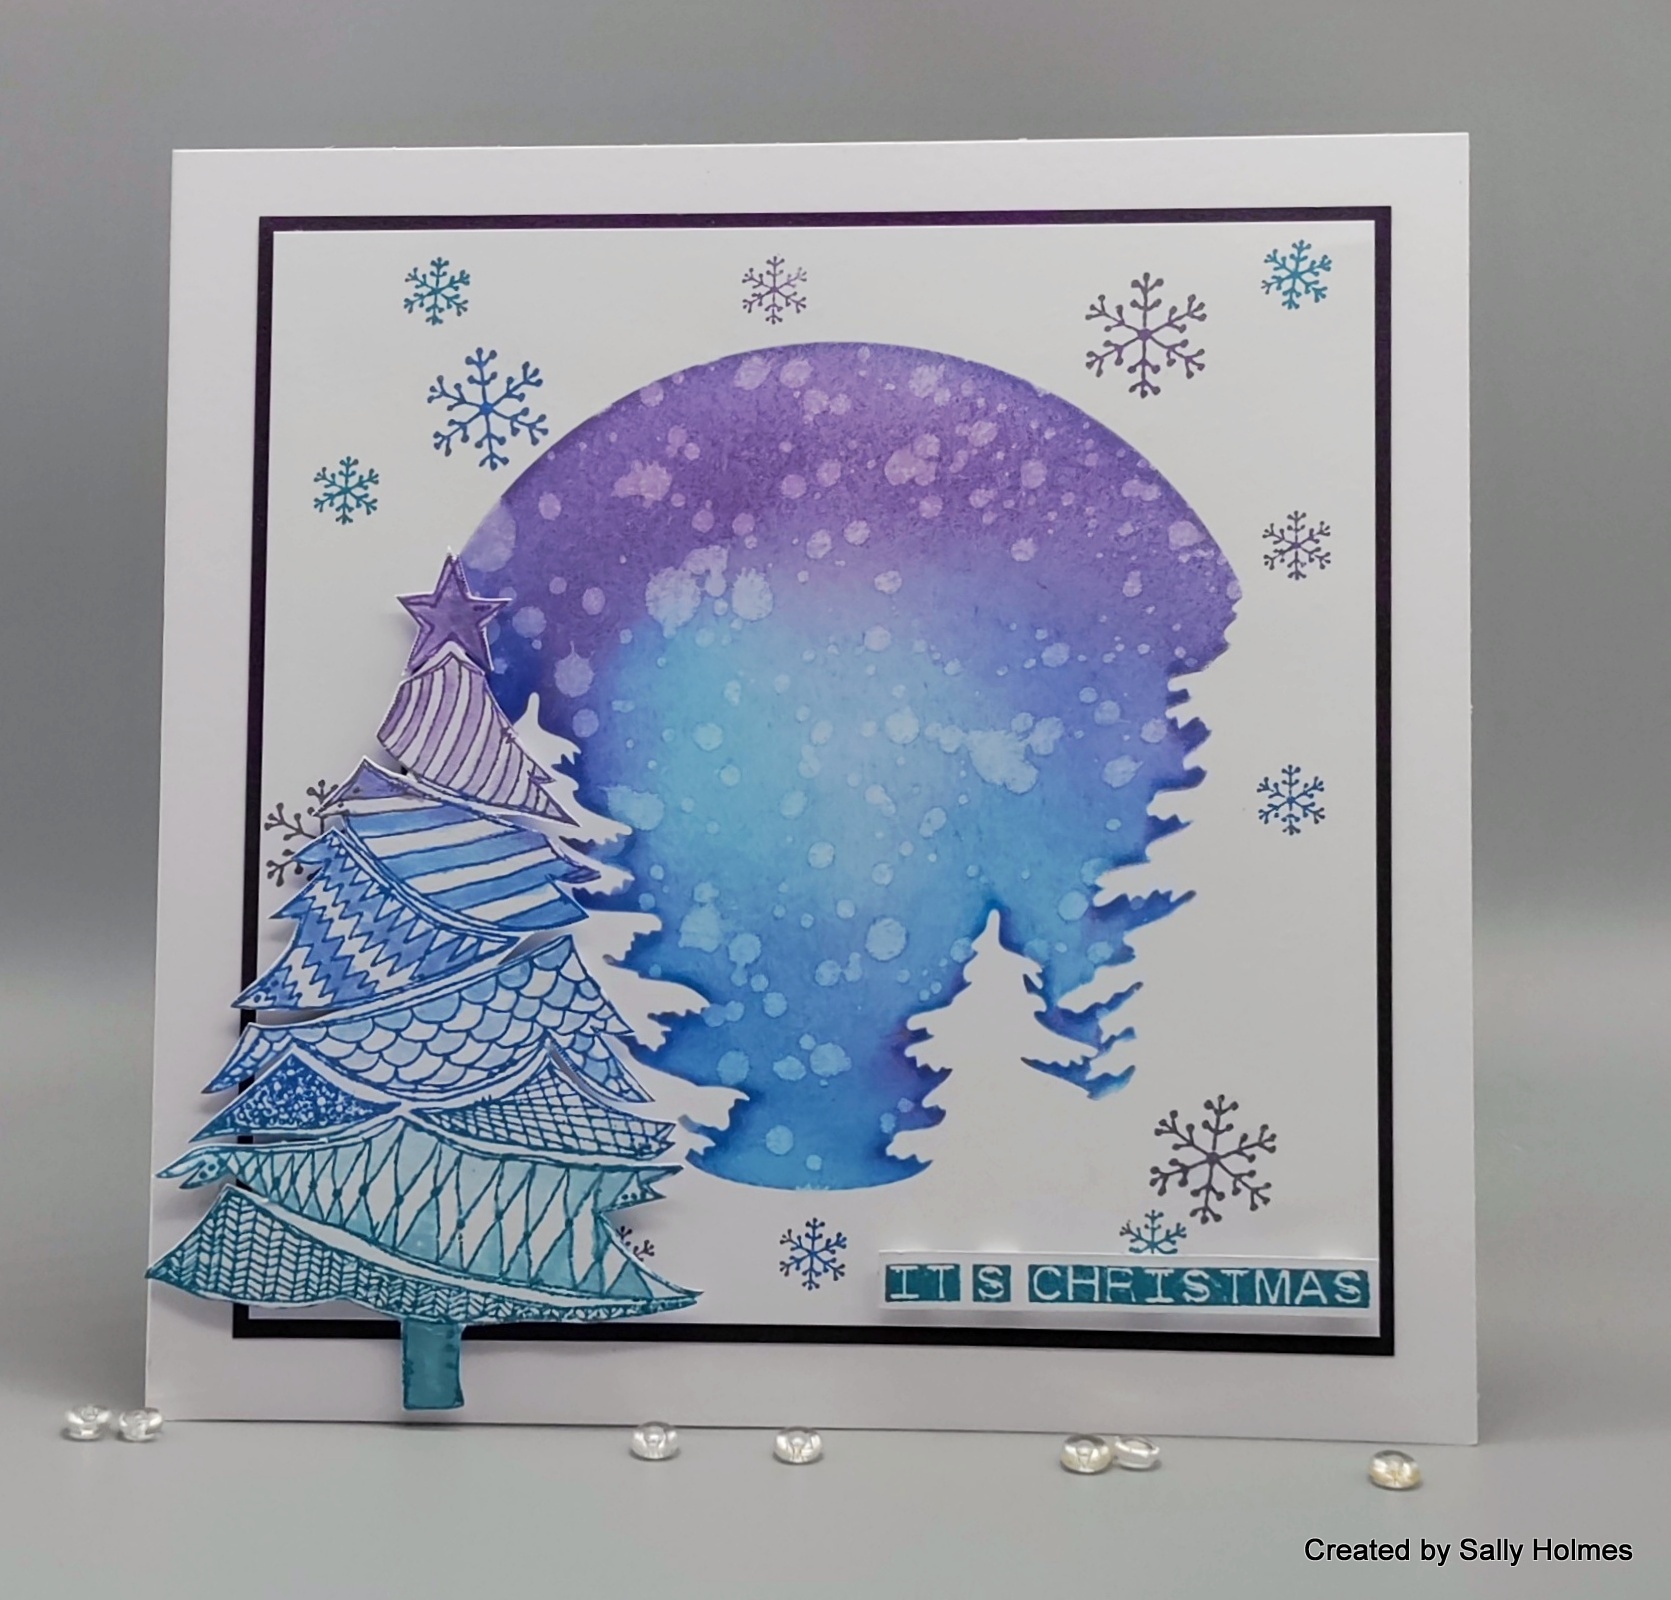
Sally CT - Cool Colours Christmas


Hi There! Thought I would show you how I made this simple Christmas card this week. 

I began by blending Salty Ocean and Dusty Concord distress ink in the inkable. Then I splattered it with water and blotted it to get the snowy effect.
I used the small snowflake stamps from winter journaling girls and small words- winter around the frame using memento inks. 
I inked up the doodle art Christmas tree using the memento inks with purple at the top, blue in the middle and teal at the bottom. 
I used the same inks to watercolour some of the pattern and fussy cut around it. 
I matted and layered the panel to a 7x7 card and used sticky pads to attach the tree to the bottom left corner.
Finally I added a sentiment to the bottom right, also on sticky pads. 

I used:
Distress inks in Salty Ocean and Dusty Concord
Memento ink in Grape Jelly, Danube blue and Teal Zeal
White card
7x7" card blank

Thanks for looking! 

Sunday, November 12, 2023

Alison CT - Steampunk Baubles

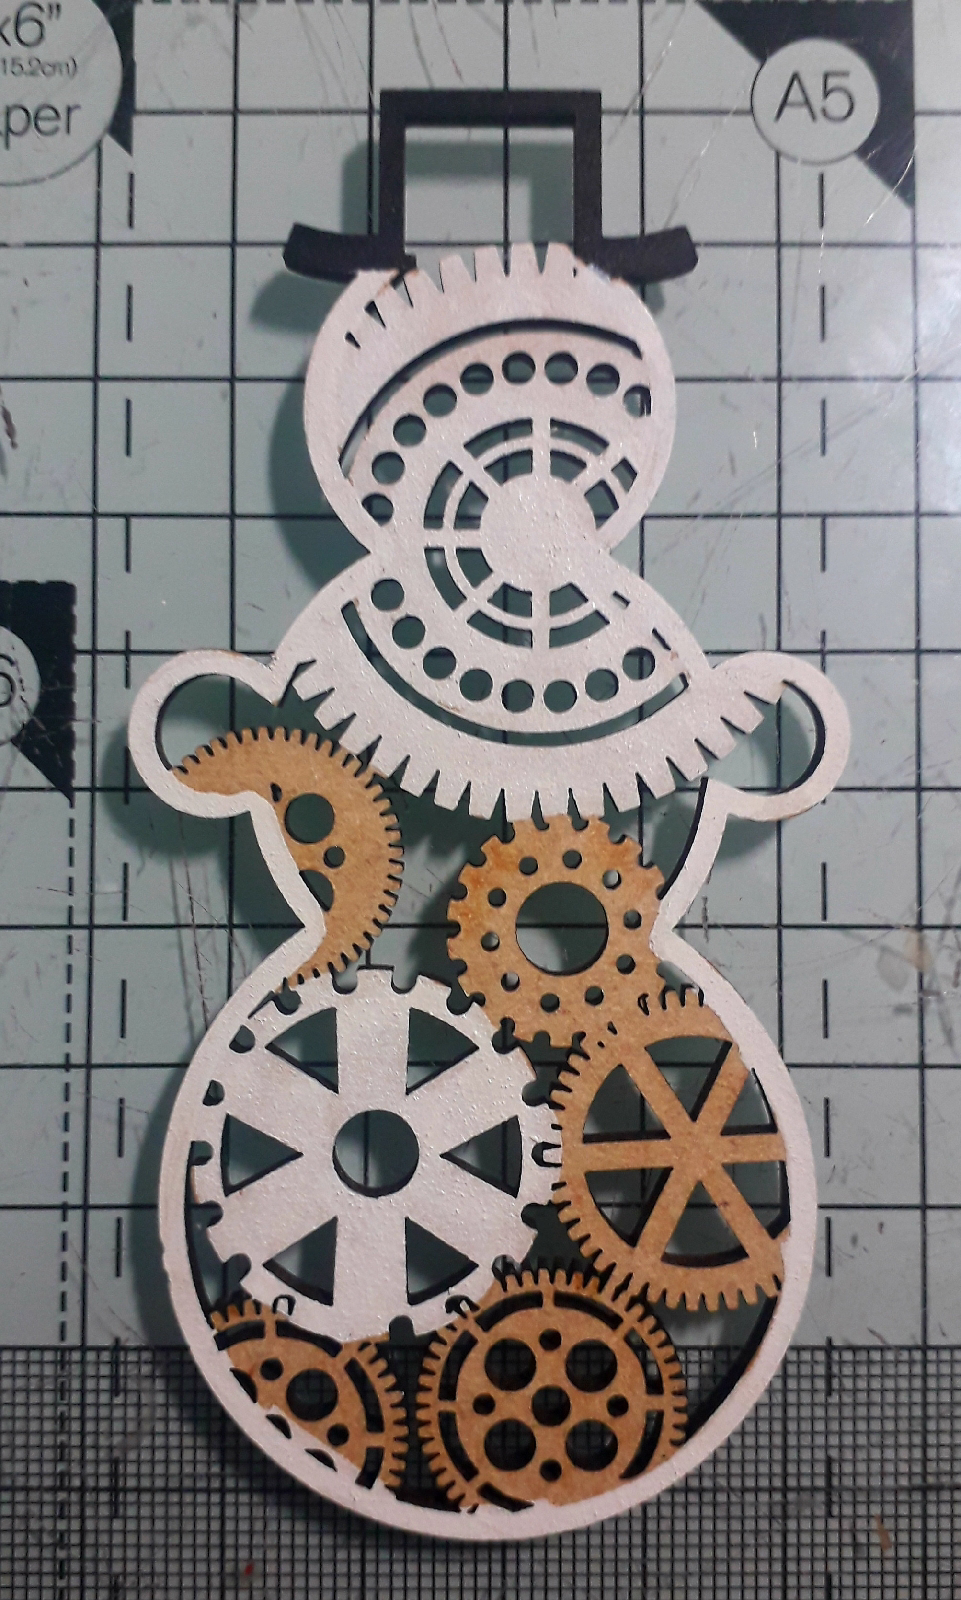
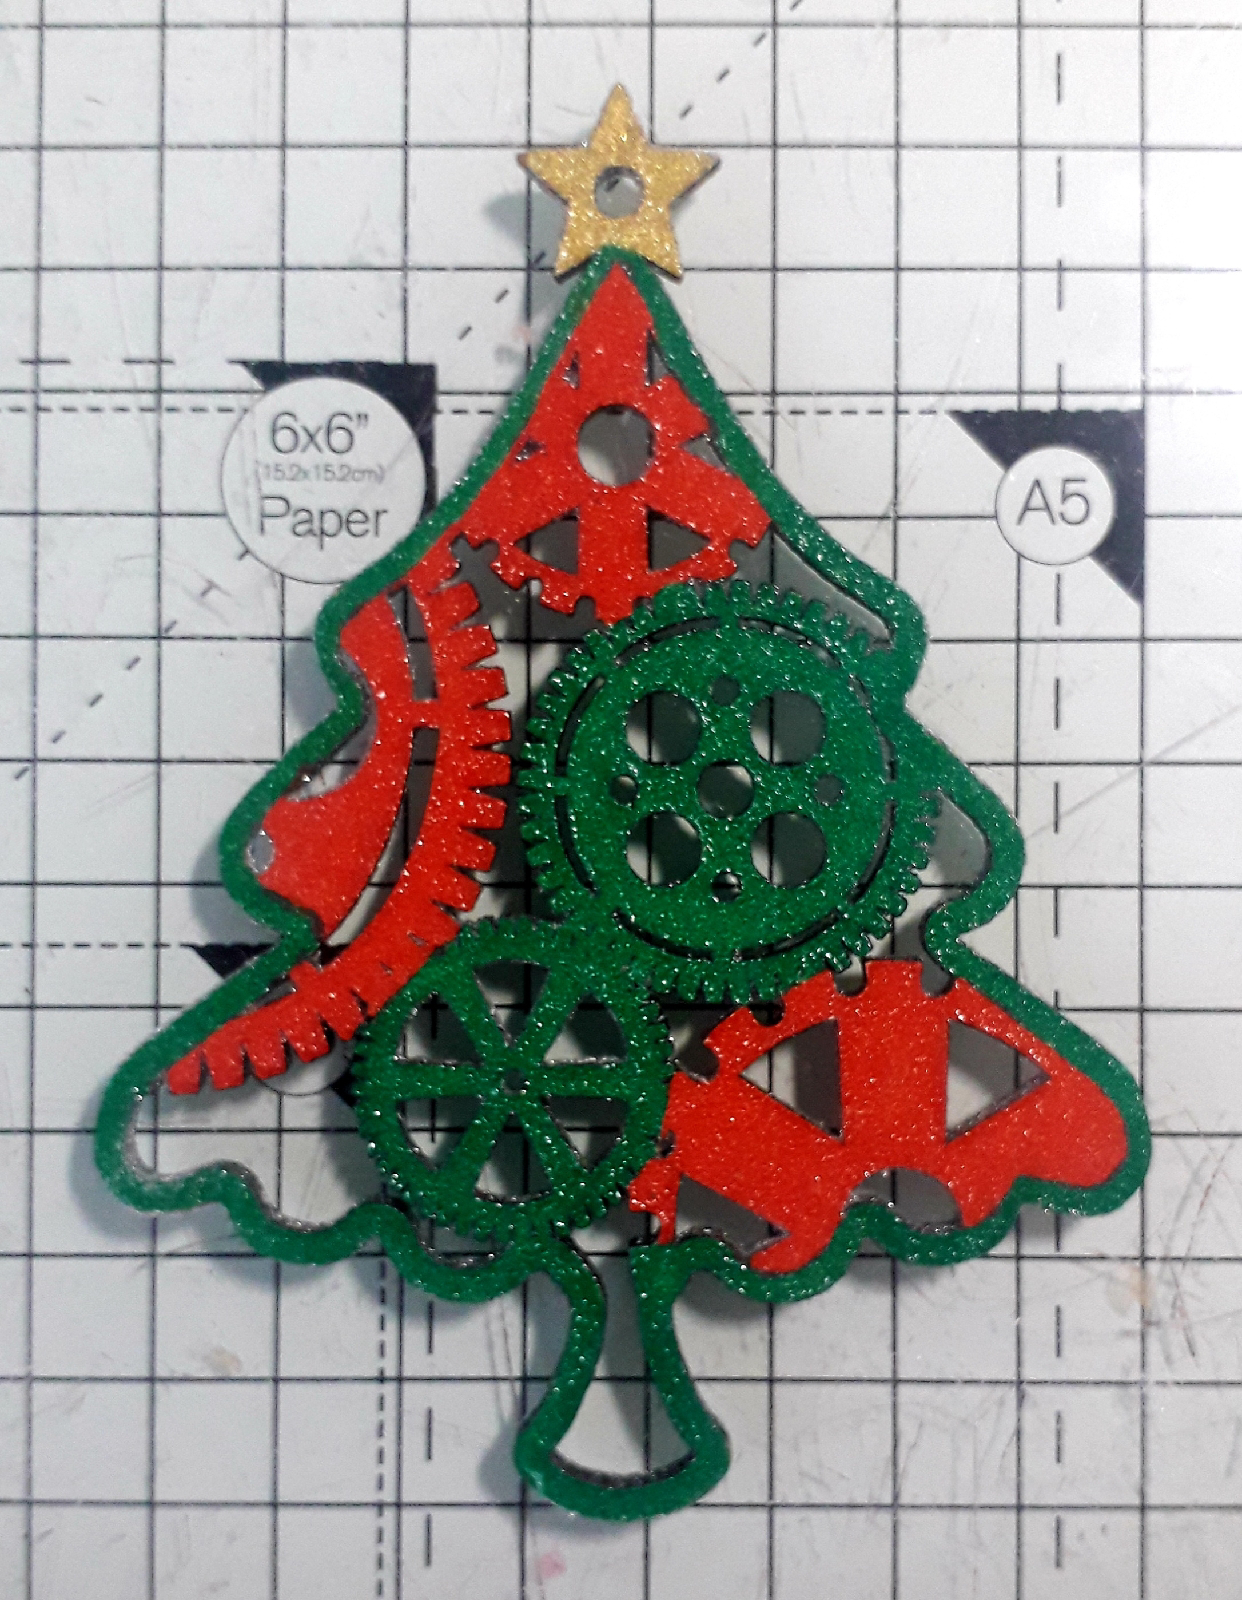
Hello everyone, today I'm sharing what I have done to colour three of Bee Crafty's steampunk baubles.
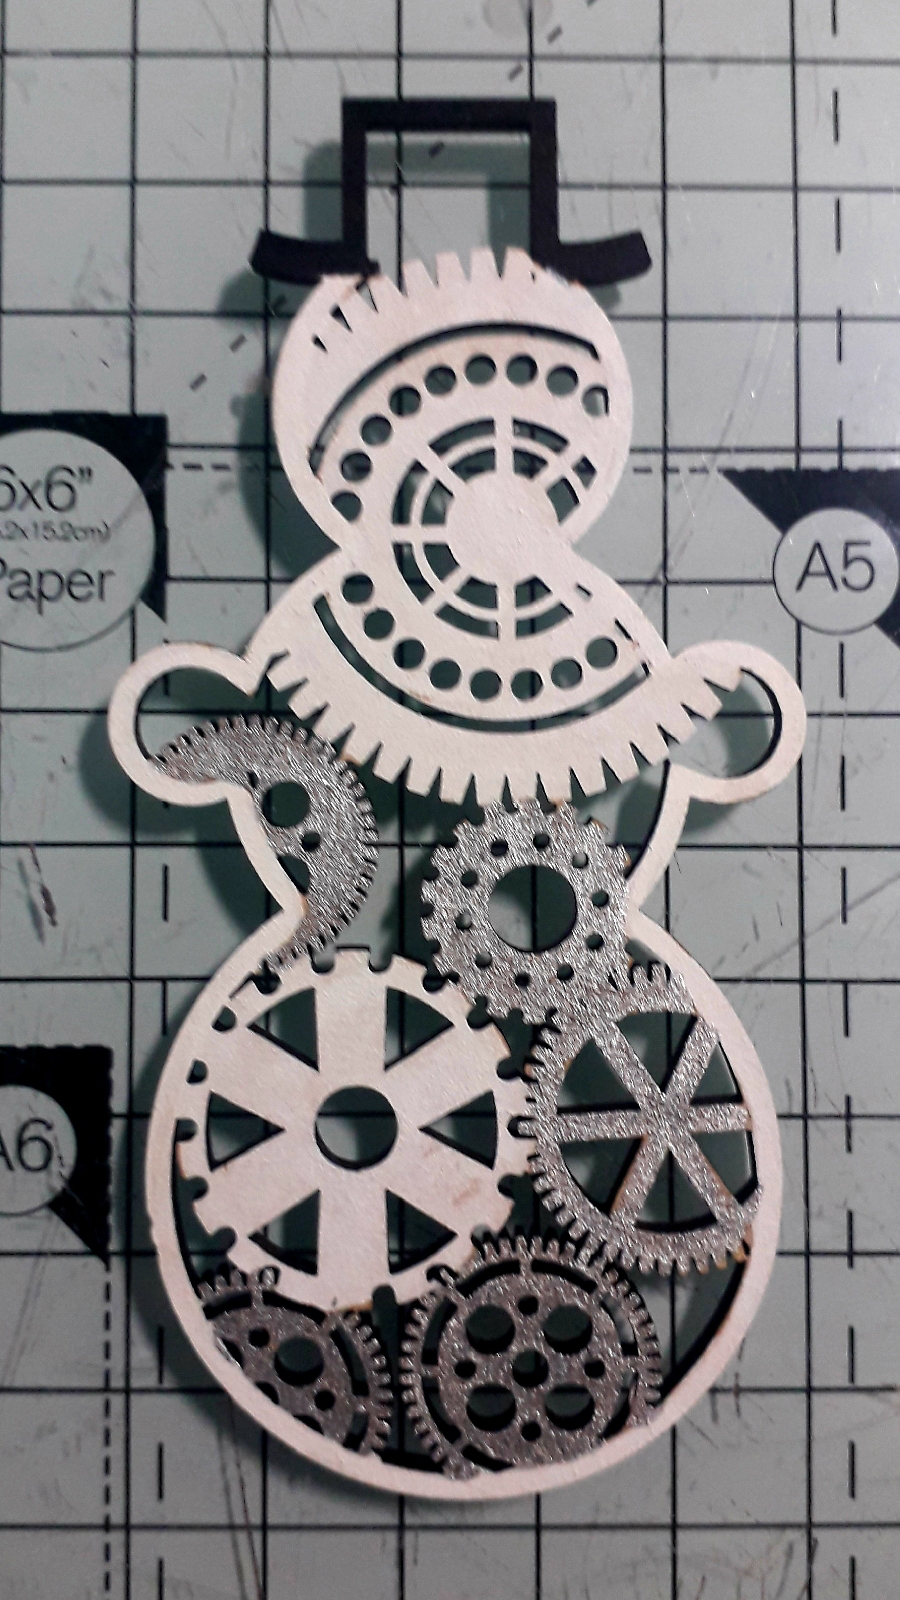
I decided I would colour them using acrylic pens, such as poscas, as these cover the brown colour of mdf quite quickly.
I coloured the hat of the snowman with my black posca and some of the cogs and the out line with a white posca. I left this to dry and then added a second coat. This was left to completely dry.

Next I coloured the remaining cogs with my silver posca pen. I did a second coat after the first coat dried.

Then I repeated the process again to colour the other side of the snowman.


When both sides were completely dry I coated one side with embossing ink and then sprinkled with Ranger Frosted Crystal embossing powder and heat set. I did a second coat, then repeated the process for the other side.
I followed the same steps to colour the Christmas Tree, but coloured with red, gold and green posca pens and the star, which I coloured with yellow and gold posca pens.
Products used:
Bee Crafty Mdf - Steampunk baubles 
Acrylic paint pens
Embossing ink pad
Ranger Embossing Powder - Frosted Crystal

Thank you for taking a look.
Alison

Wednesday, November 08, 2023

Sally CT - Christmas Samples

 Hi There! Last Wednesday Two gorgeous new sets of Stamps and some fantastic MDF were launched on Bee Crafty's Facebook page. I had so much fun playing with them! For the first one I created the frame using Dina Wakeley gloss drops and the Circles 1 big one inkable. The tree was coloured with alcohol markers. 


I was aiming for a Christmas jumper type look for this card. The background was created using Texture discs set 2 and vintage photo distress ink.

The beautiful Doodle Art Christmas tree looks equally beautiful stamped and coloured or heat embossed. Here I stamped onto Kraft card and heat embossed using detail white powder

My next two cards were created by embossing in white on black and black on white, then cutting from the point of the star to the centre of the trunk. 
The first is quite plain but for the second I added a few red highlights and a border from freehand borders 2.
Ink blending and stamping in Distress inks (Wilted Violet, Blueprint Sketch and Peacock feathers) were used to create this background. 

For this card I blended Lumberjack Plaid Distress ink from another texture disc from Set two, then stamped in Green Versafine Clair around the centre. The border was stamped with the same Lumberjack Plaid ink.
I stamped the tree onto shrink plastic, coloured with alcohol markers then shrank and placed into a clear plastic bauble with some chunky glitter
My final two cards were created during my Facebook live on the Launch day. 

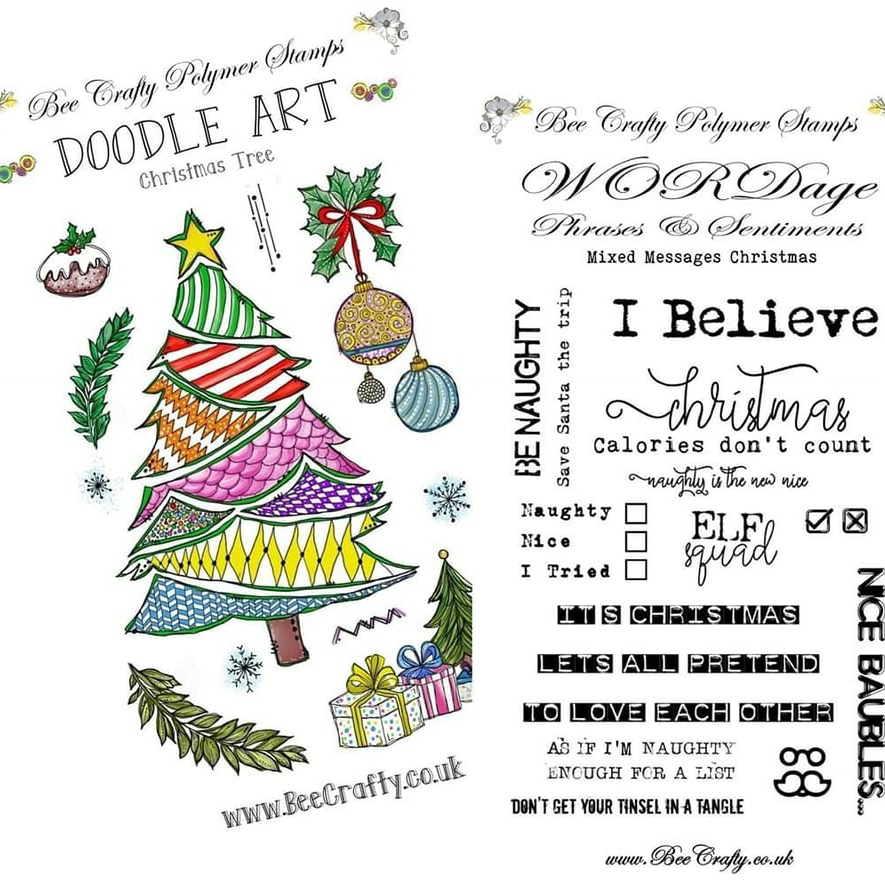
You can find the Doodle Art Christmas tree stamp set here.
The Christmas Mixed Messages are here
They are available a a bundle here

Thanks for looking!

Sunday, November 05, 2023

Alison CT - Christmas samples

Hi everyone, today I'm sharing my samples for the Doodle Art Christmas Tree and Christmas Mixed Messages release.

For my first card I have used the Christmas tree image, which I stamped and heat embossed onto black card. I  coloured the tree with glitter gel pens and blended Hero Arts unicorn white ink around the edges. I stamped the sentiment using tulip red versafine clair ink.

For my next card I stamped the tree image using black ink and coloured it with metalic pencil crayons. For the background I inked the script background with patches of twisted citron, tumbled glass, barn door and mustard seed distress oxide then stamped it centally on a piece of card that was 4.5 x 6.5 inches. I stamped the dotty freehand border with versafine claire morning mist and the sentiment with versafine clair nocturne.

My third sample was made using a stamp platform, as you need to be able to stamp exactly in the same place twice.
First I inked different areas of the stamps with seedless preserve, tumbled glass, mustard seed, barn door and twisted citron distress oxide. I then lightly spritzed the card and stamp with water. I then stamped the image. I left this to fully dry, before stamping over the colours with morning mist versafine claire. I added a sentiment with the same ink.  I blended twisted citron ink around the tree and also through the small dots dinkable from set 3.

The last sample using the tree is a journal page created using media paper off cuts, inkable tags set 2 and 5, the freehand borders stamp set and the asemic splats stamp set.
My next samples use the smalker stamps from the Christmas tree set.
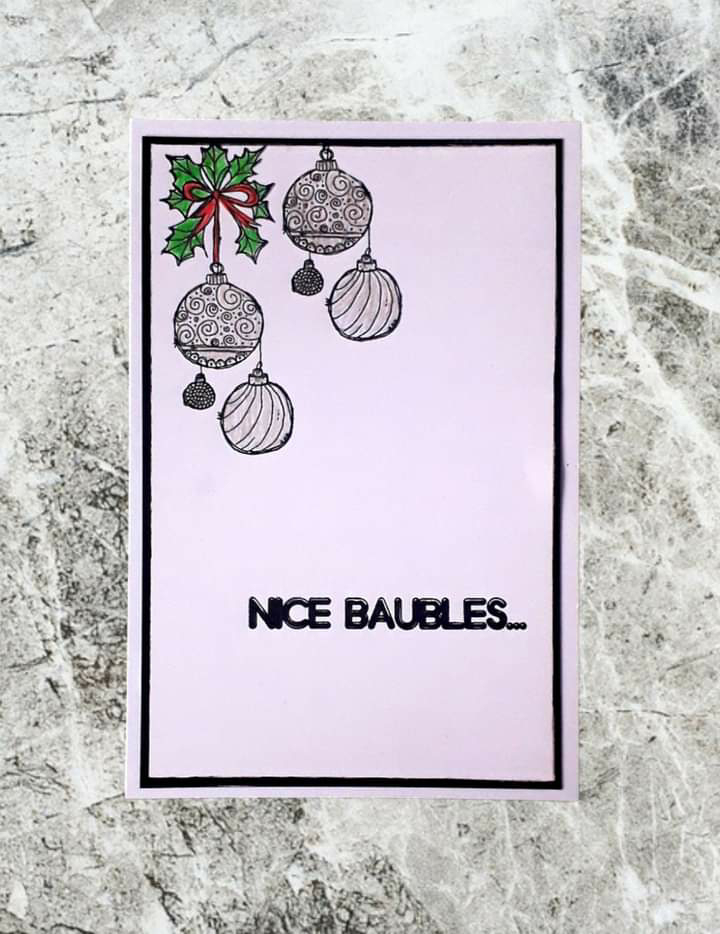
For this card I stamped the baubles twice, one full length and the other shorter, in the top right hand corner of a piece of card that is 3.5 x 5.5 inches in size. I added the sentiment and coloured the bauble image with glitter gel pens. I mounted the topper on black card then onto a 4 x 6 inch card blank.

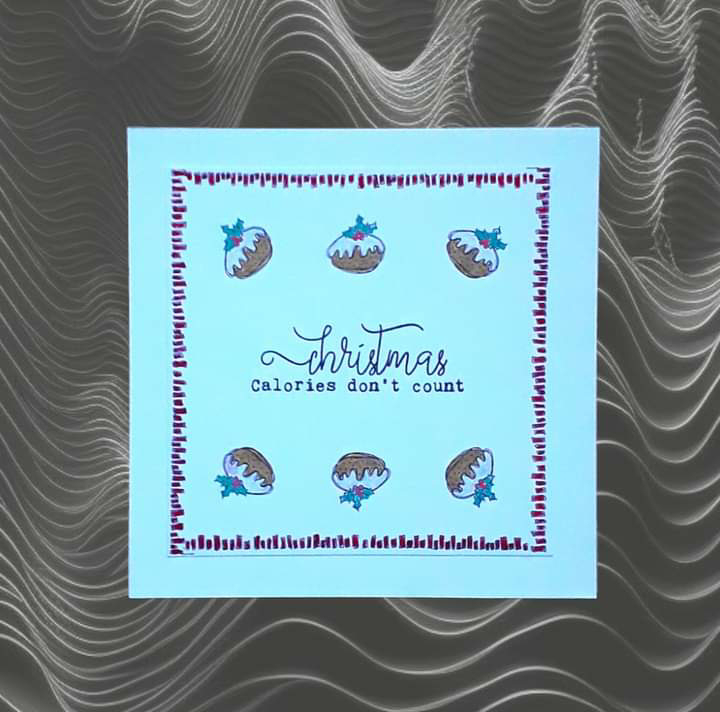
Fir my next sample I used the cute little Christmas pudding image, which I stamped in two rows. I coloured the image with glitter gel pens. The sentiment was stamoed using versafine clair pinecone ink. I added the birder from the freehand border set and coliured with a red glaze pen.
My final three samples use the three small snowflakes.
For the first one I drew through the 6" circle easy frame with a pencil and then freehand stamped the snowflakes using versafine clair twilight, warm breeze and blue belle ink. I then blended tumbled glass distress oxide over the snowflakes. I added the sentiment (from the discontinued Yuletide Doidle Art Snowflakes stamp set) and added sequins. 

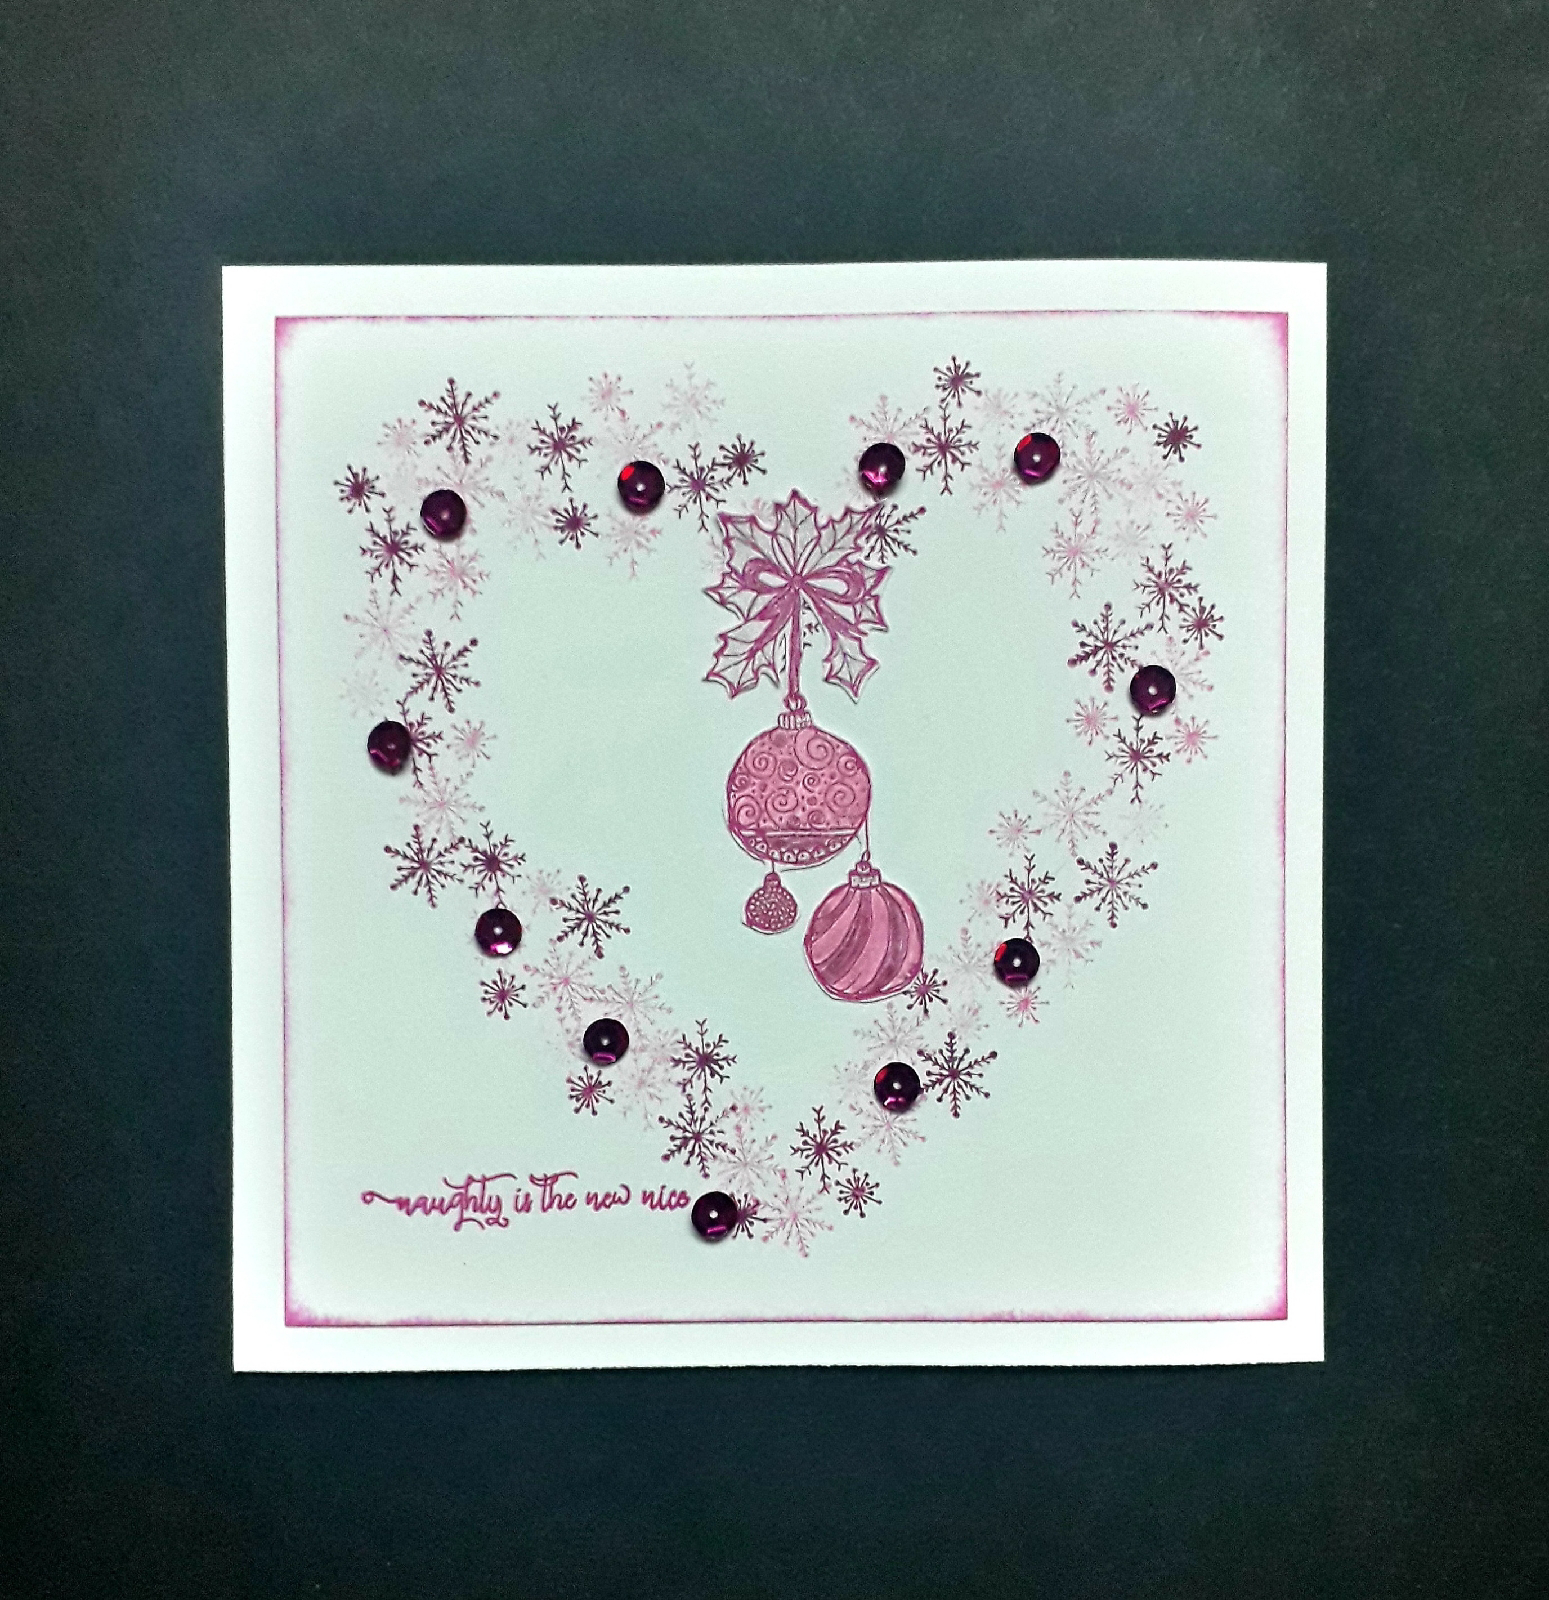
For the next card,  I did the same as above, but used the 6" heart easy frame and kitsch flamingo, picked raspberry and seedless preserve distress ink to stamp the snowflakes. I added the baubles image which I stamped with picked raspberry distress ink and coloured with glitter gel pens. I stamped the sentiment with picked raspberry and inked the edges of the topper with the same ink, before gluing it to a 7 inch card blank.
For my final sample I edged a piece of watercolour card, which measures 6.5 x 4.5 inches, with a silver posca pen, then stuck this to a 5 x 7 inch card blank. Then I dropped some blue ecoline watercolour ink diagonally onto the card.  I spritzed this with water and left it to dry naturally. Next I used the sniwflake dinkable from set 4, with uncgarted mariner distrsss ink to add a layer of snowflakes over the blue ink. Finally I randomly stamped snowflakes using an embossing knk and heat embossed with silver embossing powder. I stamoed the sentiment using versafine clair twilight ink.

Products used:
Art Stamps - Freehand Borders 1, Asemic Splats, Script Background
Easy Frames 6" - heart, circle
Dinkables - sets 3, 4
Inkable tags - sets 2, 5
Distress Oxides - various colours
Versafine Clair - various colours
Hero Hues - Unicorn White 

Thanks for taking a look and I hope I've given you some inspiration for these stamps.
Alison 
Related Posts Plugin for WordPress, Blogger...