Saturday, March 11, 2023

Sally CT - My samples from the HobbyMaker shows

 Hi There! Did you See Bev and Sam on Monday's Hobby Maker shows? It was so lovely to see them together and back on our screens! 

Here are the samples I made for the first show using the brand new sketchy Birds, sketchy flowers, freehand borders, journaling essentials and mixed messages. There were also 3 new sets of tag inkables and some gorgeous new transparencies.

On these two samples I used the acetates and added a little alcohol ink to the backs of them.

For the swallow I used an acetate and coloured it with alcohol markers. 

For these two samples I created a smooshed background and then added stamping using the journaling essentials and sketchy borders

my seed packet holder would make a quick gift for mothers day, Easter, father's day or even as a wedding favour. 
The second show had the faces range of stamps plus transparencies, and the first three sets of tag inkalbes. There were also some gorgeous new key and cog mdf pop-outs


On Wednesday evening I did a Facebook live and had a lovely time creating this tropical journal spread using the new stamps. You can find the live here

I used:
There is also a bundle of the new stamps
The pop outs and the transparencies will be on the website very soon

Thanks for looking! 

Wednesday, March 08, 2023

Sketchy Samples by Ann

 Sketchy Samples 

By CT Ann 


What a fantastic new release from Bee Crafty. Here are some of my samples… 

All the new products are online : 

https://www.beecrafty.net/


Stamps: Sketchy Birds#1

Sketchy Flowers #1

Journaling Essentials #1

Freehand Borders #1

Bundle

Mixed Messages #1

Inkables: Tags 4/5/6

New Transparencies 

MDF Popouts 


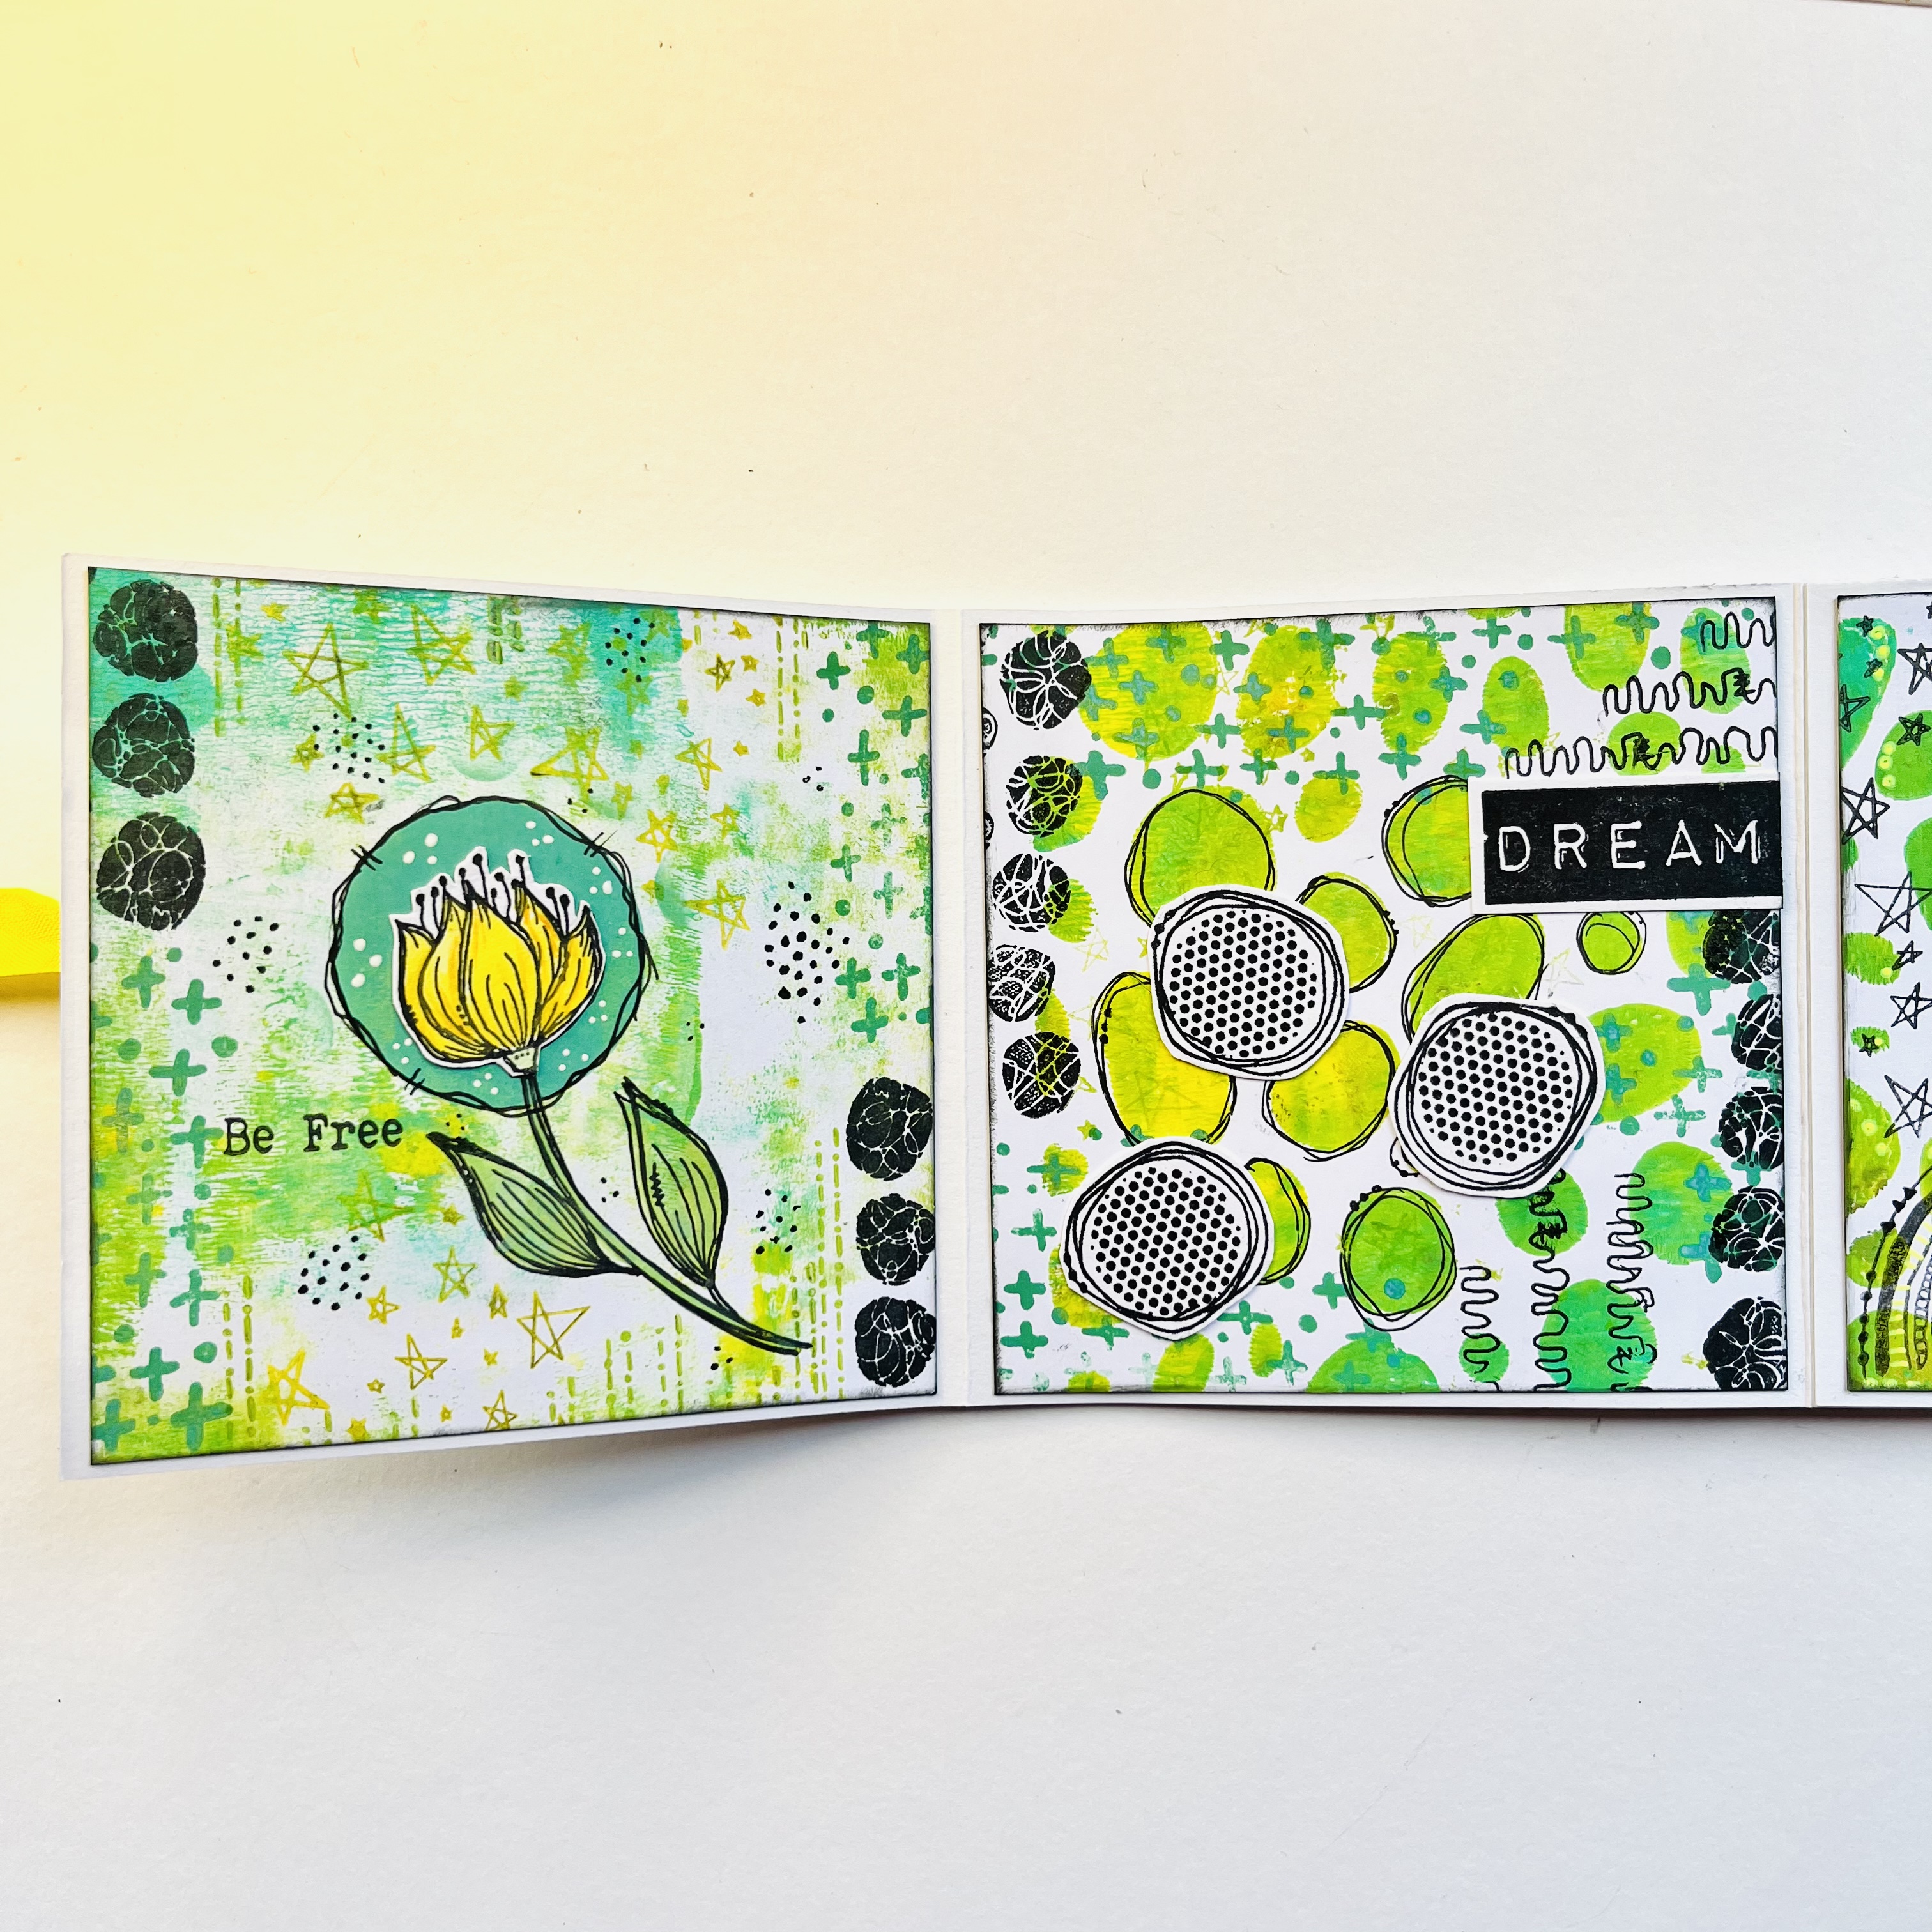
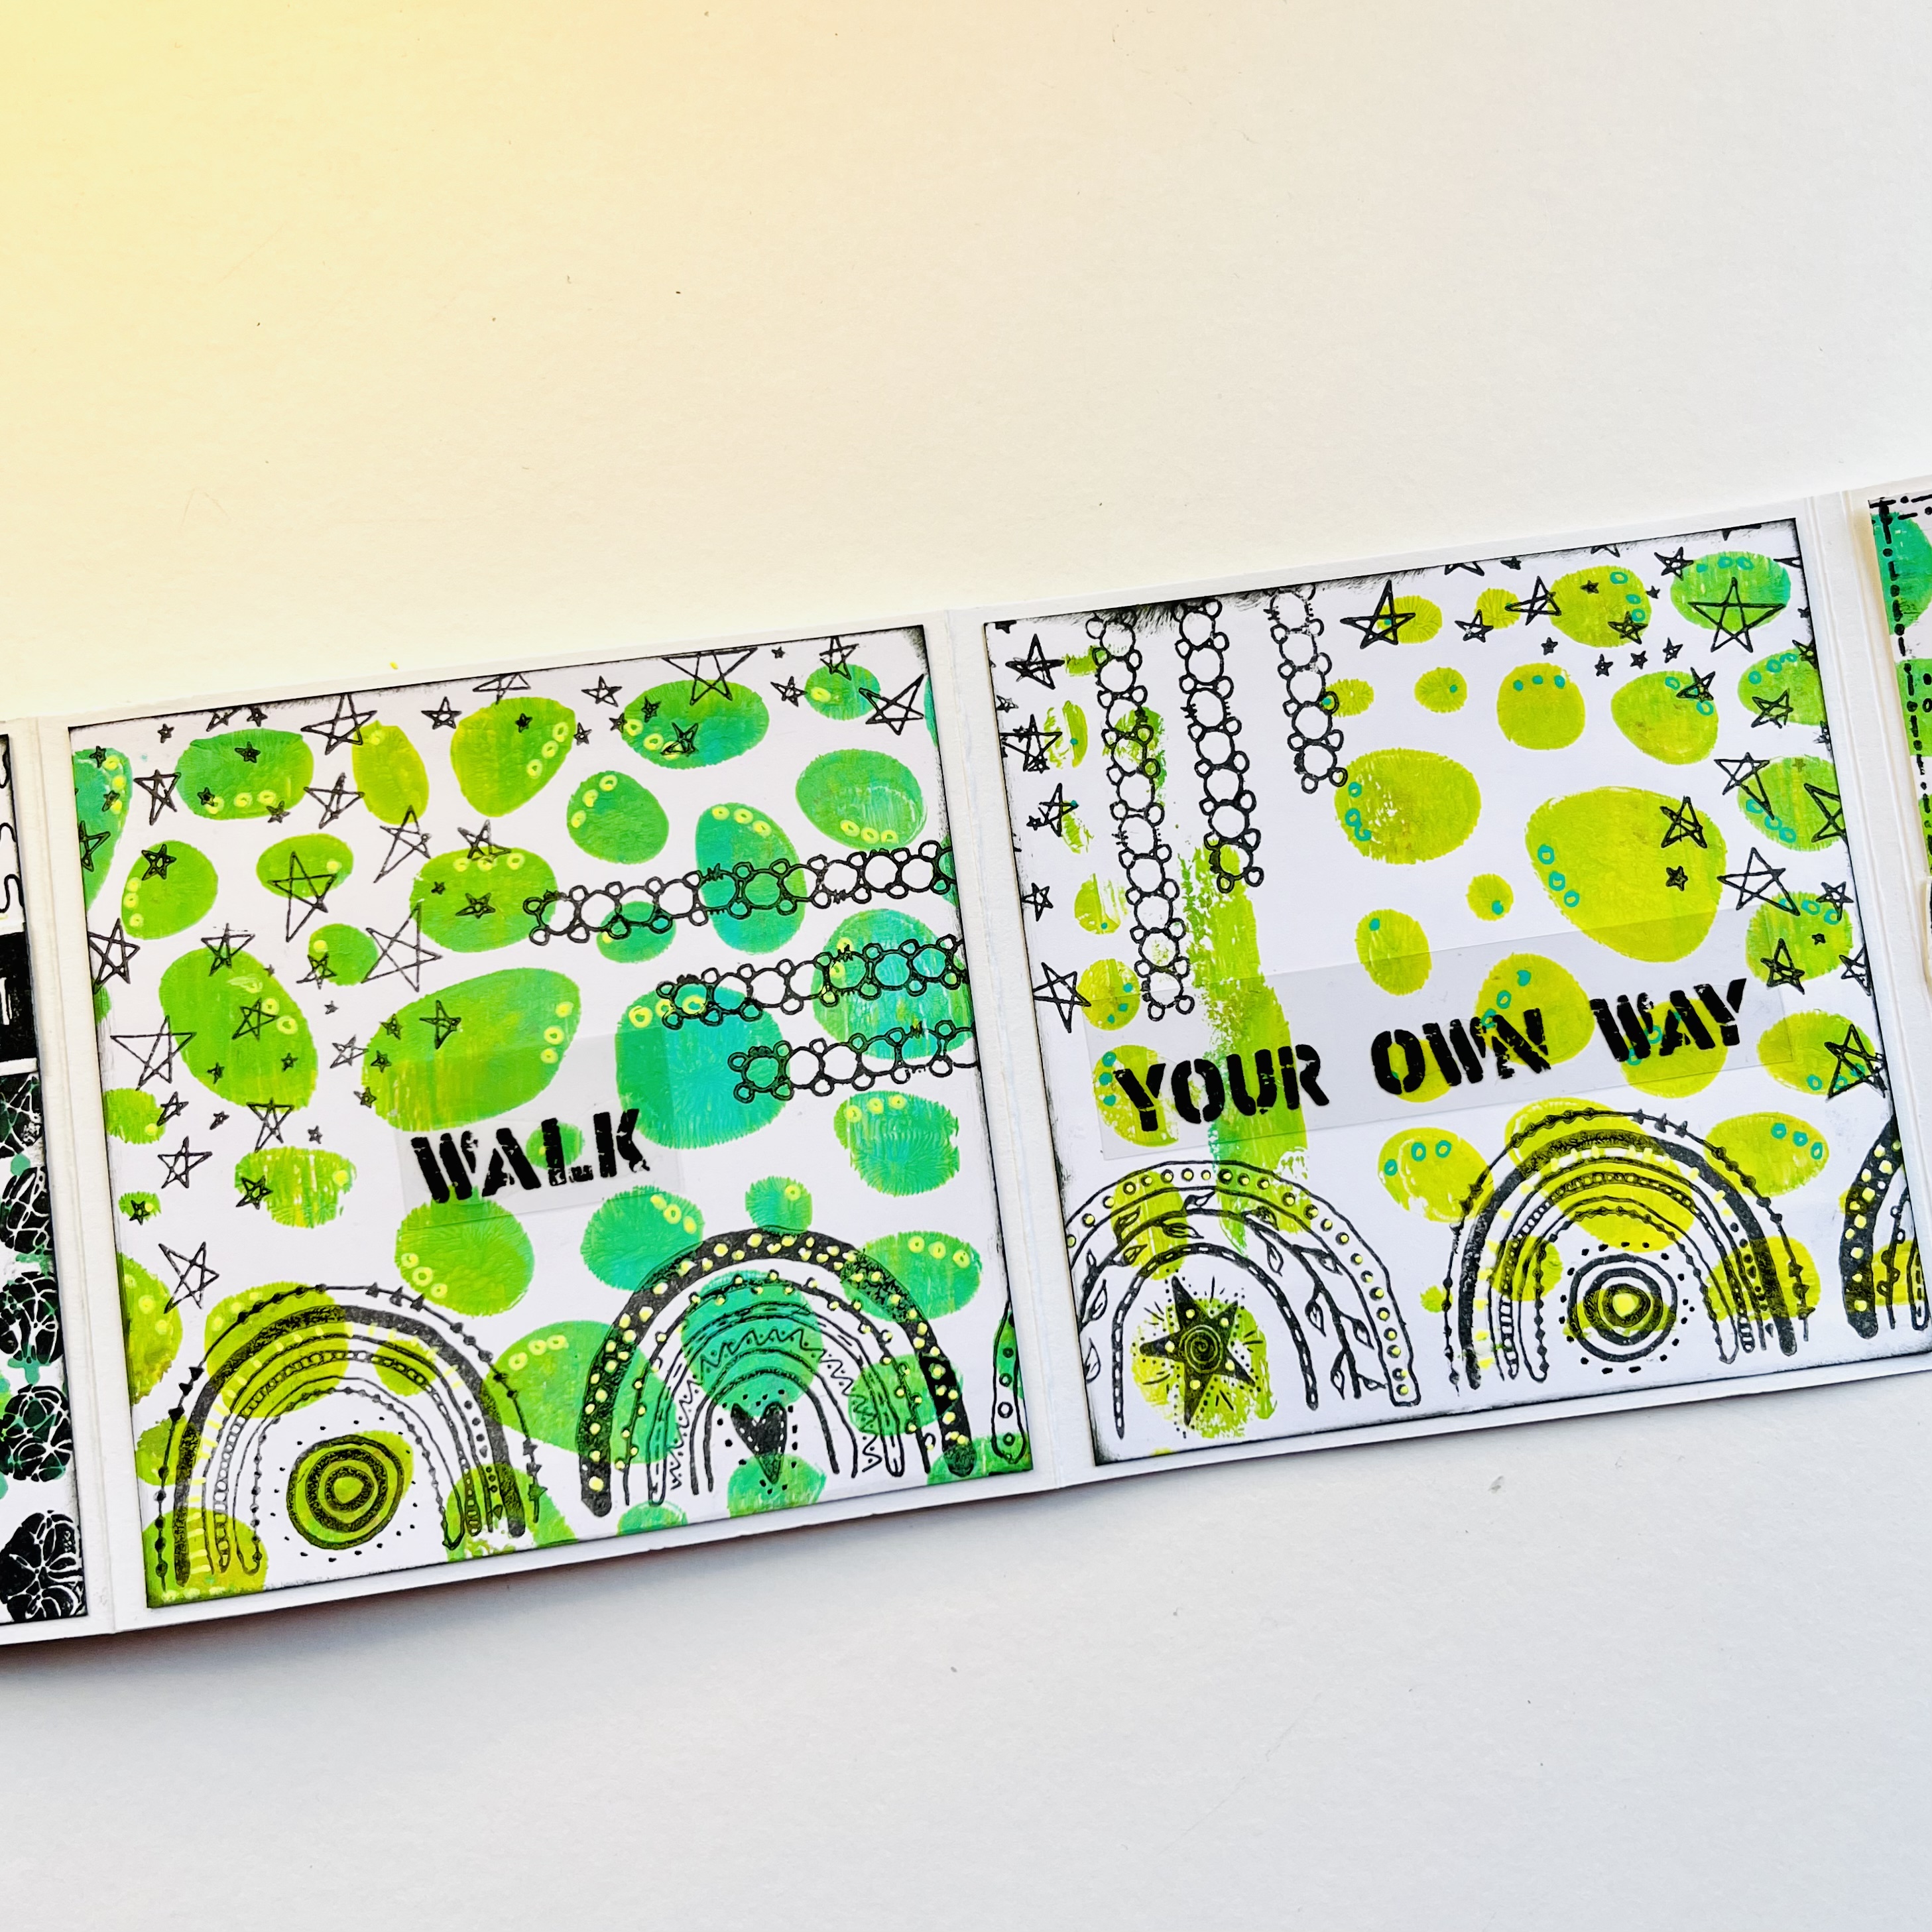
Mini Journal Book

Created a painted background on an A4 piece of mixed media paper then cut into squares & added details & focal points with the new stamps, Inkables & Transparencies… 


•••

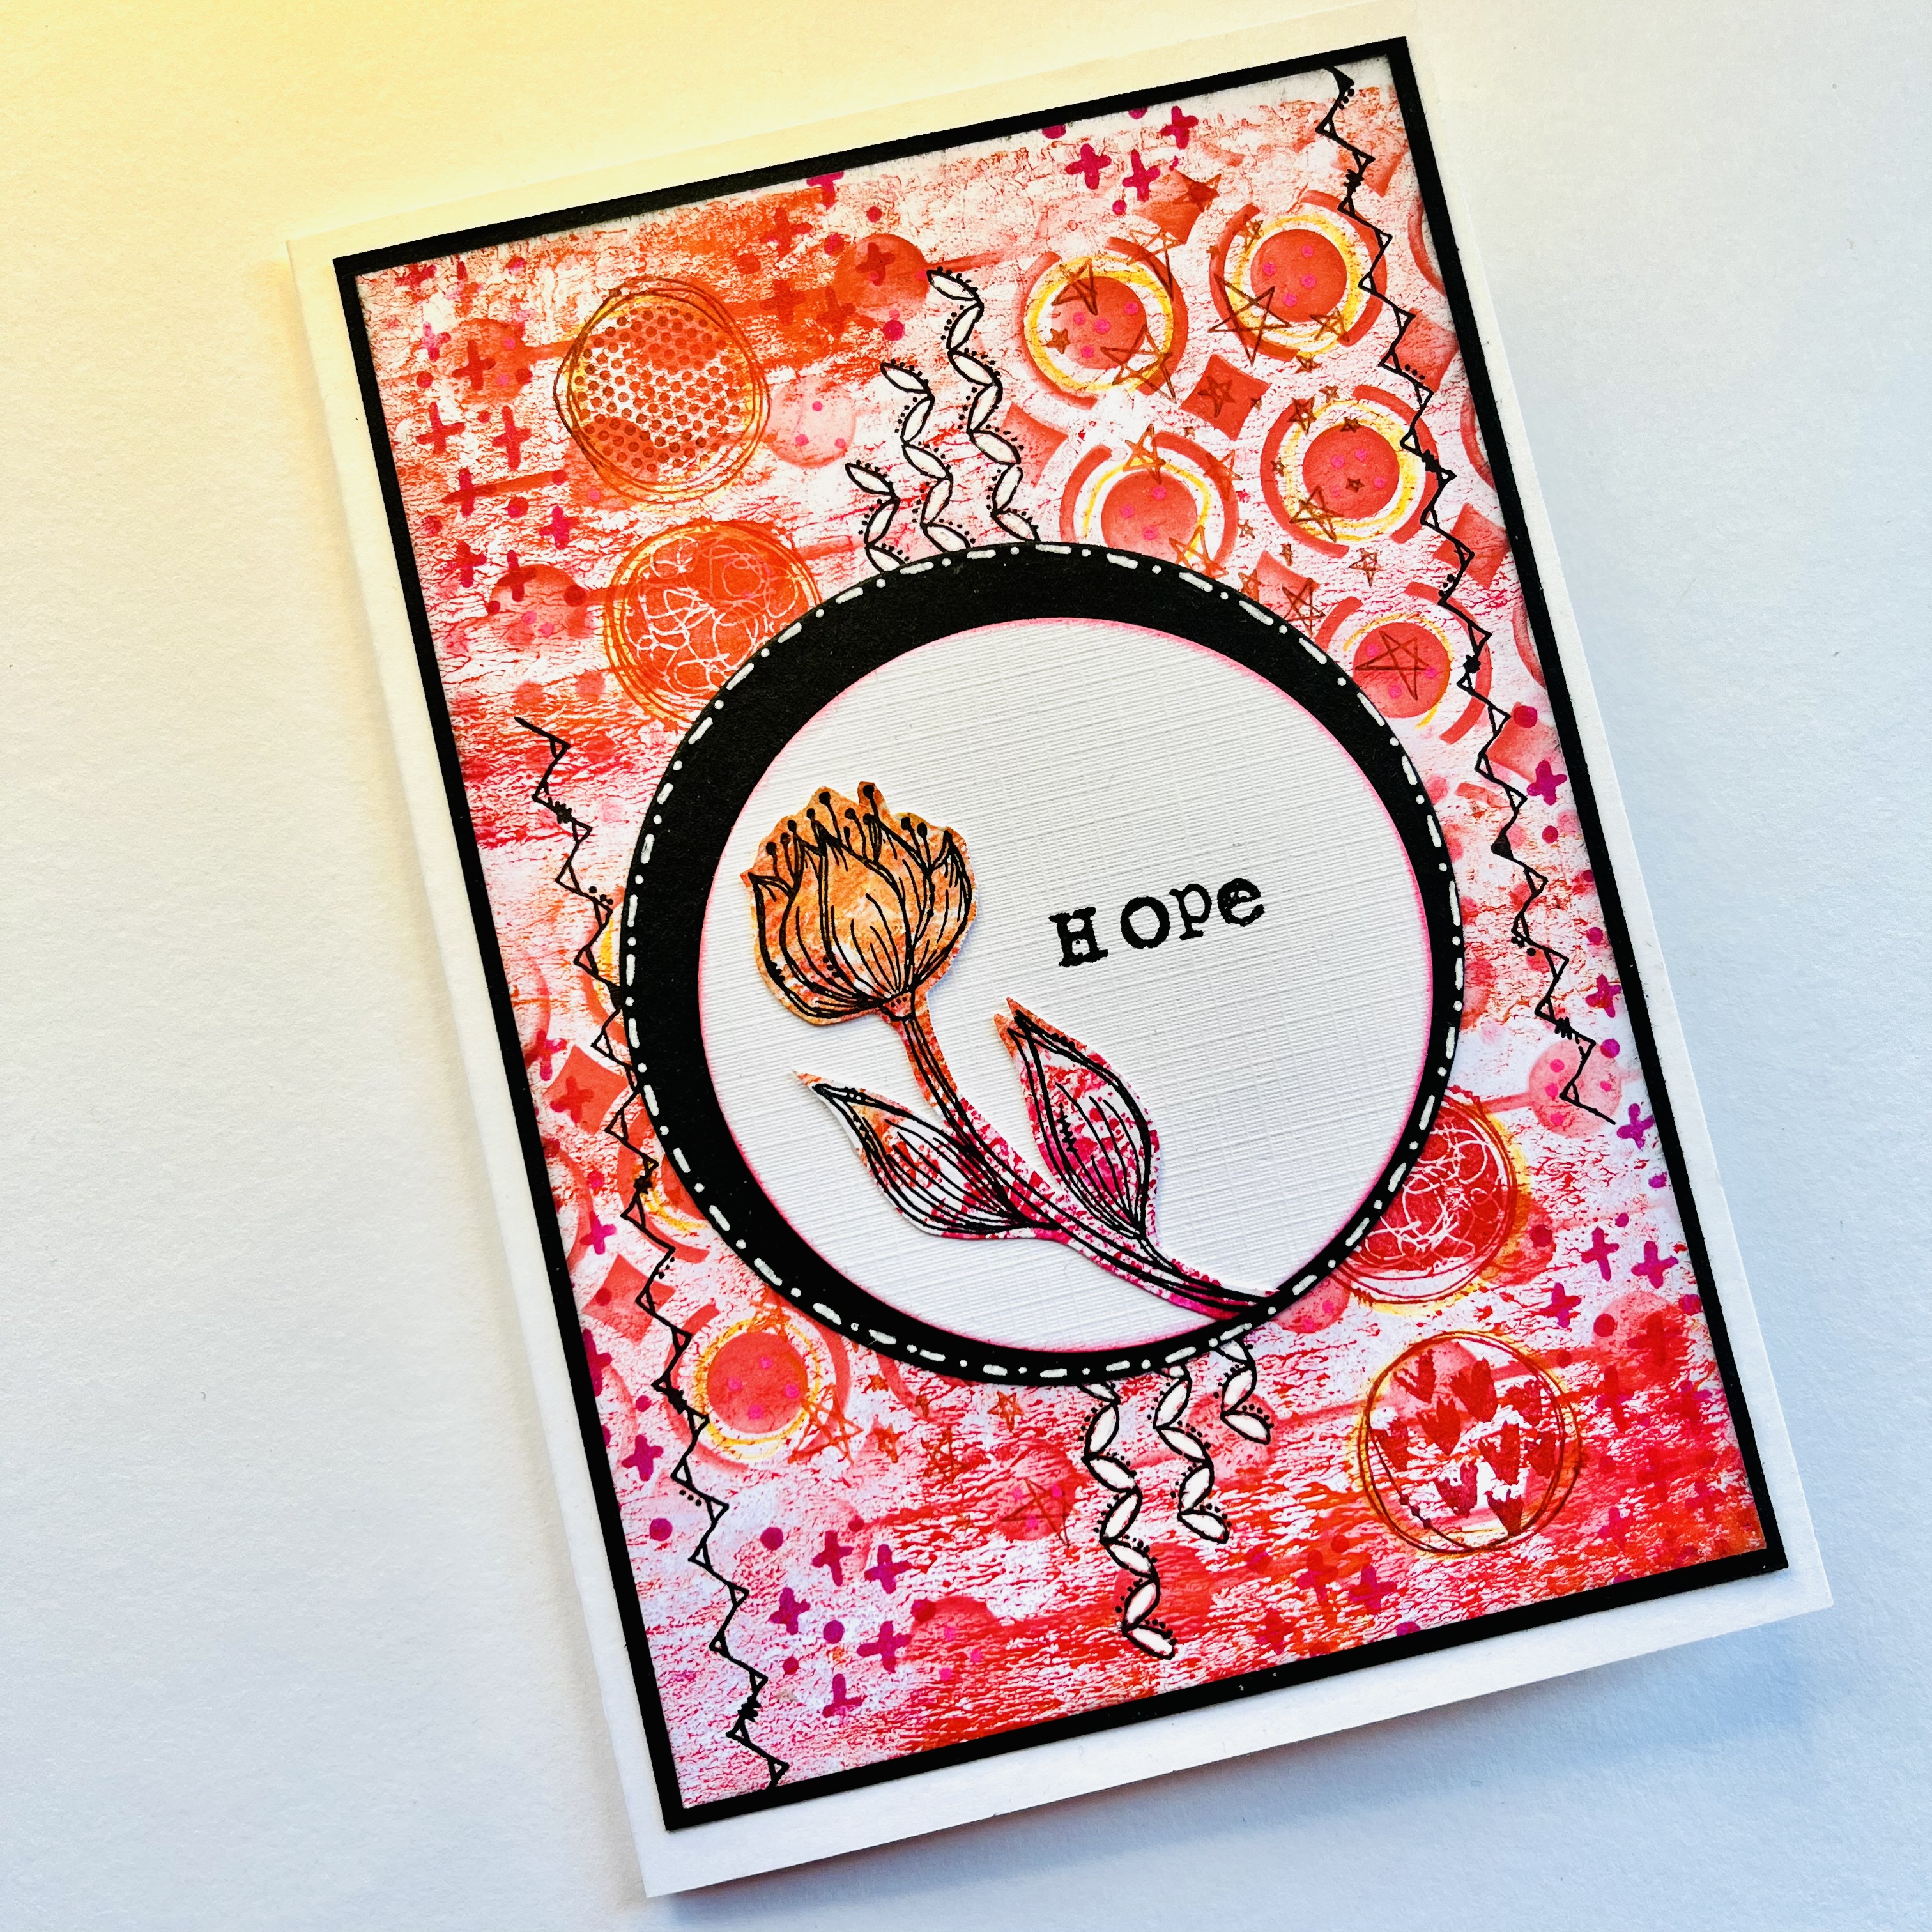
Used a Gelly print, added Distress Oxides through the Tag Inkables & some stamping. Stamped the tulip on an off cut of the print, glued onto a circle of white paper, then off set onto a black circle… 


•••

Using buff coloured card & a fine liner pen to trace the outline of the Tag Inkable. Then used pencils & Scribble Sticks to add colour. Mat & layered on black & buff card… 


•••

Create the background using the Catalyst Papers & Collage Medium & Texture Paste to fix the Popouts in place. 

Once glue dries,  paint the Popouts with black Gesso. stamp some of the Background Essentials on the tag. Use gilding waxes on the cogs for definition & chose a sentiment from the Mixed Messages #1. 


Thank you for stopping by… Ann xxx


Sunday, March 05, 2023

Alison CT - Whatever Works!!!

Good morning,  this week I am sharing this step by step guide to creating this art journal double page spread.
To begin I used the Dina Wakley 1 inch paintbrush to add a strip (approximately 3 inches wide) of clean water across the middle of a double page spread in my Dina Wakley 6x6 white journal. I the wet the tip of my finger with water and scribbled onto with the distress crayon. I rubbed this into areas of the wet strip. I repeated this with all three colours. Going over some areas until I got the required depth of colour. Leave to dry. 
Next I stamped three of the grid stamp, from the journal art elements 3 set, onto the edge of the coloured strip using versafine clair morning mist ink. I varied the orientation to add more interest.
Then I used a black posca pen to do asemic writing along the edge of the coloured strip. I turned the journal around so that the bottom writing would be upside down. 
You can find out more about asemic writing in Sam Freehand Fiday YouTube video (https://youtu.be/GEW-9vB9gX4)
I then added some black splats using the black posca pen.
Next, I stamped the large Wharever Works face onto bee crafty stamping tissue with versafine claire nocturne. I used a wet paint brush to draw a line around the image and carefully tore it out. I then coloured the eyes and lips with gel pens on the reverse.
I used distress collage medium to glue the stamped face and a sentiment, from the small words stamp set, to the page.
Alison

Saturday, March 04, 2023

Sally CT - Dream Big Dragonfly

Hi there! I am here with a step by step today to show how I made this card.


I began by putting stencil tape around a 7x5 blank card.

Next I used the number tag inkable to add some twisted citron  distress oxide.
I used another tag inkable to add some Mermaid Lagoon distress oxide. With the small amount of ink left on the brush I blended along the sides of the tape. 
I used Journal Art Elements 3 to add some stamping with Mustard Seed, Twisted Citron and Mermaid Lagoon before removing the tape.

I stamped, die cut and coloured the dragonfly.
Then I added it to the card using sticky pads, along with a stitched border in uncharted Mariner Distress oxide.
Finally I added one of the new sentiments that are out on Monday!
Here is the finished card once more.
I used:
7x5" white card blank
Distress oxide inks in Twisted Citron, Mermaid Lagoon, Mustard Seed and Uncharted Mariner
New Sentiments (out on Monday!!!)

There are 5 new stamp sets, inkables, transparancies, mdf and other gorgeous stuff on Hobby Maker on Monday at 2pm and 7pm. I will leave you with a little sneaky peek 

Oh, and the new challenge for this month over in the facebook group is Spring Zing. We would love for you to enter! 
Thanks for looking! 

Wednesday, March 01, 2023

Zesty Tag

 Zesty Tag

By CT Ann 


Can you believe it’s March! Looking around I can see lots of signs that spring is starting to burst into colour… making me want to create something zesty & cheery this week. 

•••

Stamps: Doodle Stamps~Blooming Blooms

Coffee Stains, Small Words

D’Inkables: Set 1

Distress Oxide Inks : Mowed Lawn, Twisted Citron, Rustic Wilderness, Kitsch Flamingo, Picked Raspberry, Festive Berries & Aged Mahogany

Versafine Clair Nocturne 

Dina Wakley Tag

Blending Mat

Ranger Embossing Powder ~ Clear

Dina Wakley Paint Brush

•••

https://www.beecrafty.net/

•••

Press some Mowed Lawn Oxide Ink on to a blending mat & spritz with a fine mist of water. Pick up the ink with a small piece of acetate (blank sheet from a stamp set). Place onto a tag repeat to give a mottled effect … 

Repeat this process with Twisted Citron & Rustic Wilderness Oxide inks… 

Stamp one of the larger flower heads, from the Blooming Blooms onto a separate piece of paper, using Versafine Clair Nocturne… 

Sprinkle the image with a clear Embossing Powder, remove excess & heat until molten.. 

To colour the flower I rubbed a little of each of the red/pink Oxides onto my blending mat. I used a paint brush (not too wet) to add water to the flower. Starting with the outer petals & Kitsch Flamingo… 

In the centre I used Festive Berries & added the Picked Raspberry to the petals in between. Finishing with a few spots of Aged Mahogany…

Note: When you’ve finished spritz the ink remaining on the mat with water & ‘smoosh’ a piece of paper onto it. Save this for later… 

Add some Mowed Lawn ink through the small hexagonal D’Inkable…

Stamp two of the large coffee stains in Versafine onto the tag… 

Add a few more of the smaller Coffee Stain stamps on to the tag… 

There’s a little squiggly line on the Blooming Blooms stamp set & I added a few to the background… 

Choose a sentiment from the Small Words & stamp onto the ‘smooshed’ card. Cut it out & mat on to some black card… 

Stamp the small numbers on on this card too & cut them out… 

Add all the elements created to your tag & doodle some stitch lines around the edges. Finish by adding some ribbon… 


Thank you for stopping by … Ann xxx


Related Posts Plugin for WordPress, Blogger...