Friday, September 17, 2021
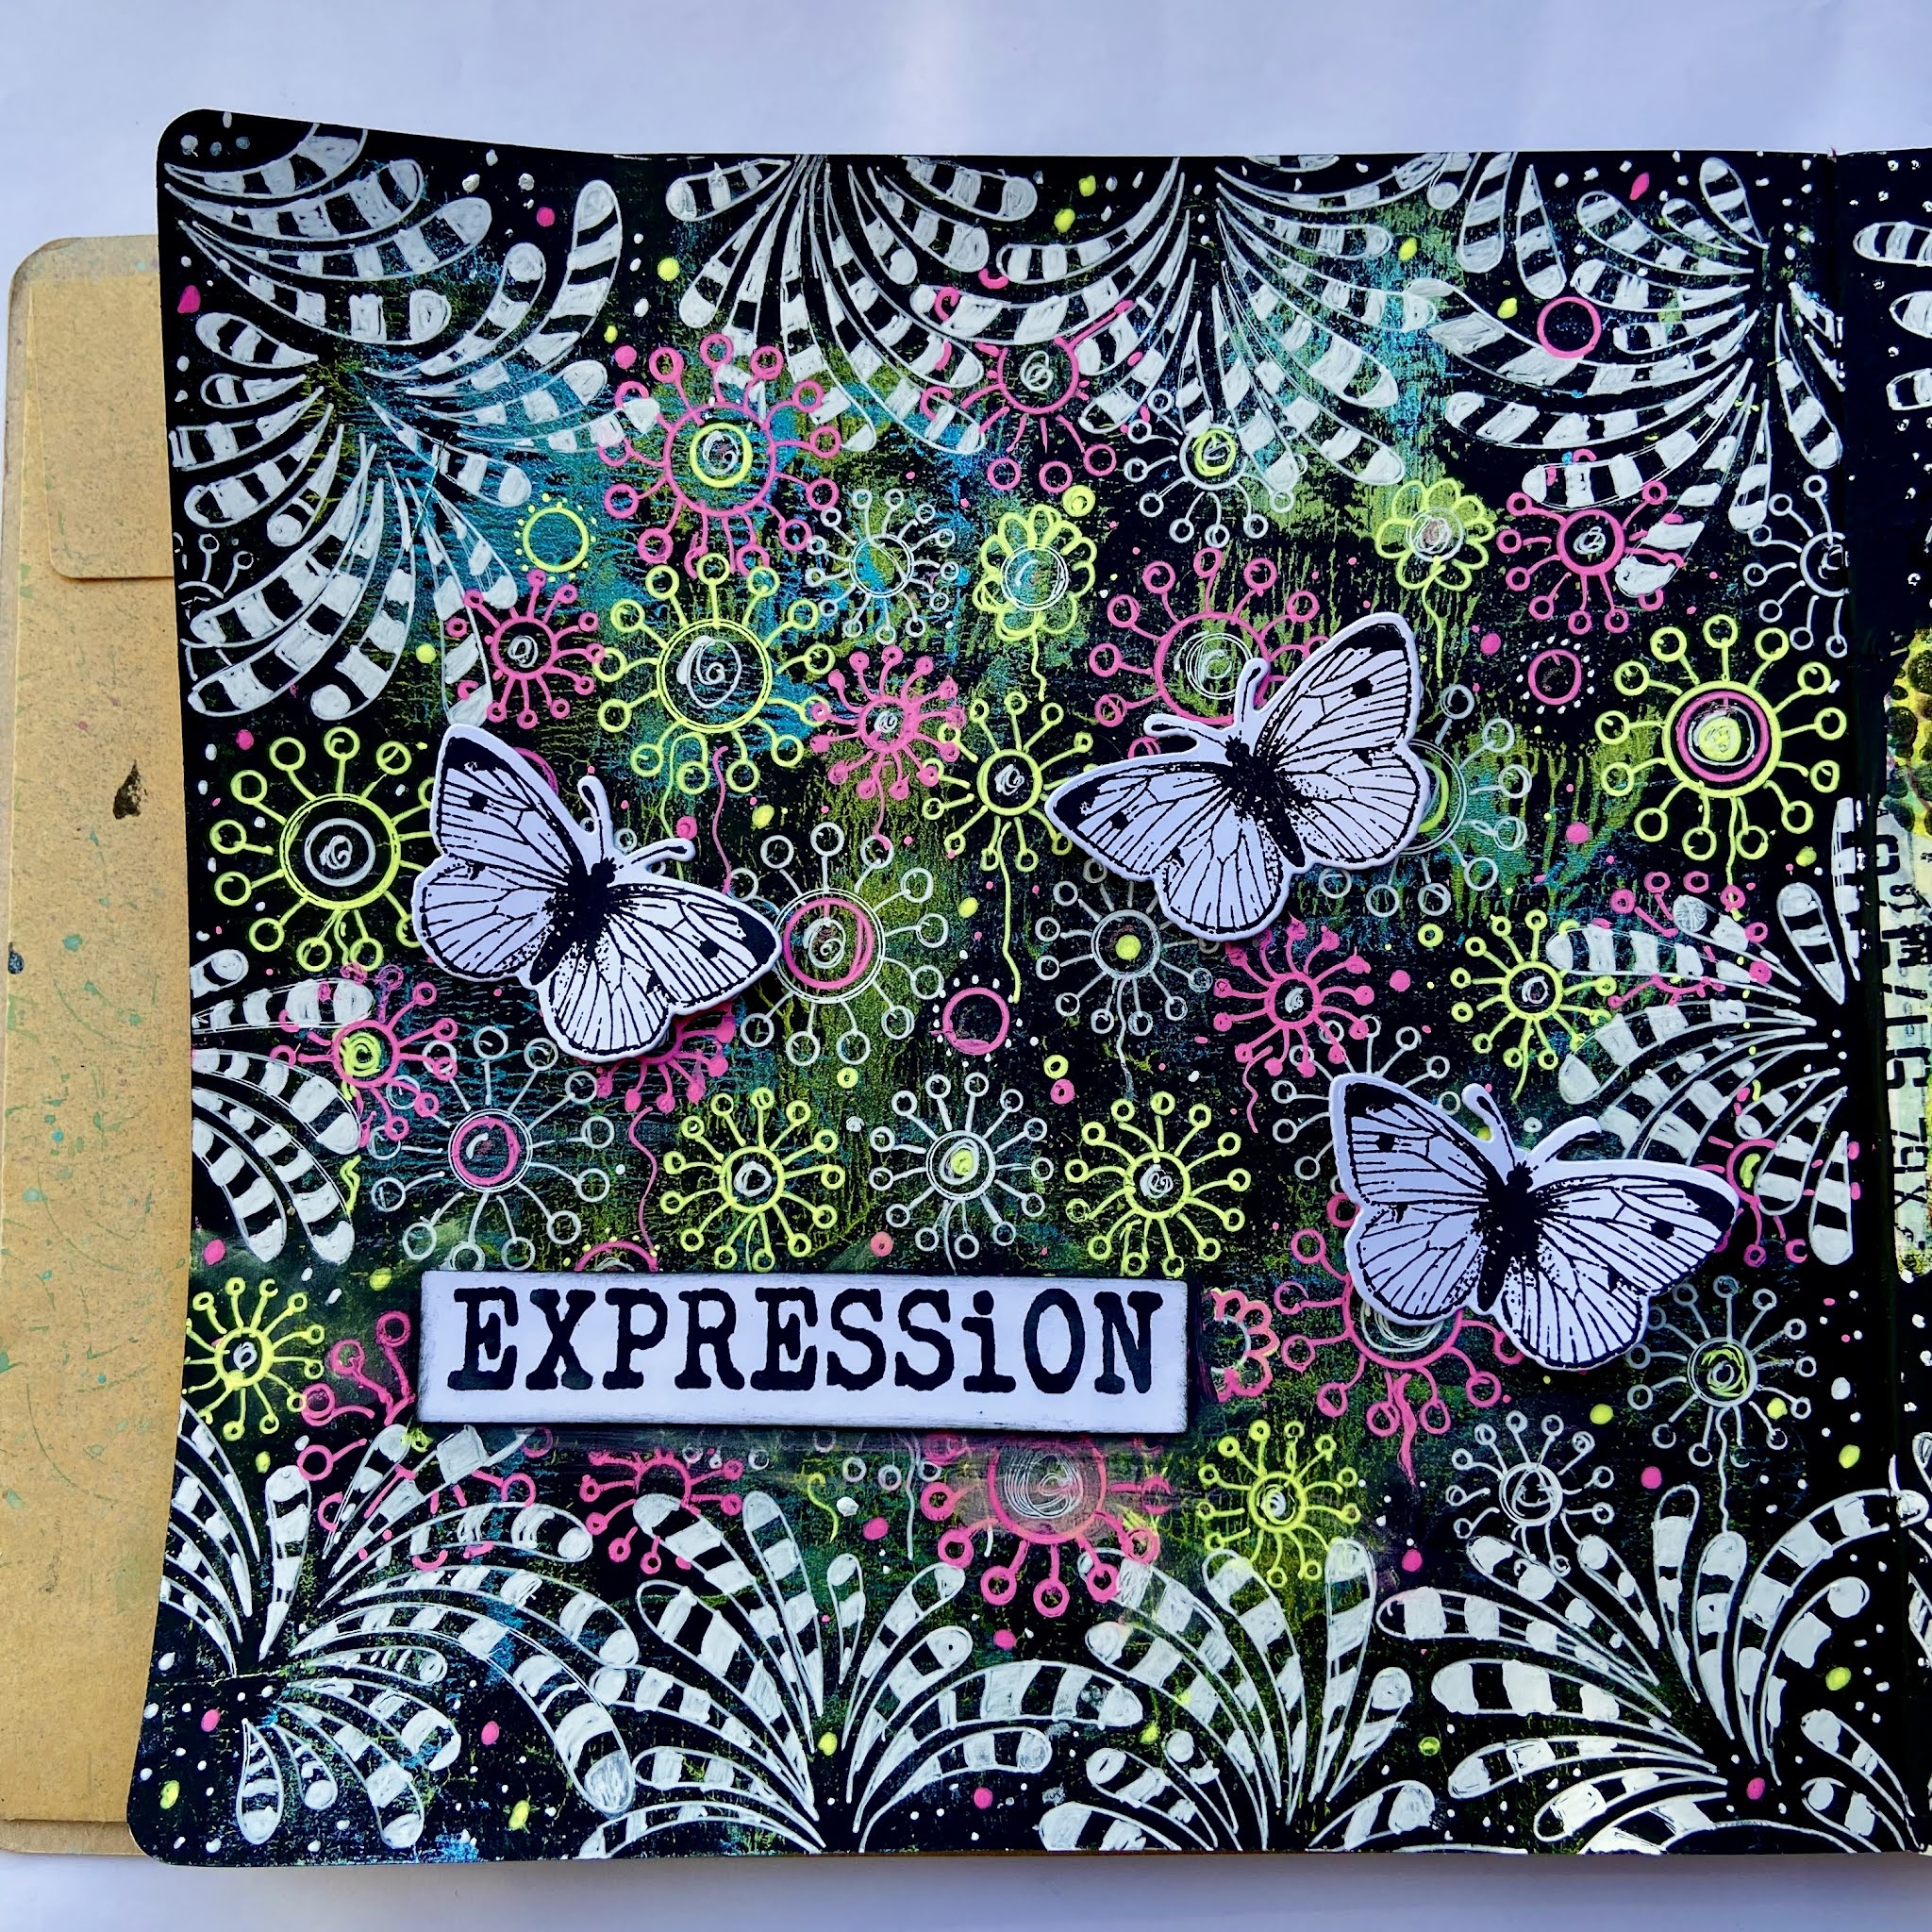
Fernando Journal Page.. by DT Ann
Monday, September 13, 2021
Sally DT - Do-you-think-he-saurus?
Hi There! I am here with a step by step for this T-Rex card today. I have several dinosaur fans in the family, so this set was on my list to get.
I began by smooshing a background of Crackling Campfire, Peeled Paint and Rustic Wilderness Distress oxide inks on to mixed media paper. Make sure this is completely dry before stamping on it.Next I used rustic Wilderness and Vintage photo Distress oxide inks to stamp the smaller worker stamps over the smooshed background.I cut two tags from watercolour paper using the middle sized die from the tags and banners die set. I stamped the text stamp onto the tag with Vintage photo distress oxide and sponged a little around the edge of the tag too.
I used Versamark ink to stamp the smaller dinosaur skull on to a scrap of gold card and embossed with fine detail white embossing powder.
After cutting out the skull, I stamped the remaining tag with the leaf stamp in Tea Dye distress ink.
Next I assembled the card, sticking the background to an A5 white blank card. I added some string to the tags and attached them to the front of the card with 3d glue. I used the same glue to add the skull to the 2nd tag. It would be easy to personalise it by adding a name to the second tag too.
Here is another look at the finished card, along with links to the products in the Bee Crafty store:
Friday, September 10, 2021
Big Time .. by DT Ann
By DT Ann
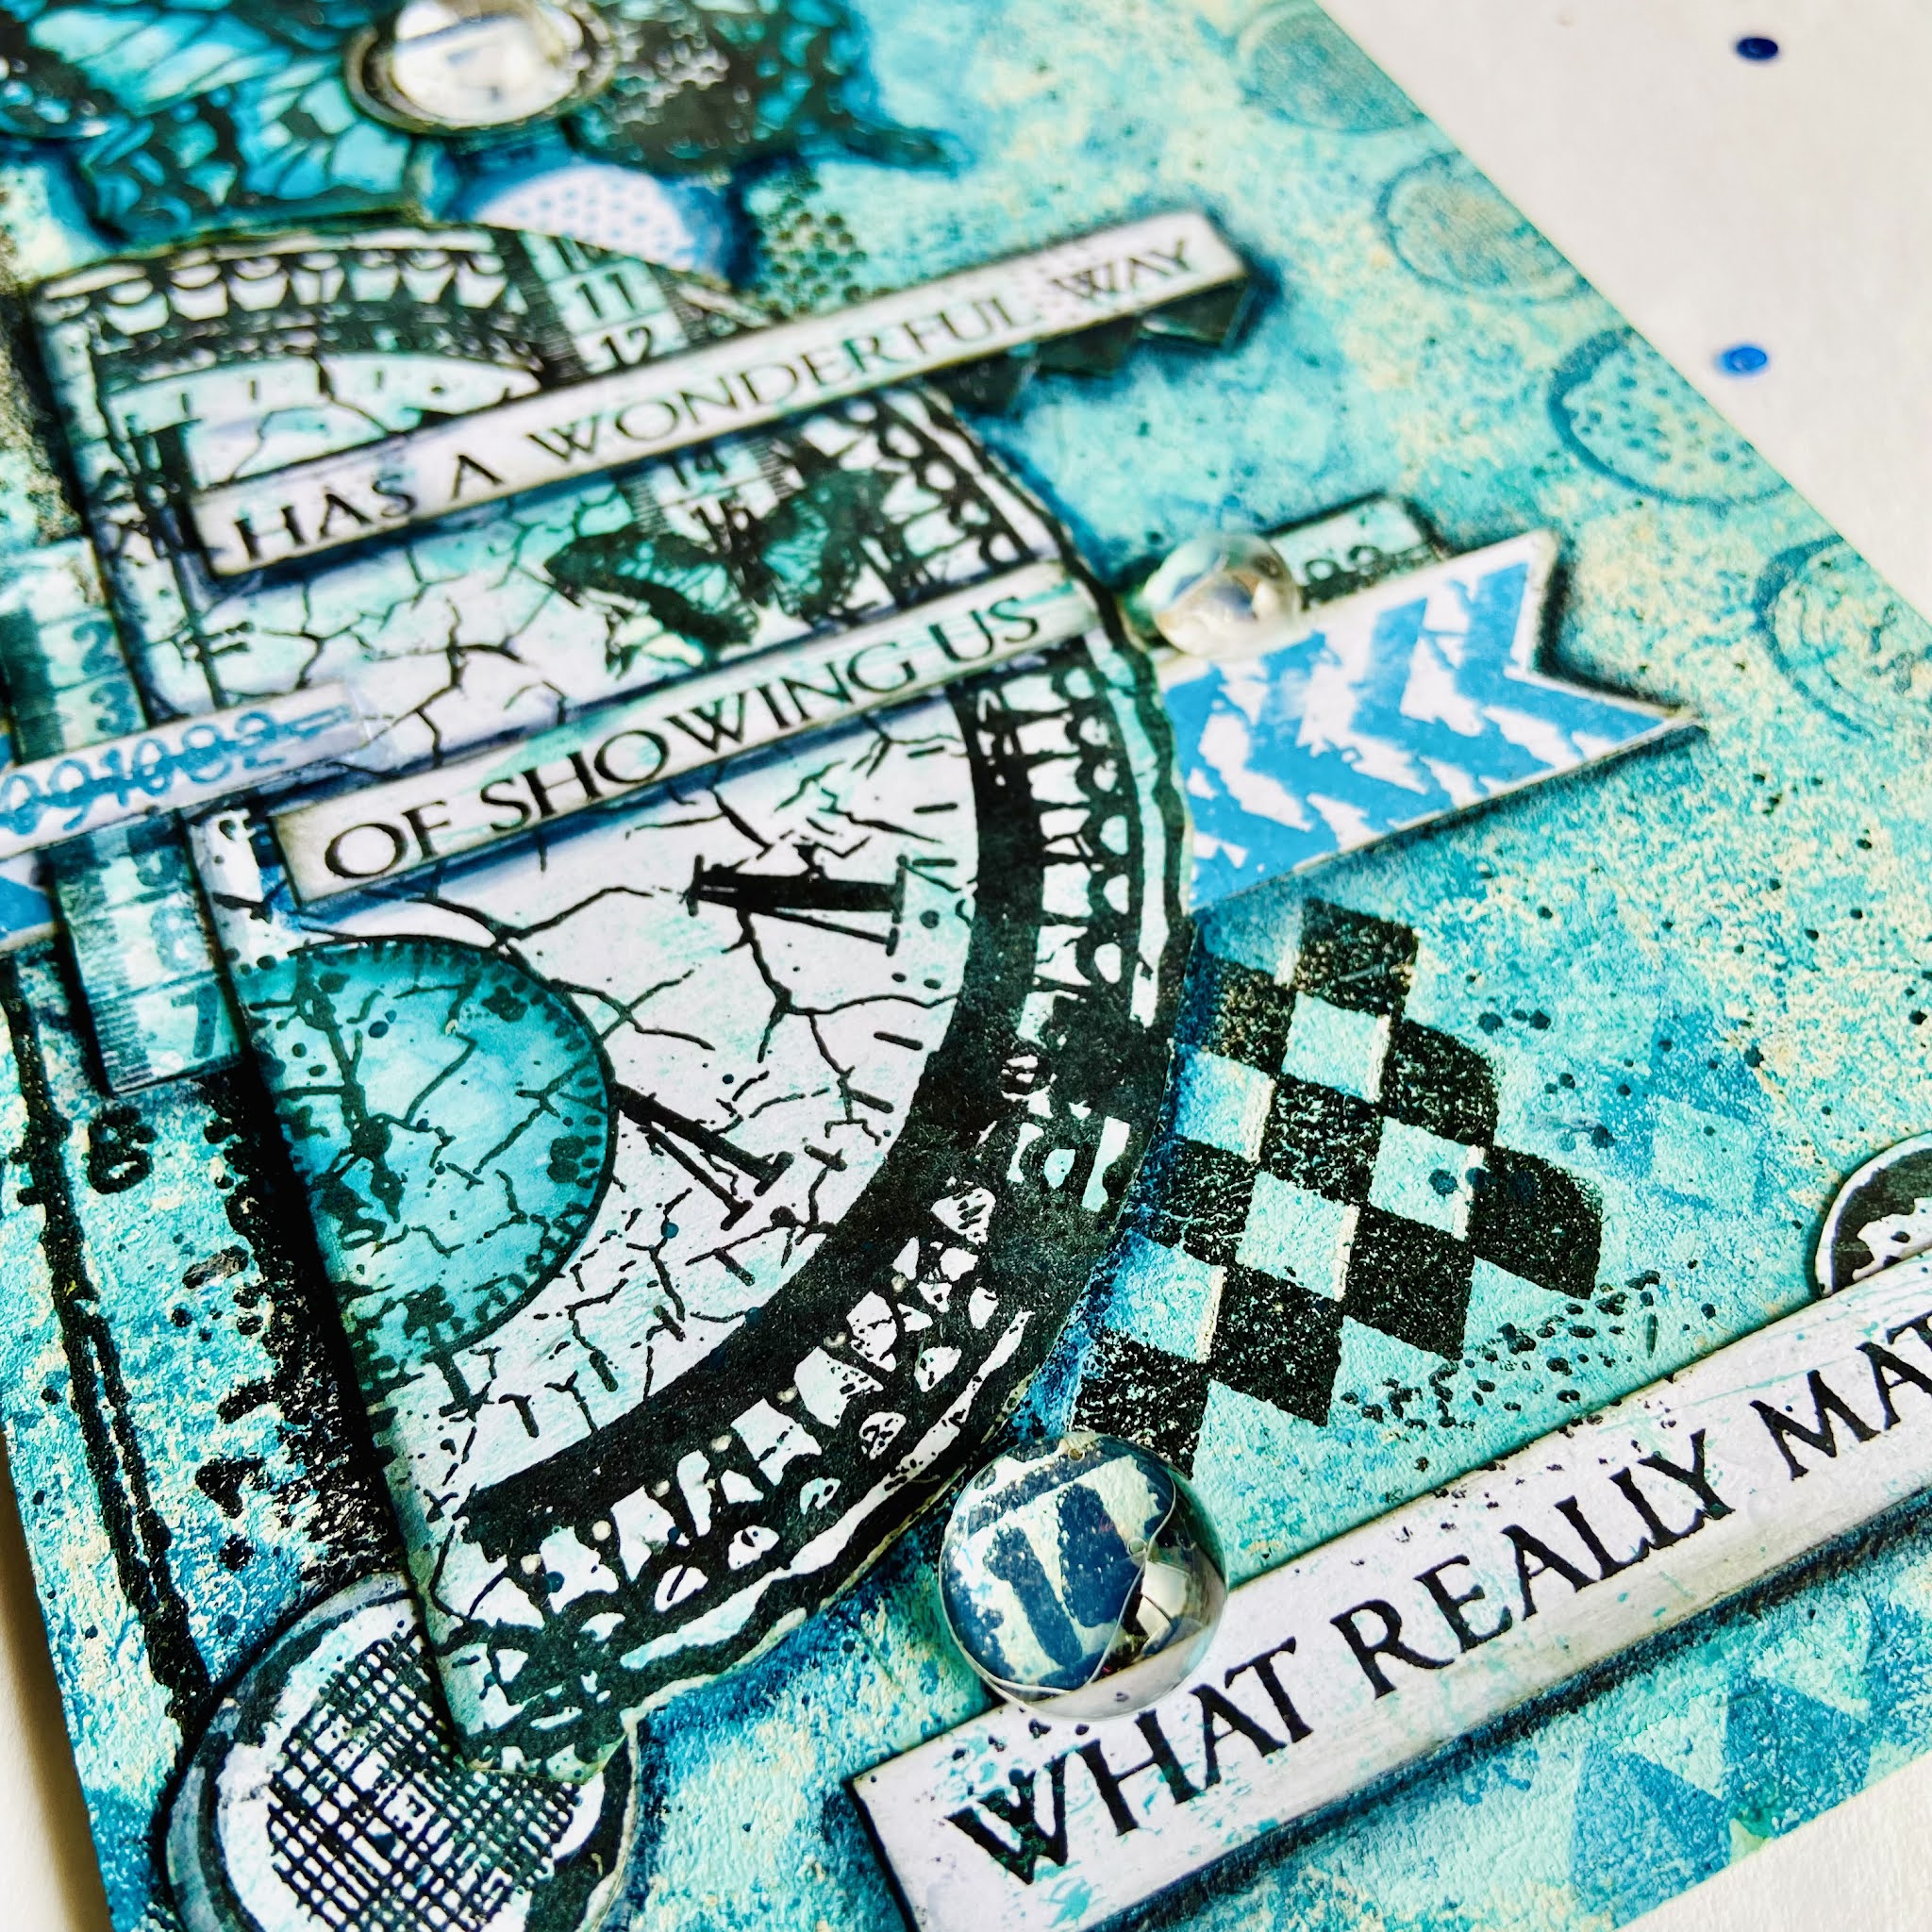
Stamps: Time Measure / Time
Inks: Distress Archival: Black Soot & Mermaid Lagoon
Gesso - white
Acrylic Paint: teal & Turquoise
Ecoline Brush Pens : Fir Green (Botanic set ) & Turquoise Blue ( Fashion set )
Gesso the tag & dry.
Continue adding layers, until you’re happy…
Stamp the Time Measures onto your tag using Versafine Clair Nocturne…
Using the other half & Distress Archival Mermaid Lagoon & Black Soot, ink different elements of the stamp onto it, to use on your tag.
Tip:Leave the stamp on the slim but take the paper to the stamp (careful not to move the paper, when doing this) …
Fussy cut elements from the stamped image, building up your design as you go, you’ll notice mine changes slightly in the photos 😆 Colour some elements using Ecoline Brush Pens..
Use Versafine Clair Nocturne to stamp TIME onto a painted piece of paper & cut up (strips)..
Add some background stamping by just inking parts of the large Time Measure stamp & adding to the tag…
Gather all your elements & place on the tag, once your happy with your layout glue it all together… If you struggle with layouts it’s good to take photos as you go along before you glue everything down..
To finish I added some shading with a pencil & some cabochons to hi light numbers.
Thank you for stopping by… Ann xxx
Monday, September 06, 2021
Sally DT - Be Strong Journal spread
Hi There! I have a new journal! I decided to buy one of the 6x6" Dina Wakely Kraft Journals and today I am showing you the first finished pages in it.
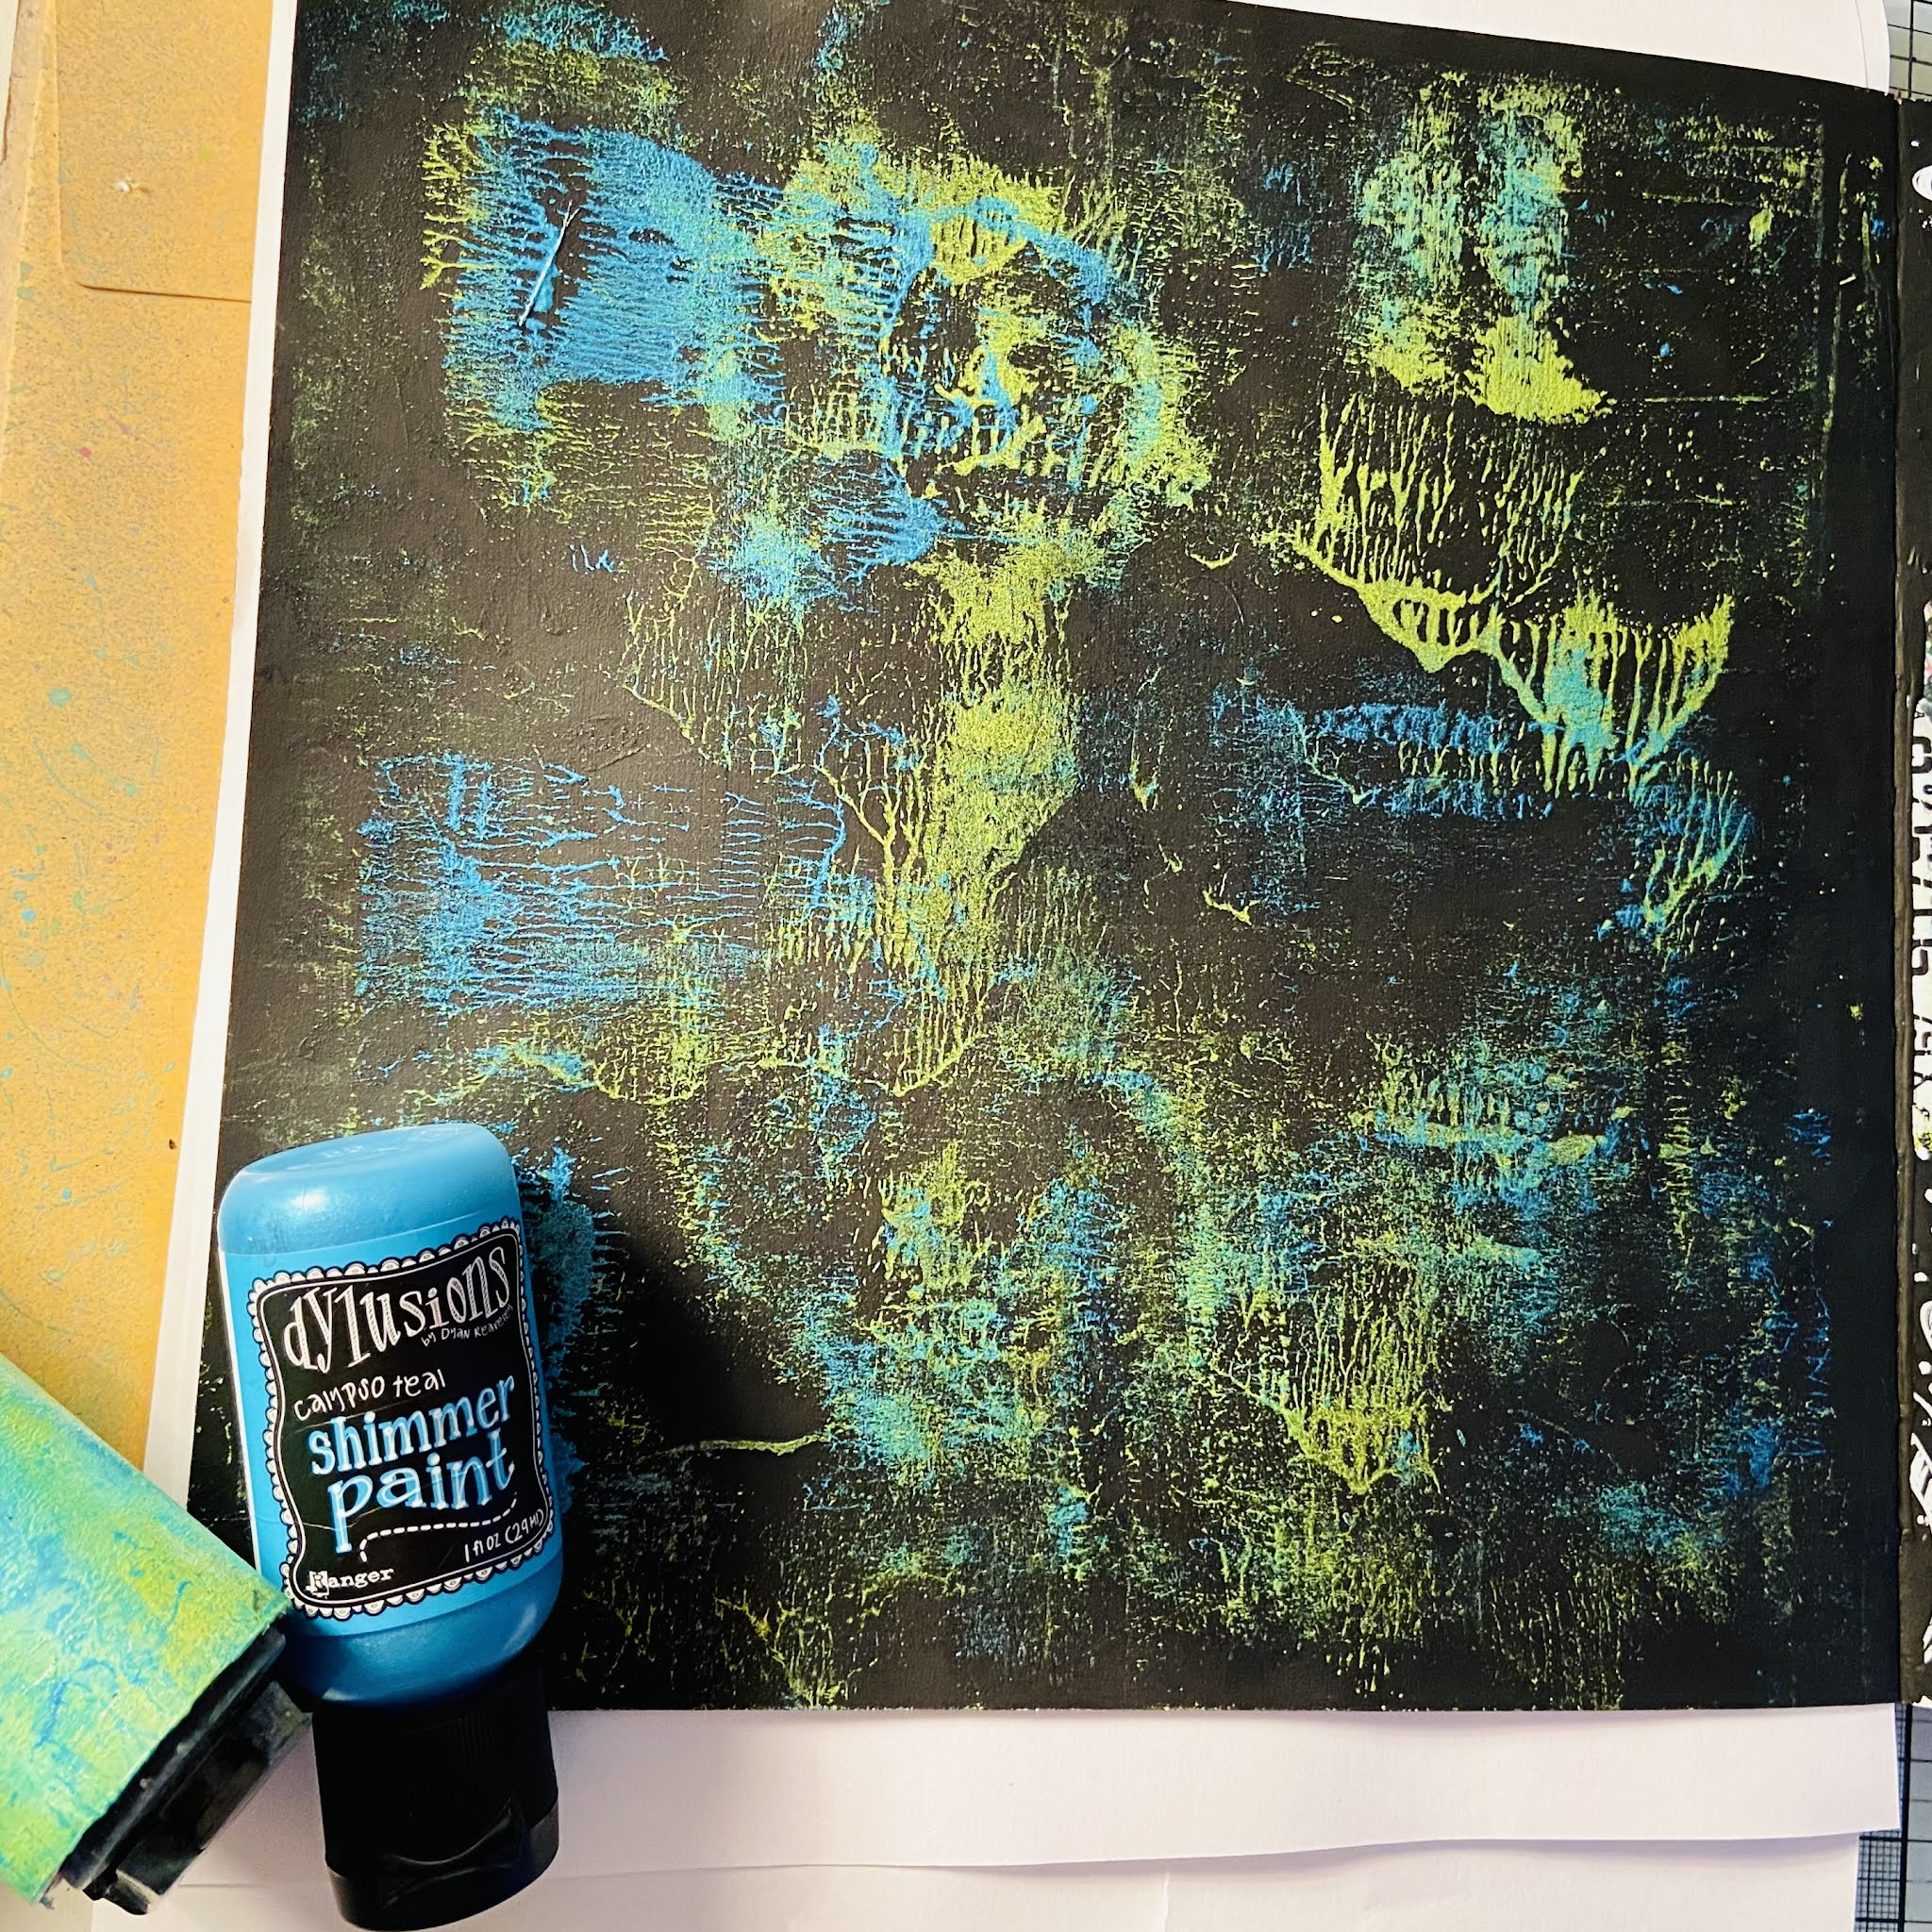
I began by painting blocks of shimmer paint and some Gesso onto the double page of the Kraft journal.Next I added a couple of patches of texture paste through the Bakewell inkable.
I stamped the dotty border, arrows and question marks using Versafine Clair black ink. I also snuck in a bit of white pen to add a few highlights
Next I added the Dina Wakely collage paper words using matte medium and set it aside to dry
I stamped Rainbow view onto a scrap of white card and cut it out
Finally I stuck the house to the page with matte medium adding a bit of shadow with a grey scribble stick.Check out that shimmer!
Saturday, September 04, 2021
Jane DT - 'Future Girl' Art Journal Spread
Hello!
This week I thought it was about time I completed some more pages in my tag art journal...
1) The pages of this journal are already pre coloured with distress oxide sprays so I chose the ones that I wanted to use...
2) Then I used the Honeycomb Multi inkable with Wild Honey distress ink to add some pattern to the pages...
3) Next I stamped the small ledger circle from the Dragonfly stamp set using black archival ink,..
4) After stamping parts of the Light Bulb Circuit stamp onto tissue, I tore some parts off and added them to the spread using distress collage medium...
Friday, September 03, 2021
Houses by DT Ann
Houses
by DT Ann
Doodle Houses regular Stamps & Dies
Inkables: Bakewell
D’Inkables: Numbers (set 5) Stitches (set 6)
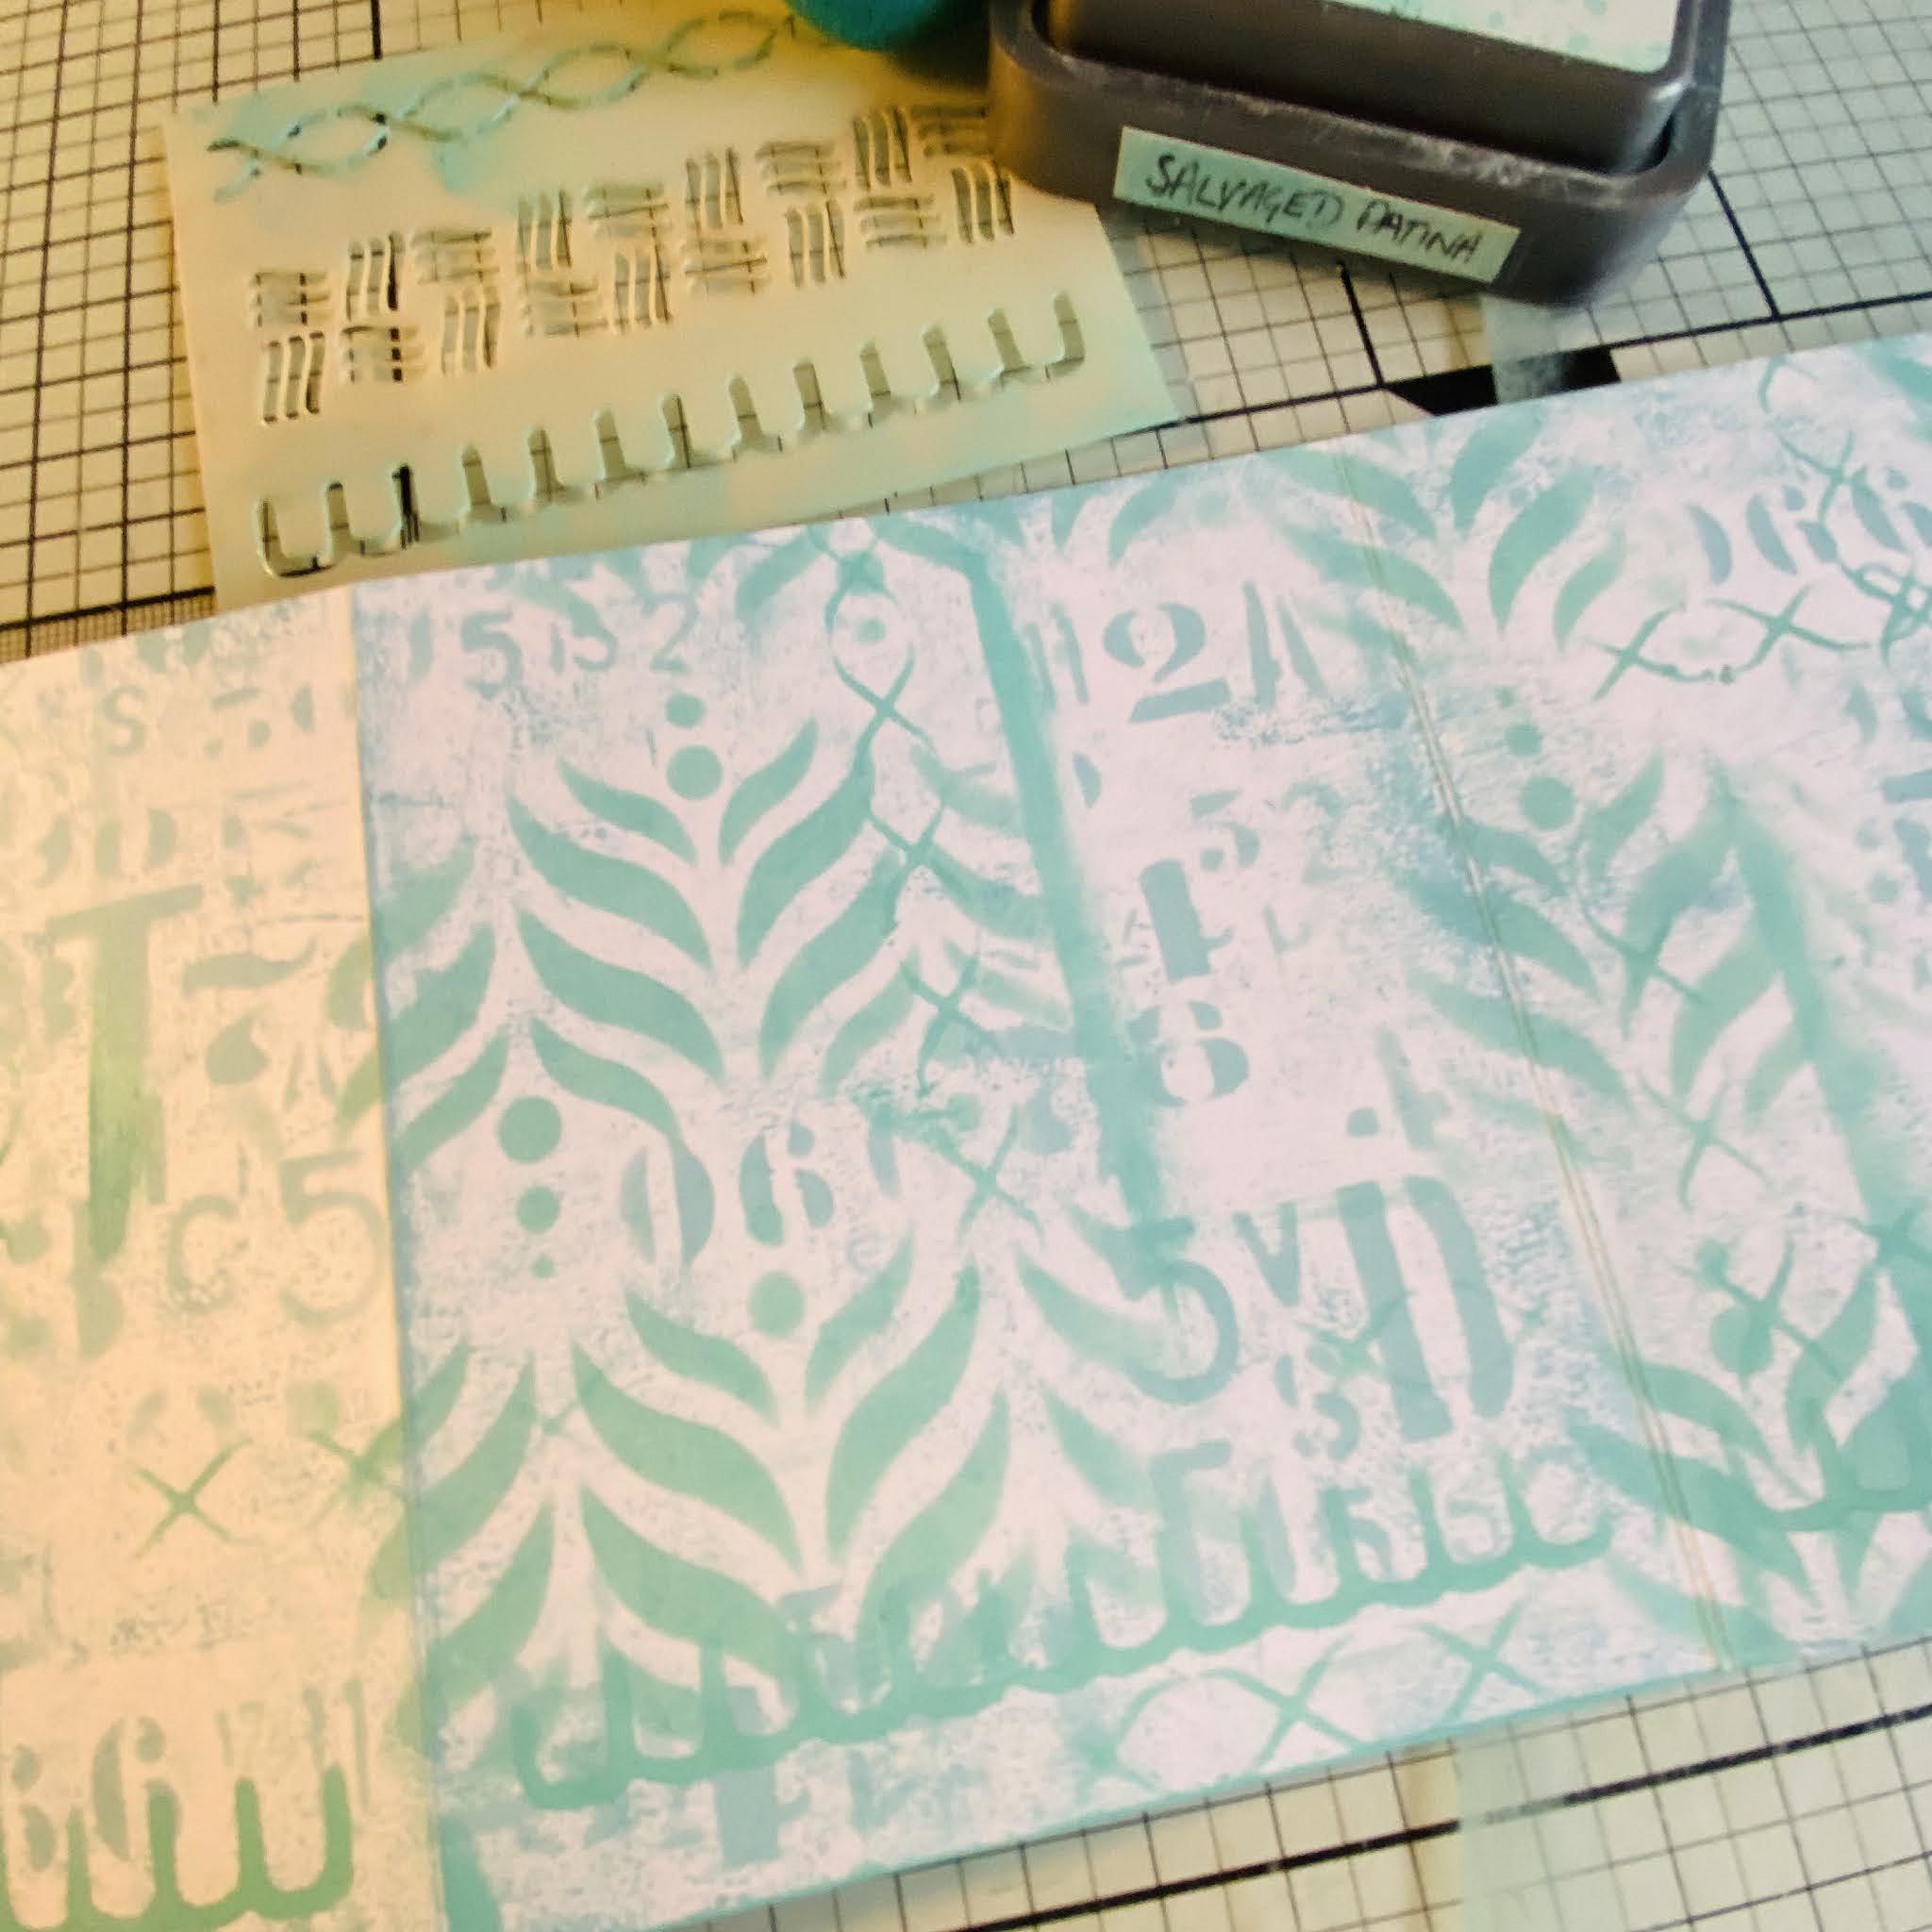
Distress Oxide Inks: Salvaged Patina, Tumbled Glass, Kitsch Flamingo & Blueprint Sketch
To recreate this card…
Cut A4 piece of card lengthways to 11cm to create an oblong piece ( see pic) & brayer Tumbled Glass across the card…
Add Salvaged Patina through the Bakewell Big One ..
Stencil D’Inkables Numbers (from set 5), using Tumbled Glass…
Add some Stitches ( from set 6) using Tumbled Glass…
Stamp vines from Villa Rose, in Kitsch Flamingo..
Score the oblong card at just under 10cm & 20cm.. fold, then glue each house onto each section…Stamp some random numbers intro the background & doors in Blueprint Sketch Distress Oxide ink. Use the letters to create a sentiment …
You could add more stamping or some doodles it’s up to you!!
Thank you for stopping by… Ann xxx