Wednesday, August 31, 2016

Marleen DT - wednesday inspiration

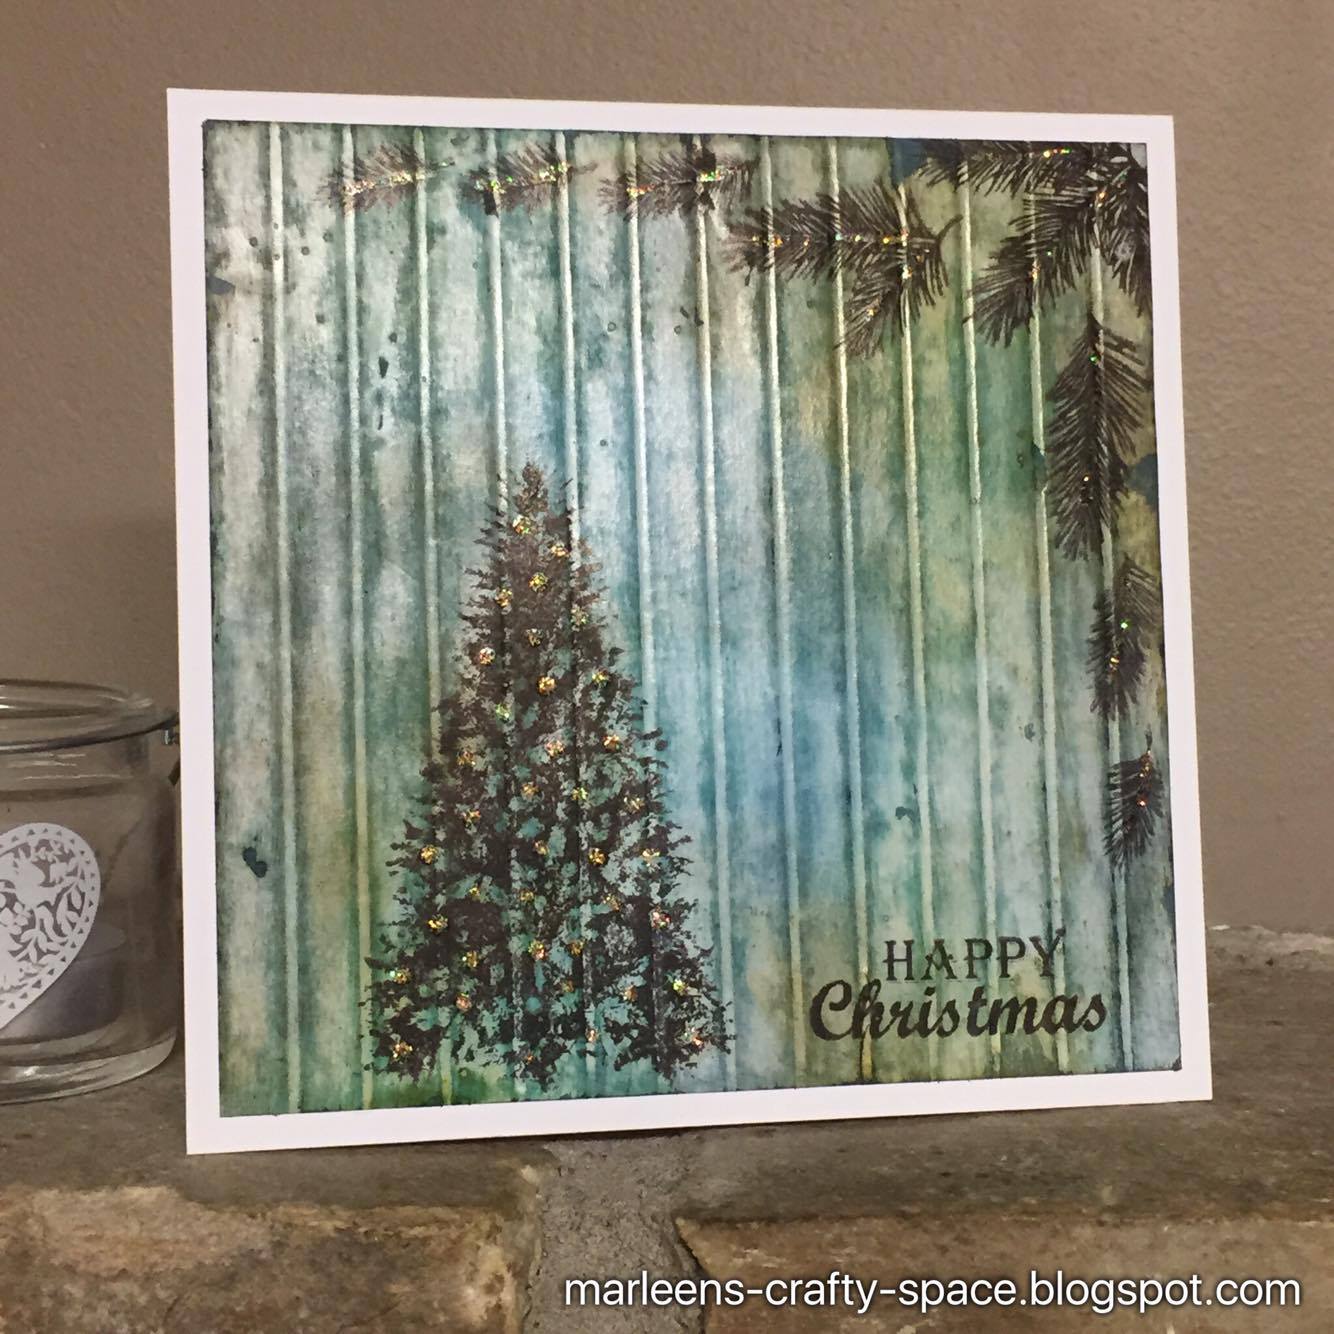
Good Morning Blogger friends..

Im running a bit late today as we are going back to routine in this house. 9 weeks summer holiday is (finally) over. All my babies are now back at school so hopefully i'll soon be back to normal lol

Anyway, its my turn to share a bit of inspriation for BeeCrafty.
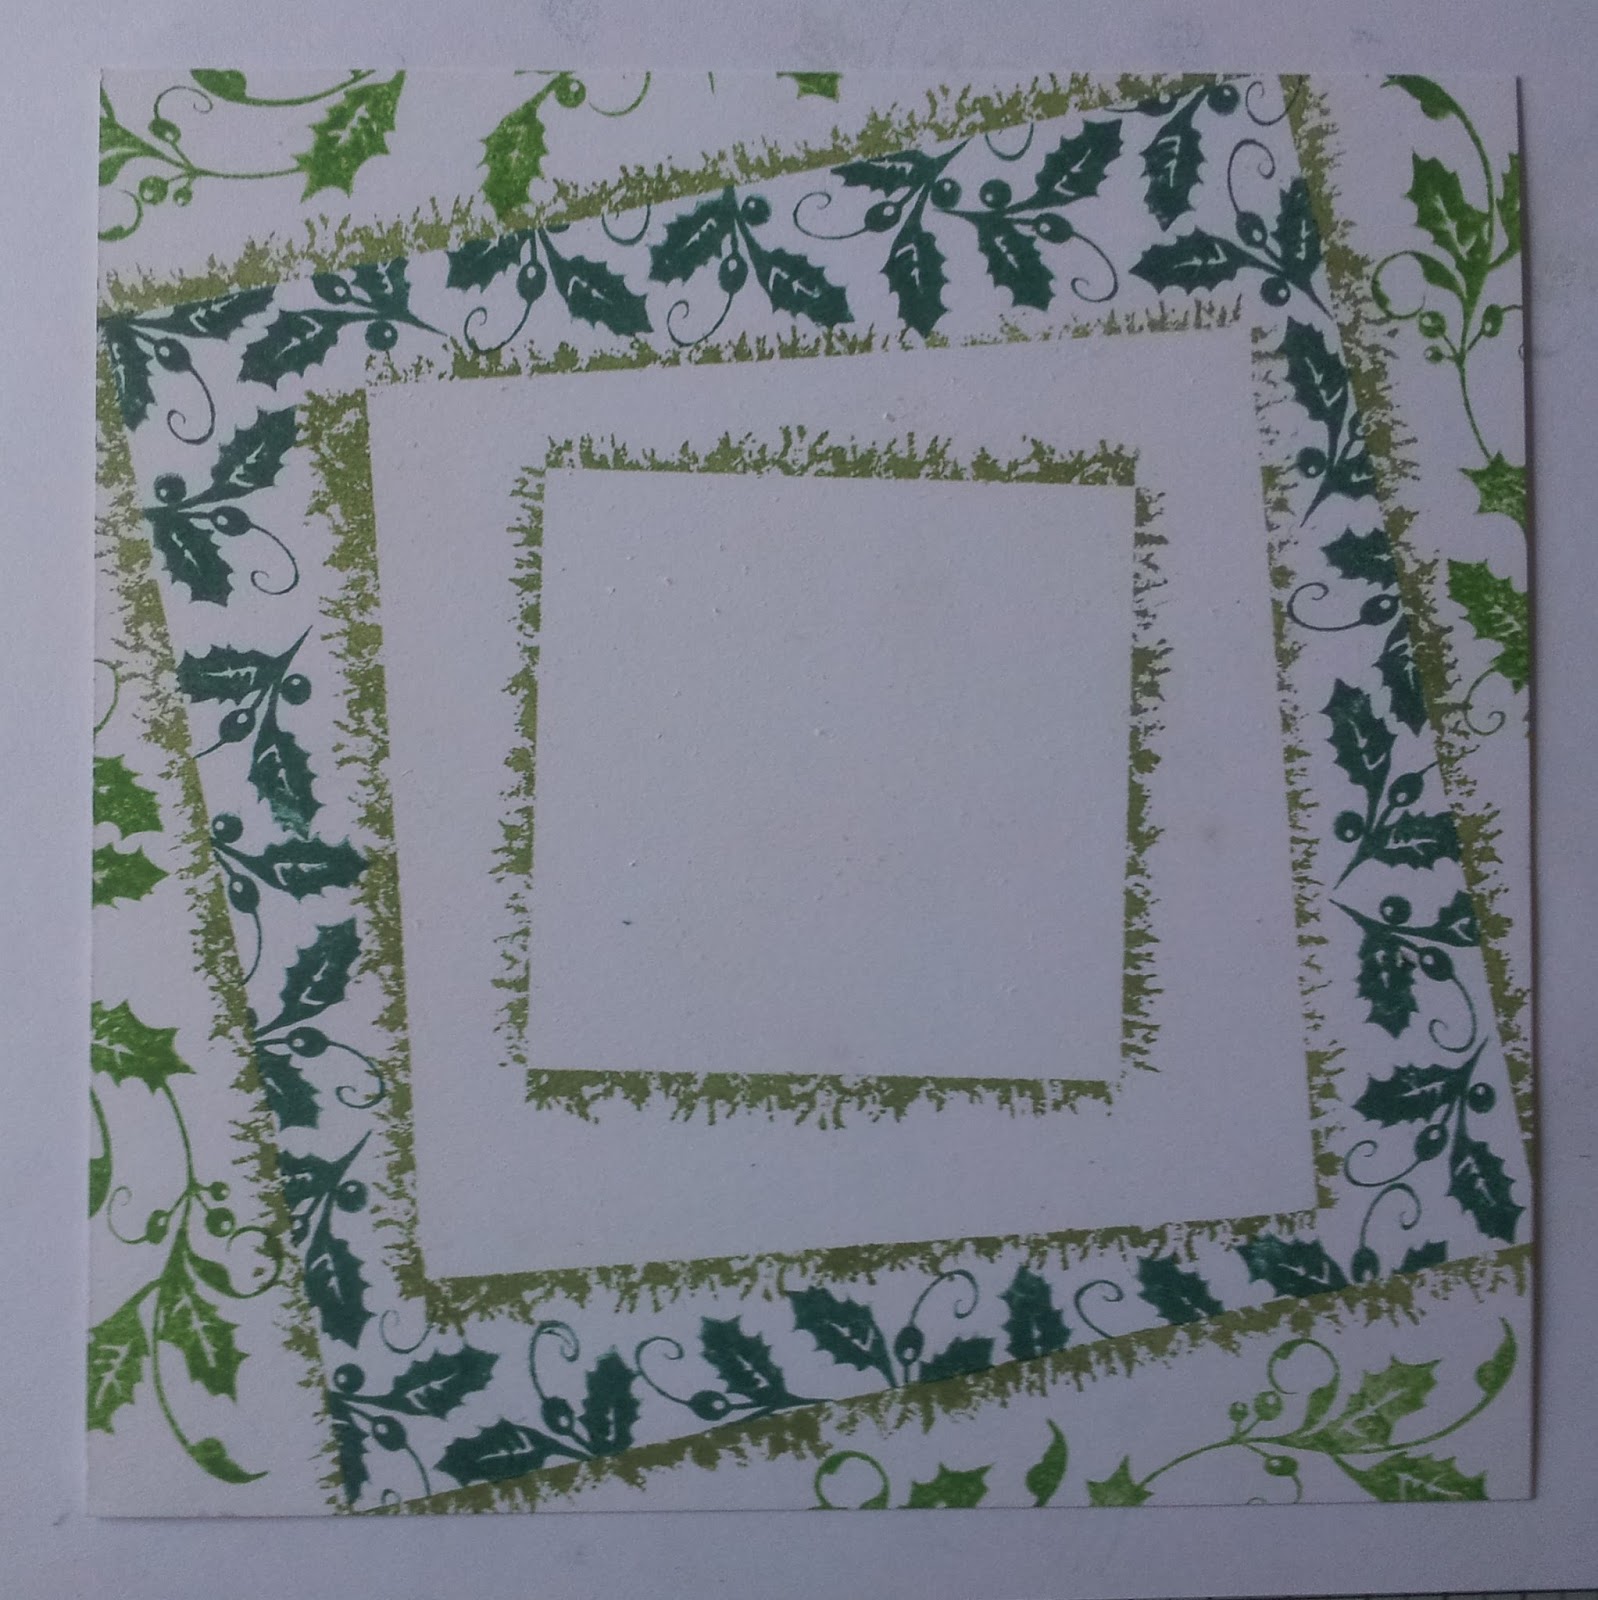
I had a play with the "Ground Elder" stamp and the "Family Masterpiece (lg)" stamp.

 The background is made using a stencil and distress ink. I brushed the colours with a make-up brush. Using the brush instead of the normal foam tool, gives a more textured look as the brushes catches the detail in the card but without "soaking" the card in ink. When you use the foam tool, you tend to gently press down and the foam goes into the texture of the card and creates a more smooth look. 

After inking I simply stamped with black archival ink and mounted on to a 14.5cm x 10.5cm note card.

And that is all from me for today.
Many thanks for popping by and for any comments left behind.
And dont forget to come visit me on FaceBook, Twitter, Instagram, Pinterest or my FB page.
 Happy Crafting


Tuesday, August 30, 2016

Back To Bed

Morning, I thought it would be nice to make a monochrome Christmas Card, Could be great for a mans card. You could also add a real statement shot of colour by adding a poinsettia in the corner, which I think would look great. For this card I used just one stamp from the Christmas Collection that Bev launched on Hochanda on August 18th, if you missed the shows, please visit the Hochanda Website as they will still be available via the Catch Up facility.

To create the frame for this card, I inked up the large Christmas Tree and stamped around the edge. I didn't want this uniform so I stamped some further in than others, while still keeping the continuity. These trees really are beautiful, the detail is absolutely amazing close up.


I had deliberately kept the edge low on the left hand side to allow for the sweeping landscape, so I could get the feeling of distance once I had added the image. I used torn paper and a light blend of Black Soot Distress Ink to create the land.

I started with the full large tree, I stamped one to the right. For the second I used torn paper to mask the first, I didn't want a hard line so I didn't make the mask to cover the whole of the edge. I also masked of the land using the torn paper so I could lower the tree without it looking wrong on the hillside.

Next I added my sentiment, which I think goes incredibly well for this card. Then using scrap paper I masked off the land again and stamped another of the trees, so that only part of it became part of the design and give the perspective in such a small piece.

That was my design complete. To finish the card, I layered it onto Black Cardstock, I did look at other colours but black was the colour that finished of the card better than the others.


Thank you for taking time to visit today, I hope you have enjoyed the step by step I have shared today and the finished card. Hope to see you again very soon. Take care and Happy Crafting.

Monday, August 29, 2016

DT Kerrie - Christmas Star

Hiya and Welcome to my Monday Post for Bee Crafty

Today I am sharing with you one of my Christmas makes using some of the gorgeous 'Yuletide' stamps that were on a recent show on Hochanda


I chose a 7x7inch cardblank and trimmed a piece of white cardstock to a few mm smaller using the cardblank and a pencil to mark the size and then trimmed using a guilotine. I also cut another piece of white cardstock to 6x6inch. 

On the large piece I stamped the larger 'Holly Border' from the 'Yuletide Set - Holly Swirl, Tree & Borders' around the edge first in clear embossing ink which I then heat embossed with clear embossing powder and a heat gun, then using Stormy Sky distress ink. Once dry I thnem inked over the edges using Tumbled Glass and Black Soot distress inks.

On the 6x6inch piece of white card I fixed the 6inch Inkables Template '6inch Star' using low-tack tape and inked through it using Tumbled Glass, Broken China and Stormy Sky distress inks starting with the lightest. I then stamped the 'Happy Christmas' Yuletide - Wordage stamp using black archival ink. I stamped ariund the edges using the smaller 'Holly Border' (from the Yuletide Set again) firstly using Tumbled Glass and then using Black Soot distress inks. I then ran a foam pad that had been used with Black Soot ink accross the edges.

I matted both pieces of white cardstock using Navy Blue pearlescent cardstock. I fixed the larger panel to the front of the 7x7 inch card blank using all purpose glue. I fixed the 6x6 panel to the card front using foam tape for depth. I finished the card with some flat back clear gems.

Thank You so much for visiting today - please come back to the Bee Crafty Blog again soon for more Gorgeous makes by the Amazing Design Team

Krafty Hugs xx

Saturday, August 27, 2016

Barbara DT - Hochanda Samples

Hiya, I'm back with the rest of my makes from the recent BEE CRAFTY Hochanda show.....
Bev launched THREE new sets of stamps on the show, and you can find them on the Bee Crafty website, of course.
Yuletide WORDage Set - HERE 
Yuletide Set - Fir trees & fronds - HERE 
Yuletide Set - Holly swirl tree & Borders - HERE
Too many pics to go into detail about, but if you have any questions re-backgrounds, etc......please just ask.


Do you have a favourite??
I do, but I'm not telling ;-)
Have a great Bank Holiday weekend.......I always think Summer is over on the Tuesday after BH Monday, good job I still have lots of holidays to look forward to ;-)
Catch you soon,
Barbara xx

Friday, August 26, 2016

Emily DT - Dandelions

Hi everyone, I have been very busy this week preparing my samples for the next Hochanda show which is being broadcast live from Ally Pally. I have managed to get this quick card done though!

Here is the card I have made...


I started by using a tiny bit of my Brushos on some white card. I am usually quite heavy handed with them and end up covering the whole piece of card. I wanted to try and get a different effect by just using a little bit and not too much water.


Once it was dry I stamped on my Dandelion stamp and my sentiment.


I finished by mounting it on some black card. This card was so quick and easy to make and I love how it's turned out.

I hope you like it too!

Emily x

Thursday, August 25, 2016

Kerrie DT - Fashionette's 'Shirley' - Decision to Try

Hiya and Welcome to my Post for Bee Crafty - I have Hijacked the Thursday Spot this week and I am sharing a FASHIONettes make today - I love love love these gorgeous girls so much


I stamped 'Shirley' using light grey ink and coloured her using my favourite Alcohol Markers. I then used Glossy Accents for her glasses to create the look of glass


I created the backinp paper myself using the flourish part of the 'Fabulous Flowers - Bouquet' with some clear embossing ink and white embossing powder which I heat embossed - these flourishes then were raised and worked as a relief when I inked through a handmade stencil I made using a metal die and a scrap of cardstock. I used 'Seedless Preserves' and 'Milled Lavender' distress inks to ink through the handmade stencil. I matted this backing paper panel using Mink and Brown pearlescent cardstocks.

I trimmed round 'Shirley', inked the edges using Milled Lavender distress ink and matted onto the off cuts of the Mink and Brown cardstock from before. I fixed this to the cardfront using foam tape.

Next I die-cut lots of different size flowers from the same set of metal dies I used for the background which I then stamped the 'Fabulous Flowers - Star Flowers' onto all but the largest size die-cut flowers using embossing ink, which I then tipped gold embossing powder onto and heated them using my heat tool. On the largest die-cut flowers I first inked the same flourish I used on the background in Milled Lavender ink and then over that with clear embossing ink and powder. I inked the edges of the largest flowers using Milled Lavender and then all the other flowers using Seedless Preserves. One dry I used a large ball tool to shape the flowers from the backs, then pushed the centres back on the fronts to make them pop out.

next I die-cut some flourishes and then layered them up with the flowers at oposite corners of the Image topper. I added some brown flat back pearls to the centres of the flowers.

To finish the card I stamped the 'Decision to Try - WORDage' sentiment onto white cardstock and then cut out all the idividual pieces which I then matted with offcuts of brown cardstock and fixed to the cradfront all scattered out, using foam pads.


Thank you so much for visiting my Post today. I will be back in my usual Monday Spot next week. Please visit the Bee Crafty Blog again soon to see more gorgeous makes by the Brilliant Design Team

Krafty Hugs

Wednesday, August 24, 2016

Marleen DT - Hochanda Smaples and MDF Window

Morning bloggers..
And thank you for stopping by..

Today I want to share all my samples I made for the last BeeCrafty show on Hochanda.
Bev had a mix of new and older christmas stamps on the show and they proved very popular. She also brought some of the Inkables Templates (which are all favorites of mine..)
Bev also showed us something totally new to BeeCrafty.. MDF windows... and boy they flew off the shelves lol..
MDF is something I've personally not done a lot off, and I must admit I found it a bit scary.
Anyway, I have to say, in the end, I really loved the process. It made me really think about what I wanted to make, and made me think about colours, texture ect ect before even starting. Normally I just go with the flow and start over if it dont work, but here I had to think about the process..

I made 15 samples altogether for the show. Only a few got shown on the screeen this time but I hope I can still give you all a bit of inspiration with these amazing stamps.

Here is my MDF Window.. The kit contains the back (where I stamped and painted), the window pane and a foot for both to stand on. Find the kit HERE.
 I made mine as a wall hang instead of using the foot

 This one is made using the Inkables Templates layered up and then stamped on top.


 THis one is stamped and covered with a double sided sticky sheet and covered with glitter.

 This one is made using the ofcuts from the MDF window. 


 This one is also made with the inkable Tempates. I stamped through the circle stencil to get the rounded shape.

 Lots of embossing poeder and distress ink


 Ive made this back ground before and still love it. HERE is a link to the original tutorial on how to make it.


 This one is stamping and mica powders.


And that is all from me for today. I hope I've managed to inspire you a bit to have a go with these amazing stamps.
Many thanks for popping by and for any comments left behind.
And dont forget to come visit me on FaceBook, Twitter, Instagram, Pinterest or my FB page.
 Happy Crafting

Tuesday, August 23, 2016

Christmas Kaleidoscope

Morning, Today I want to share a card that shows just how useful the square Inkables are, this is just one use for them but there are many, many more. I have also used a selection of the Christmas Stamps that Bev launched on Hochanda last Thursday (18 August). I think we all take some tools for granted or look at them and dont realise how else we can use them,Me Included.

This card I completely flat, so brilliant for posting. However id does appear to be be fairly layered. By using the Inkables and overstamping it gives the illusion of dimension. To start with, I took my card base and put the largest Inkable in place using temporary spray adhesive, here I used Stick n Spray from Crafters Companion.

The using Memento Bamboo Leaves, I stamped around the outer edge using the large tree stamp. I then repeated this with the other sized Inkables, rotating them slightly each time ensuring the centre one was square with my card.

In the outermost square I stamped the white space using the Holly Flourish and Memento Bamboo Leaves. In the next space I used the individual Holly Stamp and this time used Pine Needles Distress Ink.

For the next space I used only the swirl part of the Holly swirl and stamped using both the Bamboo Leaves and the Pine Needles. I then overstamped all of the edges with Black Versafine, making sure the green showed from beneath.

In the centre square I stamped my Christmas sentiment and edged using the smaller Holly Flourish with Bamboo Leaves.

I then added the holly berries, using Cosmic Shimmer PVA glue in 'Festive Berry'. I then took a Zig glue pen and highlighted all of the edges with gold foiling to add even more dimension.

To compete the card I layered it first on to red Mirror Board and then a black base card.

I hope you have enjoyed the step by step I have shared with you today and the finished card. Thank you so much for taking the time to visit and hope you will come back again very soon. Take care and Happy Crafting.xx
Related Posts Plugin for WordPress, Blogger...