Wednesday, September 27, 2023

Sally CT - Bee-lieve

Hi There! For my step by step this week I have another layered ink card for you. Here's how I made it.

 
I began by masking a border with stencil tape and blending a mixture of mustard seed and Lumberjack Plaid Distress ink onto a 5x5" card base. 

I then stamped the so Square background stamp in Mustard seed distress oxide over the top before removing the stencil tape. 
I used one of the borders from Freehand borders #1 in lumberjack plaid around the square, masking off the corners with a post it note.
I neatened up any missed sections with a red fineliner pen. 
Next I stamped the largest bee from the BEE mine set onto a scrap of card in black Versafine Clair ink. I also stamped some of the honeycomb outlines in the lumberjack plaid ink over the background.
I smooshed the bee with the same inks and then cut it out.
Finally I added the bee to the background using 3d foam pads and added a sentiment from the same stamp set. I used two colours so this would be perfect for the Bee Crafty Stamps Facebook  group Challenge, which you still have a few days to enter.
I used:
5x5" card blank
Distress inks in Mustard Seed and Lumberjack Plaid 
Distress oxide ink in Mustard Seed
3d foam pads

Thanks for looking! If you have booked to do my workshop on Saturday, I will look forward to seeing you in the group. 

Sunday, September 24, 2023

Alison CT - Leaves and Circles

Hi everyone, today I'm sharing a step by step guide to creating this simple art journal page. 

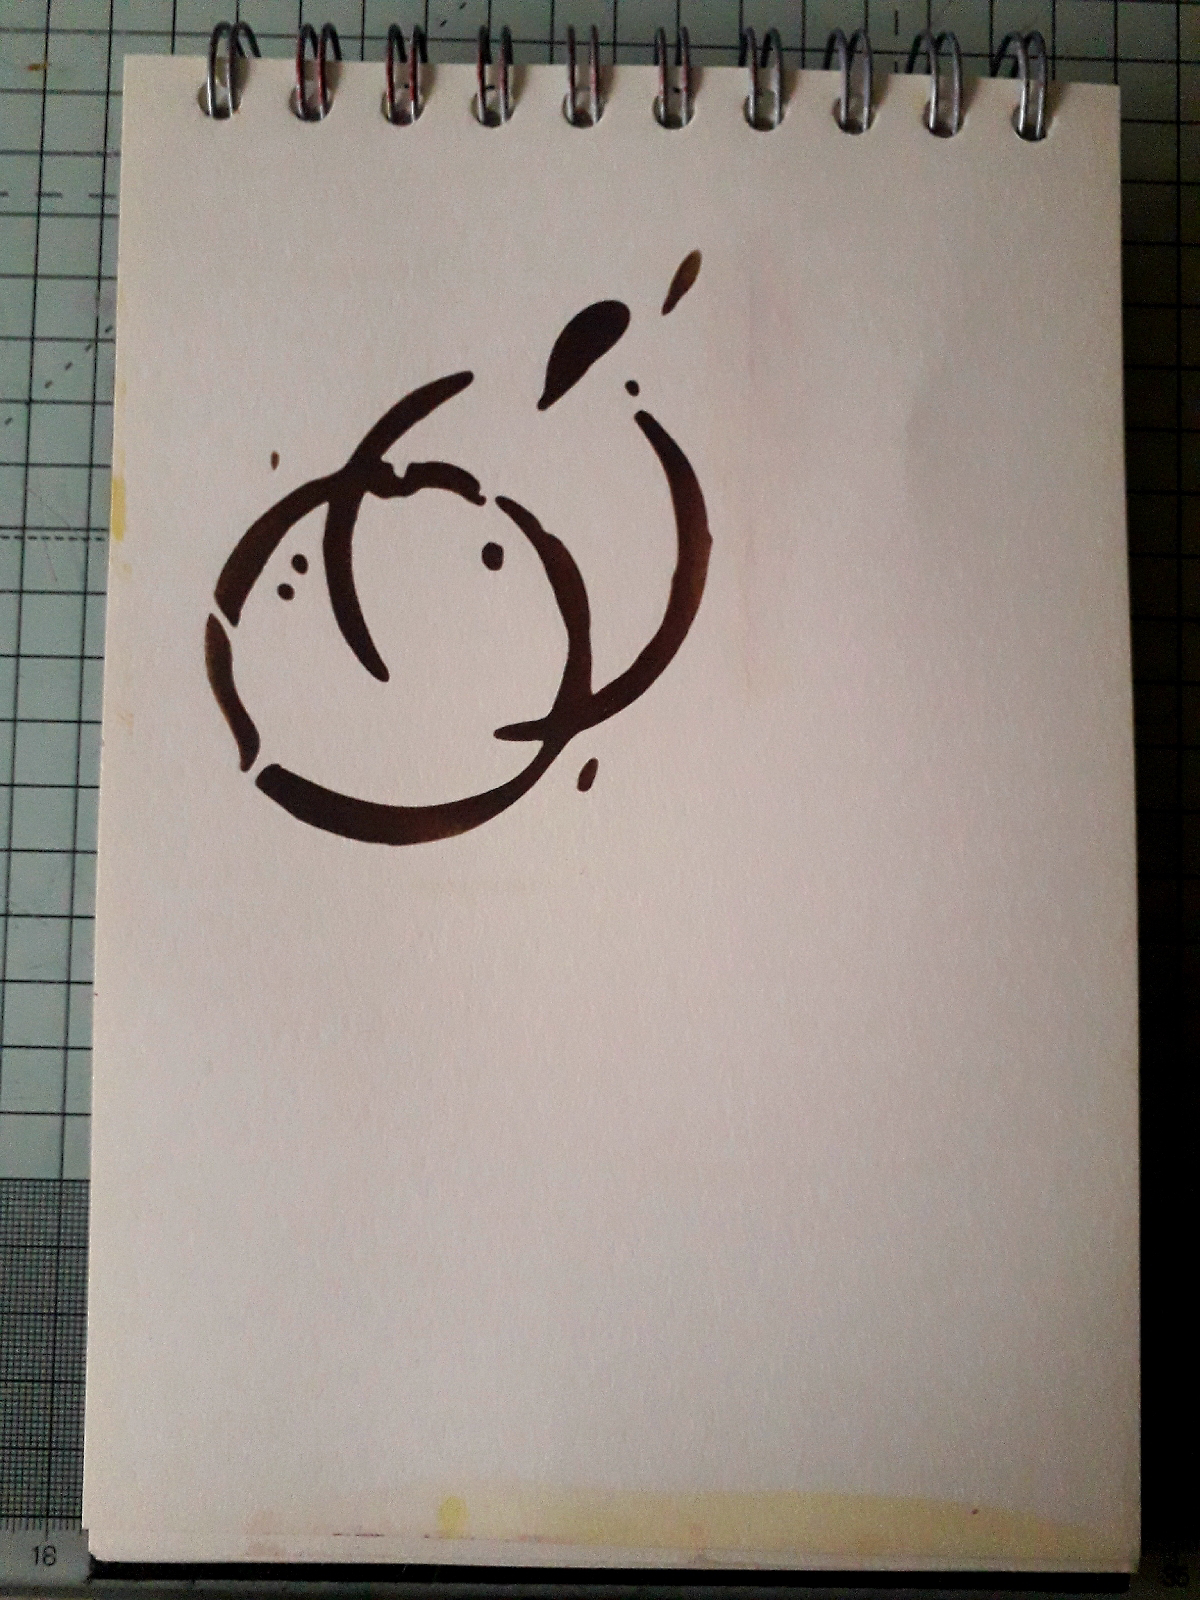
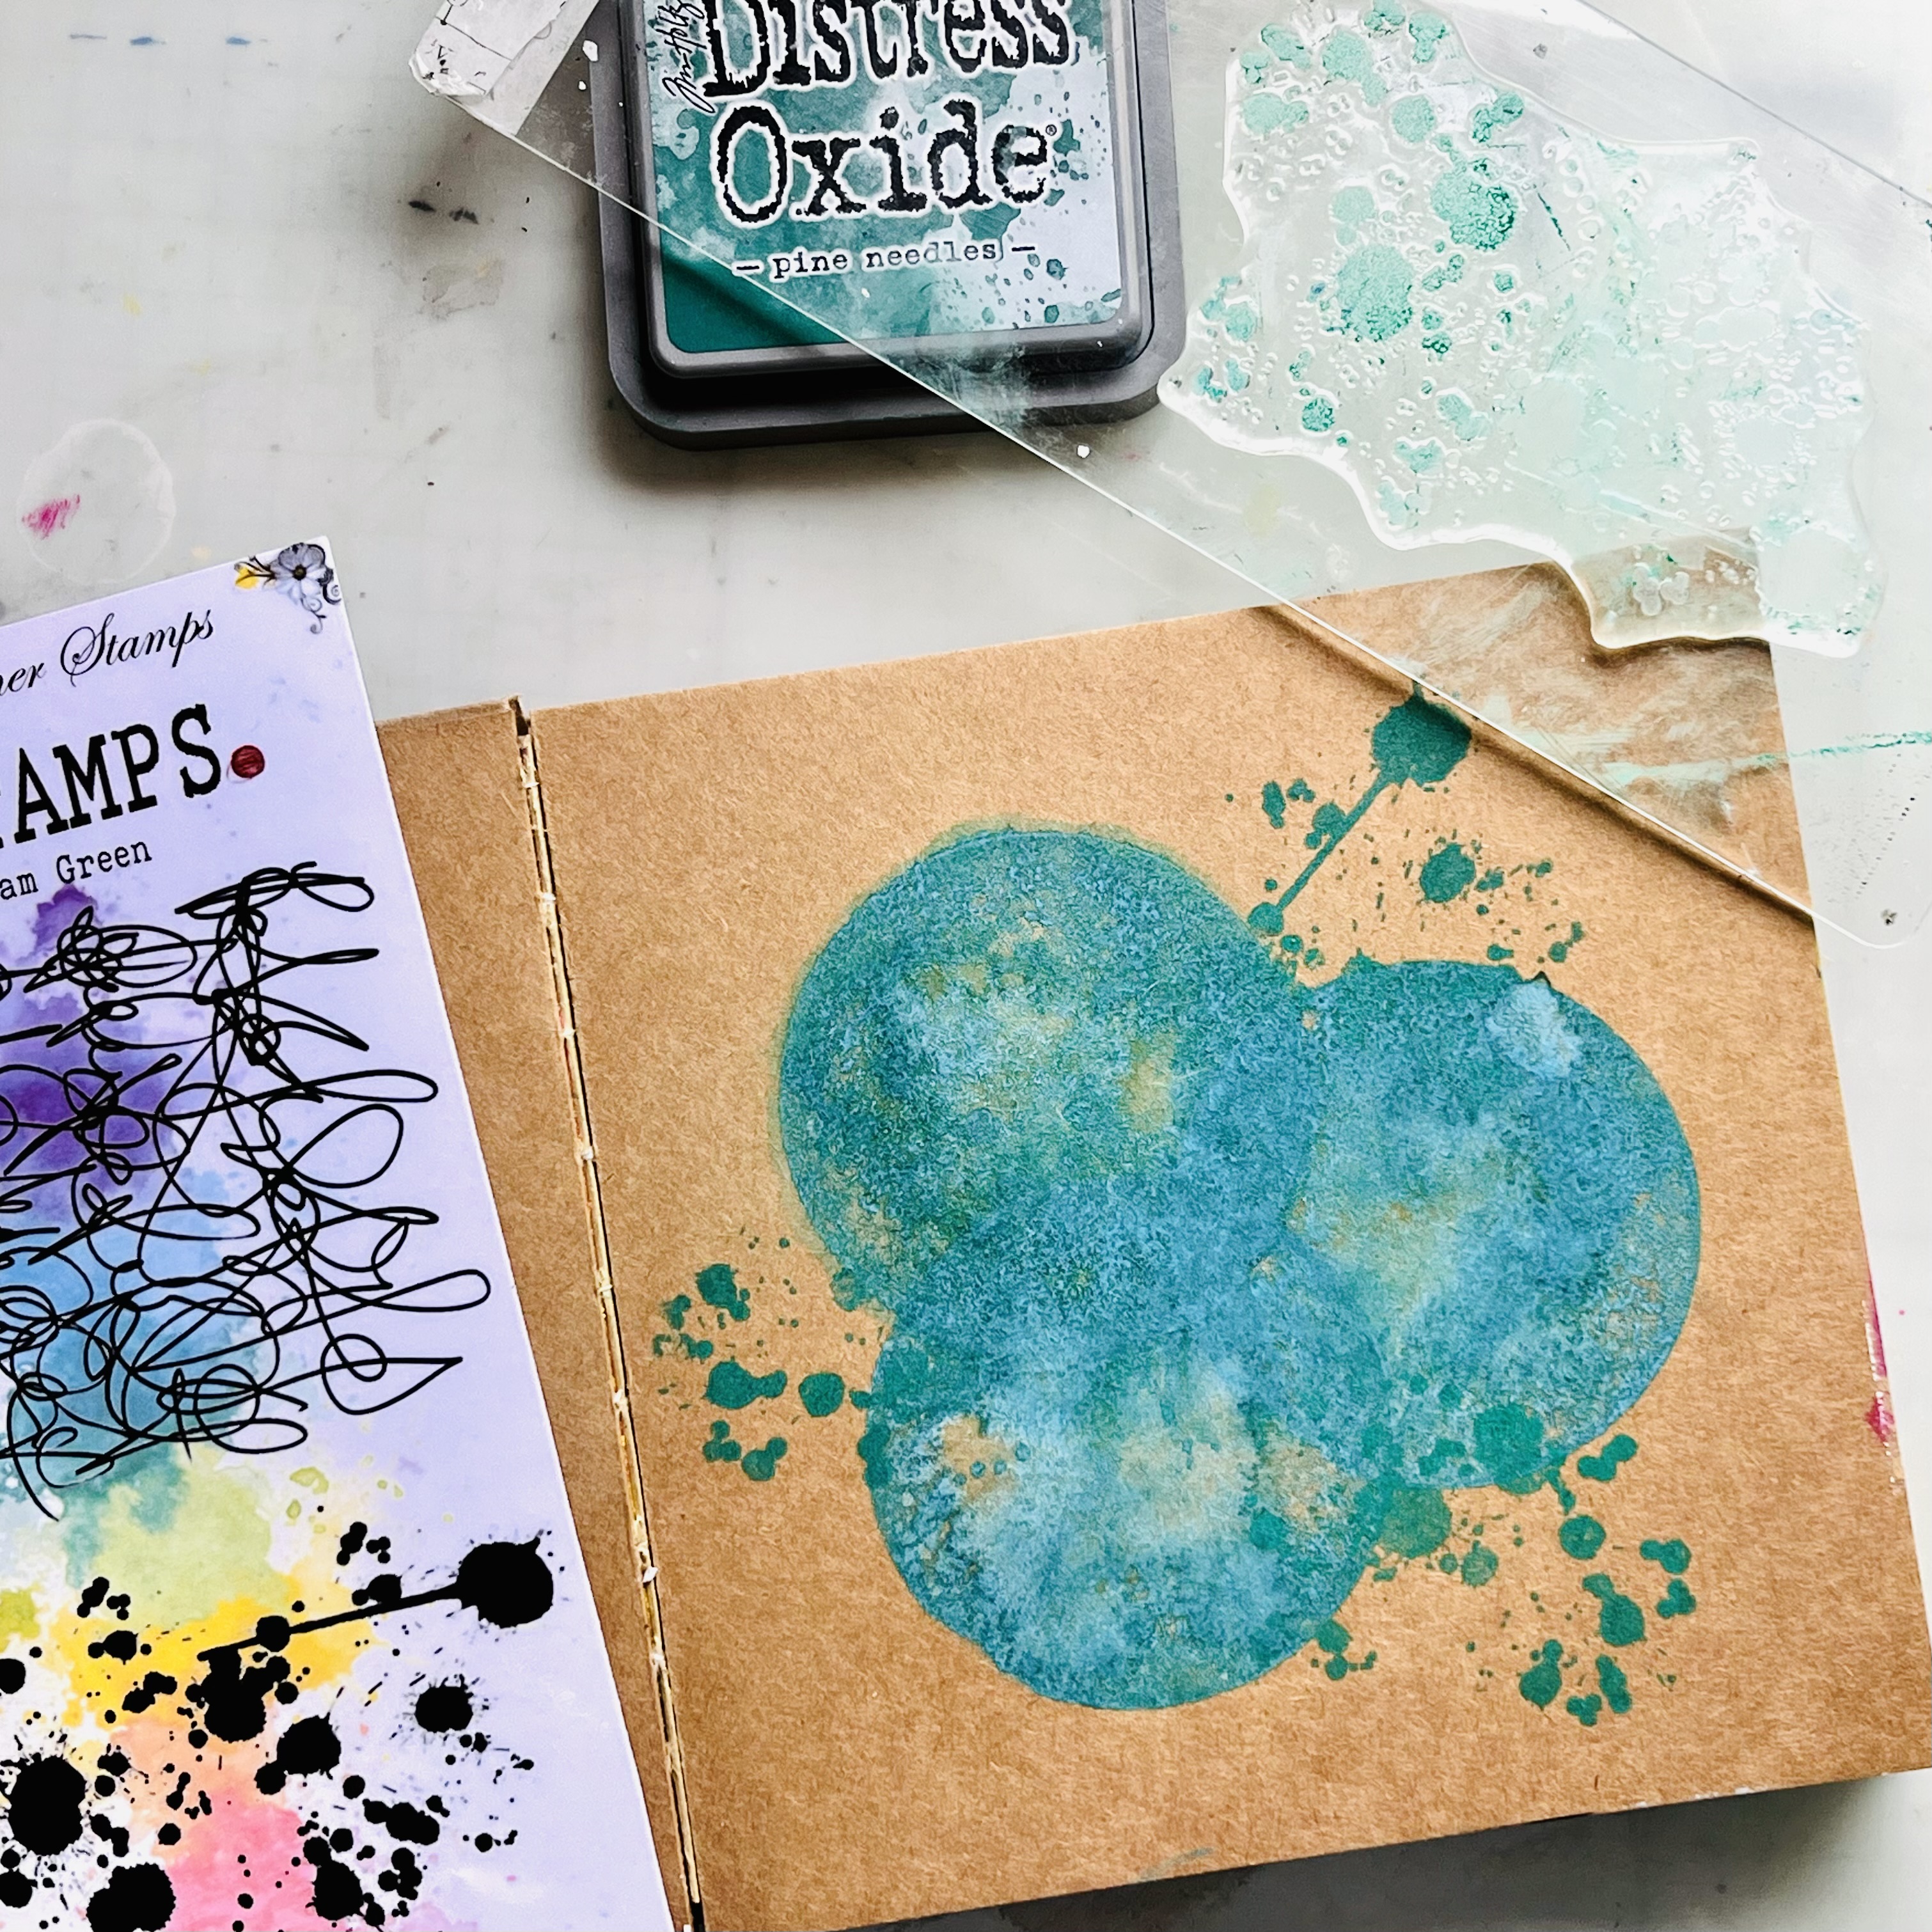
To begin I blended ground espresso distress oxide through the coffee stains 6x6 inkable.

Next I used a paintbrush to splat lime and fir Dina Wakley gloss spray over the page.
Next I drew through the branch, from the bird cage and branch 6x6 inkable, on to an old book page. I then cut it out.
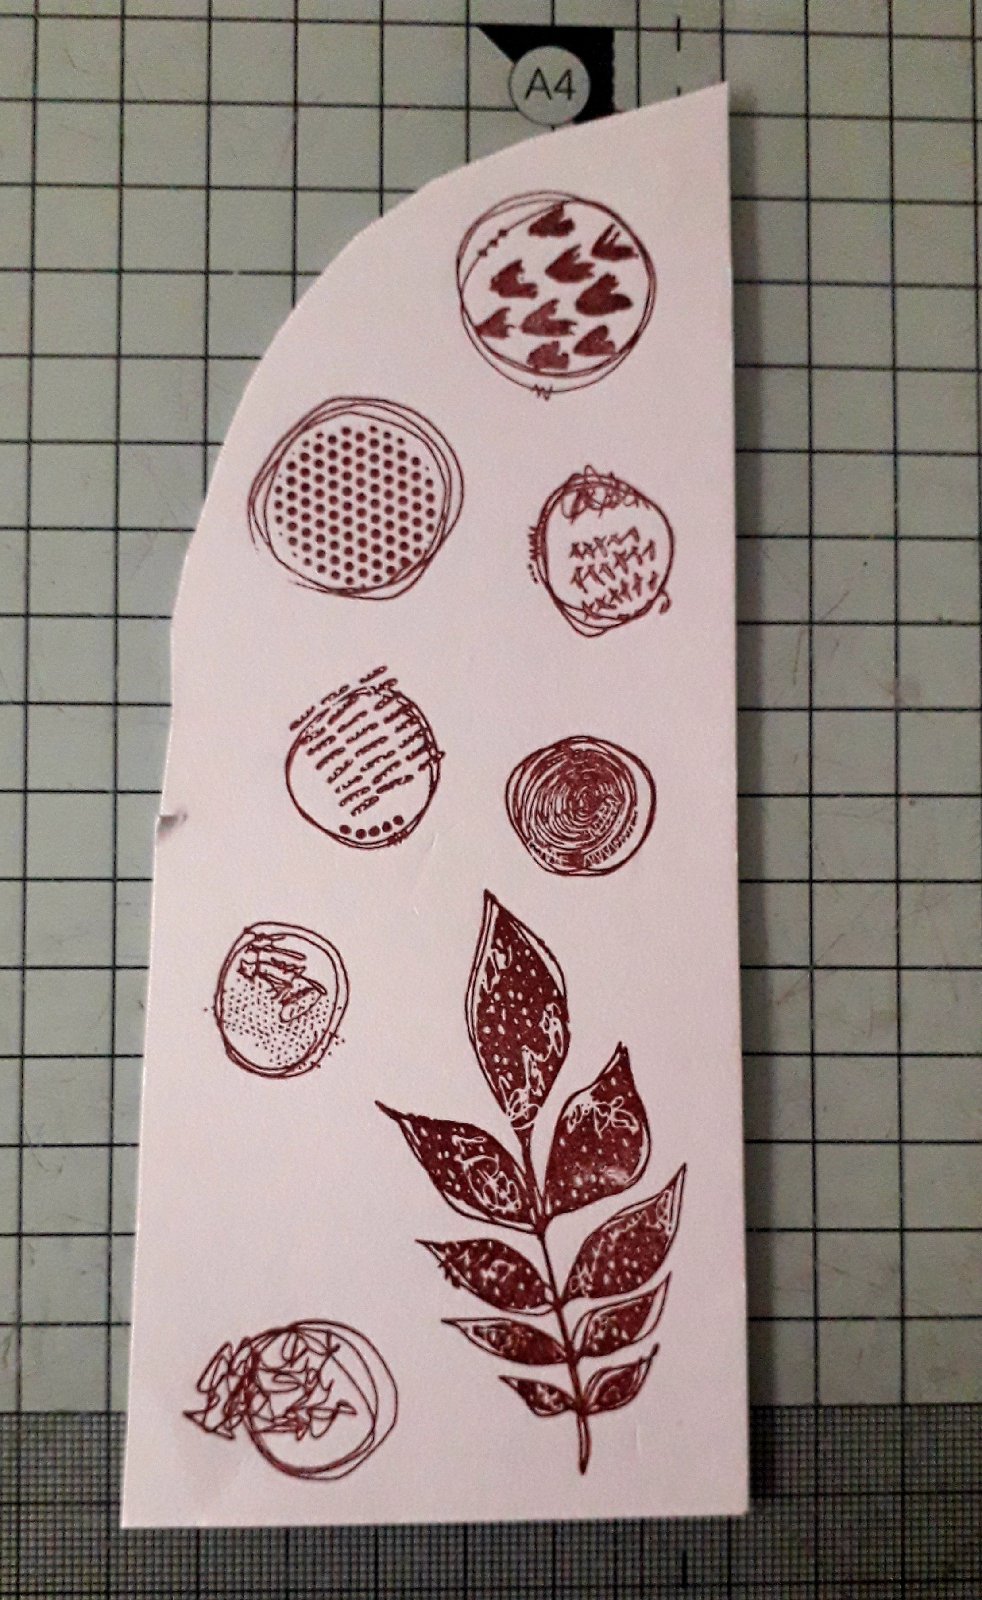
Next I used versafine clair acirn ink to stamp the pointed leaf stamp from the Journaling Essentials 2 stamp set. I also stamped the 5 different circles from the Journaling Essentials 2 and 2 from the Journaling Essentials 1 stamp sets.

To colour them I smooshed twisted citron distrsssoxide on to a blending mat and spritzed it lightly with water. I then dipped the image sheet into this. I then repeated this step but using peacock feathers distress oxide. When this was dry I cut them out.

Next I used pva glue to stick the book page branch over the coffee stain.
Then I added the stamped leaf over the book page branch.

I then glued the circles around the image.

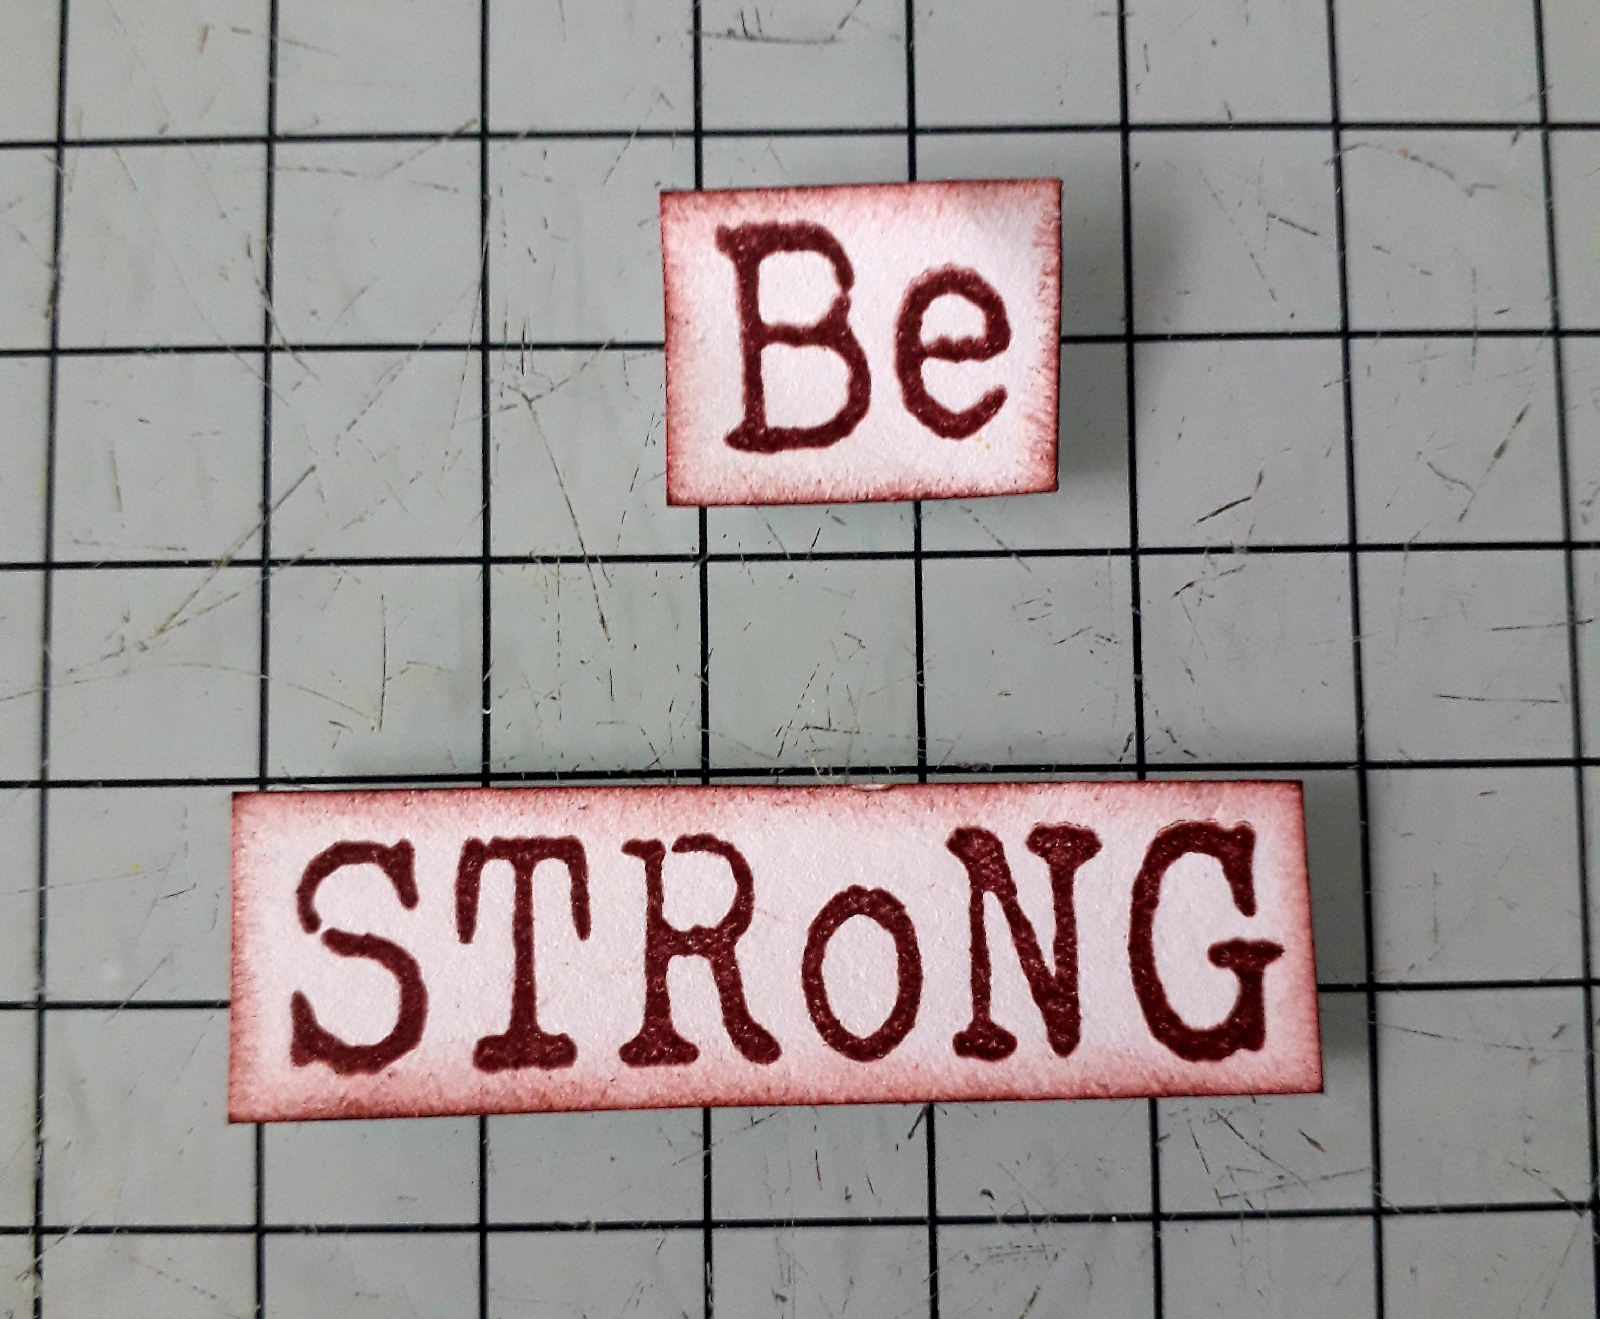
On seperate card, I stamped the sentiment using the acorn ink. I cut this out and edged with acorn ink.

I then glued this to the bottom right of the page.
To finish the page, I used a blending brush to add twisted citron distress oxide around the edge of the page.
Products used:

Stamps - Journaling Essentials 1 and 2
Wordage stamps - Incredible words
Inkables 6x6 - Bird cage and branch, coffee stains text
Distress oxide - peacock feathers, ground espresso, twisted citron

Thank you for taking a look. 
Alison

Wednesday, September 20, 2023

Sally CT - Free as a Bird

Hi There! As a little inspiration for this month's challenge over in the Bee Crafty Facebook group I have made this simple card. Here is what I did...

I began by masking a border around the 5x5" square card using stamp and stencil tape.
Next I blended peacock feathers and wilted violet distress ink across the white space.
I used one of the latest dinkables from set 12 to layer over some more peacock feathers ink.
Next I stamped the row of mini 'rainbows' from the Bee mine set along each side using wilted violet.
I stamped and cut out the largest rainbow bird and used the same inks to watercolour him
I shaped him a little and added him to the background using sticky pads
I also added some twinkly spots to him using a gelly roll stardust pen
Finally I stamped the sentiment in white ink onto a scrap of black card and added it to the card.
I used:
A 5x5" square card blank
Distress inks in Peacock Feathers and Wilted Violet
White ink
a scrap of black card

I hope this has inspired you to have a go and join in the challenge! 
Thanks for looking!

Sunday, September 17, 2023

Alison CT - Minimalist Journal page.

Hi everyone. Today I'm sharing a page that requires very few resources and leaves lots of white space on the page.

To begin, I added areas of bubblegum pink dylusions shimmer paint to a white page in my Dina Wakley journal. I also splatted  some lemon zest dylusions paint onto the page.

Next I used a sponge to add calypso teal Dylusions paint through the dots inkable.

Then I used the left over paint in the sponge to add areas of calypso teal around the edge of the page. 
Next I used a wet paintbrush to help me tear some strips of words from the media paper with words. These were glued to the page using distress collage medium.
Then I sponged calypso teal through the triangle part of the triangle stripes inkable.
On seperate card I drew through the 4 inch easy frame heart inkable with a black pen and cut it out.

Next, using the same pen, I drew over the heart keeping approximately to the same shape.
I then used distress collage medium to stick the heart to the page.
Finally I chose a wordy sticker sentiment. I used distress collage medium to glue one part to the page and the other to the heart.
Products used:
Dylusions shimmer paint - bubblegum pink
Dylusions paint - lemon zest, calypso teal
Inkables 6x6 - dots, triangle stripes
Media papers - backgrounds 1
Black posca pen

Thank you for taking a look. 
Alison 

Wednesday, September 13, 2023

CT Ann - Changes

 Changes

By Ann 

An art journal page from me this week… I love how differently Distress Oxide Inks react on Kraft, you definitely see the colour variants in each shade. 

I used: 

Stamps: Doodle Art Dragonfly • Coffee Stains • Mixed Messages 4 • Mirror Blocks • Asemic Splats

Inkables: Dinkabes set 8

Distress Oxide Inks: Pine Needles & Salvaged Patina 

Versafine Clair Twilight 

Clear Embossing Powder 

Journal: Kraft 6x6

Ecoline Brush Pens 

Heat Gun 


https://www.beecrafty.net/


Smear Pine Needles Distress Oxide Ink across the round Mirror Block. Spritz lightly with water & ‘stamp’ onto a page in a journal. Repeat twice to form a background…

Let the water & ink dry, the water should give a mottled effect… 

Stamp some of the splats from the Asemic Splats set, in the same colour of ink… 


Use the Coffee Stain stamps & Versafine Clair ink to create a central trio… 

Stamp the Doodle Dragonfly, again in Versafine Clair, central to the circles… 

Stamp the Doodle Dragonfly on to a separate piece of paper. Cover in clear embossing powder, remove excess & heat til molten. Colour with Ecoline Brush Pens, I used yellow, orange & reds. Cut out the Dragonfly… 

Add some Salvaged Patina through a D’Inkable, on your journal page, adding interest to the background… 

Glue the Dragonfly on top of the stamped image in the journal. Use the small floral stamp from the Doodle Dragonfly set to frame the dragonfly…

Add a sentiment from Mixed Messages #4 set …


Add  few white dots… 


Thank you for stopping by… Ann xxx


Related Posts Plugin for WordPress, Blogger...