Hello Blogger friends..
Once again wednesday and time for my spot for
Today Ive once had a play with a stamp set from "The Village" range.
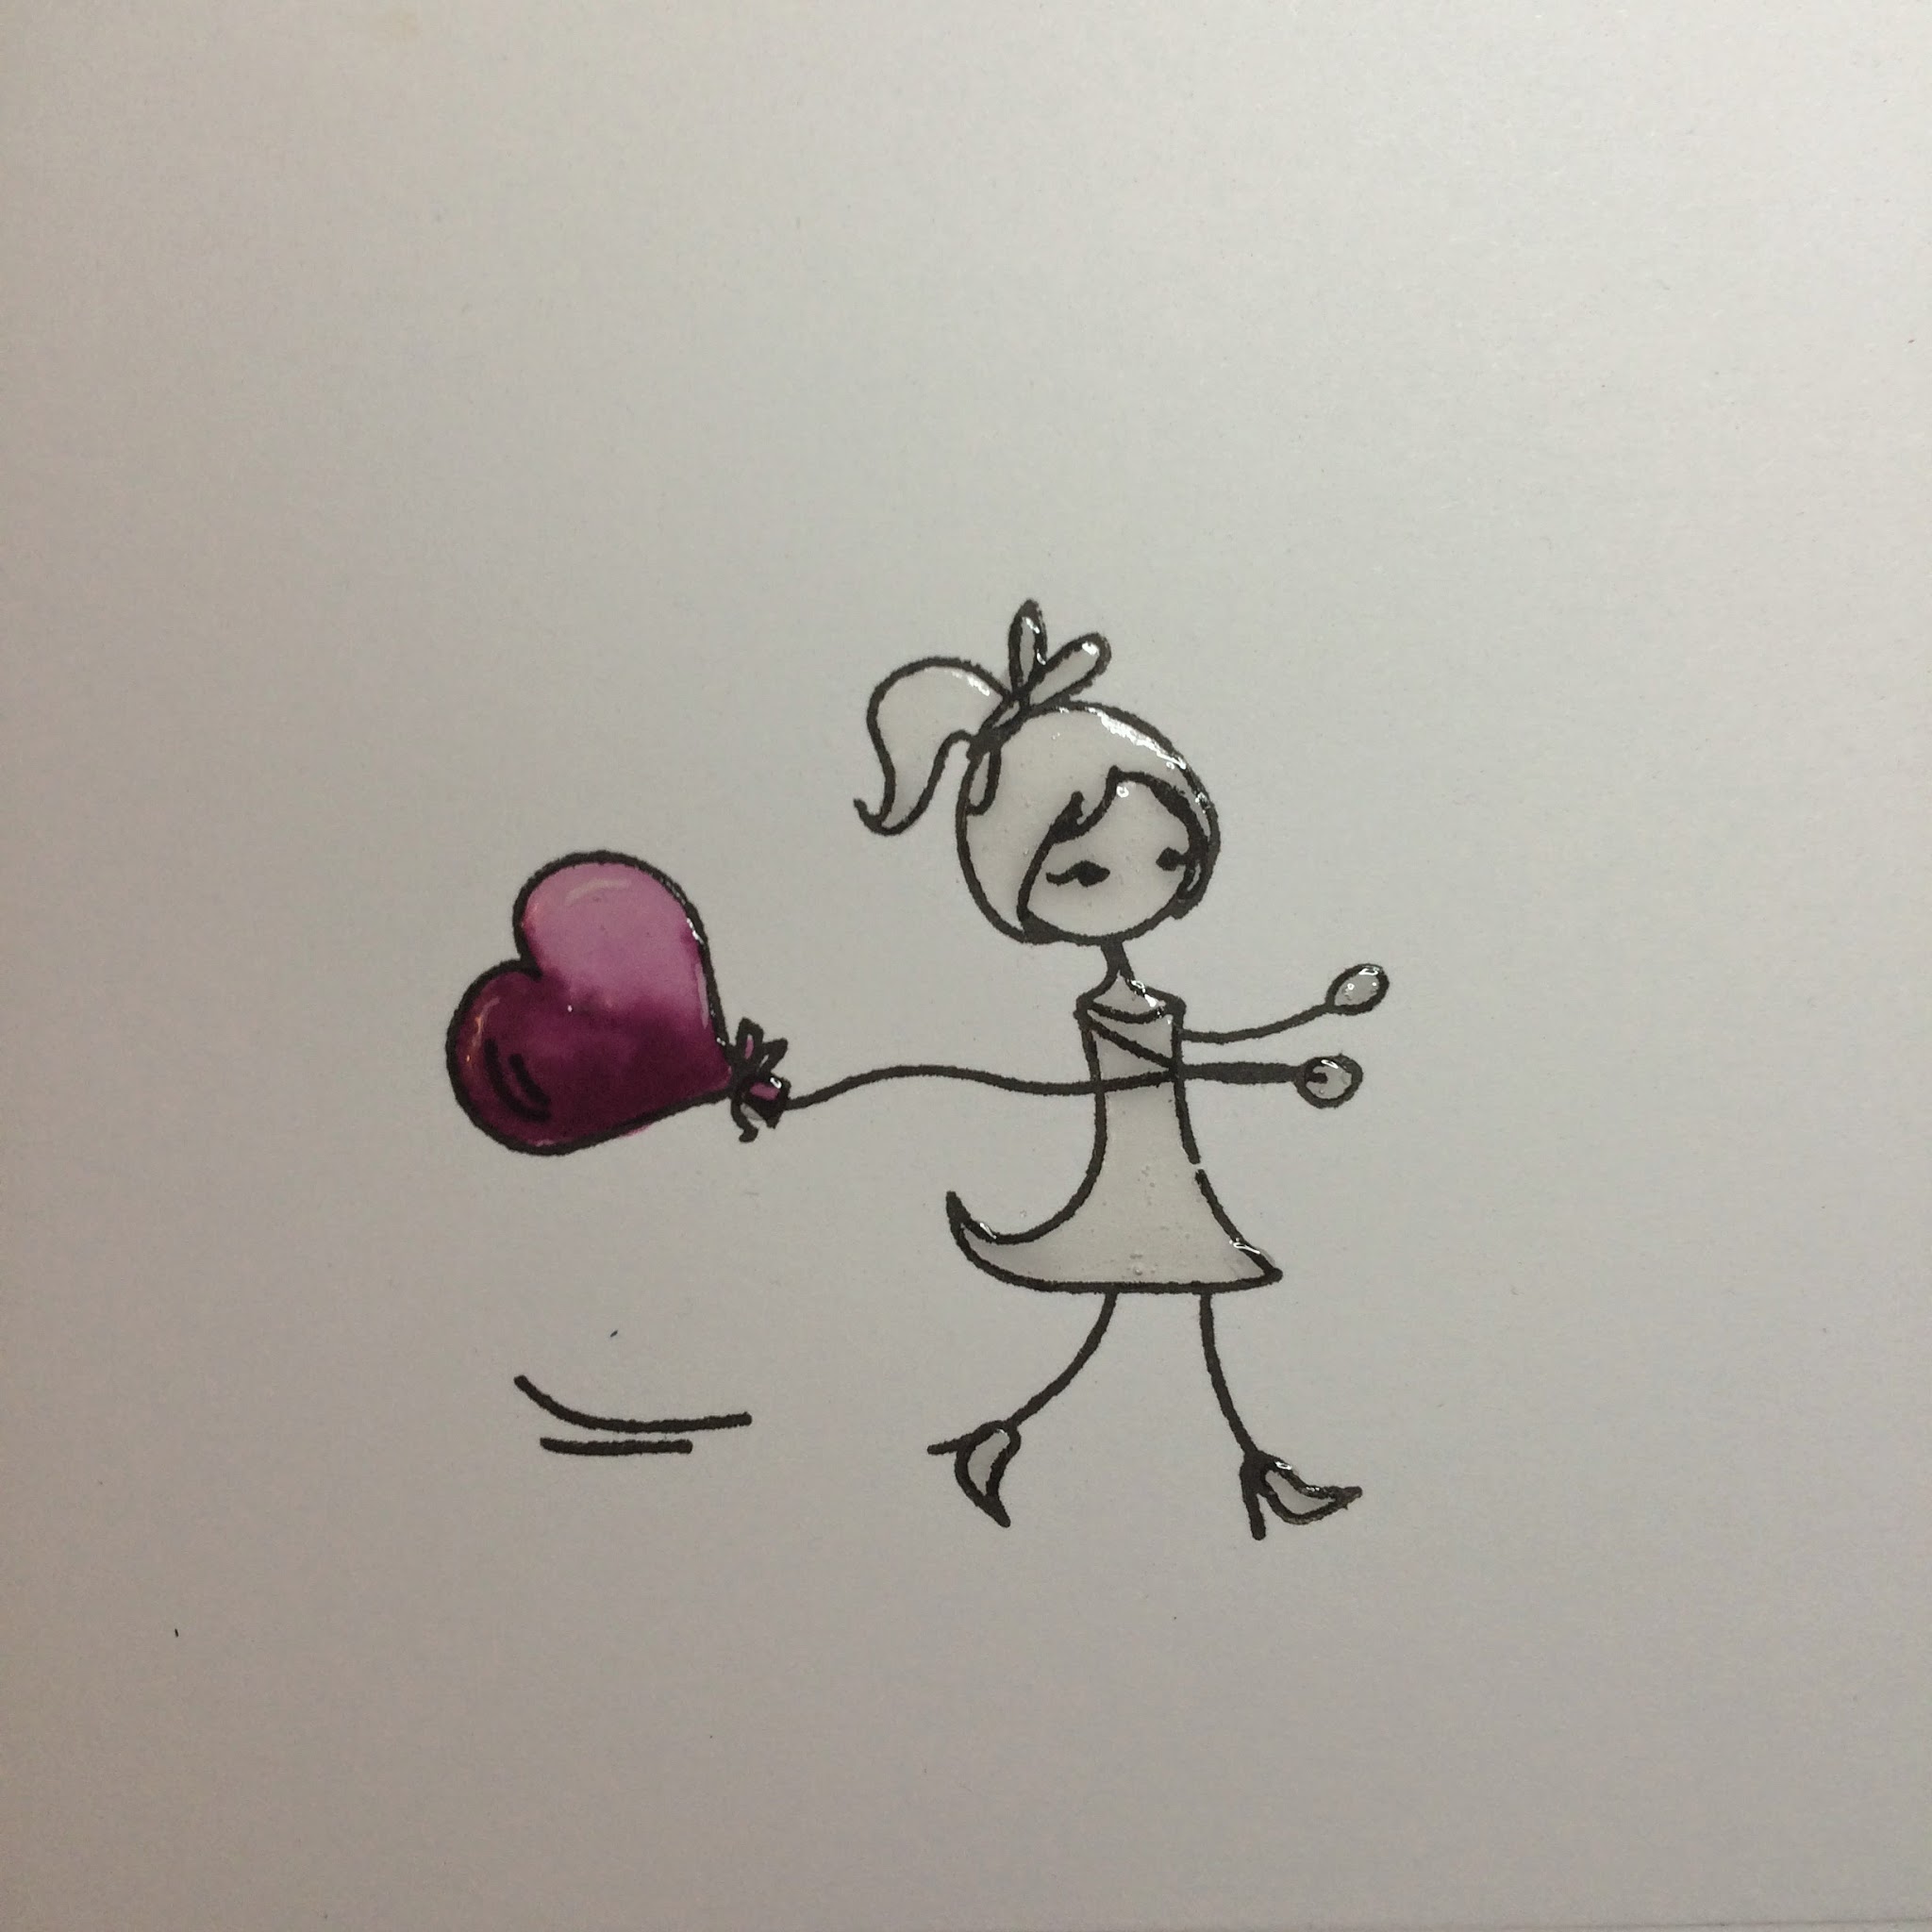
Here is what Ive made for today:


Ive had another play with creating a scene.
This one went a bit better I think. Simply because I focused on the stamping and not the colouring.
I think I really like this scene thingy and as I used distress markers to colour with I was back to something I know well and I felt more at ease with it.
I really like how this card came out, very different from my usual makes but hey, thats hopefully not such a bad thing ;-)
And that is all from me for today. Dont forget to join our Boss Lady Beverly over on
And join us in the
Bee Crafty FACEBOOK group
Bee Crafty FACEBOOK group
Anyway, thank you for popping by and for any comment left behind