Monday, August 30, 2021

Sally DT - Oak Leaf window card

Hi there! There has been a bit of an Autumnal feel in the air for a couple of days, so I thought I would share how I made this card with you today. 

I began by attaching the oak leaf inkable to a square of a 6 x 6" kraft card and sponged unicorn white ink through the aperture. 
 
Once this was dry I used blending brushes to make a sun in mustard seed Distress oxide inks then added spiced marmalade, crackling campfire and walnut stain around the yellow with the darkest colour at the edges.

next I used a white pen to go around the inner edge of the inkable, then removed it.
I placed the inner part of the inkable over the leaf shape and used a blending brush to add some Memento Espresso Truffle ink around the edges to create a shadow. 
I put the outer part of the inkable back in place and used a skyline inkable to add a few hills at the bottom of the leaf.
Then I stamped the Elder in the memento ink on to the leaf shape.
I removed the inkable and added a few sequins around it. I also added a few spots of clear stardust gelly roll pen to the elder stamp. I trimmed the card a little and inked the edge with the memento ink before attaching to a 6x6 kraft card. The 3d effect created by using the darker ink to make a shadow really made it pop, I think.
Here are links to the products I used:
6x6" kraft card
Memento Espresso Truffle ink
Beautanicals Elder stamp set from the End of Line section
Gelly Roll stardust pen
Sequins

Thanks for looking and Happy Crafting! 

Saturday, August 28, 2021

Jane DT - A Trio of Butterflies

 Hello!

This week I have created a card using some of the beautiful butterflies with matching stamps and dies...


1) I started by stenciling through the bakewell big inkable with distress grit paste onto a piece of watercolour cardstock...


2) Once this had dried I used two of the distress oxide sprays (mermaid lagoon and twisted citron).  I also spritzed some water to help them move more and create some drips...


3) Again I made sure that this had dried thoroughly before then dry brushing gilt Dina Wakley acrylic paint across the top to pick up the stenciled detail...


4) Next I stamped (using archival ink) and die cut a selection of the butterflies and coloured them using ecoline brush markers...


5) Finally I stamped one of the everyday sentiments onto a piece of black card and heat embossed with white powder, before matting and layering up the whole card...


Here are links to the products used:


Thank you for looking and happy crafting!
Jane xx


Friday, August 27, 2021

Head Space.. by DT Ann

Head Space 

By DT Ann  

 I


A Journal page from me this week…
 We all need some head space from time to time, creating in my journal gives me some ‘me’ time & I always feel better afterwards…. 

Journal: Dina Wakley 6x6

Stamp: Whatever Works 

Stencils: Perspective Circles & Texture Disc (set 1)

Collage Papers: Backgrounds & Collage Words ( I think it’s set #3)

Scribble Sticks  set 1

Dylusions Shimmer Paints 

Posca Pens Black 

Collage Medium/White’& Black Gesso/Distress

Glaze

https://www.beecrafty.net/


Gesso your page, this provides a key for your Scribble Sticks, it makes them spread easily & more vibrant in colour. Dry & then scribble 3 colours (I used magenta, lime & sky) onto your page… 


Spritz with water & move the colours with your finger or a brush… when dry add some Distress Glaze over the top (this stops the colour moving its a sort of repellent) 


Stamp your image (face) onto tissue paper or collage paper… Use Collage Medium to glue to your page. 


Tear some background circles from the Dina Wakley collage papers (create your own with stamps on tissue paper or collage paper).  Again use Collage Medium to glue to your page , find a sentiment & do the same… 


When dry add some black gesso dots through the Perspective Circles Inkable & Dylusions’ Shimmer Paint dots using the Texture Disc.. 


Finally add some black & white Posca dots to finish.. 


Thanks for stopping by… Ann xxx


Monday, August 23, 2021

Sally DT - Bee Wall hanging

 Hi there! Thought you might like to see a step by step for my embroidered Bee fabric wall hanging. 

I began by stamping the Bee in versafine clair onto a piece of calico. A stamp press is a good idea as the magnets help to keep the fabric still. 

I removed it from the stamp press, put it into a small embroidery hoop and began to embroider it. I used 2 strands of embroidery thread for all of the bee's body and legs, completing the white and yellow stripes first before beginning the black. With the white tail I added a few strands of grey for shading. I just used varying lengths of satin stitch. It doesn't need to be particularly neat as it gives the impression of the bee's fluffy coat.
I then embroidered the legs in the same way.
For the eyes I used a sparkly black thread and stitched french knots. This thread was quite a bit thicker -the eqivalent to about 4 strands of regular 6 strand embroidery thread.
For the wings I found some sheer organza style ribbon (if you can find one that doesn't fray that is great!). I cut a piece that was big enough to cover the wings and dipped it in some watered down blue acrylic paint. 

When it was dry (air dry as some of these ribbons melt very easily), I traced the shape of the wing through it using a pencil, cut it to size, then stitched it in place using a single strand of fine silver thread.
Once the embroidery was finished I took it out of the embroidery hoop, cut a circle of white felt and blanket stitched in yellow around the edge. 

I sprayed a 6x6" square of calico with a light spray of lemon gloss spray. When this was dry I placed the honeycomb inkable over it then sprayed lightly with cheddar gloss spray. I stitched this to a piece of hessian using back stitch before attaching the bee panel to the middle with 5 or 6 small stitches around the edge.
I added a paper flower using a brad bottom left and frayed the edges a little.

I used the plain hanger and painted it with white gesso. I added a piece of the mdf pop-out honeycomb that I had trimmed to fit and painted with gold paint. In each section of the honeycomb I added some glossy accents swirled with a shake of Pretty Gets Gritty Apollo explosion powders.
I used some white fabric tape to attach the hanger to the panel.
And here it is finished. 
Here are links to the products I used
Calico
Embroidery threads
White felt
Hessian
organza style ribbon or fabric in white or pale blue
MDF hanger  - will hopefully be available soon
paper flower and brad

I am really enjoying combining my stamping and sewing and will definitely be having a go at more in the not too distant future. 
Thanks for looking and Happy Crafting!

Saturday, August 21, 2021

Jane DT - Warm Sunflower Wishes

 Hello!

This week I have gone full on warm colours to try to bring back the summer!


To create the background I used mustard seed, dried marigold and festive berries through the circle lattice inkable.

Then I stamped using black archival ink with the regular doodle art sunflower plus some of the splatter elements on the set and coloured the image in more warm colours.

For the sentiment I stamped directly onto the card using one of the everyday sentiments.


Here are links to the products used:


Thank you for looking and happy crafting!
Jane xx


Friday, August 20, 2021

Sea.. by DT Ann

 SEA

By DT Ann 


Did you see Bev on TV … what a happy hour that was!! Bargains & sell outs galore… 
I didn’t realise the lighthouses were on too so a happy coincidence that today’s card is made using the XL Lighthouse.. some inspiration for you when you receive your happy post ! 


Inkables: Bakewell & Dahlia
Distress Oxides :Tumbled Glass, Broken China, Salty Ocean & Blueprint Sketch.
Versafine Clair: Blue Belle & Tulip Red
Archival Inks: Faded Jeans & Mermaid Lagoon
White Posca & Gelly Roll Pens
White embossing powder & Versamark Ink
Cut a piece of paper 71/2” x 71/2” (19cmx19cm)
(this will make an 8x8card)


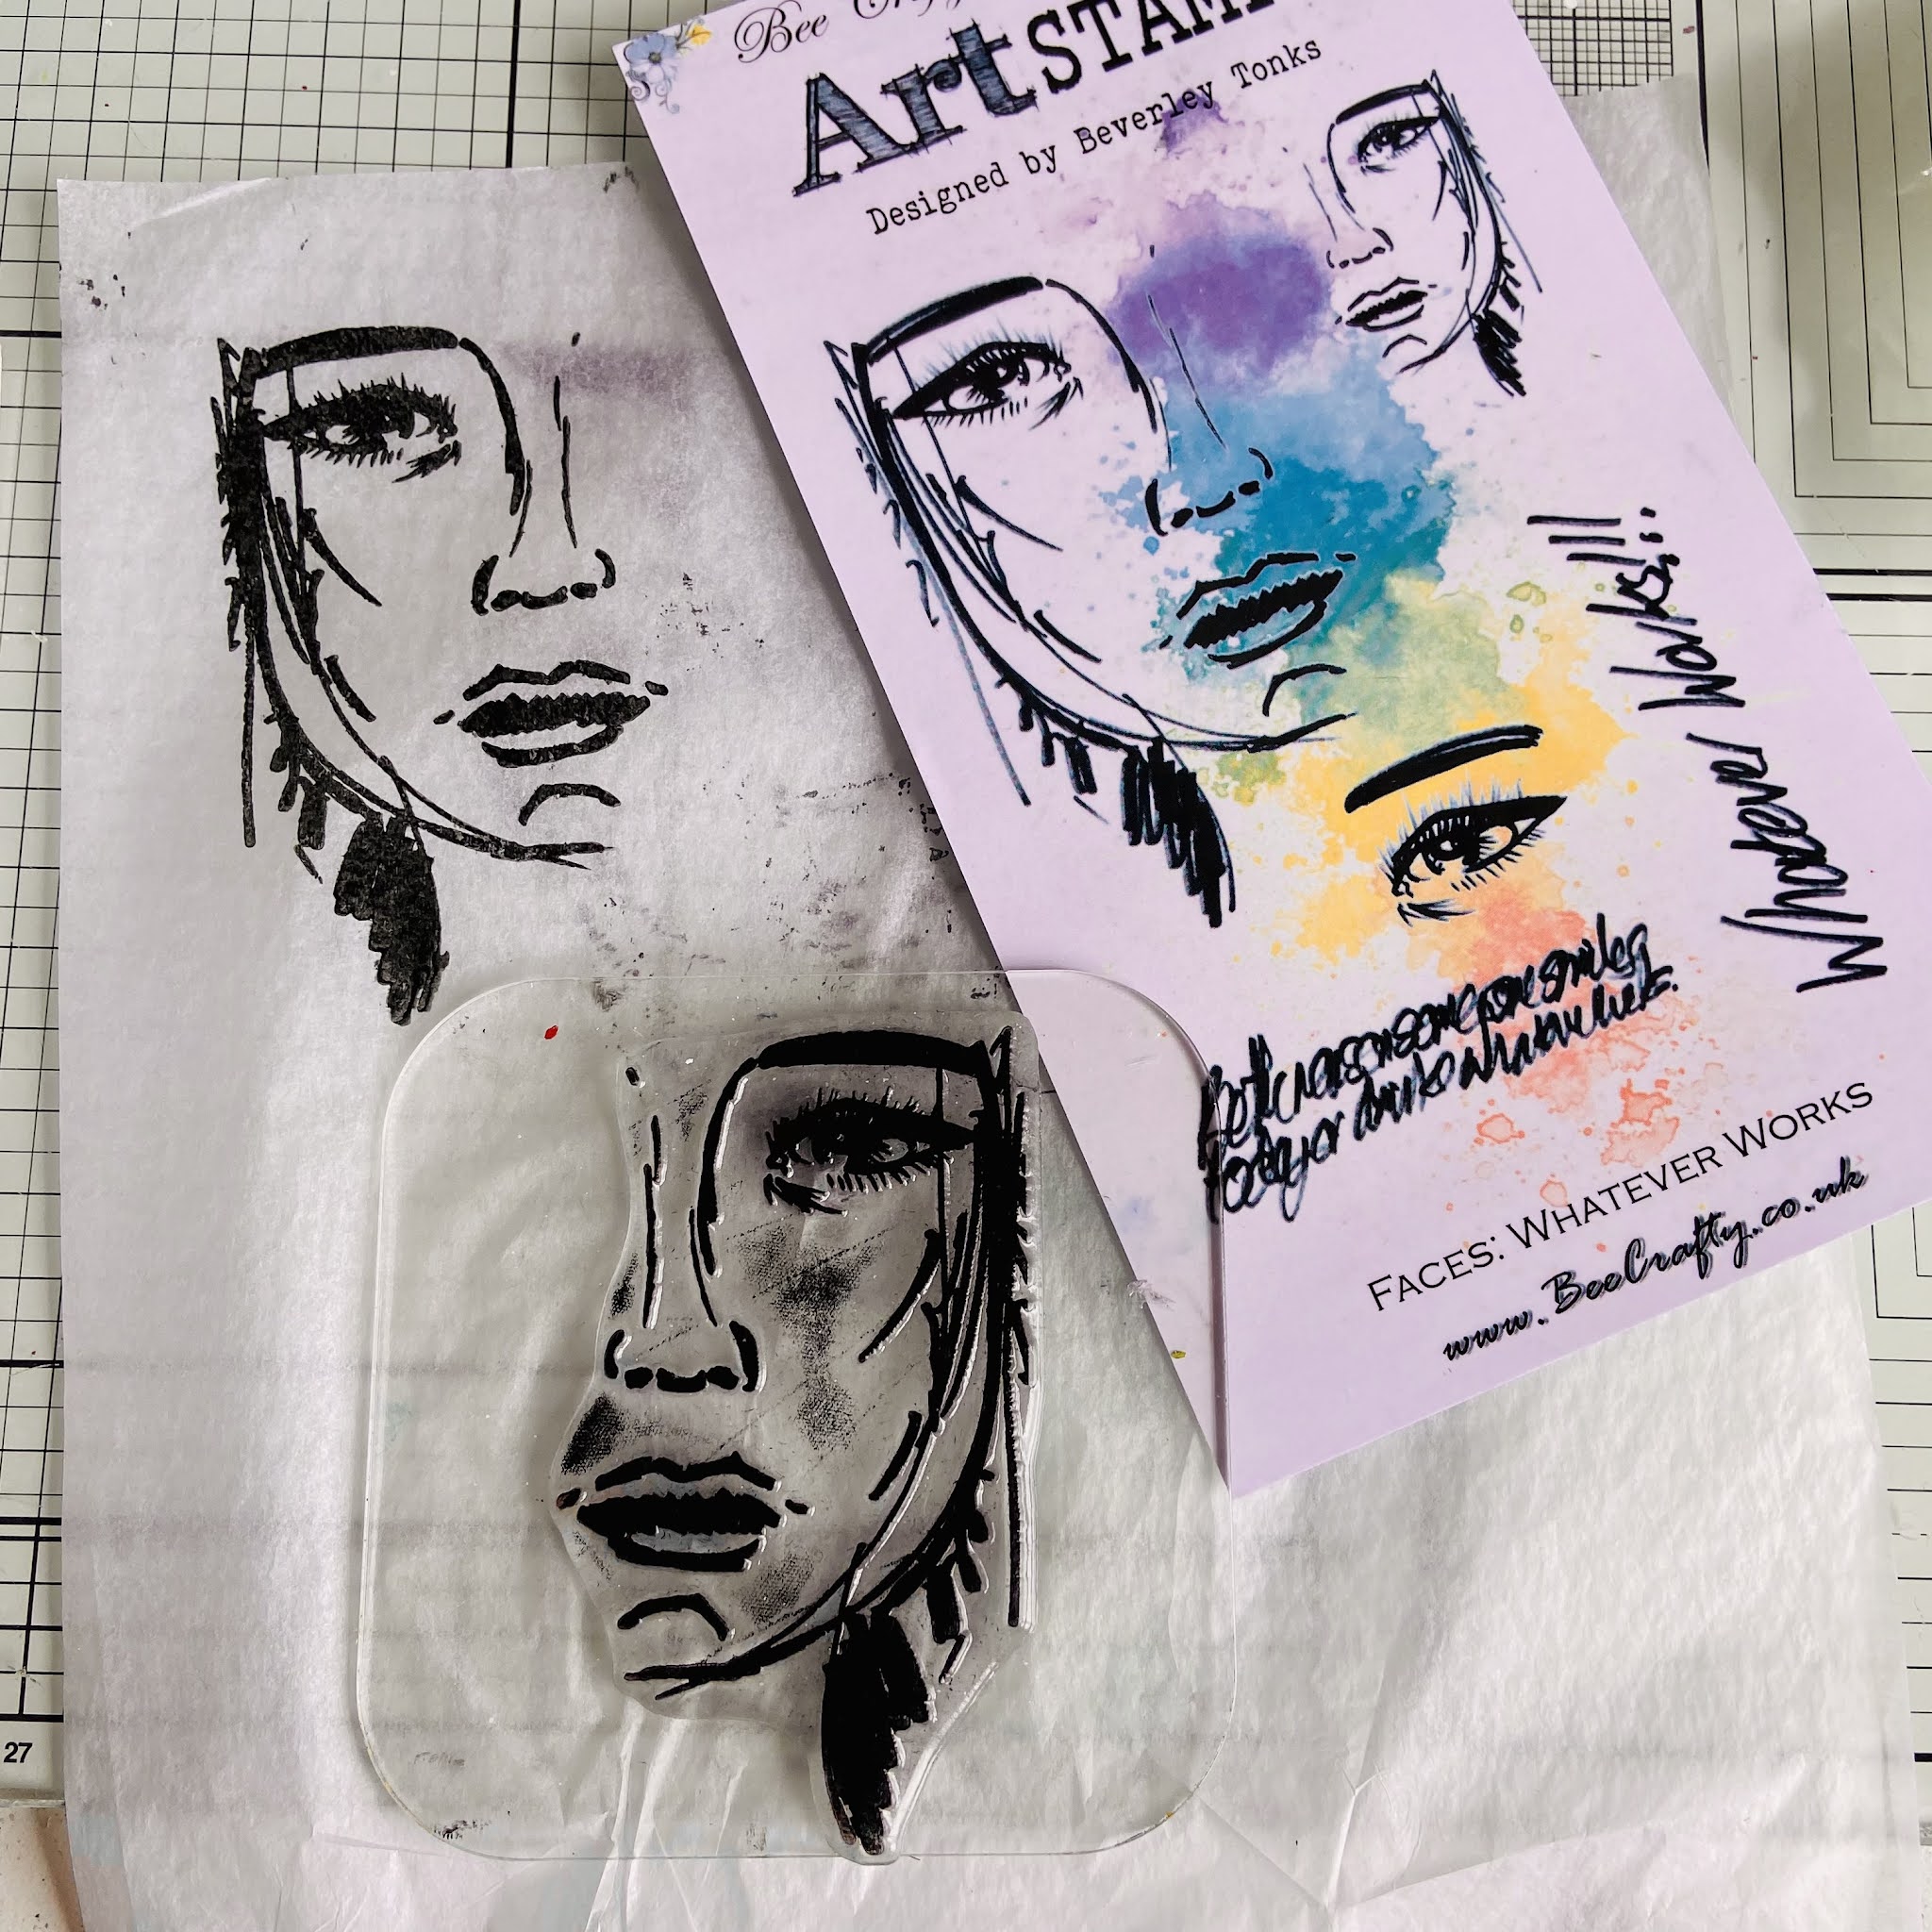
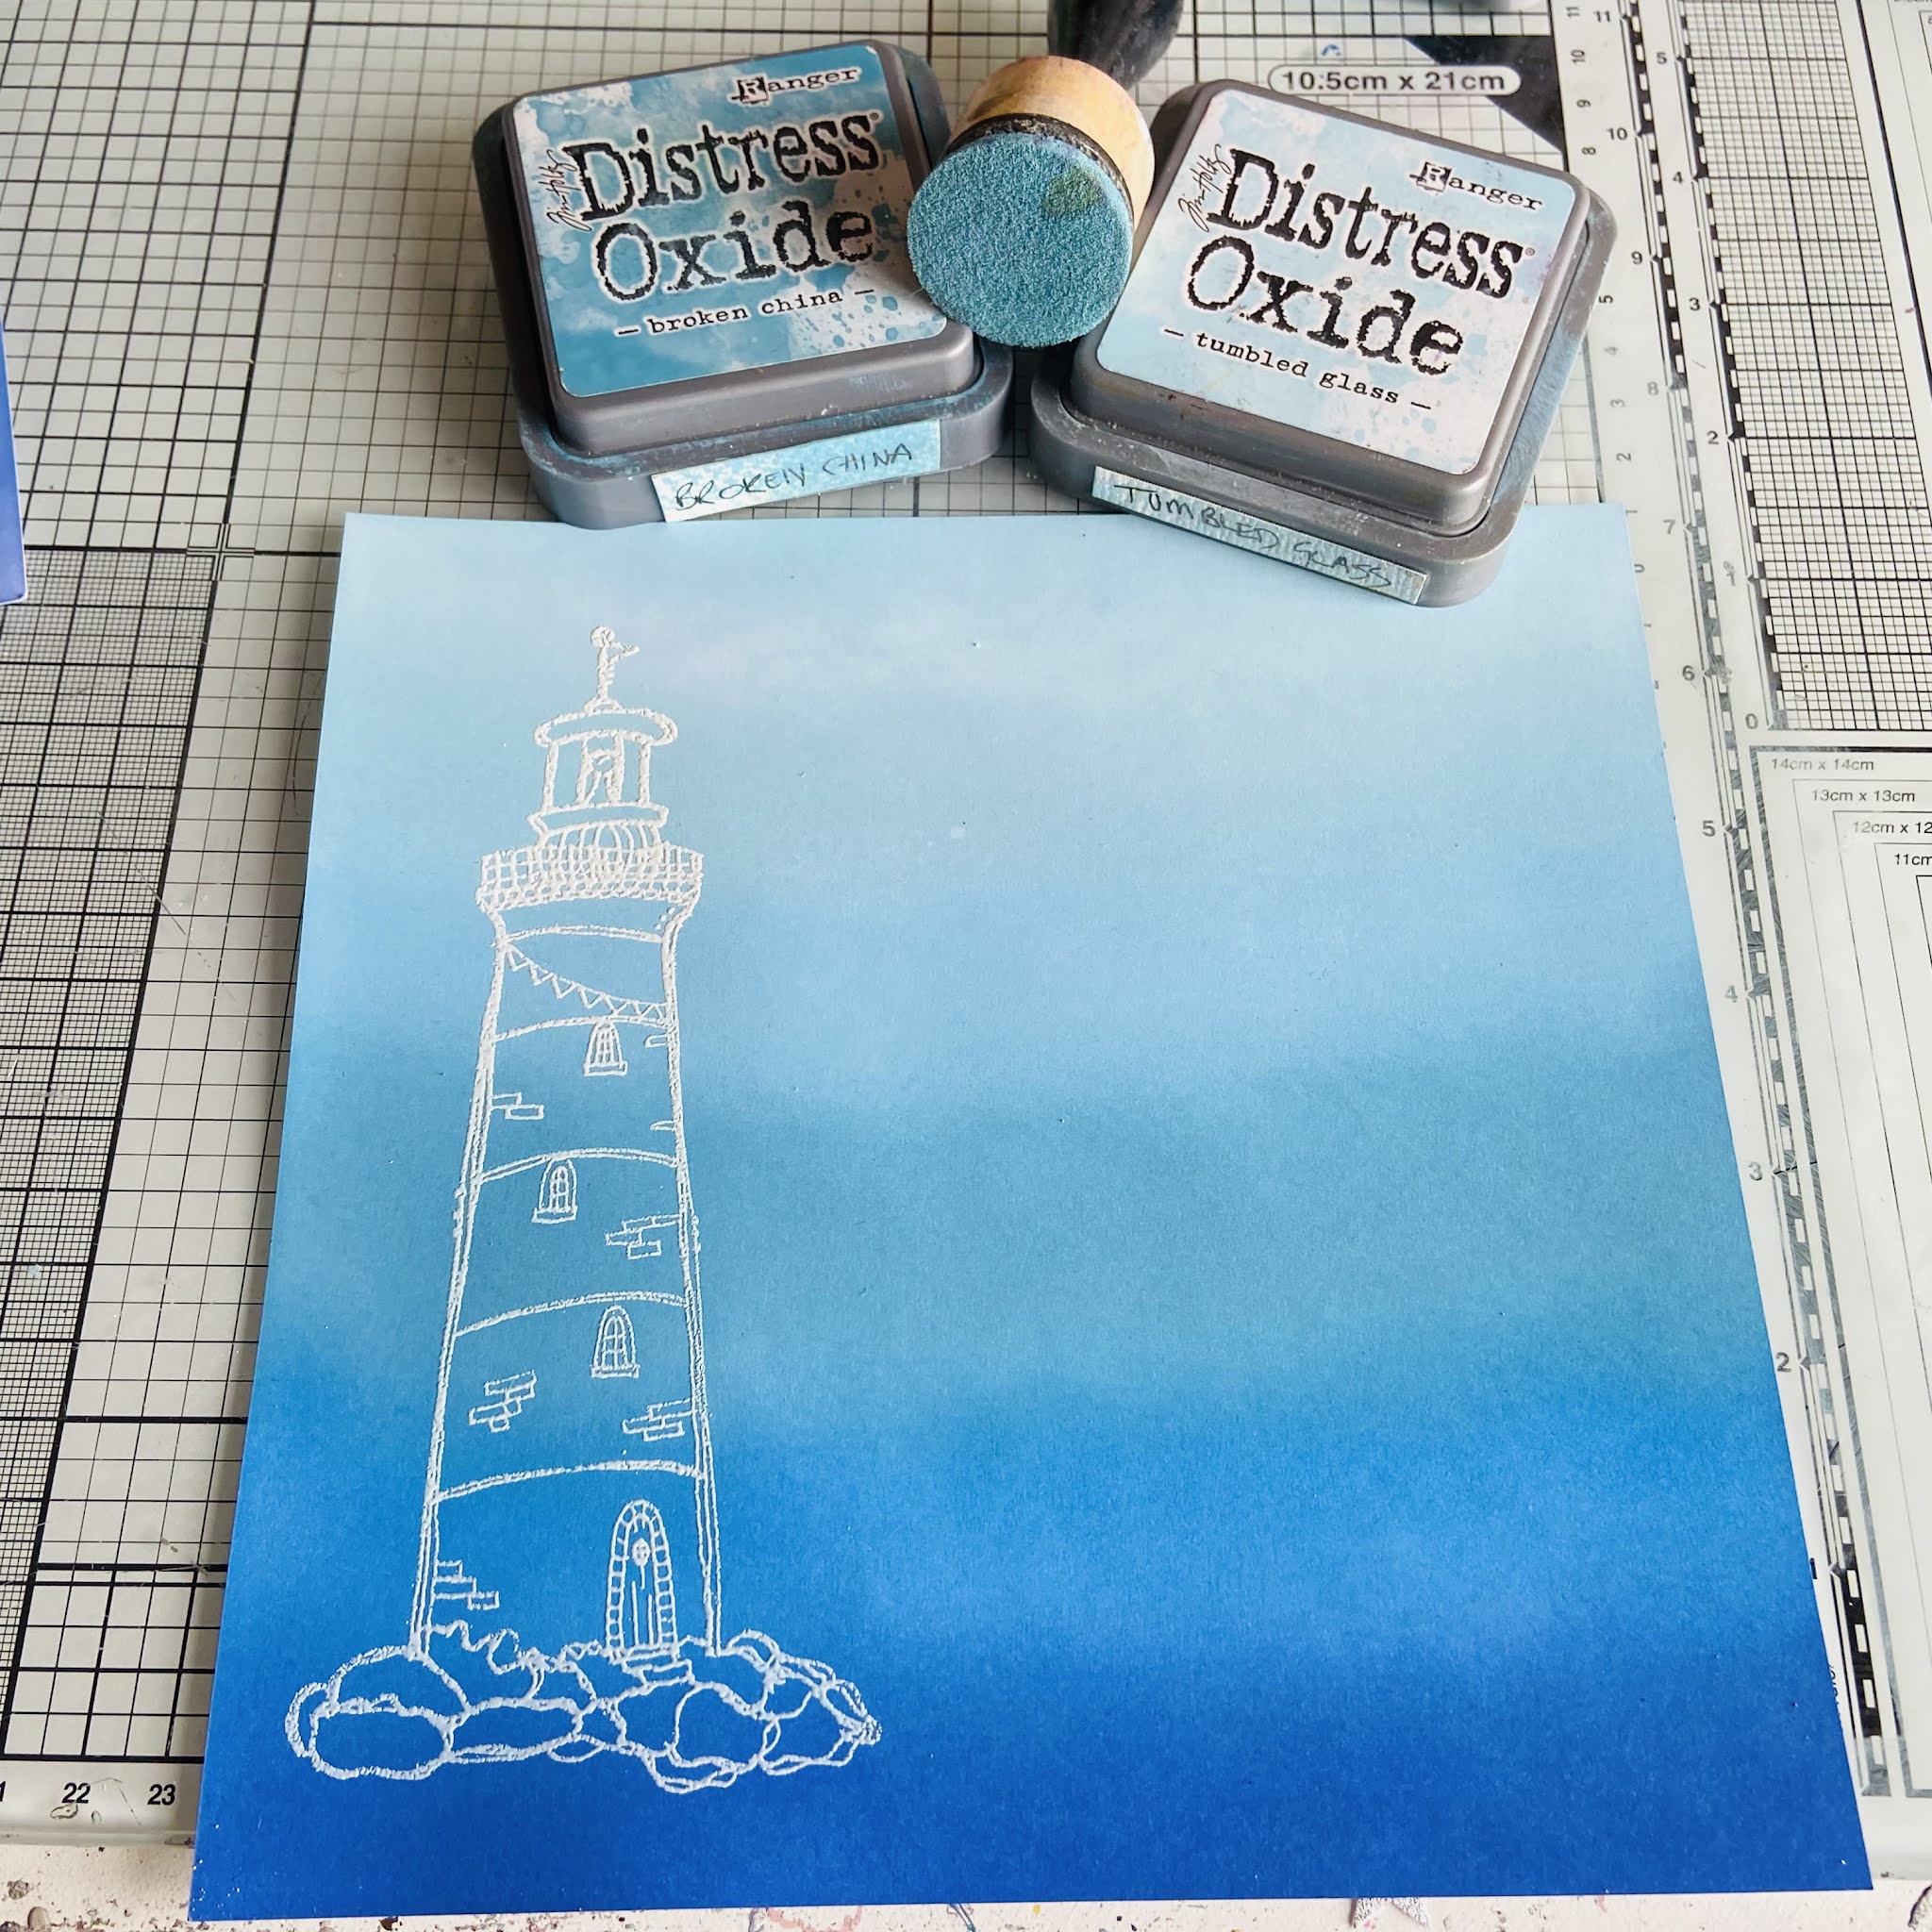
I stamped & heat embossed the lighthouse, in white, to one side of my paper … 


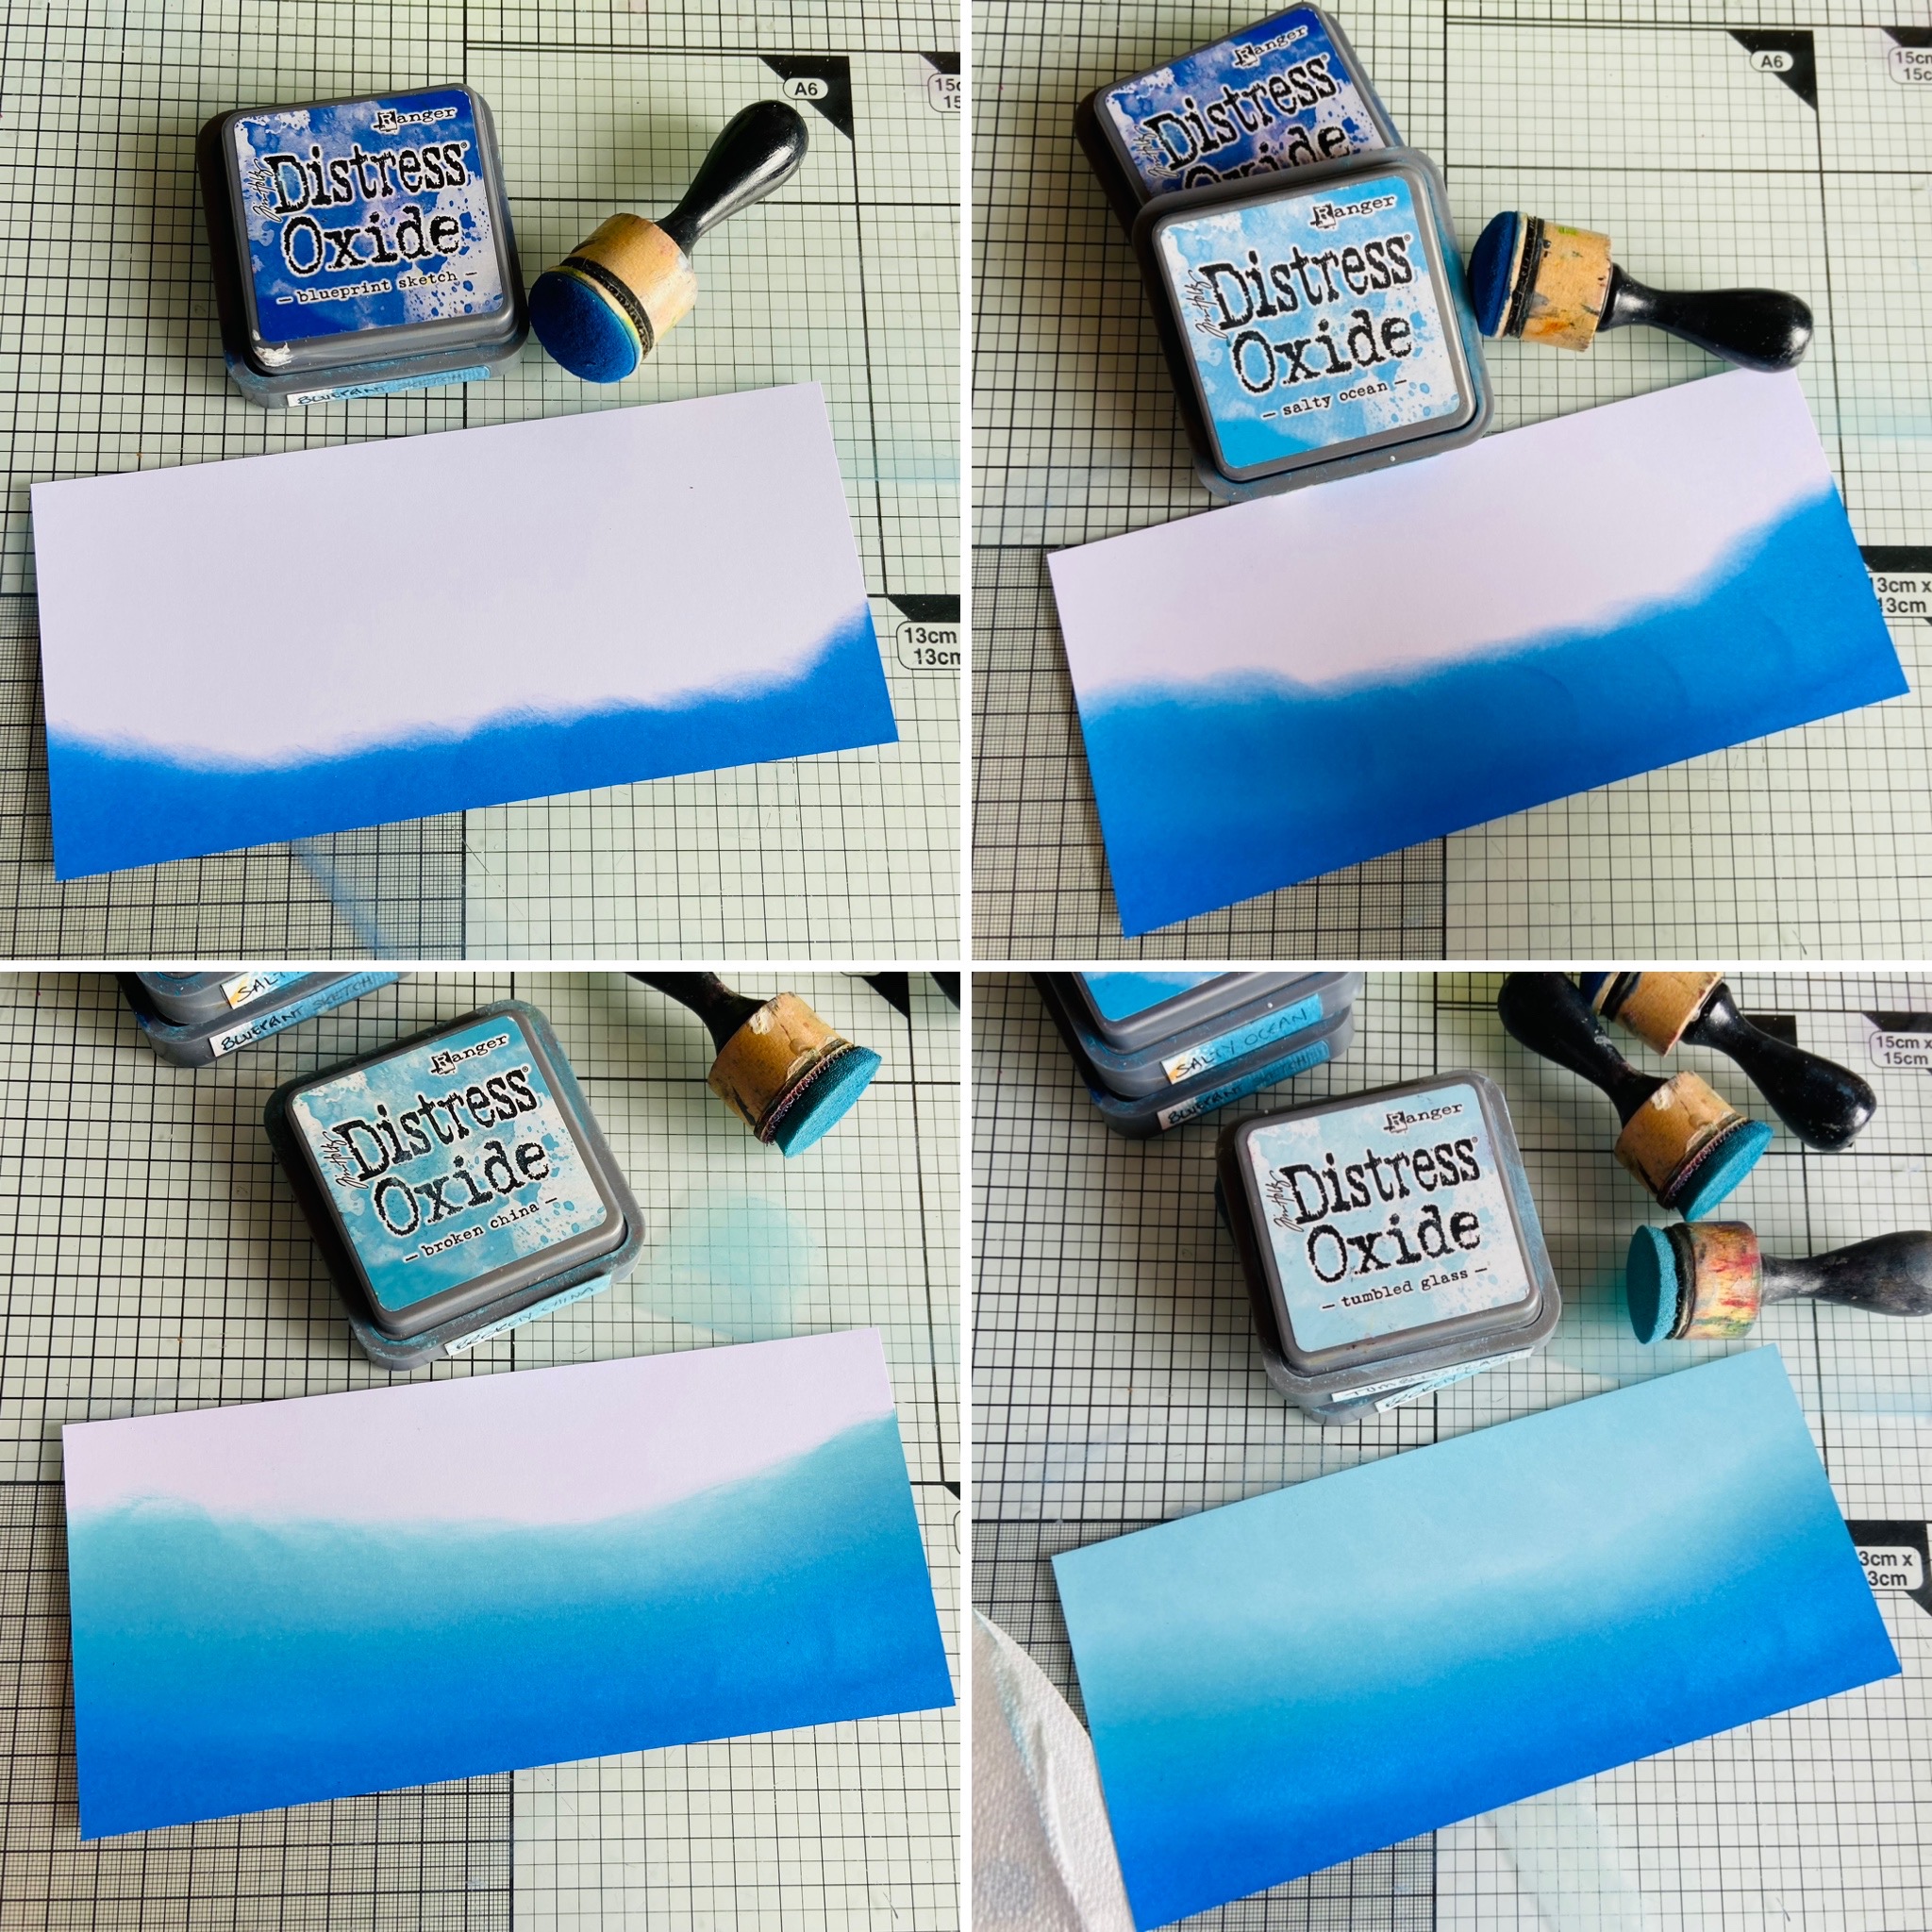
I started at the bottom of my card, blending the oxides.. Blueprint Sketch, then Salty Ocean, Broken China & finally Tumbled Glass…  I blended any excess ink onto a piece of paper to be used later. 


I forgot to take pictures all the way through so did the blending on another piece of card to show each stage ⬆️


Next I spritzed water onto the Bakewell Inkable, turned it waterside down on to the bottom half of my inked paper.. I put a paper towel over to catch any excess water, left it 30/40 seconds for it to oxidise & removed, then I repeated the process on the top half… 


I die cut a mask in copier paper for the lighthouse.. covered  the lighthouse & placed  the Dahlia Inkable over the top (as if it were the light shining out) & blended Salty Ocean outwards… 


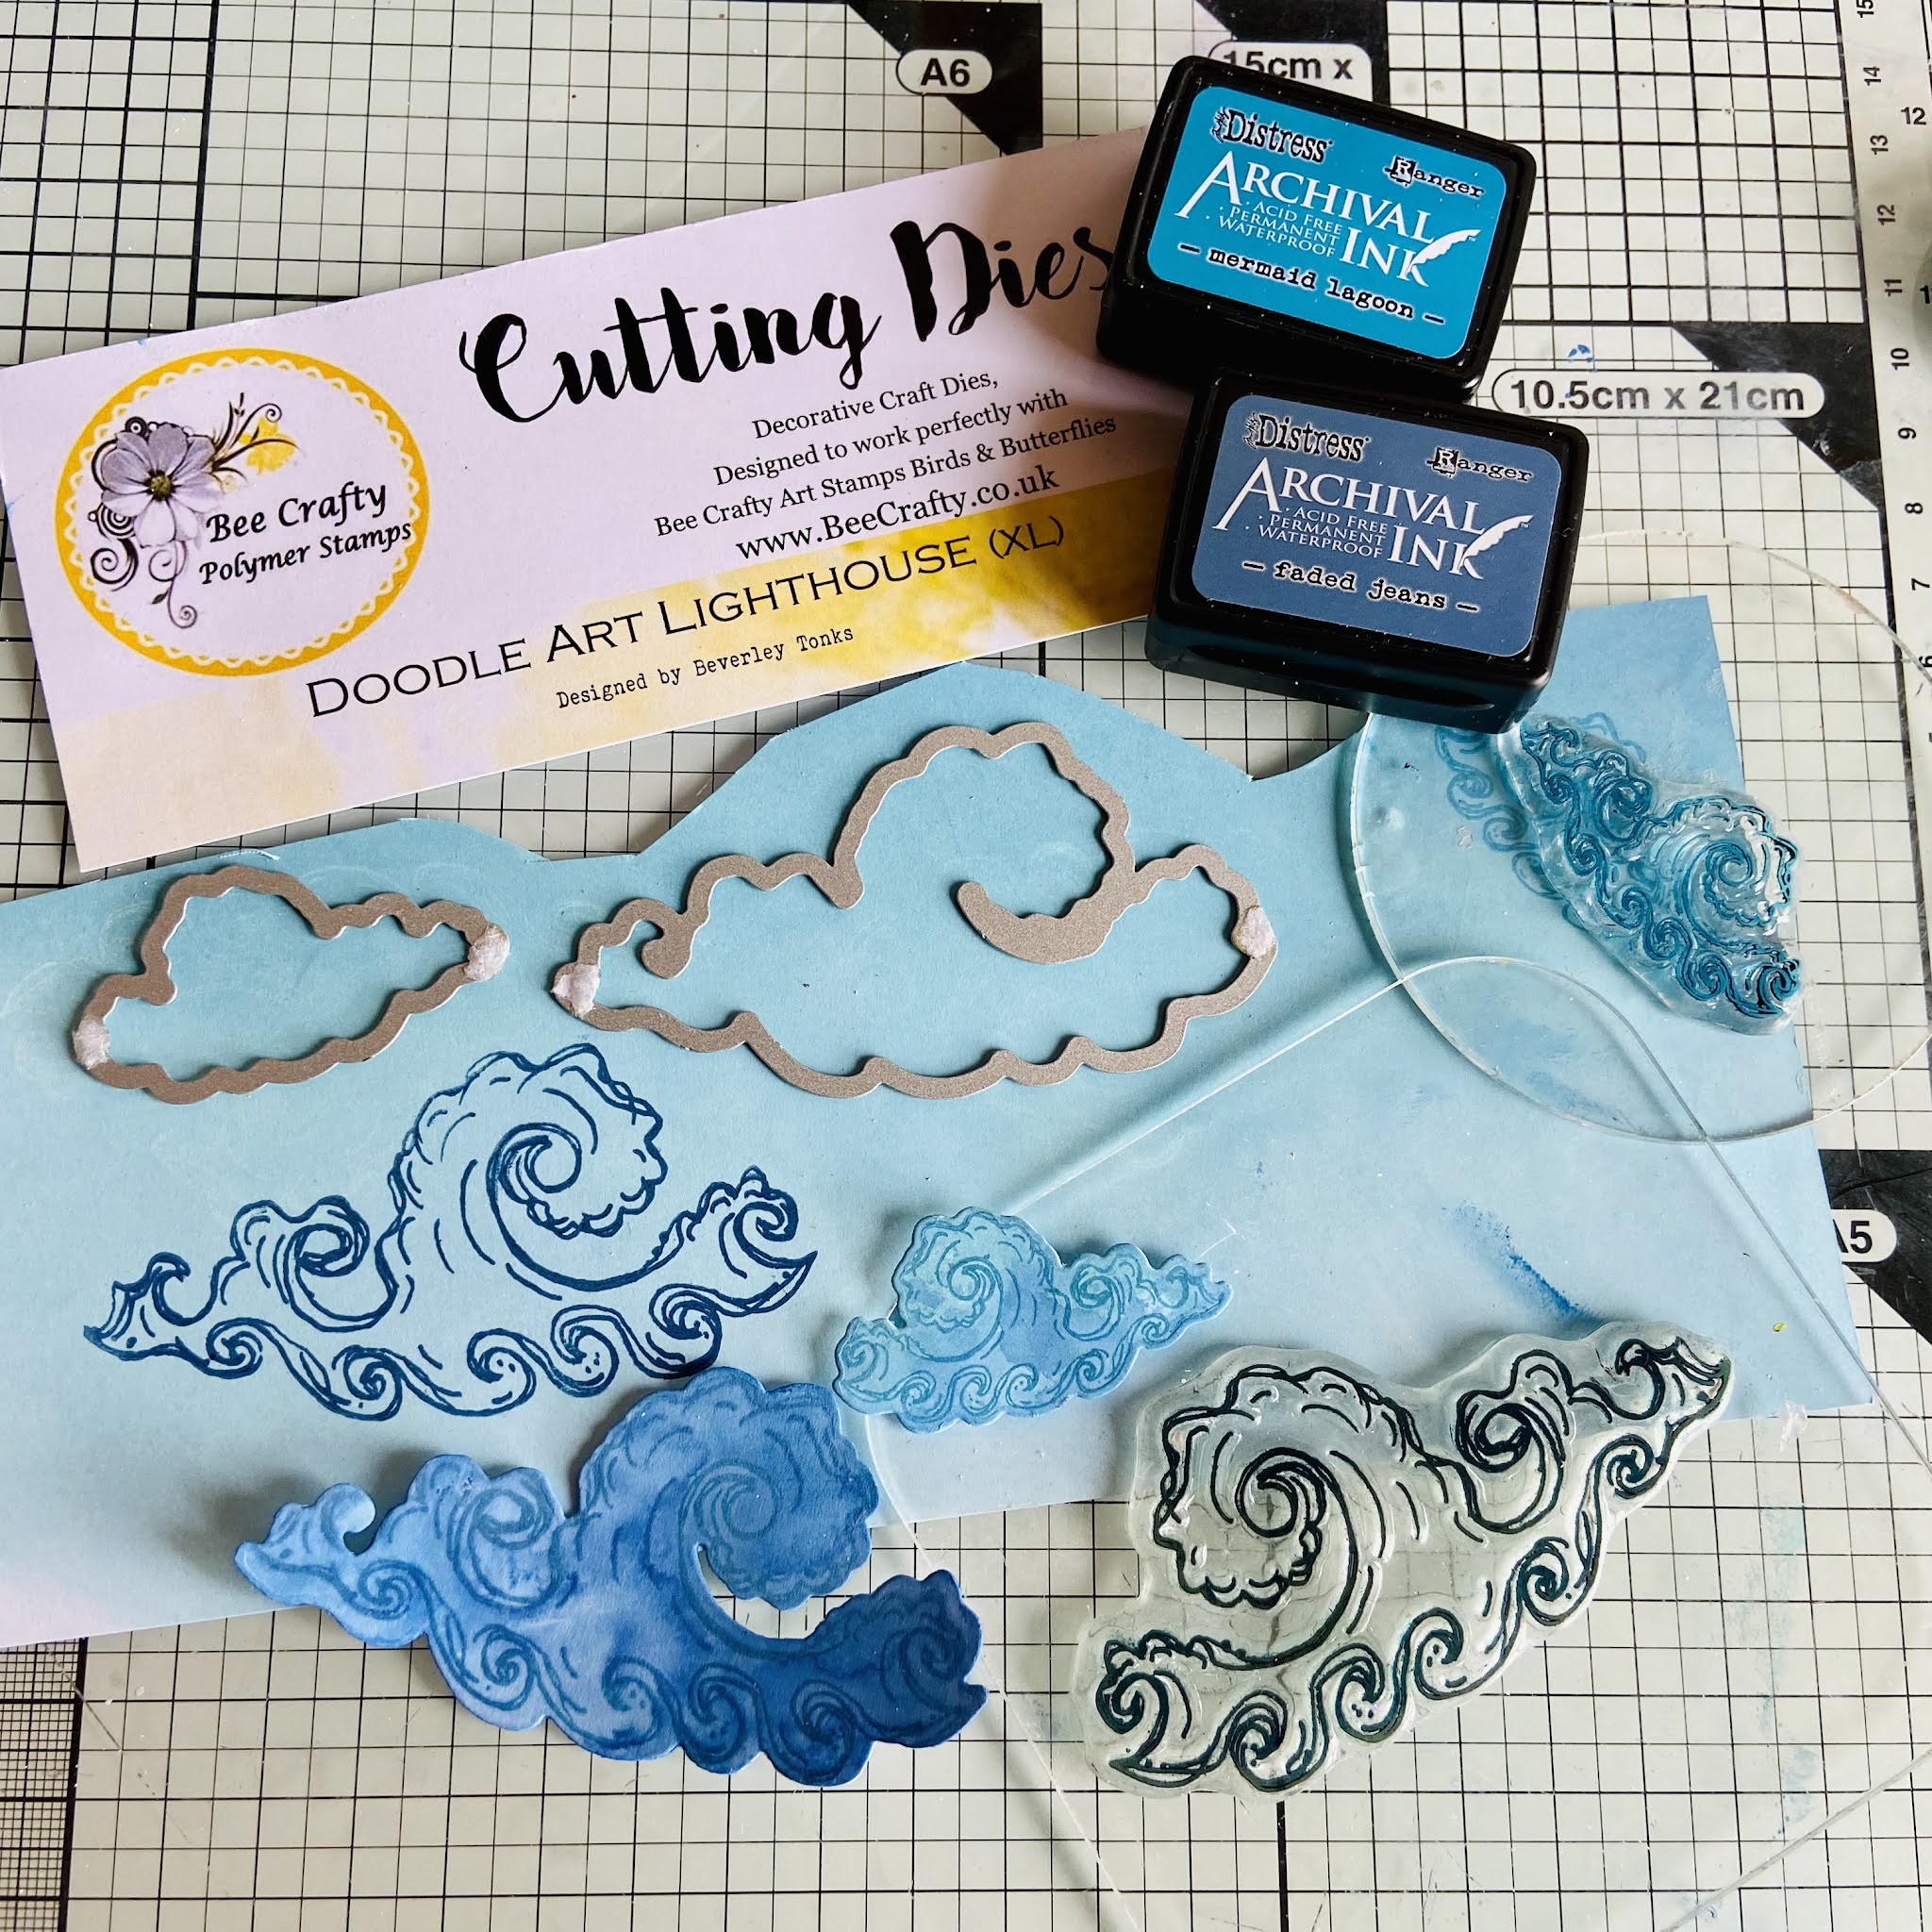
On the spare piece of card (I’d wiped the excess ink on) I stamped 2 large waves, 1 smaller wave, 2 large clouds, 2 large & 1 small seagull in Archival Inks  (Faded Jeans & Mermaid Lagoon) then die cut them and glued to my card… 


On plain white card stamp I stamped..  1 small & 1large boat in Versafine Clair Tulip Red & the lighthouse in Versafine Clair Blue Belle & die cut them… 


I die cut an extra cloud & used the Typewriter Alpha stamps to spell the word SEA.. 


I used my mask again & created some splatters with a white Posca pen .. then glued the remaining elements to my card. 

I added some red Posca Pen to the lighthouse.. 

Finally I cut the windows , door & rocks out of my 2nd lighthouse to add to the one on the card. I added a few doodles & matted onto an 8x8 card .. 


The finished card … 


Thank you for stopping by… Ann xxx


Related Posts Plugin for WordPress, Blogger...