Products used:
Heraldic collection:
https://www.beecrafty.net/?searchStr=Heraldic&x=0&y=0
Prancing lions
Assorted small crowns
Large Jubilee crown
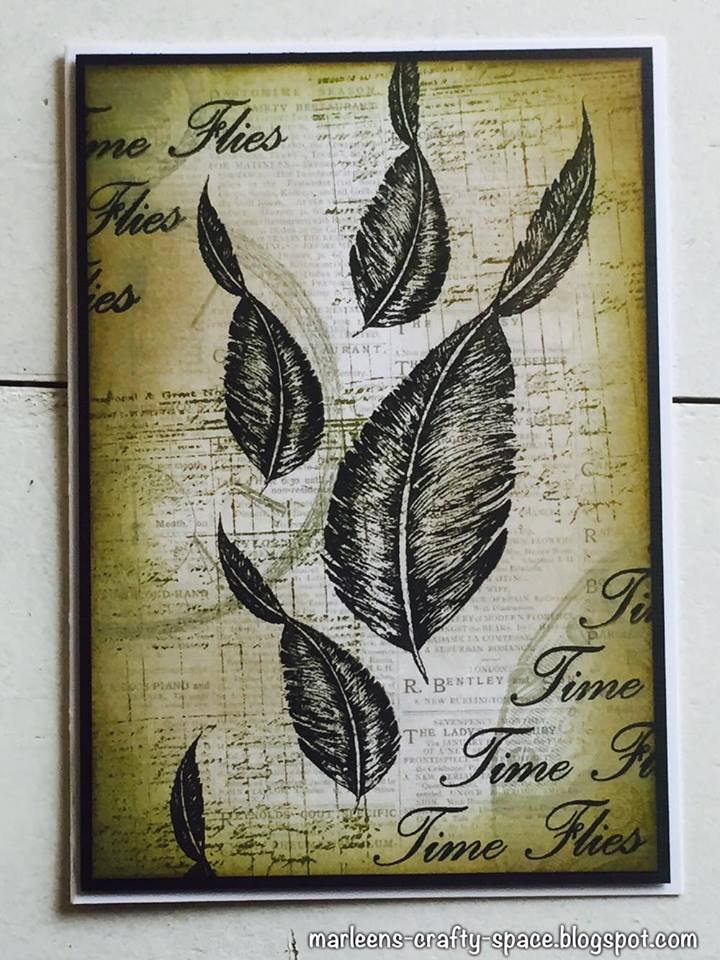
Feathered knight
Heraldic banner
Heraldic alpha
MDF pocket watch
https://www.beecrafty.net/bee-crafty-mdf-pocketwatches-set-of-3.ir
Ink'ables distressed diamonds
https://www.beecrafty.net/inkables-template-distressed-diamonds.ir
Ink'ables Mondrian 1
https://www.beecrafty.net/inkables-template-mondrian-1.ir
Ink'ables Damask
https://www.beecrafty.net/inkables-template-damask.ir
MDF landscape album
Embossing powders
Ink sprays
Gesso
Distress oxides
Versafine onyx black ink
Gilding wax
Acrylic paint

MDF pocket watch - coated in mixed media embossing powders and crackle glaze over the top with a dusting of mica pigment.

Card - inked oxide background, stamped Heraldic elements and Heraldic alpha sentiment.

Art board - MDF clock elements, prancing lion heat embossed, painted and embossed background with MDF word sentiments and gilding wax.

Card - spray ink background over the Mandrian ink'able, stamped banner, lion and alpha. Added stencilled distress diamonds.

MDF landscape album - mix of techniques on each page.

Card - swiped oxide pad background, randomly stamped all heraldic stamps in black and white heat embossed heraldic alpha sentiment.

Pyramid card - patriotic colours, very grungy look. Gold heat embossed Jubilee crowns accompanied by Heraldic alpha sentiments.
Any questions feel free to ask!
Hope you like
❤️
Thanks for looking