Sunday, October 29, 2023

Alison CT - Happy Bright Circles

Hi everyone, today I'm sharing a step by step guide to creating this art journal page. 
To begin I cut three two and a half inch circles and one two inch circles. I used a thin flat brush to paint stripes of Dina Wakley gloss across the circles. I left these to dry whilst I created the background for them.
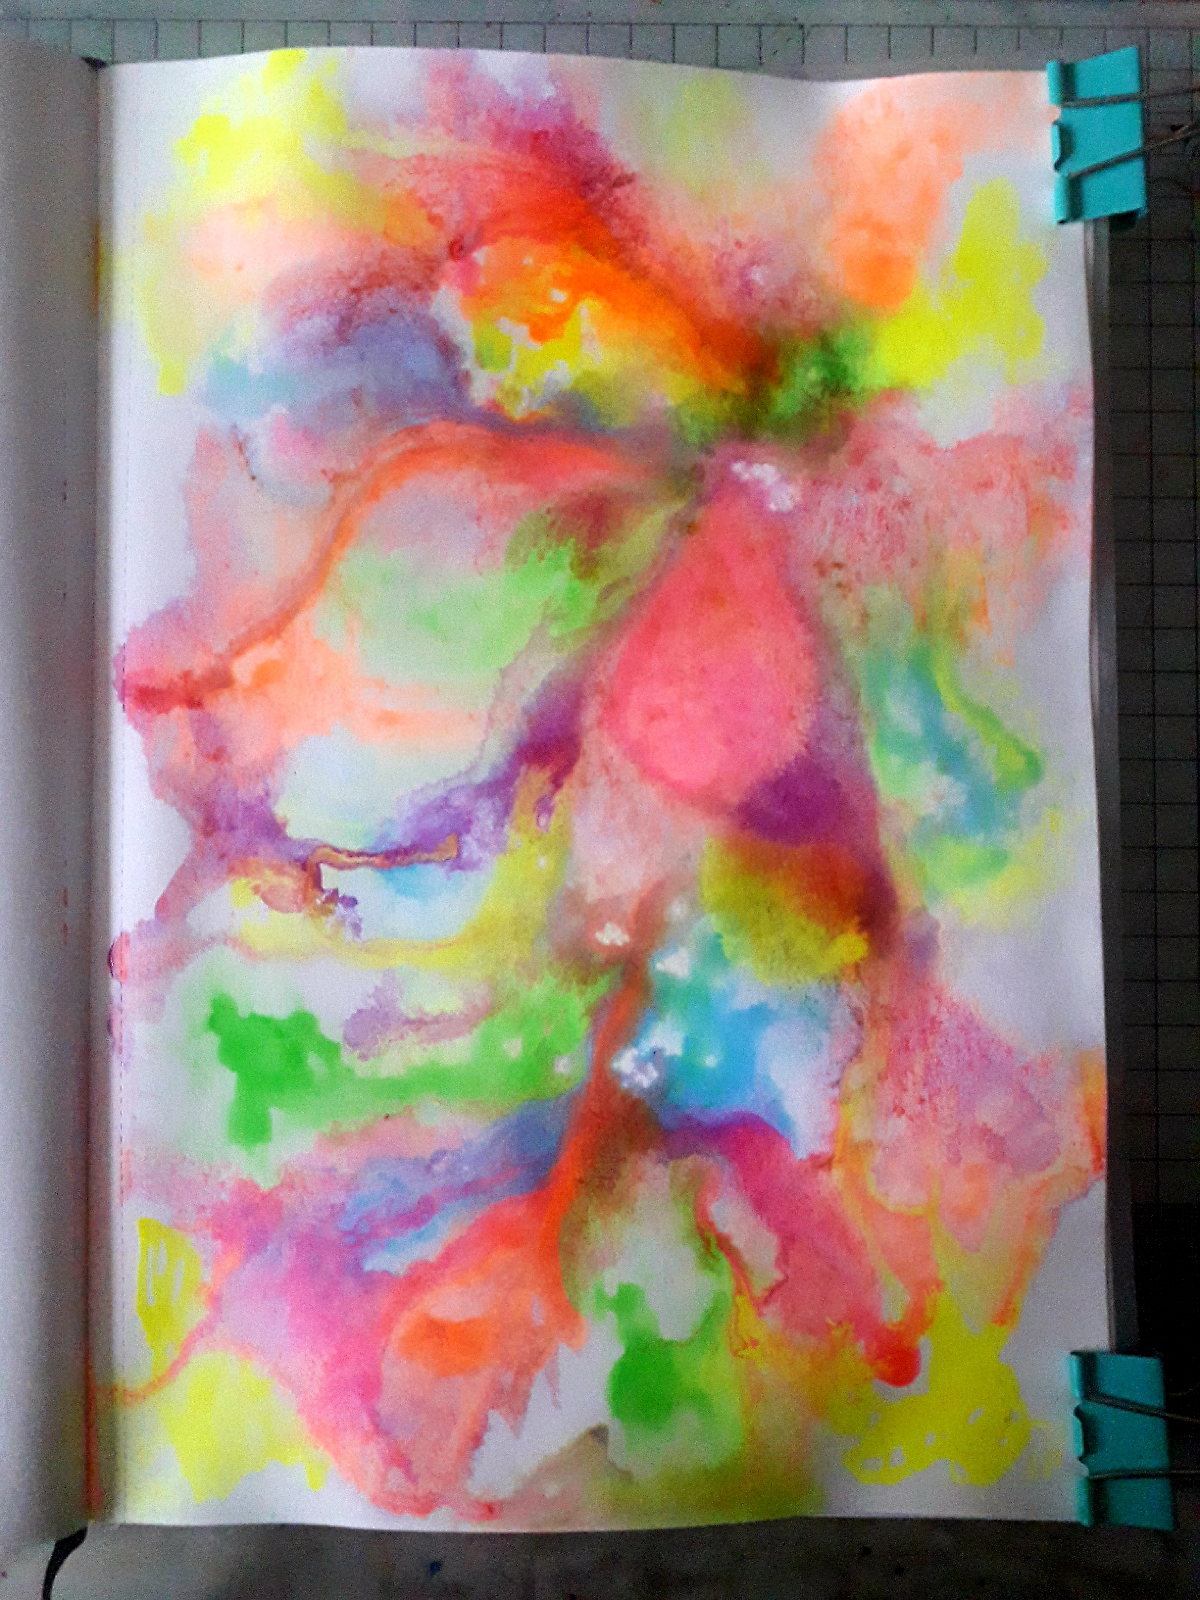
On a double page spread in my Dylusions mini journal, I painted a wide stripe of Dylusions black paint. I didn't want neat edges so, I used a flat brush, so that I could feather the edges. I left this to dry.

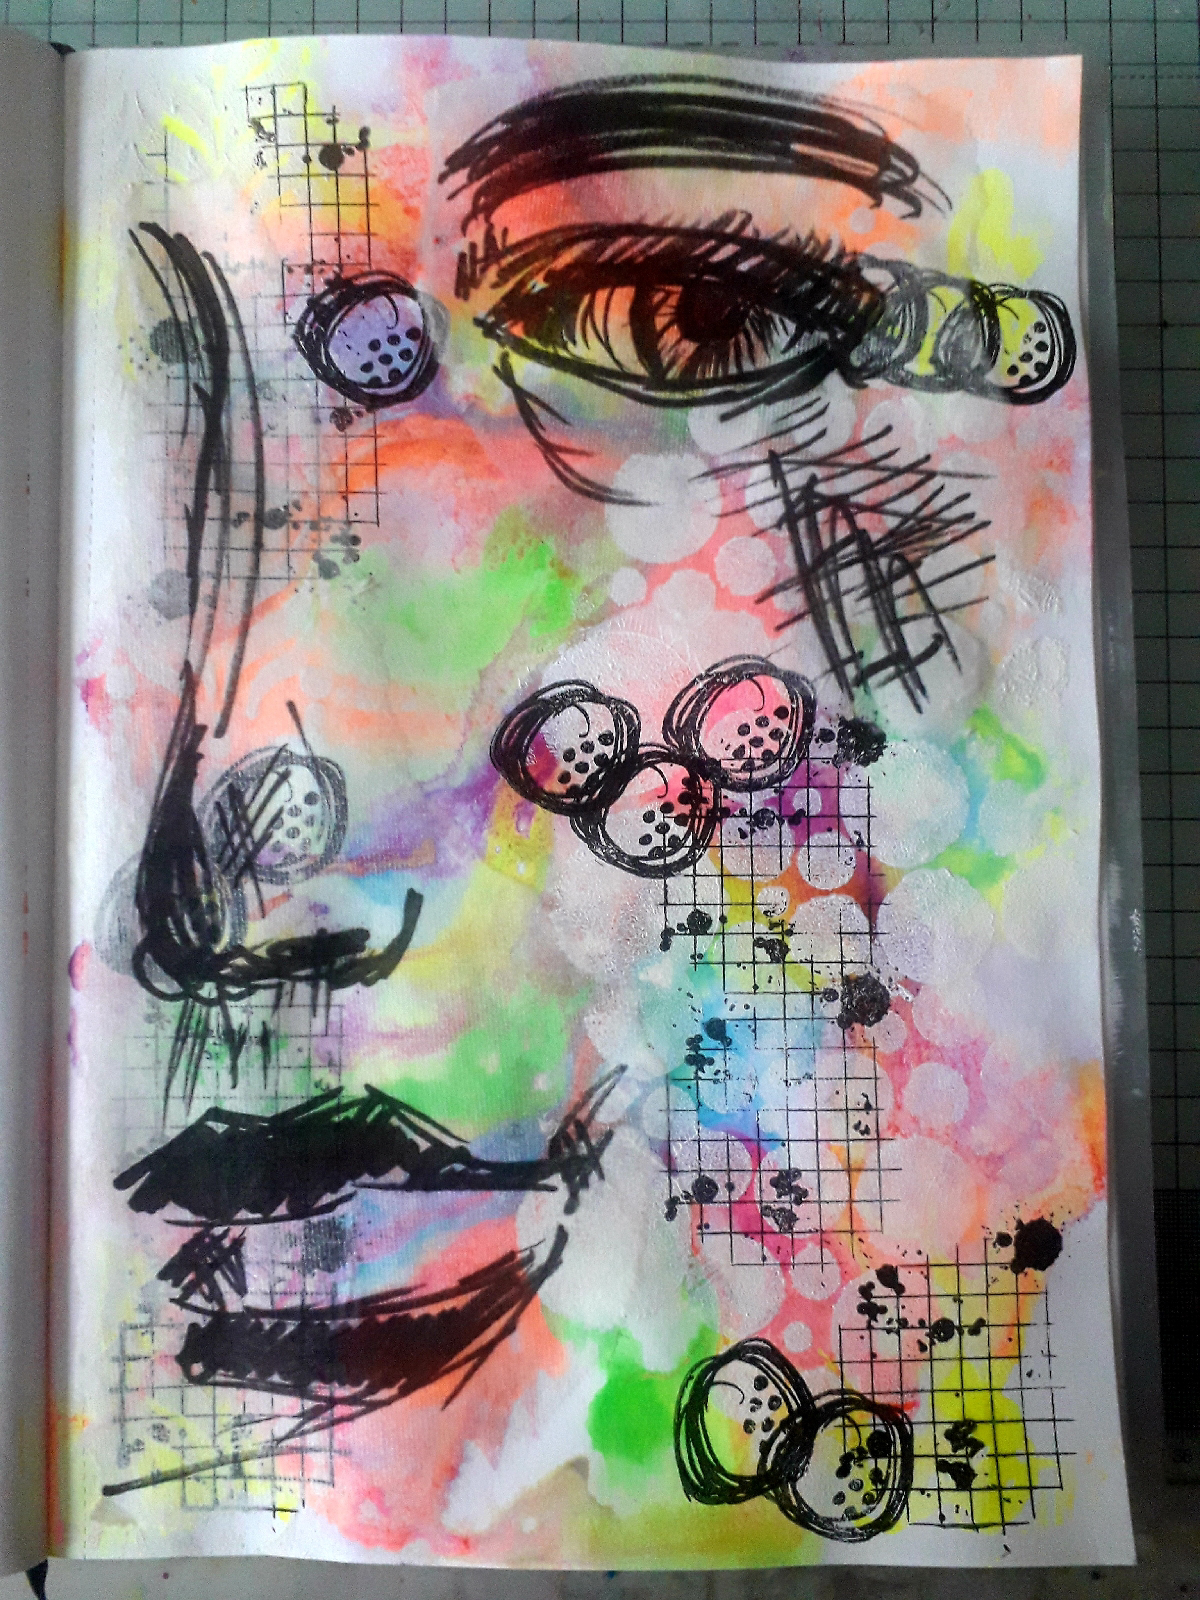
Next I stamped the asemic writing stamp over the entire area of black paint using an embossing ink. I covered this with white embossing powder, tapped off the excess and heat set it.
I then used the droppers, from the Dina Wakley gloss to splat drops of colour over the page. I left these to dry.

When the circles were dry, I used a black and white pen to add lines and dots to them.
Next, I cut one of the large circles in half horizontally and the small circle vertically. I then glued all the circles to the page using PVA glue.

Finally, I stamped the sentiment Happy using black versafine clair ink. I cut each letter out leaving a white border. I then glued them to the page in a curved line.
Products used:
Dina Wakley Gloss (drops) - legit, tubular, gnarly, radical, stoked, bodacious
Dylusions paint - black marble 
Art Stamps - asemic splats
Embossing ink
Wordage stamps - mixed messages 4

Thank you for taking a look.
Alison 

Wednesday, October 25, 2023

Sally CT - Bubble stripe Dragonfly card


Hi there! thought I would show you how I made this card.

I began by masking off the edges of a 6x6 card using stencil tape, and blending Peacock Feathers distress oxide ink over it.

Next I placed the bubble stripes grande inkable over the panel and blended over some Lucky Clover distress oxide ink.
I removed the tape and splattered water over it, blotting away the excess after a short time.
Once it was dry I stamped one of the freehand borders around the edge of the inked square.
I used versafine clair ink to stamp the sentiment, then set this aside
On a piece of parchment paper, I stamped the dragonfly in versamark ink and sprinkled detail silver embossing powder over it. I then heated it using a heat tool.
I used the coordinating dies to cut out the dragonfly and attached it to the inky panel on the card using matte medium. 
Here is the finished card again. Leaving the ends of the wings without glue, means they flutter a little as you move the card. 
I used:
6x6" blank card
Inkables Grande - Bubble stripes
Distress oxide ink in Peacock Feathers and Lucky Clover
Versafine Clair ink in Black and Green
Parchment paper
Versamark ink

Thanks for looking! 

Sunday, October 22, 2023

Alison CT - Halloween journal page

Hi everyone, today I'm sharing a Halloween page in my dylusiins mini journal. 

To begin I spritzed the double page, quite generously, with water. I then used the dropper tube, from the Dina Wakley Gloss, to add stripes of colour across the page. I used the radical, stoked and bodacious colours. I left this to dry naturally.

Next I added areas of bats, using the bats inkable with black soot distress oxide.
Because I wanted the skull really dark, I applied black acrylic paint through the dripping skull inkable. Leave to dry.
Next I added to the background by stamping the So Squares background stamp using twisted citron distress oxide. 
It needed more in the background, so I stamped one of the mandalas from Mandalas two, using versafine clair nocturne.
Finally I chose a sentiment from the Autumn Wordy Stickers and used pva glue to secure them to the page.
Products used:
6" inkables - dripping skull, bats
Art stamps - so square
Doodle art stamps - Mandalas 2
Dina Wakley Gloss (droppers) - bodacious, stoked, radical 
Distress Oxide - black soot, twisted citron

Thanks for taking a look.
Alison 

Wednesday, October 18, 2023

Sally CT - Cool colours journal page


Hi There! Here is a journal page I put together over the weekend. I thought you might like to see how it came together. 

I began by adding some blobs of Dylusions paints along the page edge and sprayed with water whilst the page was tilted to encourage it to run. 
once this was dry I stamped bits of the script stamp in versafine clair blue belle ink over the page randomly. This is easier to do with the stamp off the acrylic block and a small area inked up. 
I sprayed a little salvaged patina distress oxide spray by the side of the paint, added a little water and let that run in the same way, blotting in a few places where it had pooled. This was left to dry
Next I took one of the tag inkables from set 4 and added grit paste through it over the painted area of the page.
Once this was dry I gently rubbed a little gilding wax over it. 
I stamped some freehand borders and journaling essentials  onto stamping tissue using the blue ink
I stamped the words in black ink onto tissue too
Finally I added these elements to the page using matte medium.
Here is the page again.
I used:
Dina Wakeley 6x6 white journal
Dylusions paints in Blue lagoon, London blue, Periwinkle and Crushed grape
Distress Oxide spray in Salvaged Patina
Grit paste - there is a translucent and an opaque version. I used Translucent
Gilding wax
Versafine Clair inks in blue belle and black (nocturne)

I will be live at 8pm this evening over on the Bee Crafty Stamps Facebook page with more inspiration for our cool colours challenge.
Thanks for looking! 

Sunday, October 15, 2023

Alison CT - You are strong

Hi everyone, today I'm sharing a step by step guide to creating this art journal page. 

Begin by creating a background by putting drops of the new Dina Wakley Gloss all iver the page. Spritz with water and leave to dry naturally.
Sponge white gesso through the circles 1 big one.
Next sponge white gesso through the bakewell big one.
Stamp the grid from the journal art elements 3 stamp set with versafine clair nocturne.
Next stamp the circle with the dots from journal art elements 2 to add more interest to the background.
Use a wet paintbrush to draw round the elements from the media papers faces 1 and then gently tear aling the water line.
Spritz the back of the images lightly with water, then cover with a thin layer of distress collage medium. Add collage medium to the page where the images are going to go. Now put the image on the page and use a brush with more collage medium to smooth it onto the page. This will ensure the edges blend in to the page.
Stamp the sentiment, cut out and then using collage medium, add it to the page.

Products used:

Dina Wakley Media Gloss - Gnarly, Tubular, Radical, Stoked, Bodacious, Legit
Inkables Big Ones - Circles 1, Bakewell 
Art Stamps - Journal Art Elements 2 and 3
Wordage Stamps - Incredible Words 
Versafine Clair - Nocturne 
Media Papers - Faces 1

Thanks for taking a look. 
Alison

Wednesday, October 11, 2023

Sally CT - Making Rainbows

 Hi There! After seeing Alison's stunning clean and simple card on 1st October, I had in my mind that I would like to do something similar, but in reverse. I created this card at the weekend with that in mind. 

Here is a step by step to make it. 

I began by blending a rainbow of distress inks partially across the page using blending brushes.
Once this was dry, I wiped an antistatic pad across it and stamped and embossed the pointy leaves in white.
In the spaces in between, I stamped and embossed the rounded leaves in gold embossing powder.
using the small stamp that looks like a dandelion seed, I added more stamping around the edges in the same colour inks that I had used to blend the background. 
On a separate piece of white card I stamped the sentiment in black versafine clair and cut it out.  
I mounted the panel of card onto a 6x6" card blank and added the sentiment using foam pads. 
Here is the finished card again.
I used:
Distress inks in Lumberjack Plaid, Mustard Seed, Twisted Citron and Peacock Feathers
Versamark ink
Embossing powder in white and gold
foam pads 
Versafine Clair black ink
6x6 card blank
white card 5.5" square

Thanks for looking! 
Related Posts Plugin for WordPress, Blogger...