Showing posts with label Cards. Show all posts

Tuesday, February 15, 2022

Caroline - Mandala - Rocker Card - Live For Now

 These Mandala Stamps by Bee Crafty are so versatile!

Stamped and heat embossed one of the stamps and then colour with Distress Oxide.

Die cut a piece of card for the card blank, and then fold in half. Die cut three circles of different sizes and using coordinating papers, fold each of them and then layer them.

Add the coloured Mandala and ribbon.

Wednesday, March 14, 2018

Marleen DT - New Art Stamps

Hello dear Blogger Friends..

Im late today with my post.. It dawned on me at 3.30pm today that it was wednesday and my turn to share for BeeCrafty.. And by then it was mummy duty.. Sooooo better late then never I suppose but I dont like messing things up..

Anyway.. Did you see Bev on Hochanda yesterday?? She had some brand new art stamps to show.. They are really amazing.. Very different, nothing like I've seen before..
They are really class so DO pop over in the STORE to have a nosy at them..

Sadly due to the snow and dear storm Emma, my stamps only landed the day before the show. Im used to having to work fast as I live in Ireland, (the rest of the team and the Bee's are in the UK), so delivery time and return time is longer for me, but this time not even my super speediest speed was gonna make it lol..
But I was still gonna have a play and I have made a couple of projects I want to share..

 This one is distress ink, more distress ink through a Dinkable and then just stamped the Art stamp and greeting strait on. Matted and layered and voila..
 This one is Lustre Luxe on a MDF tag. the more I play with these Lustre Luxe the better Im getting at blending them. They arent meant for blending as such so must admit Im loving the results im getting. Anyway, more Lustre through another Dinkable and then just stamping and black embossing powder..
 A very simple one this one is.. Just a fade of distress ink, distress ink through Dinkables and stamping..


This one is my favorite of the samples I made. I made a circle card and used distress ink to create the "sun" look. I think it looks a bit like a night sky. I was inspired by the stamp for this one. The fact that the stamp can be turned any direction you'd like, the circle card can also be turned as you wish..
I used Lustre Luxe through the Dinkables to get a bit of shimmer and shine..

And that is it for today. Thank you for popping by and for any comments left behind.
Dont forget to come visit me on FaceBook, Twitter, Instagram, Pinterest, Youtube or my FB page.
 Happy Crafting

Wednesday, January 17, 2018

Marleen DT - Lustre Luxe cards..

Hello Bloggers

Once again my turn to share a bit of inspiration for
BeeCrafty.

For today I have been playing with my Lustre Luxe. They are a constant fixture on my crafty table along side my inks. They are so versatile. They can be used for so many things. For today I have used them on 2 cards. I used them with the Easy Frames Inkable stencils. I love these basic shapes.


Both cards has been made the same way.

My backgrounds has been made by simply adding my stencil and adding lustre luxe through. I left each shape to dry for a few seconds before adding the next but Lustre Luxe drys very fast so it wasnt a problem.

I added my sentiments to a strip of black card stock and heatset it with silver embossing powder. I finished by matting and layering on black cardstock and a few gems on each and Voila..

And that is it for today. Thank you for popping by and for any comments left behind.
Dont forget to come visit me on FaceBook, Twitter, Instagram, Pinterest, Youtube or my FB page.
 Happy Crafting

Wednesday, November 01, 2017

Marleen DT - Hochanda Samples

Hello Crafters

Today I want to share my samples for the resent BeeCrafty show on Hochanda. Sam did 2 fab shows with the music collection.
Sadly due to storm Ophila, post in Ireland was delayed and by the time my stamps landed, my samples was due to be returned.
Never the less I just had to play and I made a stack of cards.

You can find the stamps in the STORE HERE

 Distress ink, black stamping, white ink through stencil and white gel pen.

 Piano stamp heat set with embossing powder, partial stamping of my greeting, Treble cleft stamped and fuzzy cut. Everthing smothered in distress ink.

 
Lustre Luxe on MDF tags, more Lustre Luxe through stencil. Staming with Archival.

Distress ink with water splashes. Black stamping.
 
 Just a lot of making and stamping. Microphone stamped and fuzzy cut as is sentiment.

More Distress ink and just stamping on top.

Stamping with Distress Oxide

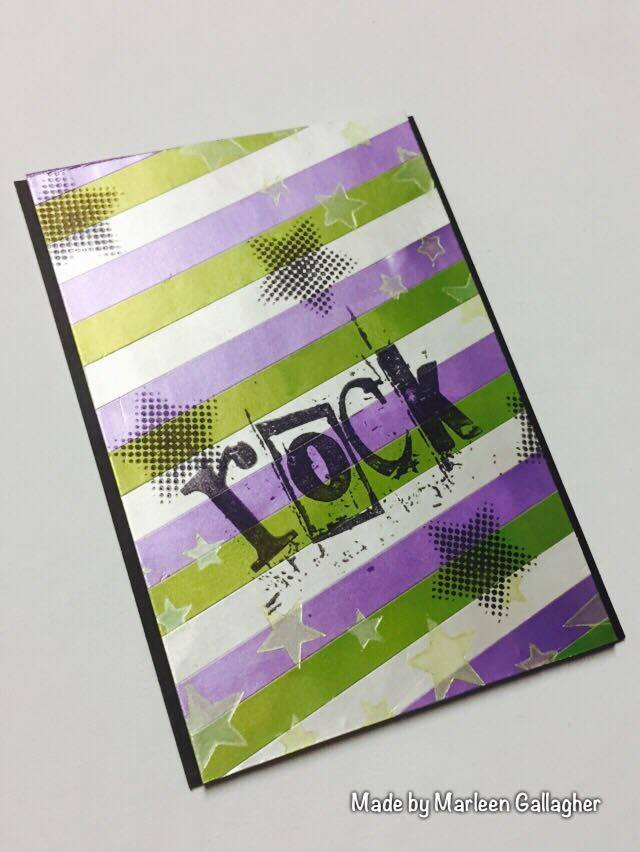
This one is strips of paper coloured with Lustre Luxe and then assembled and stamped with Archival ink. I also used Lustre Luxe through the star stencil.

I loved making these. I am (was) trained in music and singing so anything with a music theme is very close to my heart. Each stamp is so amazing and although they all fit so perfect together, each can easily stand alone or work with whatever stash you have.

And that is it for today. Thank you for popping by and for any comments left behind.
Dont forget to come visit me on FaceBook, Twitter, Instagram, Pinterest, Youtube or my FB page.
 Happy Crafting

Thursday, July 13, 2017

Karen DT - Moon and Birds On A Wire

Good morning everyone

I'm very excited, and nervous,  to be blogging my first ever sample for Bee Crafty, since being chosen to join their very talented Design Team. I have a lot to live up to so I'm hoping I do their gorgeous products the justice they deserve.

I will be blogging every Thursday so watch out for me. I would love for you to support me by commenting, I do read them all and try to reply

Anyways enough chatting....

Today I'm showcasing the following stamp sets
Moon
Birds On A Wire
Friendship

Also used:
Distress Inks : Squeezed Lemonade, Spiced Marmalade, Worn Lipstick, Brushed Corduroy, Walnut Stain
Black onyx versafine ink


  • I cut a square of black card and a square of white card, in decreasing size, slightly smaller than my 6x6 card blank
  • I inked up the Moon stamp in the Squeezed Lemonade, Worn Lipstick and Spiced Marmalade Distress inks and stamped it on the white card, in the centre, slightly towards the top of the card
  • I masked off the stamped Moon 
  • I then blended the Squeezed Lemonade, Worn Lipstick,Spiced Marmalade, Brushed Corduroy and Walnut Stain over the card, working from the lightest colour out to the darkest colour
  • I splattered water droplets onto the card and dabbed off with a paper towel 
  • I stamped the Birds On A Wire and the Friendship sentiment in the black onyx Versafine ink 
  • This was adhered to the black card and then onto the card black , with wet glue
And there we have my first ever Bee Crafty DT sample lol

I really hope you like my use of these gorgeous stamps and don't forget to leave a comment and let me know what you think


Crafty hugs xx 

Wednesday, June 21, 2017

Marleen DT - Same goodies, different outcome..

Hey bloggers..

Todays card is made for BeeCrafty, 
using the new Birds & Butterflies stamp set and one of the 

The brown background is made with Distress Oxides. I used both brown colours, Vintage Photo and Walnut stain. I just smudged them on with my blending tool.
I took my crackle paint stamp and lay it flat on my table. I misted it with water and took my brown background and plopped it down on the stamp. Meaning I stamped the "wrong way round". I took my card to the stamp, not the stamp to the card.
I left it to air dry so it takes a wee minute before the stamping shows but its worth the wait.

While my background was drying I covered my MDF birdcage with Cracked Pistacio Oxide ink and made the little strip thats sits behind my background. I also stamped my greeting and cut it apart.

The rest was really just cutting my background at an angle, stamping my bird and stick it all together..

Now..
If you are part of the BeeCrafty Facebook group, you would have seen our Emily posted last night. And funny, she has made a project, very different from mine, BUT will you believe that we have used the same goodies.. and nope, none of us had seen nor knew the other of us was creating with the same goodies. So Ive asked Emily if it was ok to include her project here also (and she said yes ofcourse or I wouldnt have posted it lol) 

Emily's Project using the same goodies as myself. Links above.
 Is'nt her project fab? I just love it. So very different from mine yet using the same stamp and birdcage.
  But that is all from me today. Thanks for popping by and for any comments left behind.
Dont forget to come visit me on FaceBook, Twitter, Instagram, Pinterest, Youtube or my FB page.
 Happy Crafting

Wednesday, August 24, 2016

Marleen DT - Hochanda Smaples and MDF Window

Morning bloggers..
And thank you for stopping by..

Today I want to share all my samples I made for the last BeeCrafty show on Hochanda.
Bev had a mix of new and older christmas stamps on the show and they proved very popular. She also brought some of the Inkables Templates (which are all favorites of mine..)
Bev also showed us something totally new to BeeCrafty.. MDF windows... and boy they flew off the shelves lol..
MDF is something I've personally not done a lot off, and I must admit I found it a bit scary.
Anyway, I have to say, in the end, I really loved the process. It made me really think about what I wanted to make, and made me think about colours, texture ect ect before even starting. Normally I just go with the flow and start over if it dont work, but here I had to think about the process..

I made 15 samples altogether for the show. Only a few got shown on the screeen this time but I hope I can still give you all a bit of inspiration with these amazing stamps.

Here is my MDF Window.. The kit contains the back (where I stamped and painted), the window pane and a foot for both to stand on. Find the kit HERE.
 I made mine as a wall hang instead of using the foot

 This one is made using the Inkables Templates layered up and then stamped on top.


 THis one is stamped and covered with a double sided sticky sheet and covered with glitter.

 This one is made using the ofcuts from the MDF window. 


 This one is also made with the inkable Tempates. I stamped through the circle stencil to get the rounded shape.

 Lots of embossing poeder and distress ink


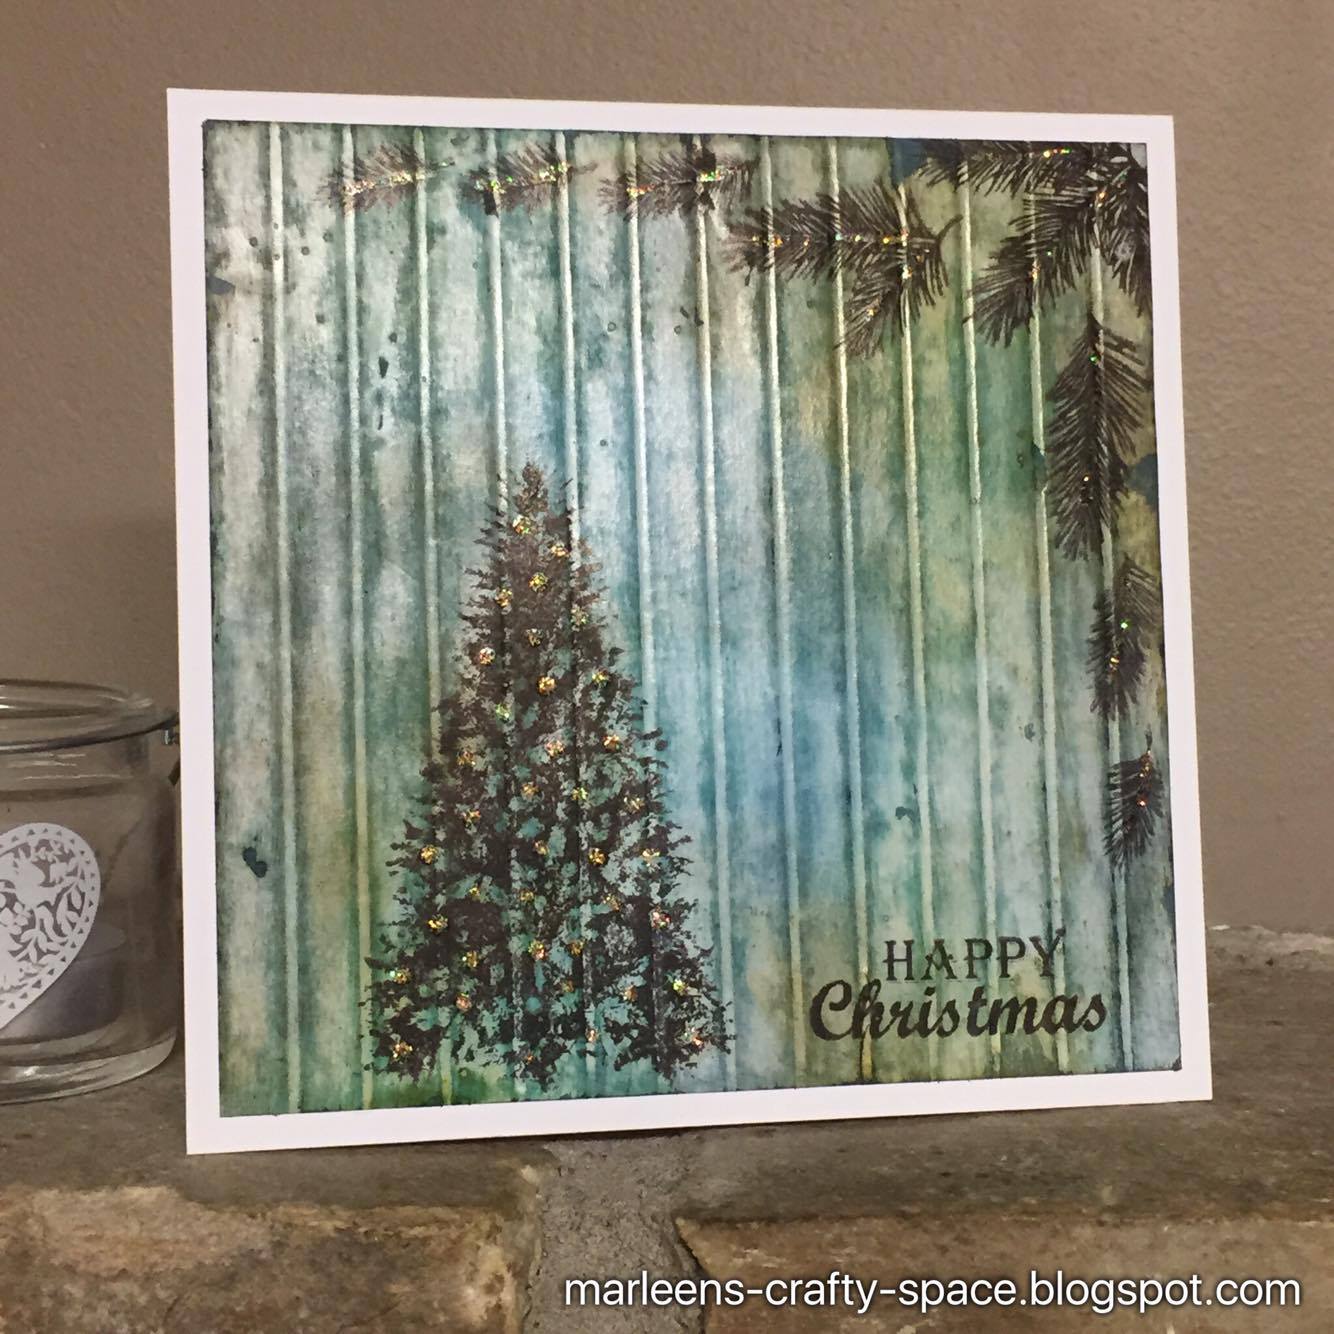
 Ive made this back ground before and still love it. HERE is a link to the original tutorial on how to make it.


 This one is stamping and mica powders.


And that is all from me for today. I hope I've managed to inspire you a bit to have a go with these amazing stamps.
Many thanks for popping by and for any comments left behind.
And dont forget to come visit me on FaceBook, Twitter, Instagram, Pinterest or my FB page.
 Happy Crafting

Related Posts Plugin for WordPress, Blogger...