Showing posts with label Birds and Butterflies. Show all posts

Tuesday, January 25, 2022

Caroline - Art Journal Page - Live Learn Create

 Art pages are not something I do very often, but I would like to do more. I thought it would be a good way of using up some of my 12×12 paper too and this spotty paper would make a good base. I was pleasantly surprised how it stood up to having ink all over it too, stayed nice and flat ready for me to add to my mixed media spiral pad, which will then be a base for a homemade art journal book!!

I cut the 12×12 piece to fit onto the A5 pad when finished.

I used the Birds & Bees stamp set XL and Journaling Girls:Arrows.

Stamp the large butterfly with embossing ink and then heat emboss with white powder.

I chose a colour palette with Distress Oxides:

Smooshed the ink over the page.

Added some stamped images from the Arrows set and then splattered with black paint.

I drew a random shape with white gel pen onto black cardstock – inspired by a shape I saw by Birgit Koopsen-Bernstein. I coloured randomly in the leaves using Inktense pencils, and fussy cut. Drew and fussy cut the ‘rainbows’.

I then glued the black shapes to the page, ready then to be added to my spiral album. Stamped a sentiment.

I will, at some point, add these pages into an art book but that is a project for another day!


Tuesday, June 01, 2021

Quick collage ideas using "Birds & Butterflies" stamps & dies - Lou Sims

 Hi everyone it's Lou Sims,

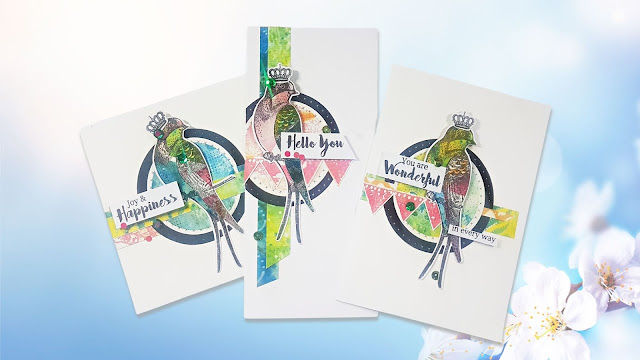
I'm high jacking the Bee Crafty blog again to share quick & easy card making ideas using the Birds & Butterflies stamps & dies with Butterfly Ink card & paper kit.

Bee Crafty Birds & Butterflies stamps & matching dies - Lou Sims

I have created 3 different sized cards: DL, 7" x 5" & 6" x 6" . All are a similar design but I wanted to show how the design could be adapted to your favourite card shape/size.


You can check out how they were made via the YouTube video below ...


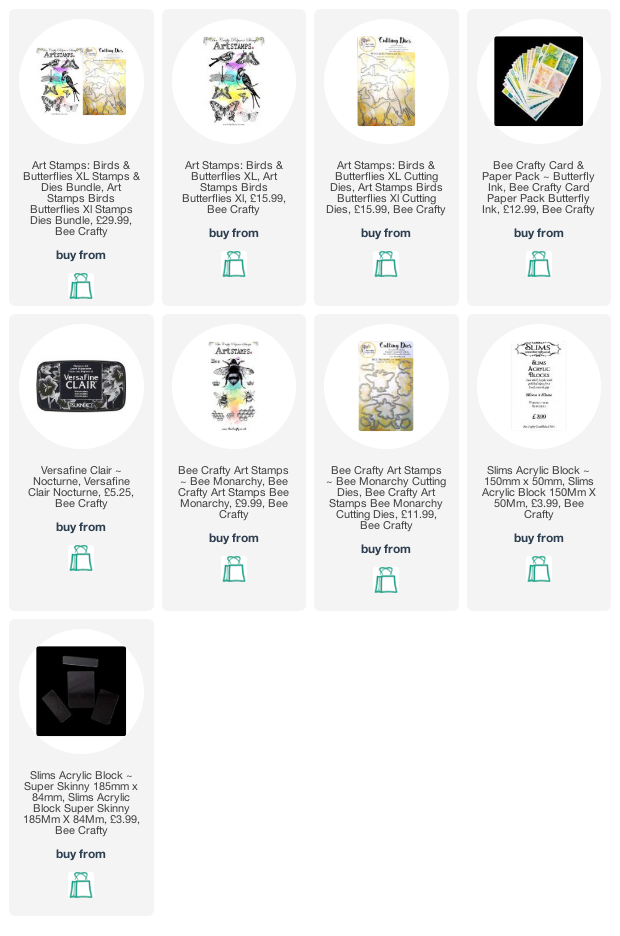
A list of all supplies used can be found a the very bottom of this post.


Card 1 - 6" x 6"

Bee Crafty Birds & Butterflies stamps & dies - Lou Sims

Card 2 - 7" x 5"

Bee Crafty Birds & Butterflies stamps & dies - Lou Sims

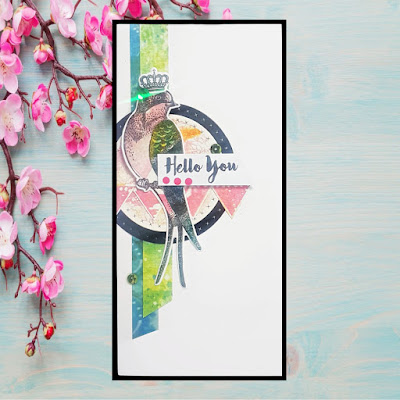
Card 3 - DL

Bee Crafty Birds & Butterflies stamps & dies - Lou Sims


As my finishing touch for all of my cards, I couldn't resist adding a little crown using Bee Monarchy stamps & matching die set. A little bling was also added using different coloured sequins,

If you are not in to colouring, collaging is a superb alternative and a quick way to batch make your cards.

Until next time,

Lou
xxx

Wednesday, April 04, 2018

Marleen DT - MDF Tag

Hey Bloggers..

Just a quick post with a bit of inspiration for BeeCrafty..

For this weeks post I've made an MDF Tag.
I've also used a selection of stamps from the BeeCrafty STORE:
I started by adding the Lavender Quarts Lustre Luxe to my tag. I then added Purple Pearl Lustre Luxe through the Dinkable. I used archival ink to do all my stamping apart from my script stamp (which I just realised is very hard to see on the pic) with which I used Distress Oxide in Shaded Lilac.

And thats it really. It looks class but was really easy to make.
And that is it for today. Thank you for popping by and for any comments left behind.
Dont forget to come visit me on FaceBook, Twitter, Instagram, Pinterest, Youtube or my FB page.
 Happy Crafting

Wednesday, October 11, 2017

Marleen T - Lustre Luxe and Oxide inks

Hey Bloggers

Once again wednesday and my turn to share inspiration for
BeeCrafty..

For today I have had a play with my Lustre Luxe.
For those who dont know what Lustre Luxe is, pop over to my YOUTUBE channel for and see the TUTORIAL I made on the Lustre Luxe.

These 2 cards really started bacause I wanted to see the difference of Lustre on different card. The gold background is on black card. The green is on white smooth and the red Lustre is on water colour card. I then wanted to see if Oxide ink would be able to stick to the Lustre so I grabbed my "Birds & Butterflies" stamp set and used a different stamp on each colour. I stamped with an Oxide colour that was close to the Lustre Colour.

The funny thing is, although I used 3 different colours of Oxides they all look the same now on top of the Lustre. I didnt spray any water on the Oxide simply as I was afraid the water would just puddle up and trying to mop it up would wipe the stamping off..

Please note the Oxides took quite some time to fully dry BUT its dry and stays put (unless you give it a very good rub)
Well once my backgrounds was dry, I cut the 3 panels you see here on the top card. I simply matted and layered on top of a black piece of card and I finished the card with a sentiment stamp.

 This one is made from the leftover background. I simply diecut a circle from each background and layered them up with foam tape. Again, finished with a sentiment stamp.

 And that is it for today.
Thank you for popping by and for any comments left behind.
Dont forget to come visit me on FaceBook, Twitter, Instagram, Pinterest, Youtube or my FB page.
 Happy Crafting


Related Posts Plugin for WordPress, Blogger...