Showing posts with label Stayzon. Show all posts

Tuesday, October 11, 2016

Let It Snow

You can never have too many snowflakes in your collection. I love this collection from Bee Crafty, Bev launched it on Hochanda on the 26th September so it might be worth checking today if it is still on Catch up as the shows are normally kept for 14 days, you might be lucky. I adore the main focal Snow Embellishment stamp, it's so versatile, using each side for either a grungy look or a cleaner look or using it as a whole for a real statement. Here I have chosen to have a crisp clean look but I love the distressed side just as much.

I started by stamping the delicate Snowflake Border onto my navy satin ribbon with white Stayzon ink. The border is designed so it can be easily extended. I extended it across the length of my ribbon to allow me to wrap around the card and tie a matching bow.

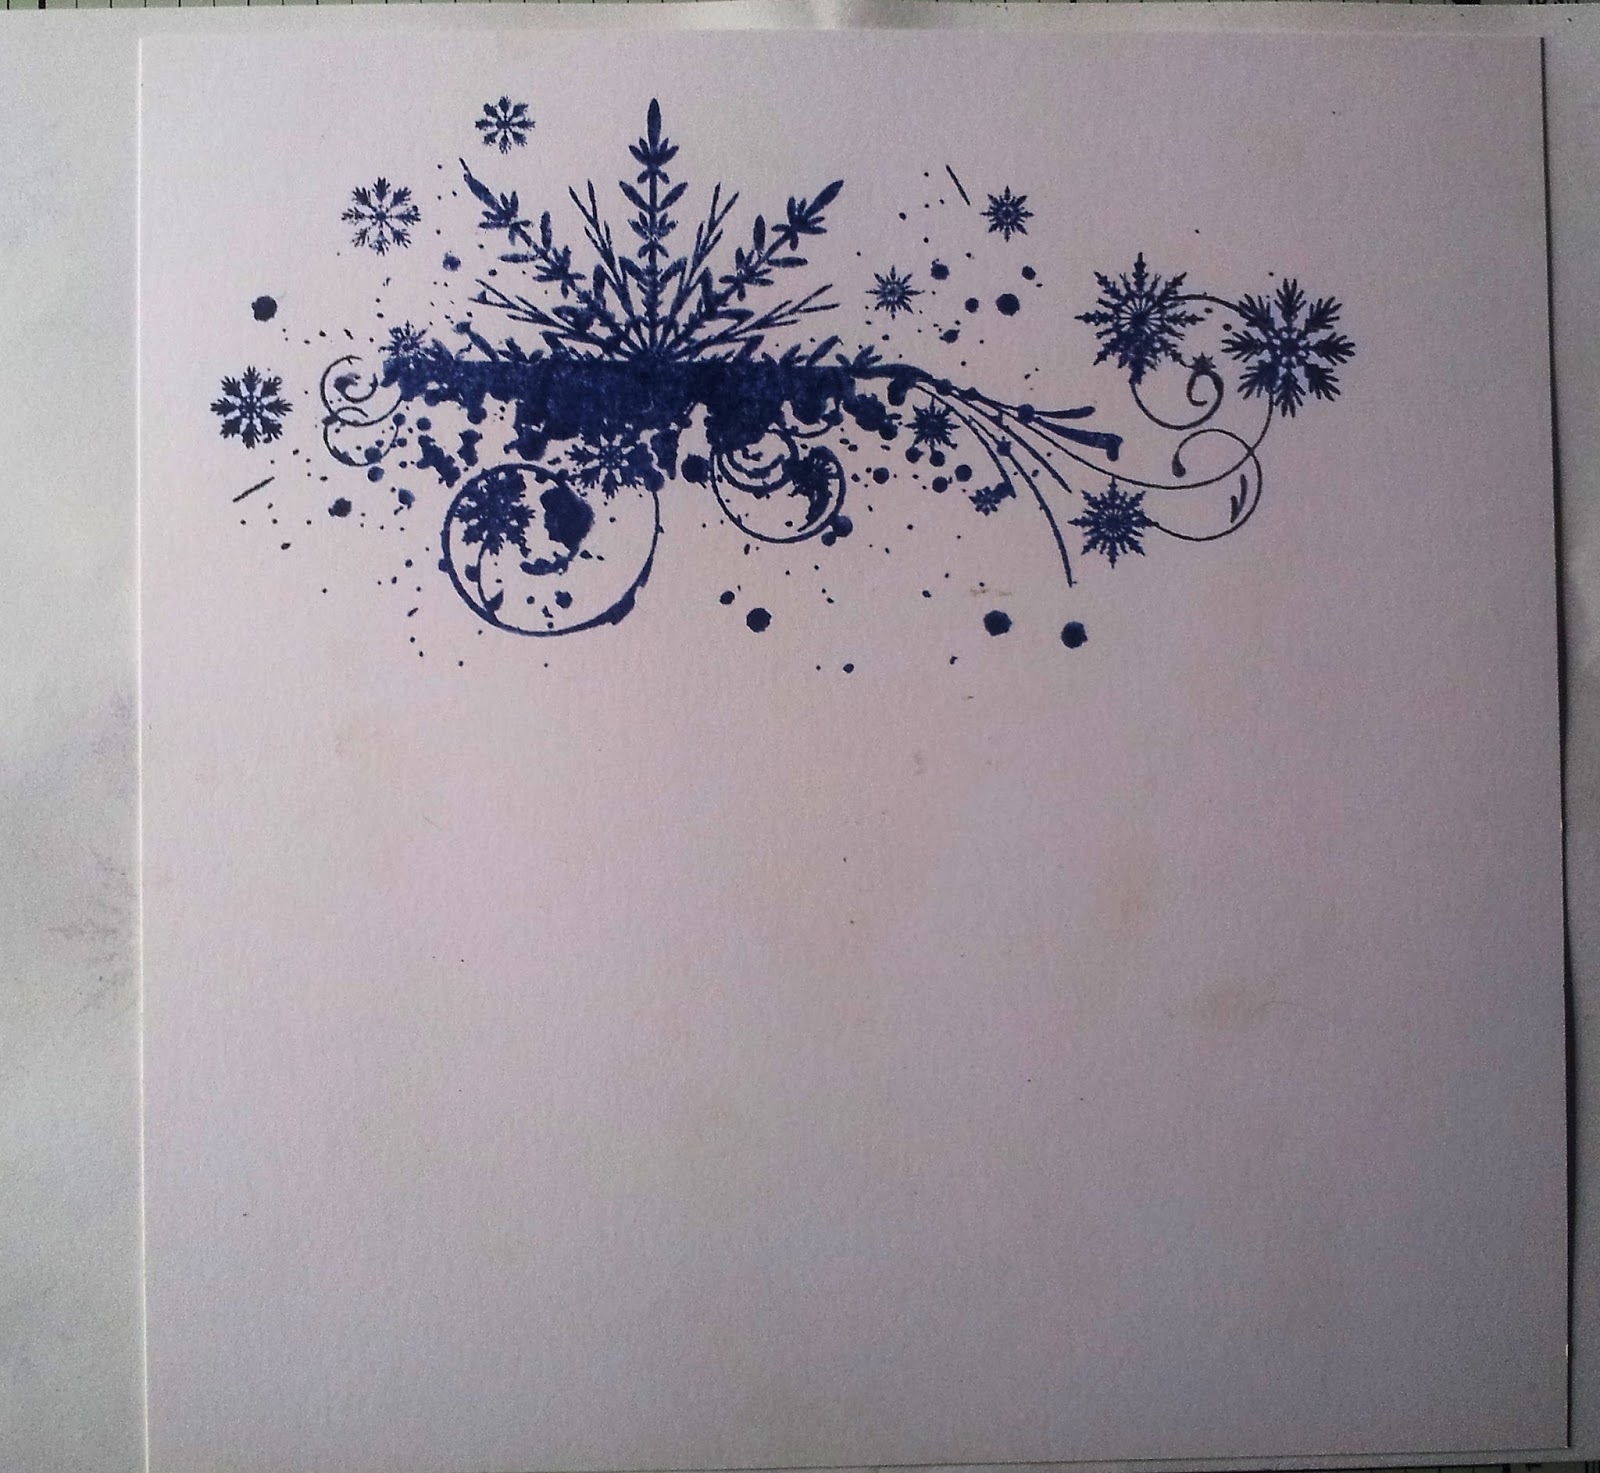
I took my 8' square card and stamped the main design using Cobalt Blue Archival ink.

Next using a selection of the individual snowflake stamps i added them across my card using Shaded Lilac and Blueprint Sketch Distress Ink and the Cobalt Blue Archival.

I distressed just around the edge using Blueprint Sketch then wrapped my ribbon around the card and attached at the back with Wonder Tape from Be Creative. I then layered this onto red Mirri card.

I stamped my sentiment from the collection onto a piece of white card, using Shaded Lilac, Blueprint Sketch and Chipped Sapphire I blended to make it darker around the edges and lighter towards the centre to highlight. I then matted this onto the same red Mirri card and attached to my card using Collall 3D glue gel. To finish the card I added a matching Bow.

Thank you for joining me today, I hope you have enjoyed the step by step I have shared along with the finished card.

Tuesday, September 27, 2016

Make a Wish

Morning, This is one of the projects I made for Bev's MDF launch show on Hochanda, live from Alexandra Palace. I wanted to add a frame to this large piece and to create and almost 3D look with real depth, like the layered glass images you sometimes see. I used the beautiful Dandelion set for this, it's such a wonderful set of stamps with such great detail as do all of the BEAUtanicals.

To start with, I took a piece of cardboard and cut it to the same size as the MDF. Then using a square die I cut an aperture that would give a large enough window for the design while still keeping enough of the frame for the support needed.

Next I cut some thick wadding to the same size as the frame I had cut from the cardboard.

I coloured the back section of my MDF with Black Soot Distress Ink, the MDF has such a super smooth finish and takes inks extremely well, without any need for an undercoat. I wanted to keep the smooth surface for this piece.

On this back section I used Versamark to stamp the Sentiment, Dandelion and Seed Heads, then embossed with White detail embossing powder, making sure that the design fitted within the frame. To add the other layers I used squares of acetate large enough to fit behind the frame. Taking the first sheet I overlaid it onto the MDF stamped image to allow me to position the next layer of stamping, for these I used white Stayzon Ink. I repeated this for my next layer. When these were both dry, I secured them in turn using foam tape to give the distance between layers.

I took a square of cream calico  and stamped the dandelion seed heads around the area where the frame would be. I stamped them in both Black Versafine Ink and Versamark to act as a resist. Then I dyed the fabric using a blue denim fabric dye.

Once dry, I cut the centre so I could cover the frame. I stretched and secured around the inner frame using Cosmic Shimmer glue. 

Because of the tab at the bottom I just folded this edge and secured above the tab. The other 3 sides were secured with Wonder Tape and Cosmic Shimmer glue.

I covered the base/stand with the same fabric I had used for the frame and cut out the slit.

To finish I secured the frame to my base with Cosmic Shimmer glue.

I hope you like this project and the step by step I have shared with you today, I thoroughly enjoyed making it and sad that I had to send it for the show.Take care and Happy Crafting.xx
Related Posts Plugin for WordPress, Blogger...