Hi everyone, today I'm sharing an art journal page created as inspirations for Sally's collage challenge in the Bee Crafty Stamps Facebook group (https://www.facebook.com/groups/1511225329105390/?ref=share).
To begin, let's define collage. Collage is a piece of art made by sticking pieces of paper, images, cloth or photographs onto a surface.
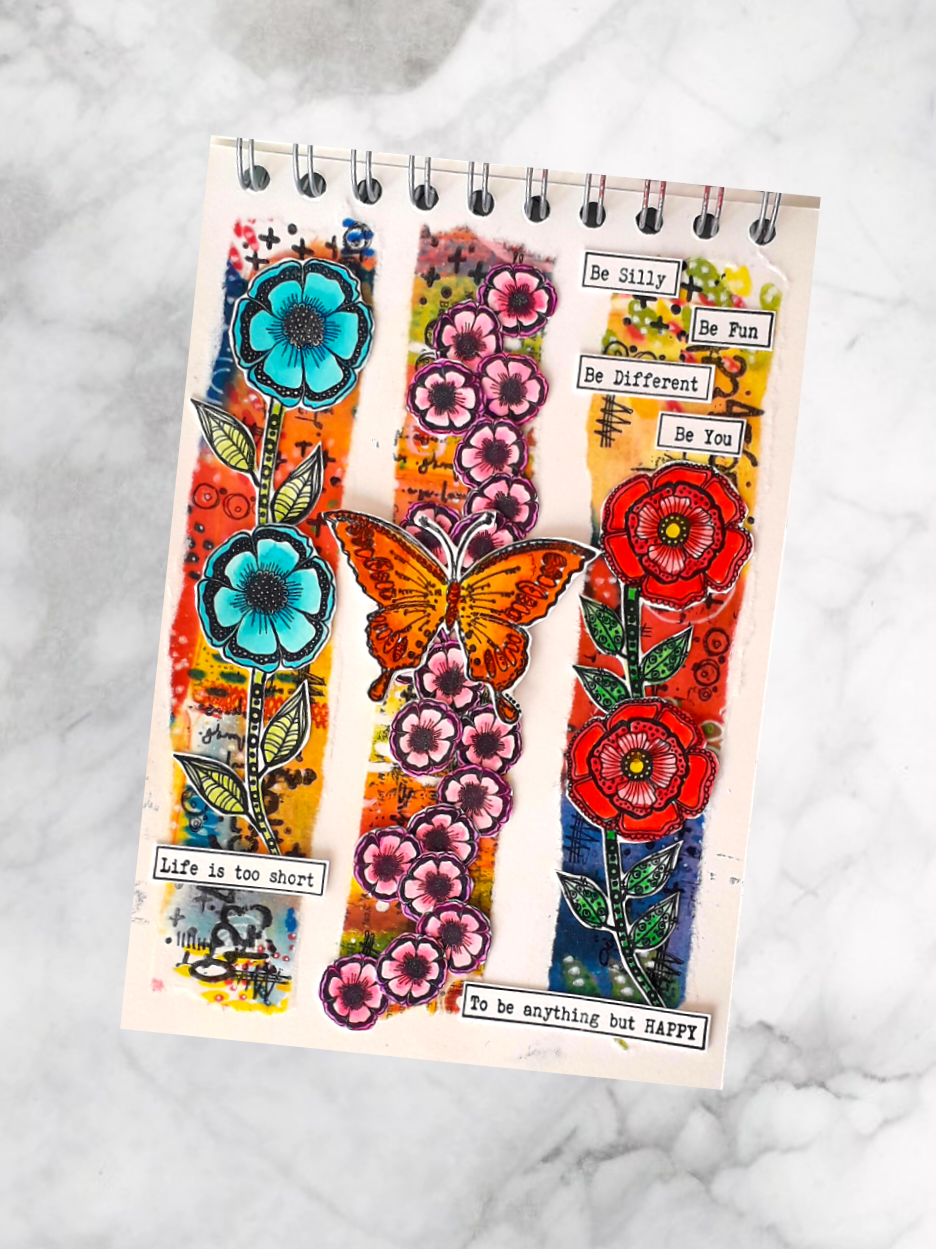
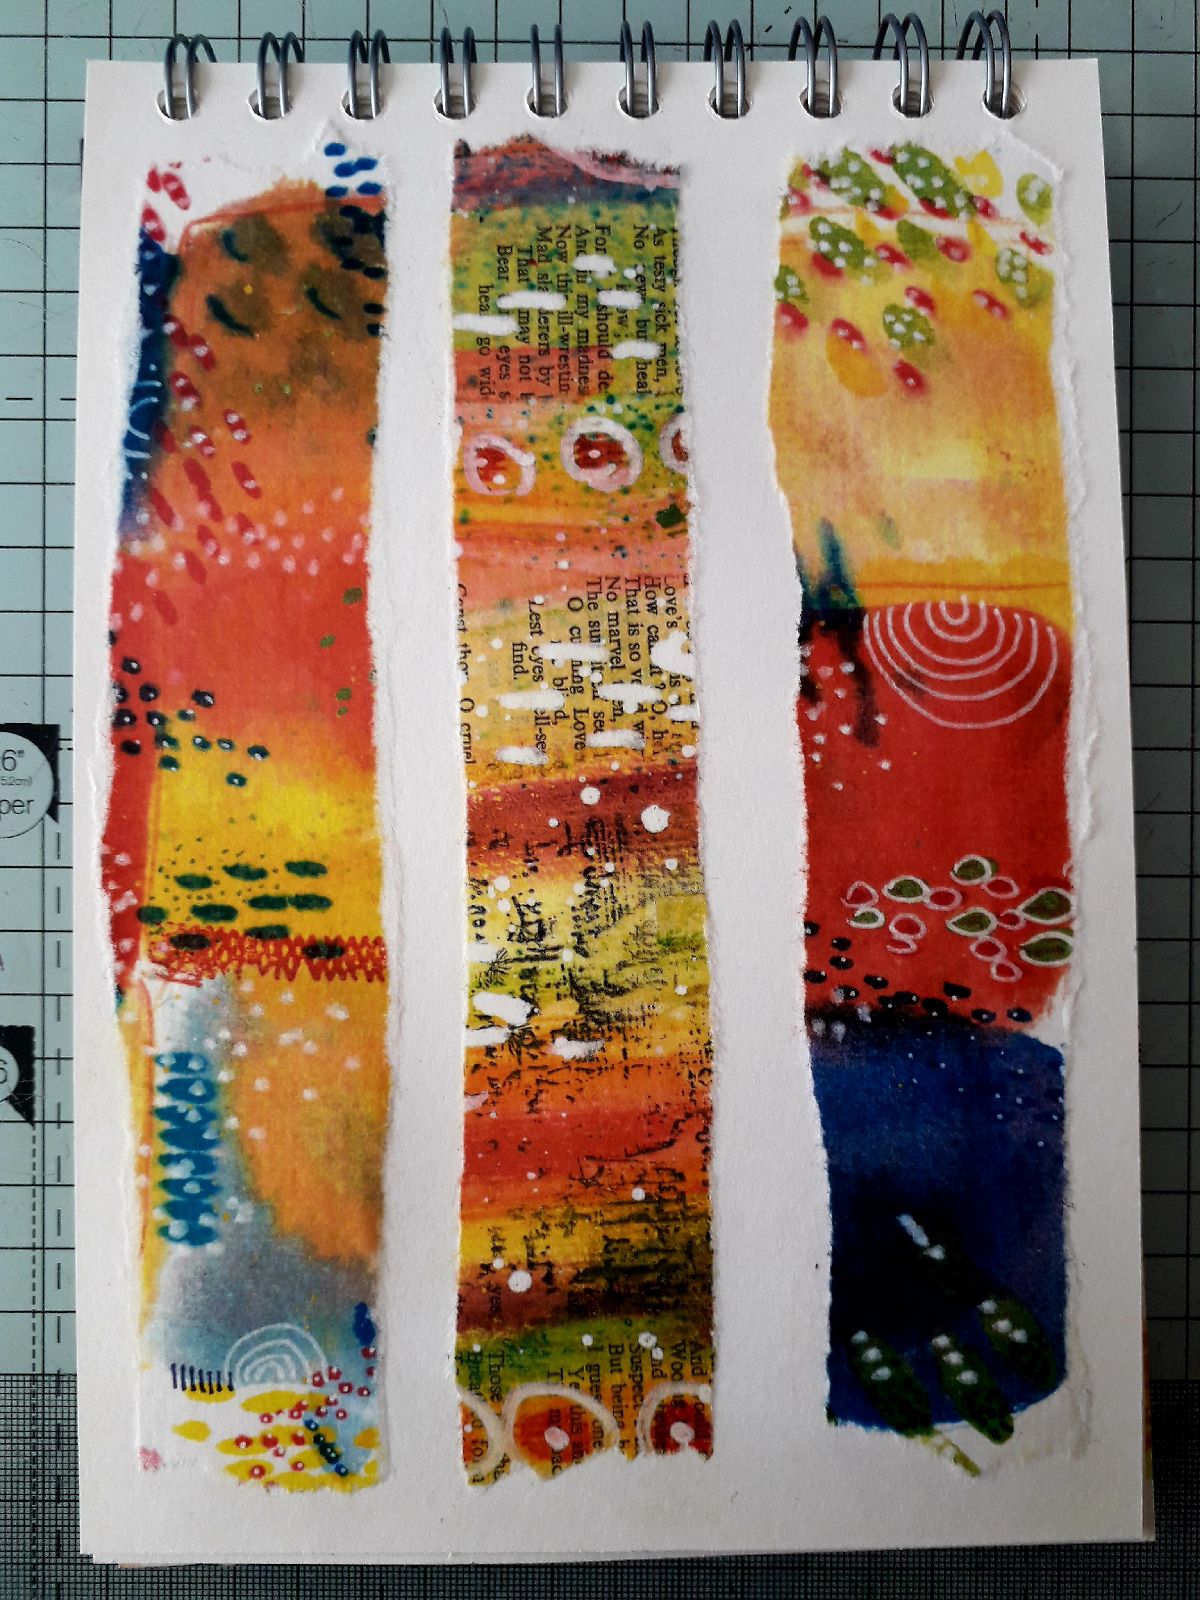
I began by using distress collage medium to glue three strips of catalyst paper to the page, leavjng a white border around each piece. I left this to dry naturally.
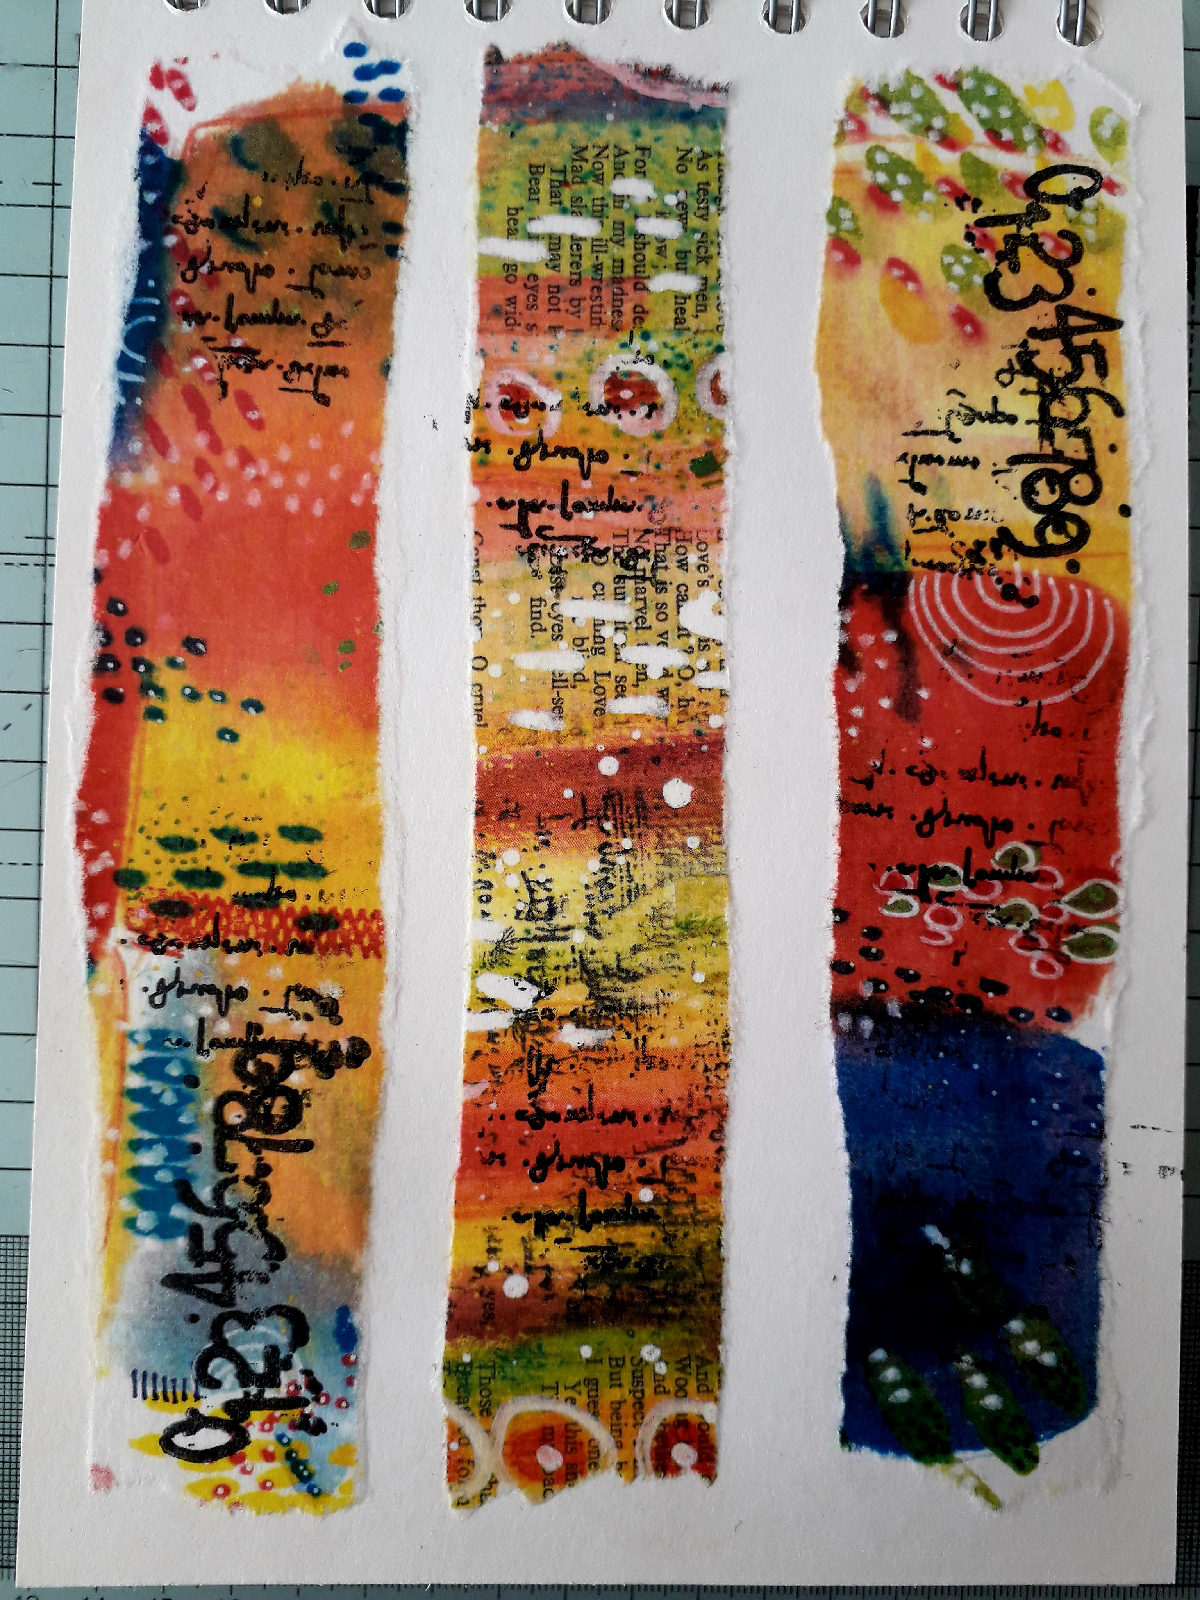
Next I used versafine clair nocturne ink to stamp the numbers from Journa Art Elements 3 onto two of the strips of catalyst paper.
Then I stamped the script background onto the catalyst paper strips. I used versafine nocturne ink.
Again using versafine clair nocturne, I added the crosses and dots from Journaling Essentials 1; the zig zag line and two small circles from Journaling Essentials 5 to the strips of catalyst paper.
On seperate card, I stamped the two larger flower heads from Journaling Essentials 4, adding a stem and leaves to them. I also stamped 21 of the small flower from the same stamp set. Also I stamped the Doodle Art Butterfly. I coloured all the images with Ecoline pens and a damp paintbrush. I cut them all out. Then I stuck them to the strips of catalyst paper.
Finally I stamped a sentiment from the Ticker Tape 1 stamp set, cut it out and glued it to the page.
Products used:
Ecoline Pens - light rose, fushia, light yellow, saffron yellow, deep orange, forest green, grass green, scarlet, turquoise blue, sky blue light
I hope I've inspired you to have a go at the challenge.
Alison