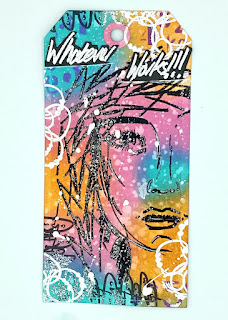
Hi There! We have a new Challenge starting tomorrow over in the Bee Crafty Facebook group, so I thought I would use today's blog post to make something to fit the theme. There is possibly a little more white space than I am used to, and I will try and fight the urge to add some splatters or a few sequins before the end of the post! 😂
Here is how I put it together.


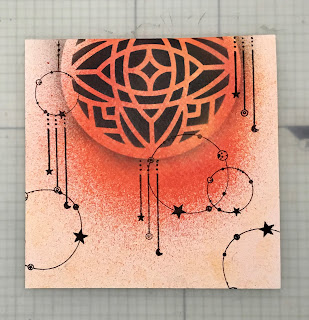
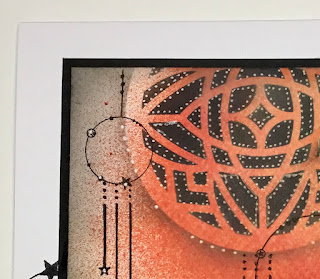
Next I used versamark ink to stamp the circles and emboss using white embossing powder on a scrap of black card, which I cut out.

I used the lines stamps from the same set to add a line across the card about a third of the way up then added more down the left hand side.

Next I stamped the tape measure from the stitched borders onto a scrap of white card twice and cut out. I then cut the strips, one under the ten and one under the seven.


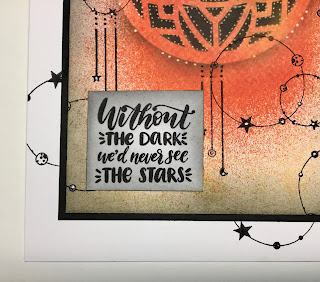
Finally I stamped the sentiment using versafine clair ink.
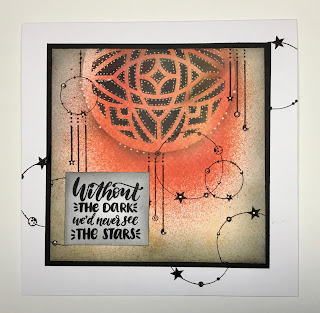
Here is the finished card once more. I used:
6x6 square white card blank
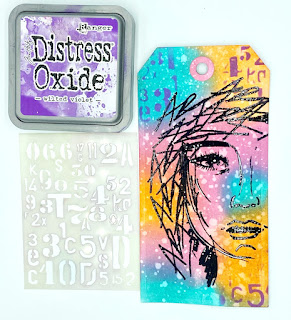
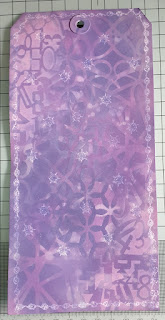
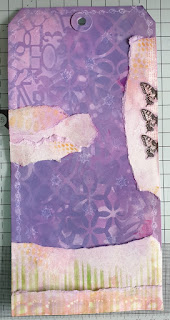
Tag inkables set 2
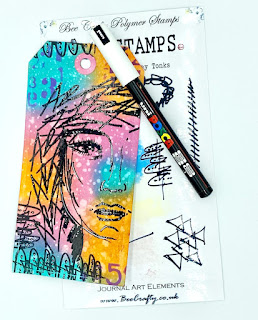
Journal Art Elements 2 stamp set
Journal Art Elements 2 stamp set
Versafine Clair Black ink
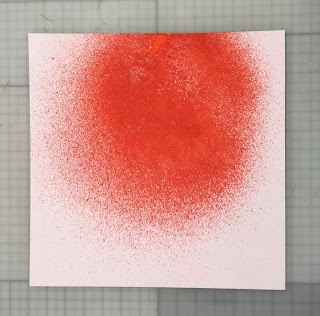
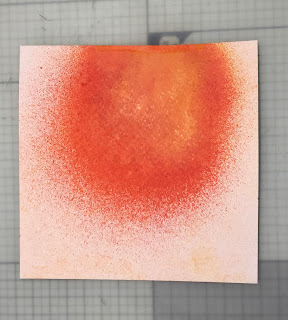
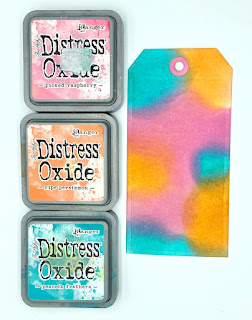
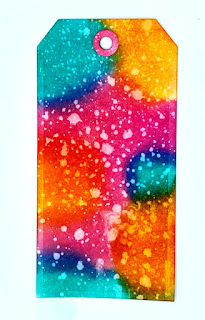
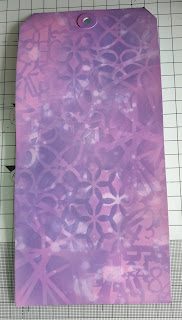
Peacock feathers distress ink or distress oxide ink
Scraps of black and white card