Showing posts with label Feather Stamps. Show all posts

Tuesday, November 01, 2016

Making Memories

Today I am sharing a project that I made with the papers that Bev launched on Hochanda on October 17th. The shows will still be available on their website Via  the 'Rewind' facility. The papers are wonderful, I thought the piece I am making today would be super for the wedding scrapbook page I have made, but there are so many other ways you could use it.

This is the sheet I decided to use for the project, it's such a beautiful design.

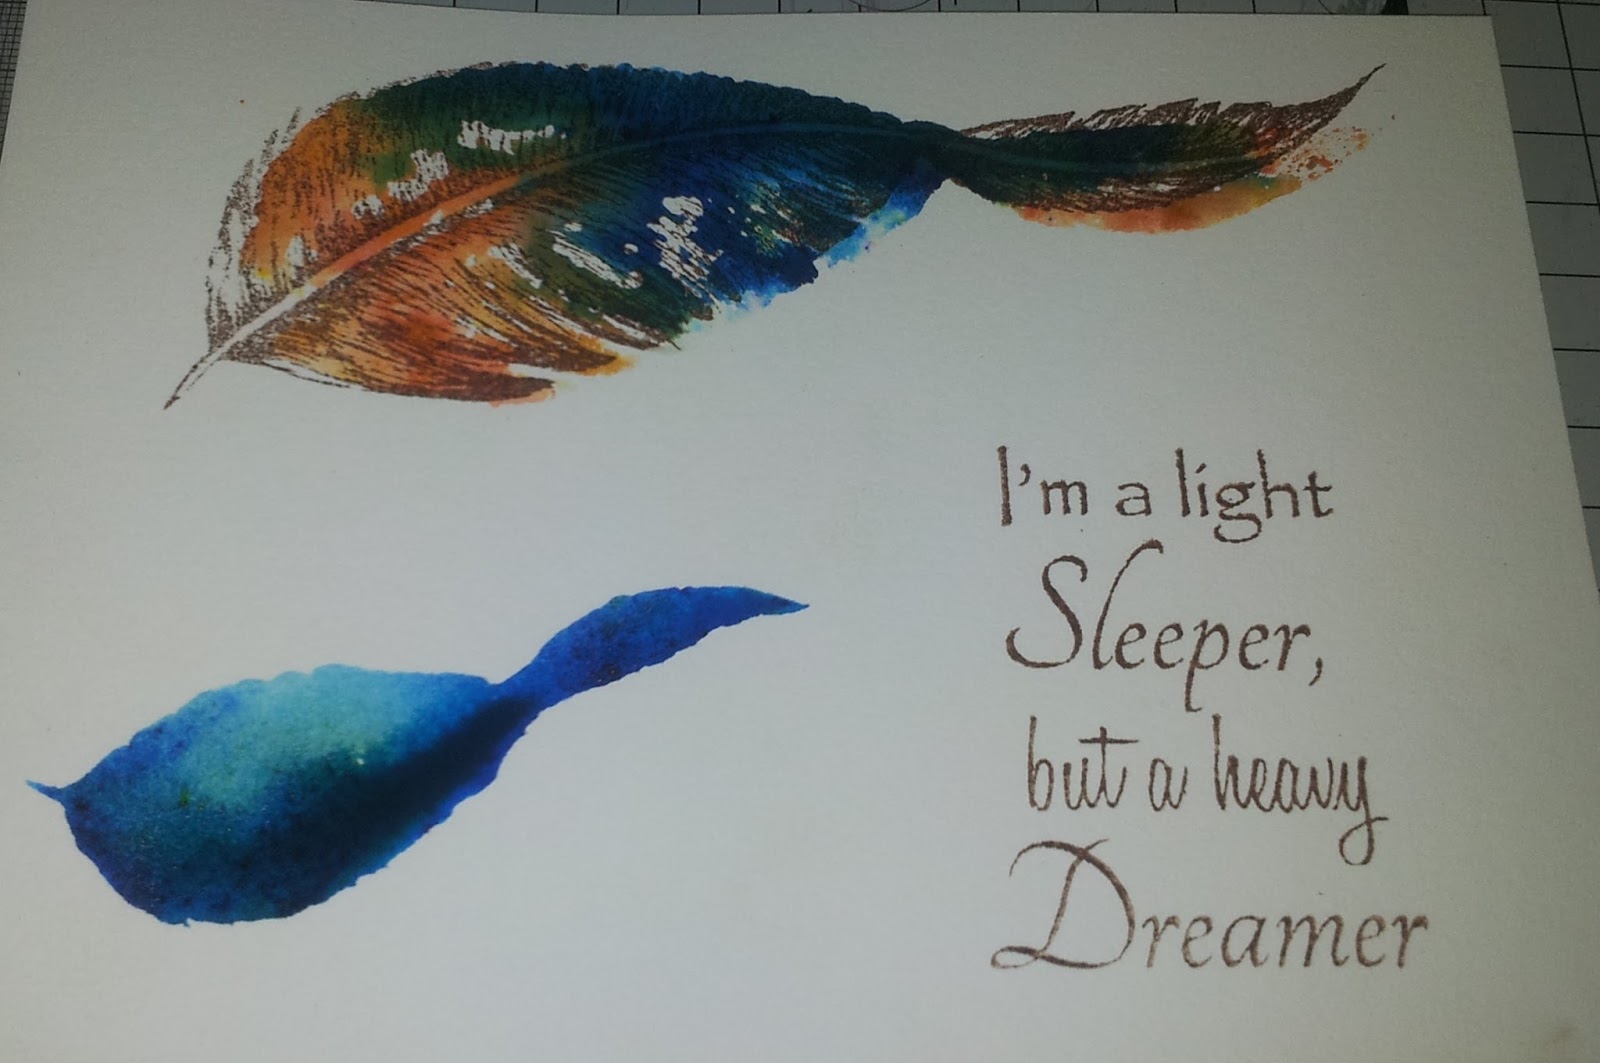
I was also using the feather stamps from the show as well, I stamped some of them around, mostly second generation. To position the ones in the centre I took the photograph I was using and I would use a craft knife later so I could use them as photo corners. 

Around the edges, Particularly the left hand side I used part of the ledger stamp to deepen the colour and add some extra depth.

Next I took a selection of alcohol markers and added some colour to the lady and the flowers.

Then taking the photo, I added some feathers to tie the whole thing together.

I used Tattered Rose and Victorian Velvet Distress ink to blend the edges. Then using my craft knife I cut a little way along the feathers, just enough for the corners of the photo to slip underneath and added the photo.

Next I added the sentiment I had chosen with Archival black ink.

To create the background, I stamped the feathers around the page and blended with Victorian Velvet and tattered Rose Distress Inks.

I backed my page with mat black card, I ran around the edge of this with a gold Krylon Pen to add the gold detail.

To finish, I layered it onto my background using Cosmic Shimmer Glue.

Thank you for looking today, I hope you have enjoyed what I shared and that you will pop by again soon. Take care and Happy Crafting.xx

Tuesday, October 25, 2016

Nothing Flies

Hi, The card I am sharing today is using the Feather Stamp Set that Bev featured on Hochanda last week. I absolutely adore them, they are simply beautiful and so well drawn, the detail is superb and they stamp like a dream. The stamp I have used coupled with one of the Bee Crafty Sentiments, shows just how little you have to add to make a lovely card or project.

At this point I wasn't 100% sure what size my finished card was going to be, so I took a sheet of Navy cardstock, dusted it with an anti static bag and embossed the feather using white fine detail embossing powder.

Then I took the sentiment, stamped using Versamark and embossed using the same detail powder. I then cut the card to 6 1/2 x 7''.

Next came the fun part, I wanted to add some splats to the design. I masked the edges first, mixed some white acrylic paint with a little water and started adding the distressed detail.

I wanted to keep this very simple as the feather speaks for itself, I cut a piece of white Centura Pearl to give me  a 1/4'' border around the card. Then wrapped some matching navy ribbon around it, securing it at the back with tape.

I secured my topper to the background using foam tape and Collall 3D Glue Gel before layering onto a coordinating navy card base.

Hopefully you like what I have shared with you today along with the step by step. It would be lovely to see you again soon so dont stay away too long. Take care and Happy Crafting.xx

Monday, October 17, 2016

Bee Crafty on Hochanda!

Hiya and welcome to my Monday post for Bee Crafty

Today our Bev is live on Hochanda at 10am, 1pm & 5pm with the gorgeous Feathers stamps sets and the New Steampunk papers which are all gorgeous

I made some lovely new samples for today's shows but due to wanting to get them sent on time I forgot to take any pictures Doh!!!!

So instead I am re-sharing some of my feather makes from last time

We all hope you will join Bev and enjoy some of her yummy inspiration

Thank you so much for visiting  today

Krafty Hugs xx
KERRIE

Tuesday, August 09, 2016

Watery Feathers

Morning. Well it's been a very busy few day's. I'm sure it's the same for a lot of crafters at the moment getting on with Christmas cards as well as everything else that needs doing. I have had to take a few days out as things around the home have really needed attention. Today I thought I would share something I made with the feathers collection that Bev launched on Hochanda a little while ago. The feathers really are beautifully drawn, and are so versatile, there are a whole range of card styles that you can make. This one is a fairly colourful, clean and simple.

I started of with a sheet of cream watercolour card. I took the large feather stamp and spritzed with some water. Then I sprinkled on Cobalt Blue and Gamboge Brusho and spritzed again with water.

Then I stamped this onto the card stock, I took the smaller feather and followed the same process and left to dry.

When the image was dry I overstamped the image with Coffee Archival Ink. I also stamped the sentiment in Coffee Archival.


Finally I layered the project onto a piece of Teal Centura Pearl and then onto Black Centura Pearl both from the dark's collection from Crafters Companion.Here is the finished piece.


Many thanks for joining me today, I have to say it feels like a long while since I shared a post. Just shows you how much has been going on since the last one. I hope you have enjoyed the step by step and the card I have shared with you today and hope that you will join me again. Thank you ever so much for all of your lovely comments both here and on Facebook.

Tuesday, June 07, 2016

Life's Work

Morning, Today my card is made from the beautiful feather collection, drawn by Sam. A fantastic job, I am sure you will all agree.


I started of by dying/ageing some papers using cold strong tea. Hung to dry overnight.


Next I stamped the old invoice stamp onto the paper. I did the original stamp in brown ink, but felt that the Black Archival would suit this project better.


Next I masked off the end of the large straight feather as I wanted the nib to be at the end to make the pen. I stamped this with Versamark and embossed using black fine detail powder and heated using a heat gun. I had previously done the same with the nib only with gold fine detail powder. I cut this out and set aside.


Separately I stamped the ink bottle with black Archival and now had all the elements I wanted for the card, including 3 old invoices in black.


For the background, I took a sheet of tissue paper and built u a pattern using a mixture of stamps across the collection, along with the words Life & Memory, both from sentiments found in the Wordage section of Bee Crafty. Obviously you can change the words depending on the theme of your project. There are some really amazing sentiments on the website.I used a selection of inks to stamp the tissue: Black Archival,Walnut Stain, Brushed Corduroy and Blueprint Sketch Distress Ink. I wanted the colours to come from the background and therefore these colours are fairly muted.


To provide the background colour, I took a sheet of A4 watercolour card and saturated it under the tap. The took Violet, Emerald Green and Cobalt Blue Brushos and added them here and there with the end of a mini screwdriver. I let the colours spread naturally before taking a straw and blowing to get some trails.


I wanted an 8'' square for my finished project, which gave me ample left over to stamp my sentiment.


I cut the sentiment to size, cut a mat for it approximately 5 mm larger and blended Chipped Sapphire Distress Ink around the edges.


I covered the watercolour card with PVA let down 50/50 with water. Scrunched my tissue paper, unravelled it and stuck it down, keeping creases and folds to add texture to the card. Leave this aside until completely dry before trimming the excess or you wont get a nice sharp edge.


Having played around with the composition, I decided something else was needed so I stamped the same straight feather onto shrink plastic, coloured with a red pencil and heated until completely shrunk. I also coloured my Quill pen with a selection of alcohol markers.


I layered my sentiment with cosmic shimmer, I arranged the old invoices and also secured them with cosmic shimmer glue. I shaped the ink bottle and used 3D glue get to secure, I then stuck the shrunk feather so it was sitting in the ink bottle.Finally I added the sentiment and large quill feather pen with 3D glue gel.


I really hope you have enjoyed my post today and hope that you will join me again next week. xx

Thursday, May 26, 2016

Life's Rainbow

Morning, Since I very first saw the Bee Crafty stamps I have loved them. I especially like the sentiments, sometimes even using them as a starting point for my finished project. I make a lot of Artist Trading Cards and the smaller sized sentiments are superb for that.


The project I am sharing today is actually a completely different card to what I set out making. I started off using the Quill,Nibs and antique accounts stamps. It was when I chose the sentiment that I was sidetracked and started a different design entirely.

I stamped the'Life' Sentiment onto my Super Smooth card, then used one of the Backdrop Borders to create a frame around the sentiment. Then taking a selection of Distress Inks I coloured the piece. I started off at the top right hand corner with Blueprint Sketch to about half way across the card, then blended through Chipped Sapphire approximately quarter way down. Then from the bottom left I repeated the process using in order: Mustard Seed, overlapping slightly to give green, then Spiced Marmalade and finally Candied Apple.


For the main card, I started by stamping the large and medium curled feathers with versamark to give a watermark to the background. Then drew a rough idea of my rainbow and placed this over the background, then using the Distress Inks, stippled the colours through in turn. Keep an eye out for the paper getting saturated, All I did then was cut out the next segment from the mask and move down. I used the following colours for the rainbow: Candied Apple, Spiced Marmalade, Mustard Seed, Mowed Lawn, Dusty Concorde and Blueprint Sketch.


When I had completed the rainbow, I made the decision to make the feathers more prominent in the main background, The versamark was still sticky so just added the ultra fine clear embossing powder and used the heat gun. Then for the top of the card I blended out from the edge using Blueprint Sketch and Chipped Sapphire and for the bottom I used Mustard Seed and Spiced Marmalade.


Finally I used a black fine liner pen to create a border about 5 mm from the edge. Added my sentiment with 5 mm foam tape to raise it from the card and added a black mat.


I really hope you have enjoyed my Step by Step today, along with the finished card. I hope you will join me again very soon.

Tuesday, May 24, 2016

Feathery Forest

Hello Everyone, I am Nick and today I am sharing a card I made using the beautiful new Stamps by Bee Crafty. I hope you managed to catch the Launch Shows On Hochanda on Friday. If you missed them, don't worry, they are still available at Hochanda on their catch up feature. You can find this by visiting the TV Schedule and picking Friday 20th May. These really are beautiful set of stamps and the detail is amazing.


To start I cut a piece of parchment and a piece of velvet card, both 8'' Square. The I cut 1 cm from each side of the velvet card. This was done so that when the parchment is folded later they will end up identical in size.


I stamped the large twisted feather 3 times onto copier paper and cut out to make my masks. Then using stazon white ink I stamped the feather around my parchment to make a frame, I used the masks whenever  needed, when there was an overlap.


When I had finished this I took a medium and larger ball tool and embossed the feathers to highlight areas, especially around the edges being careful to keep all of the detail. 


When this was complete and after the parchment had rested, I scored and folded each edge at 1/2 cm and 1 cm to give a raised frame with a tab to secure to my base card. Taking a two pin tool, I pierced around the inner feather design and then using my pergamano snips, I removed the centre.


I traced around this onto copier paper to make a mask for the images I was going to make on the velvet card.


Then I carefully lined up the parchment frame with my card so I could accurately place the mask and secured lightly with temporary adhesive.. Then I took my Black Soot Distress Ink and blending tool and coloured around the mask. This was done to enhance the parchment and show the lovely detail in the feathers. Then I removed the mask.


Then taking the medium curled feather and the two smaller feathers, I stamped them onto my card. Going from large to small to add perspective. I then placed a moon mask  where I was going to add my night sky, slightly over one of the stamped images.


I started at the bottom of my landscape and added the hills, making sure I matched up wherever there was a feather/tree. For the hills I used Peeled Paint and Forest Moss Distress ink and blended from darker on the edges and lighter where the moonlight would be and to add a path effect.

For the sky, I used Faded Jeans first, getting lighter towards the moon, Then blended through with Blueprint Sketch and Finally Chipped Sapphire, keeping darker towards the edges and lighter towards the focal point and moonlight. I finished off with a few starts that I added using a Sharpie White marker. I used red liner tape to secure the parchment to my stamped card.


I hope you have enjoyed my step by step and the card I have shared today. Take care  and look forward to sharing with you next week. xx
Related Posts Plugin for WordPress, Blogger...