Wednesday, August 30, 2023

Lilac Bird By CT Ann

Lilac Bird 
By Ann  


Stamps: Rainbow Birds, Crackle Background, Journaling Essentials #2

Inkables: Big Ones, Pebble Pavement 

Versamark Ink

Versafine Clair: Morning Mist

Distress Oxide Inks: Shaded Lilac, Pumice Stone, Seedless Preserves & Villianous Potion 

Embossing Powder: Silver & White

Heat Gun, Sisal, corrugated Kraft tag, 5x7card blank, Kraft card, white card 300gsm, craft mat & brayer. 

https://www.beecrafty.net/


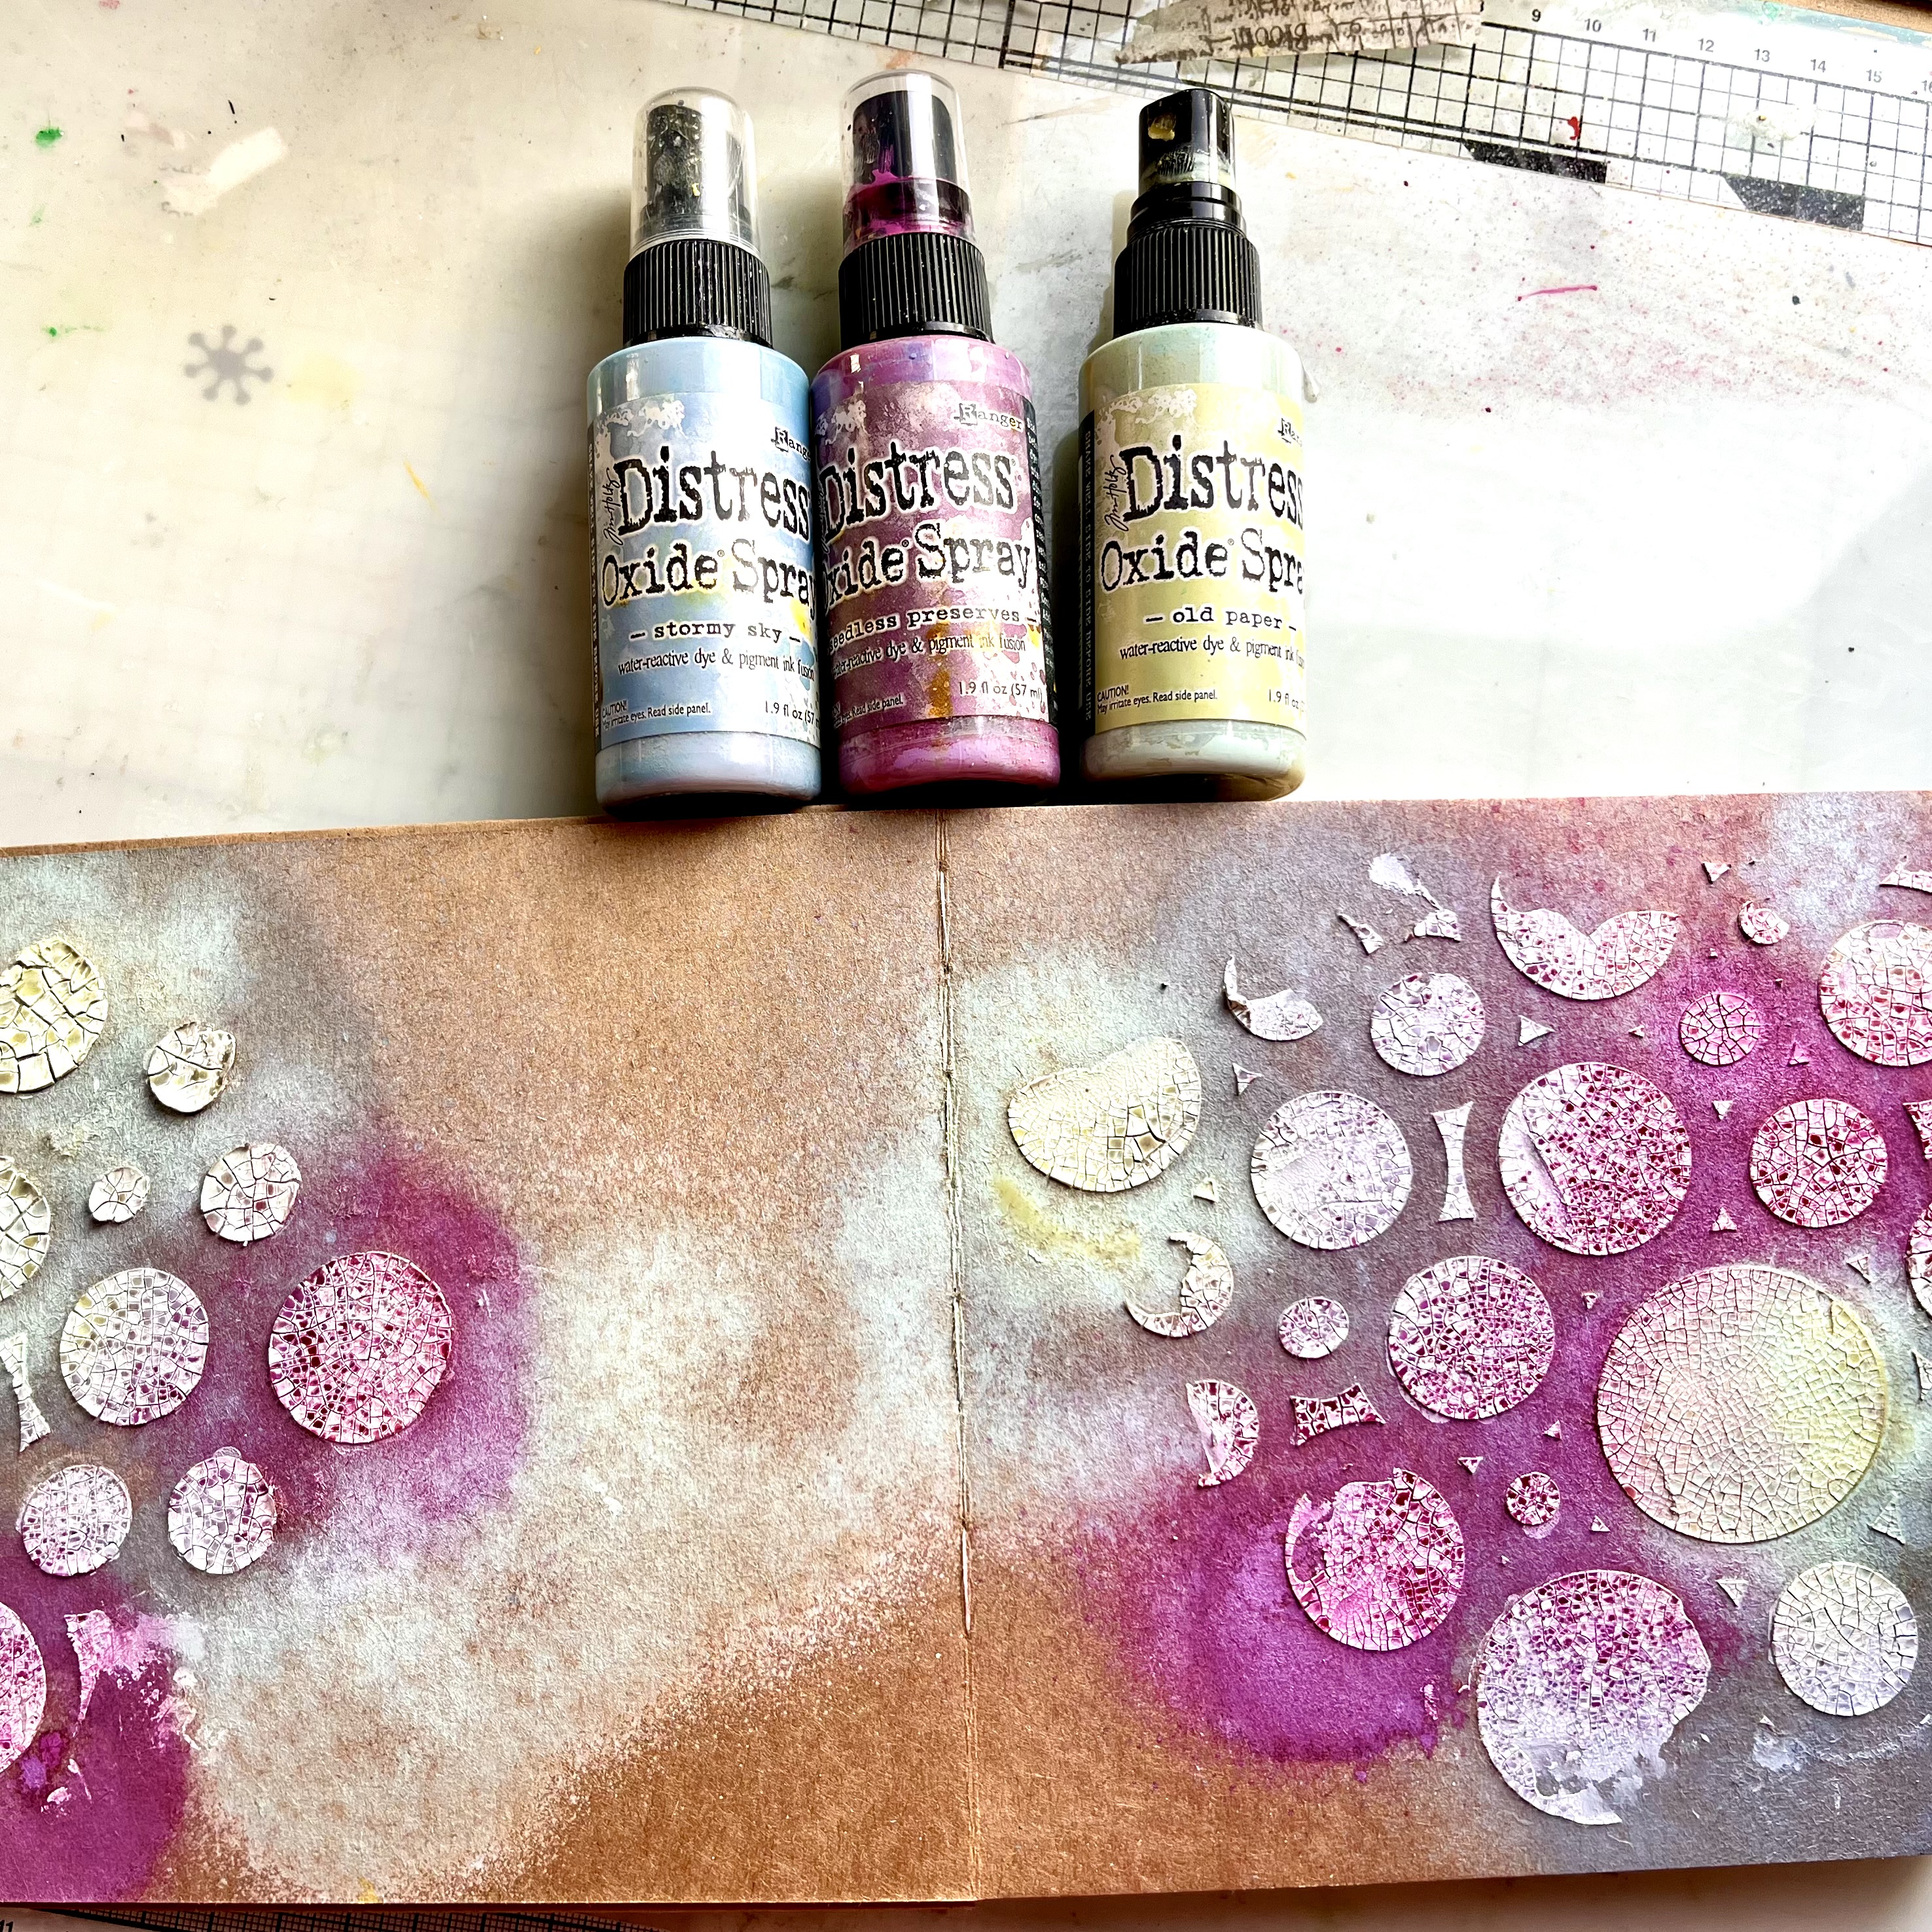
Cut a piece of 300gsm card 11.5ccm x 16.5cm, spritz lightly with water & place the Pebble Pavement Inkable over it. Put through your die cutting machine using embossing plates. This gives a lovely ’dry embossed’ effect… 

Make sure the card is dry & using a brayer & Shaded Lilac, roll lightly over the embossed card… 

Ink around the edges with Shaded Lilac…


Place the Inkable back over the embossed card & ink the Crackle Background stamp through it, using Morning Mist… 

On a separate piece of paper stamp the largest bird,from the Rainbow Birds set, in Versamark ink, sprinkle with silver embossing powder, remove excess & heat with a heat gun, until molten… 

Colour the bird using Distress Oxide Inks & cut it out, sorry forgot to take a photo! 

Lightly swipe the Versamark ink down the corrugated tag, so that it just touches it , add some silver embossing powder & repeat heating method… 

On a piece of Kraft card stamp a sentiment with Versamark ink & this time emboss with white embossing powder, when cooled cut it out… 

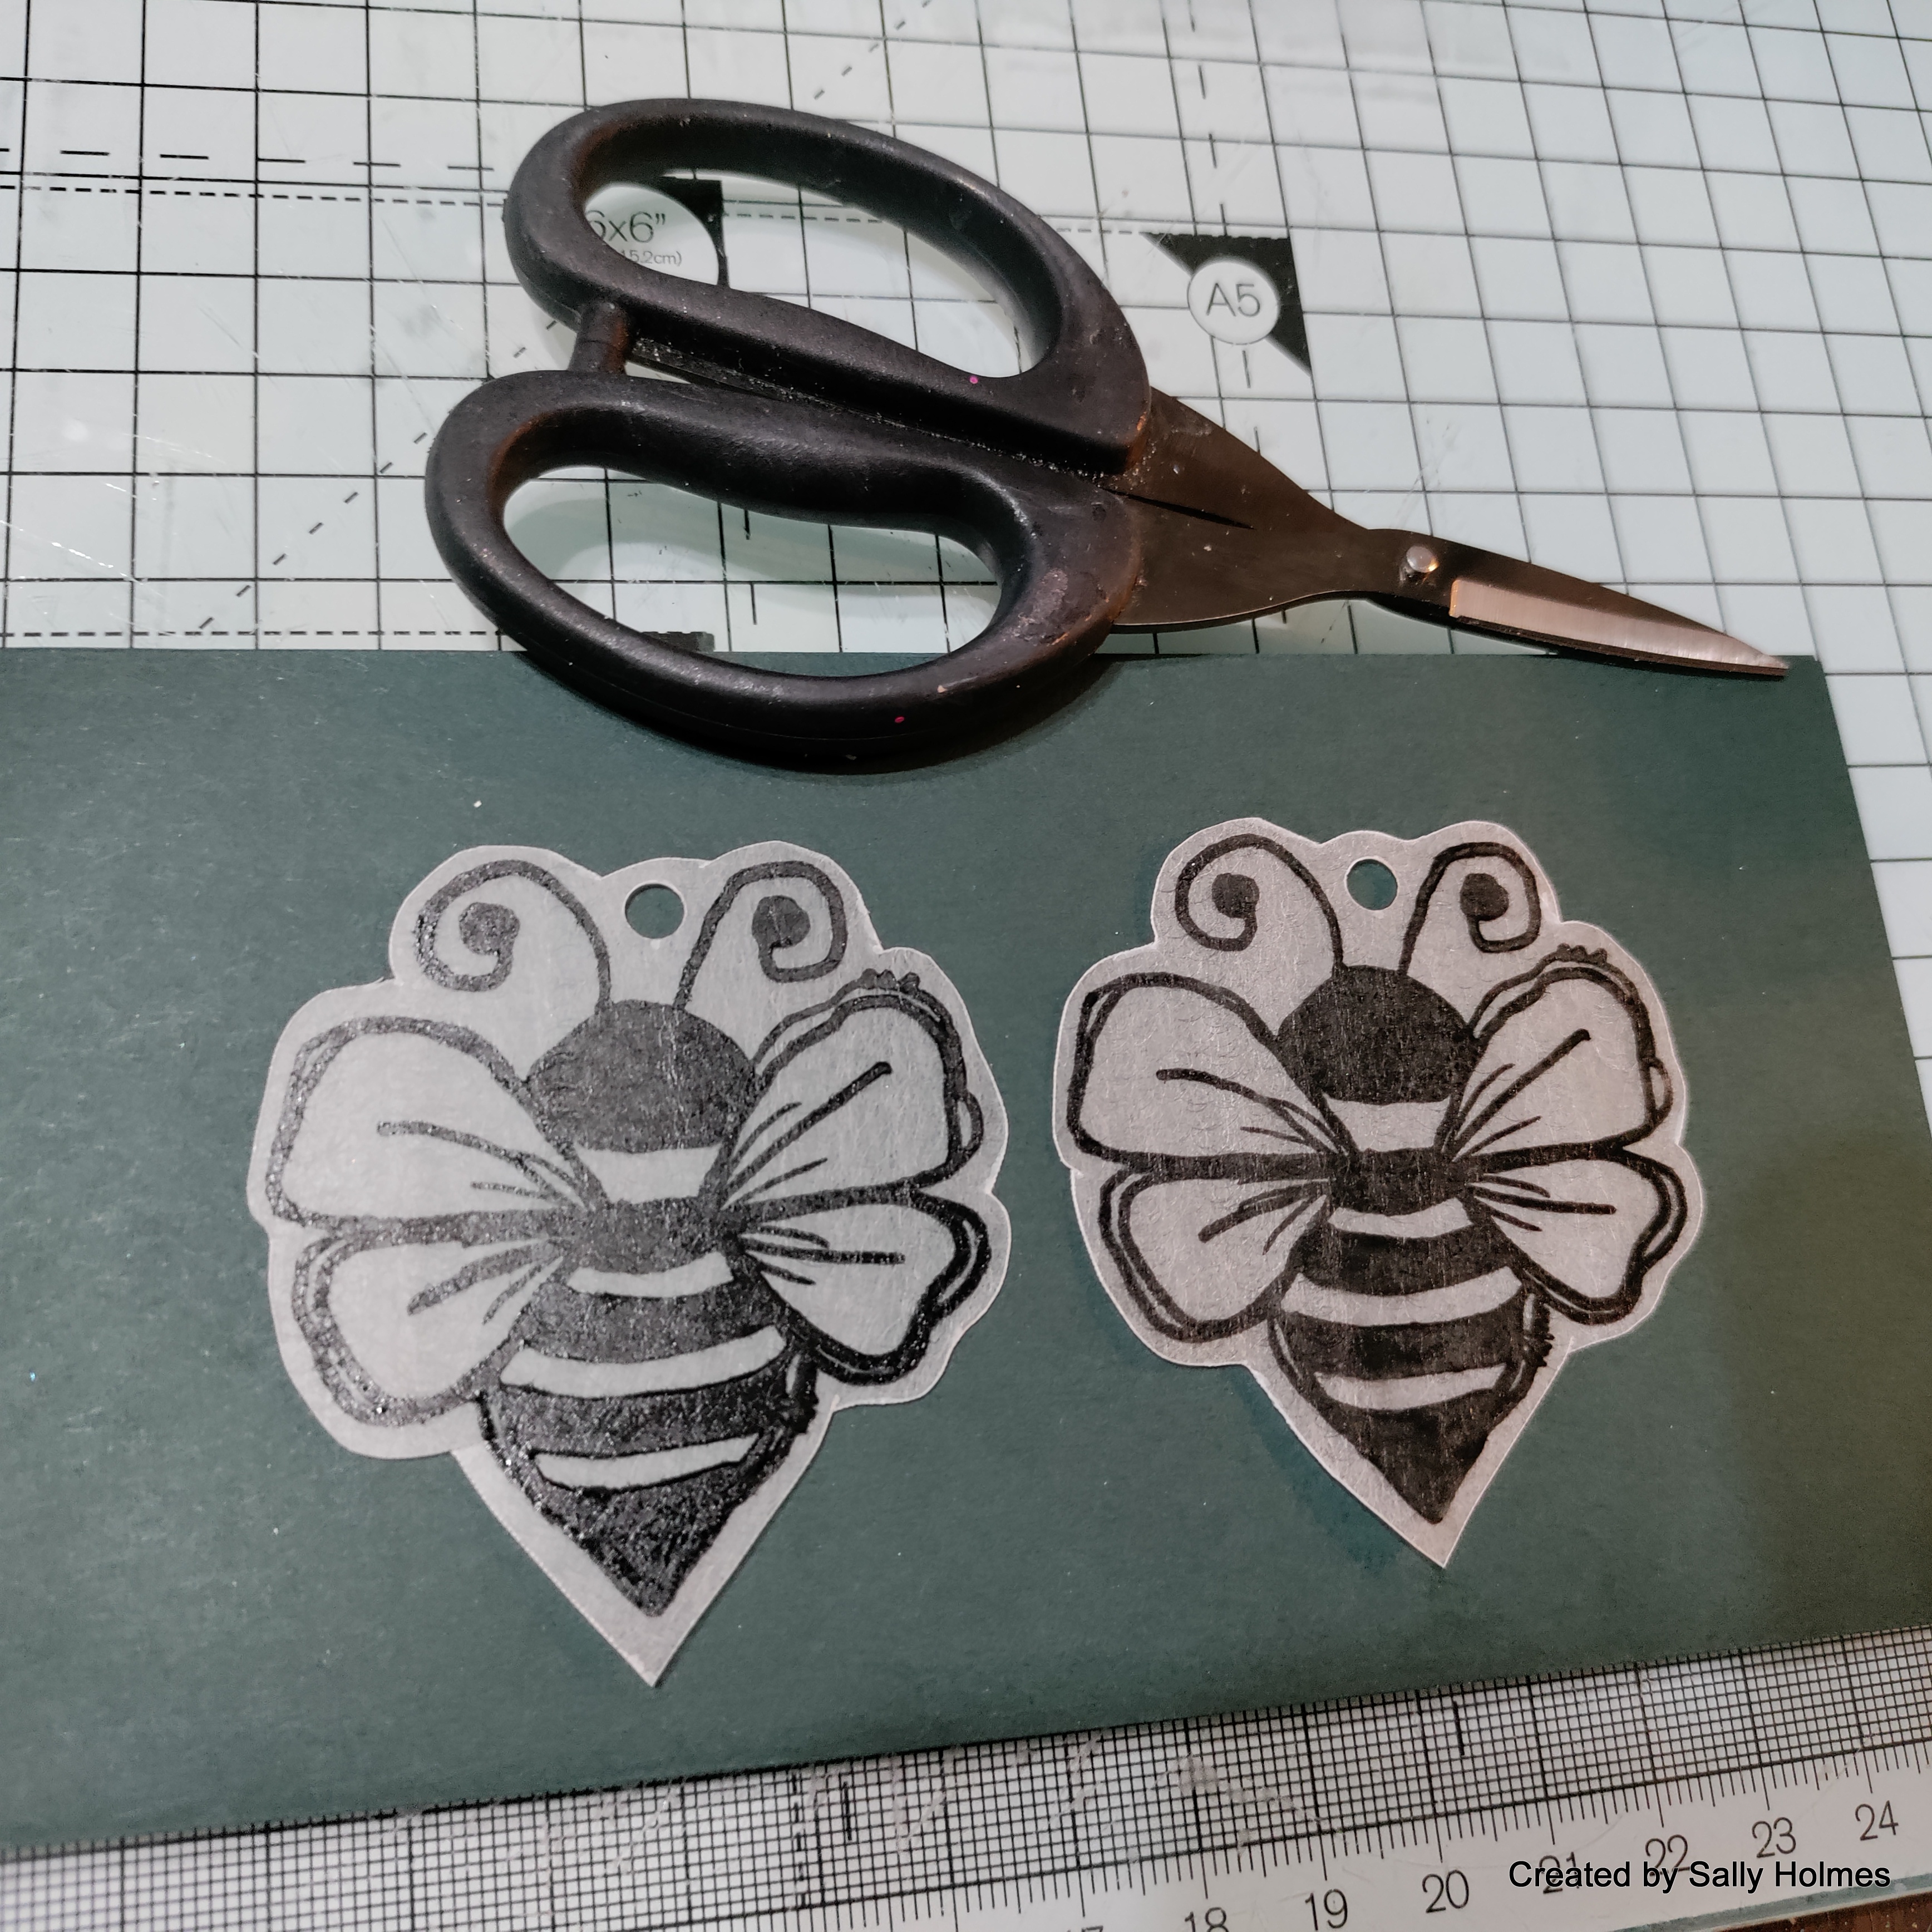
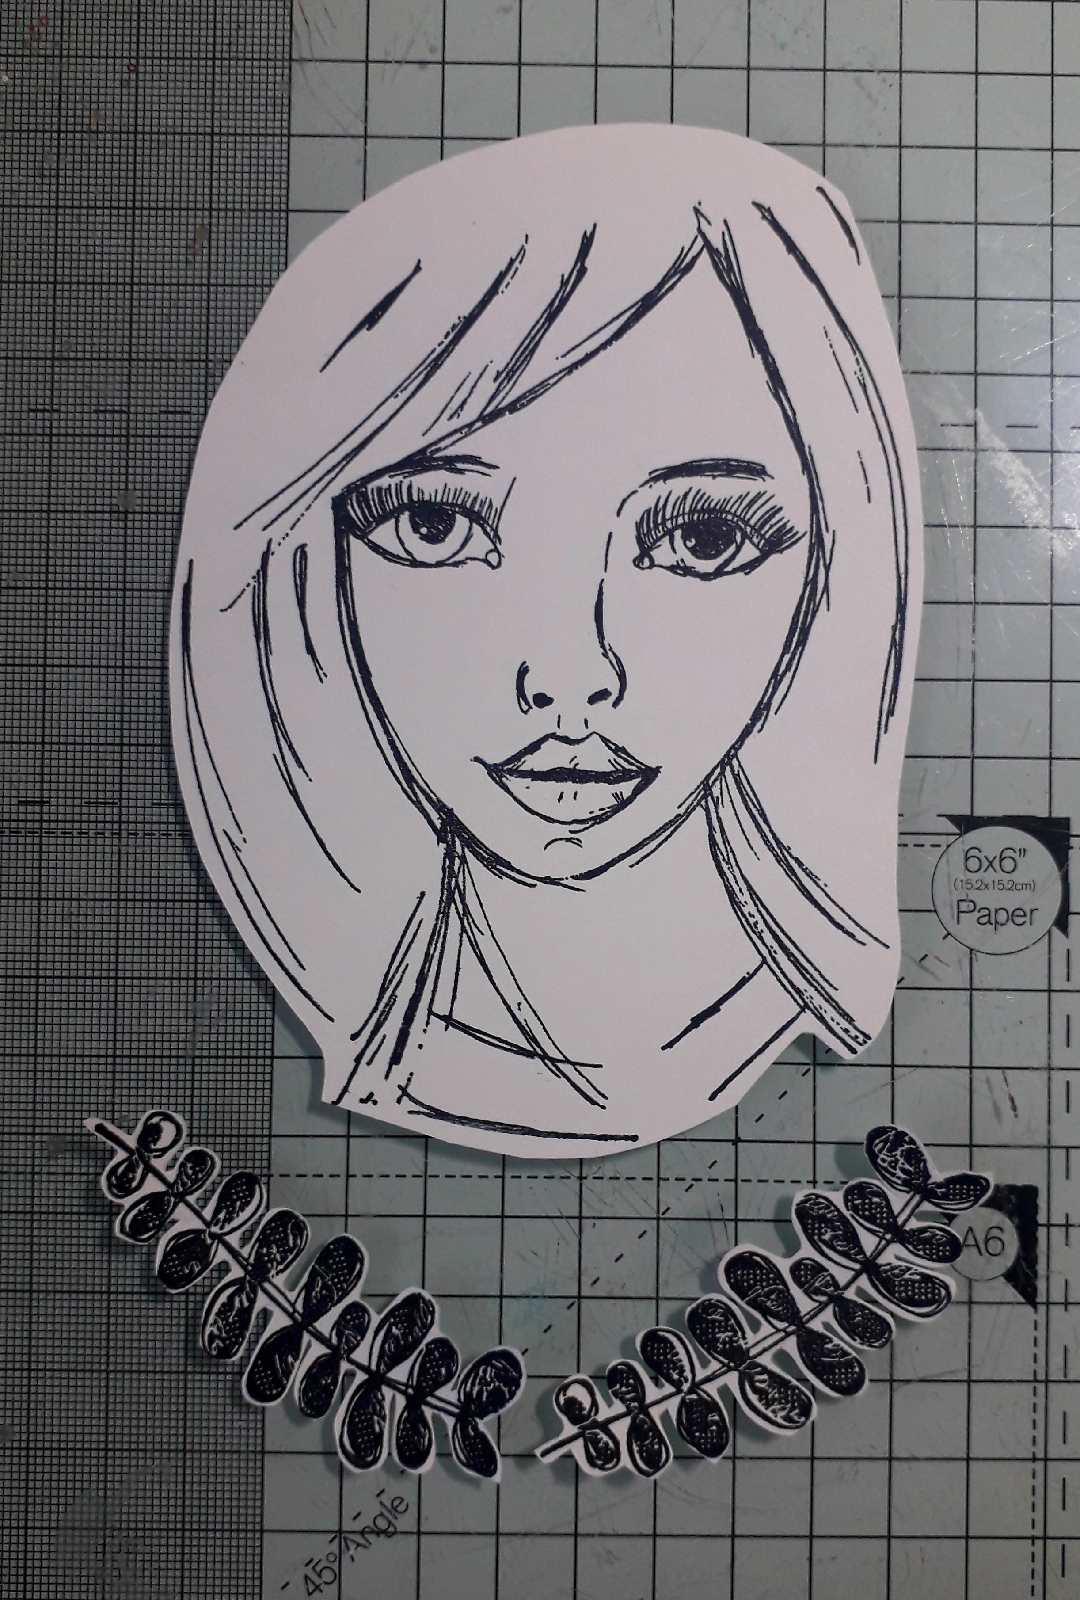
Stamp a sprig from Journaling Essentials #2 in Morning Mist & cut out… 


Glue the sprig & bird on to the tag. Add the tag with some sisal behind onto the embossed card, glue the sentiment in place, mat & layer on Kraft card & finally onto the card blank… 


Thank you for stopping by… Ann xxx


Tuesday, August 29, 2023

Sally CT - Can you hear Buzzing?

Hi there! I made these cute earrings at the weekend using Bee Crafty stamps and shrink plastic. Here's how I made them

I began by stamping the largest bee twice onto clear sanded shrink plastic. 
Next I used a hole punch to add holes between the antennae.  
I cut around the bees leaving a small border, and the holes at the top to attach them to the earrings. 
Once the ink was definitely dry I coloured them using coloured pencils.
 
Using tweezers and a Heat tool I shrunk the bees. You can watch the video of them shrinking here
I added jump rings through the holes and threaded 3 beads onto each of the eye pins.
using round nosed pliers and wire cutters I created a loop at the top of the eye pin and fastened the ear hooks and bees to either end.
Here are the earrings again

I used: 
Bee Mine stamp set
Brilliance ink
clear or frosted shrink plastic , sanded on one side so it can be inked and coloured
Coloured pencils
2 eye pins
2 ear hooks
2 jump rings
6 beads
round nosed pliers and wire cutters

Thanks for looking! 

Sunday, August 27, 2023

Alison CT - Happy Tag

Hi everyone, today I'm sharing a step by step guide to creating this tag.

To begin I chose a catalyst paper and used distress collage medium to glue it to a #10 Dylusions Journaling tag. 

Next I adddd a piece of old book paper.

I then added another piece of catalyst paper (a contrasting design). Wet this piece before applying so that the text can be seen through it.

I added more detail to the background using stamps from the Journaling Essentials 1 and Journal Art Elements 2 using Versafine Clair nocturne ink. 
Next I stamped Dream and two of the leaf stamp from Journaling Essentials 2 using Versafine Clair nocturne ink. I then cut them out.

Next I glued the leaves and Dream to the tag and trimmed off any excess.
I chose the word 'happy' from the mixed messages 4 stamp set and stamped it with Versafine Clair nocturne. I decided to trim it around the edge of the letters, as a rectangular piece was too big for the piece.
Finally I glued the sentiment to the tag.

Product used:
Wordage Stamps - Mixed Messages 4
Old book page

Thanks for taking a look. 
Alison

Wednesday, August 23, 2023

Kind - by CT Ann


 Kind

  By Ann 

Some inspiration for the August challenge set by Sally,  see the album in @beecraftystamps Facebook page. 

 Dina Wakley Kraft Journal 

Stamps: Birds & Moons

Inkables: Big One - Circles for Circles  & 6x6 Circles 

Transparency Prints :A5 Resilience Words & Sketchy Birds & Journaling Essentials #1

Crackle Paste

Distress Oxide Spray

Distress Oxide Ink: Old Paper

Posca/DistressCrayons/ Watercolour Pencils

Dylusions Paint

https://www.beecrafty.net/


Spread crackle paste through the 6x6 Circles Inkable across a double page in your journal, let it dry… 

When dry spritz Distress Oxide sprays across the pages, I used Old Paper, Stormy Sky & Seedless Preserves … 

Let the colours merge & dry. Rub Distress Crayons over the crackled circles… if you haven’t got Distress Crayons try Scribble Sticks or Gelatos… 

I used Seedless Preserves, Faded Jeans & Peeled Paint. 

Using the Circles for Circles Inkable, sponge some Dylusions Laidback Lilac paint across your page …


 Cut out the rainbows out from the Transparency Prints, use Posca pens to hi-light the details on the back… 

Cut a circle out of a scrap of card & stamp the large moon onto it. Cut the word KIND out & glue onto the circle…


 Glue the transparency pieces onto your pages & add some Posca doodles.. 

Add some details with your watercolour pencils … 


Thank you for stopping by… Ann xxx


Tuesday, August 22, 2023

Sally CT - A Happy journal page

After watching Bev's live last Tuesday, I was eager to create a journal page with my Bee Mine Stamps, as so far I had only used them to make cards. Here is what I did.

I began by smooshing picked Raspberry and Wild Honey Distress oxide inks on to the page.
When this was dry, I added some villainous potion distress oxide through the mandala #2 inkable.
I used Versafine Clair Monarch ink to add a border from freehand borders#2 where there was no stencilling. 
Using the same ink, I stamped the word happy across the page near the bottom. 
I cut out Don't Worry, Bee Happy from the Transparencies Bee Words and attached with matte medium.
On a separate piece of card, I stamped three of the smallest bees and coloured them with ecoline pens. 
I added these to the page using matte medium too. 
Finally, I added some white gellyroll pen to happy, and some sparkle pen to the bees' wings
Here is the finished page again.
I used:
Distress oxide inks in wild honey, picked raspberry and villainous potion

This was the penultimate page in my journal, so very soon I am going to tackle the cover, possibly even on Wednesday during my live - It is all very exciting! 
Thanks for looking! 

Sunday, August 20, 2023

Alison CT - Doodle Art Bee

Hi everyone, today I'm sharing a step by step guide to creating this art journal page using the doodle art bee stamp with other stamps and inkable tags.

To begin use the pipes in the distress oxide sprays to add blobs of eacch colour across the top of the page. Spritz lightly then tip the page to encourage drips.

Next use the two inkable tags, one with kitsch flamingo and the other with picked raspberry, to add to the background.
Next add some text to the background using the text stamp with grey ink.

Using the numbers from the journal art elements 3 set, with black ink, stamp first, second and third generation impressions.

I then used a black posca pen to add splatz.

On seperate card, I stamped the bee using black ink. I then cut it out.

I used distress collage medium to glue the bee to the page. Then I decided the background needed more, so I used my gelli roll moonlight pens to add my own marks. Finally I added the transparecy sentiment.

Products used:
Distress oxide sprays - fossilized amber, spun sugar, shaded lilac
Inkables tags - 1 and 5
Distress oxide ink pads - kitsch flamingo, picked raspberry
Versafine Clair- nocturne, morning mist
Art stamps - script background, journal art elements 3
Black posca pen
Gelli roll pens - moonlight

Thanks for taking a look.
Alison

Related Posts Plugin for WordPress, Blogger...