Thursday, January 30, 2025

Calee CT Lovely ladybirds


 Hi, for my blog  post this week. I’m using the lovely Doodle Art ladybird stamp .The doodle art stamps are some of my favourite stamps and this lovely ladybird is a recent addition to my collection.  


I started by colouring three of the ladybirds in a range of colours using my Eco line water colour pens

I left these to dry , deciding to add some White highlights later. 


Next I started my background ,I often do a whole sheet of background and then decide on the piece I like .For this I chose distress inks in contrasting colours to my ladybirds , picked raspberry and wilted violet. Stencilling randomly through the Inkables Mandala 4 stencil and Grande Rainbow Darla stencil. 


After choosing the piece of background I liked, I cut to size for a 7 x 7 card blank .Added a hand doodled boarder and more detail with some of the smaller stamps from this set.


Using some leaves from my bit box, I tried different layouts ( I tried out quite a few ! ) not sure if I wanted to use all of the ladybirds or just a couple.

 
Finally, I decided to use all of the ladybirds in this design and all I needed now was a sentiment. This one from the everyday sentiments 1 set  caught my eye
All I needed to do now was  to glue everything down and my card was finished .

 For this project I used :

A4 watercolour card , A4 white and black card .

Inkables- Mandal 4 

                  Grande Rainbow Dala

D’inkables - set 14 for the leaves 

Distress oxide inks -Picked Raspberry 

                                    Wilted Violet 

Doddle Art Ladybird stamp set 

Wordage Every day sentiments 


I hope you like my ladybird card .

Happy crafting. 

Calee

Wednesday, January 29, 2025

Sally CT - Same but different!

 Hi There! Ever since Bev and Sam brought out the full colour and Greyscale catalyst cards, I've been meaning to have a go at something like this journal spread. Here's what I did.

I began by putting the same design of paper on opposite pages of my journal, one in greyscale and one in full colour. 

Once this was stuck to the page, I added some black soot distress oxide through a D'inkable in the same place on each side.
On a separate piece of card I stamped the Doodle Art gerbera and two butterflies, cutting the gerbera in half. I coloured in one pair with ecoline pens to match the background.
Just inking the centre of the butterfly I added the antennae and body to the pages, making sure there was enough room for the wings to lay flat.
I added the coloured flower and butterfly to the greyscale page and the white to the colour page using Matte medium. I also stamped the worker stamp a couple of times on each page in opposite corners.
I used white gel pen to add highlights to the coloured butterfly and flower....
and gelly roll moonlight florescent pens to add to the white butterfly and flower. 
Finally, I added wordy stickers to both pages.
Here's another look at the finished pages. 
I used:
Dinkable from Set 3
Wordy stickers (I used 2B)
Versafine Clair black ink
Ecoline brush pens 

There are just 2 more days to enter the challenge in the Bee Crafty Facebook Group,  where the theme is Vivid. 
Thanks for looking! 

Sunday, January 26, 2025

Alison CT - Mini Tab MDF Journal part one

Hi everyone, today I'm sharing how I've created the first 5 pages of one of Bee Crafty's Mini MDF journals.
For the cover of the journal, I have covered the MDF with part of one of the A5 full colour catalyst cards. 
I then stamped the Stitch in Time stamp on to it using Charming Pink Versafine Clair ink and embossed it with Picked Raspberry distress embossing glaze. 
I then stamped, on white card, the Stitch in Time stamp, the leaves and circles from Journaling Essentials 2 and one of the sketchy birds. I cut out the watch and clock face from the Stitch in Time image and all the other images. I coloured the bird.
I glued these to the cover using collage medium and foam tape to raise some images.
Finally I added a wordy sticker from sheet 1.
For the next page, after covering it with one of the catalyst cards, I stamped the Butterfly Stitch stamp using Monarch Versafine Clair and embossed with Villainous Potion distress embossing glaze. 
Next I stamped the Butterfly Stitch, sketchy bird and the leaves and squares from Journaling Essentials 2 on to white card.
I cut out elements from the Butterfly Stitch image and every thing else.
I coloured the bird.
Then I glued everything to the page and added a sentiment. 
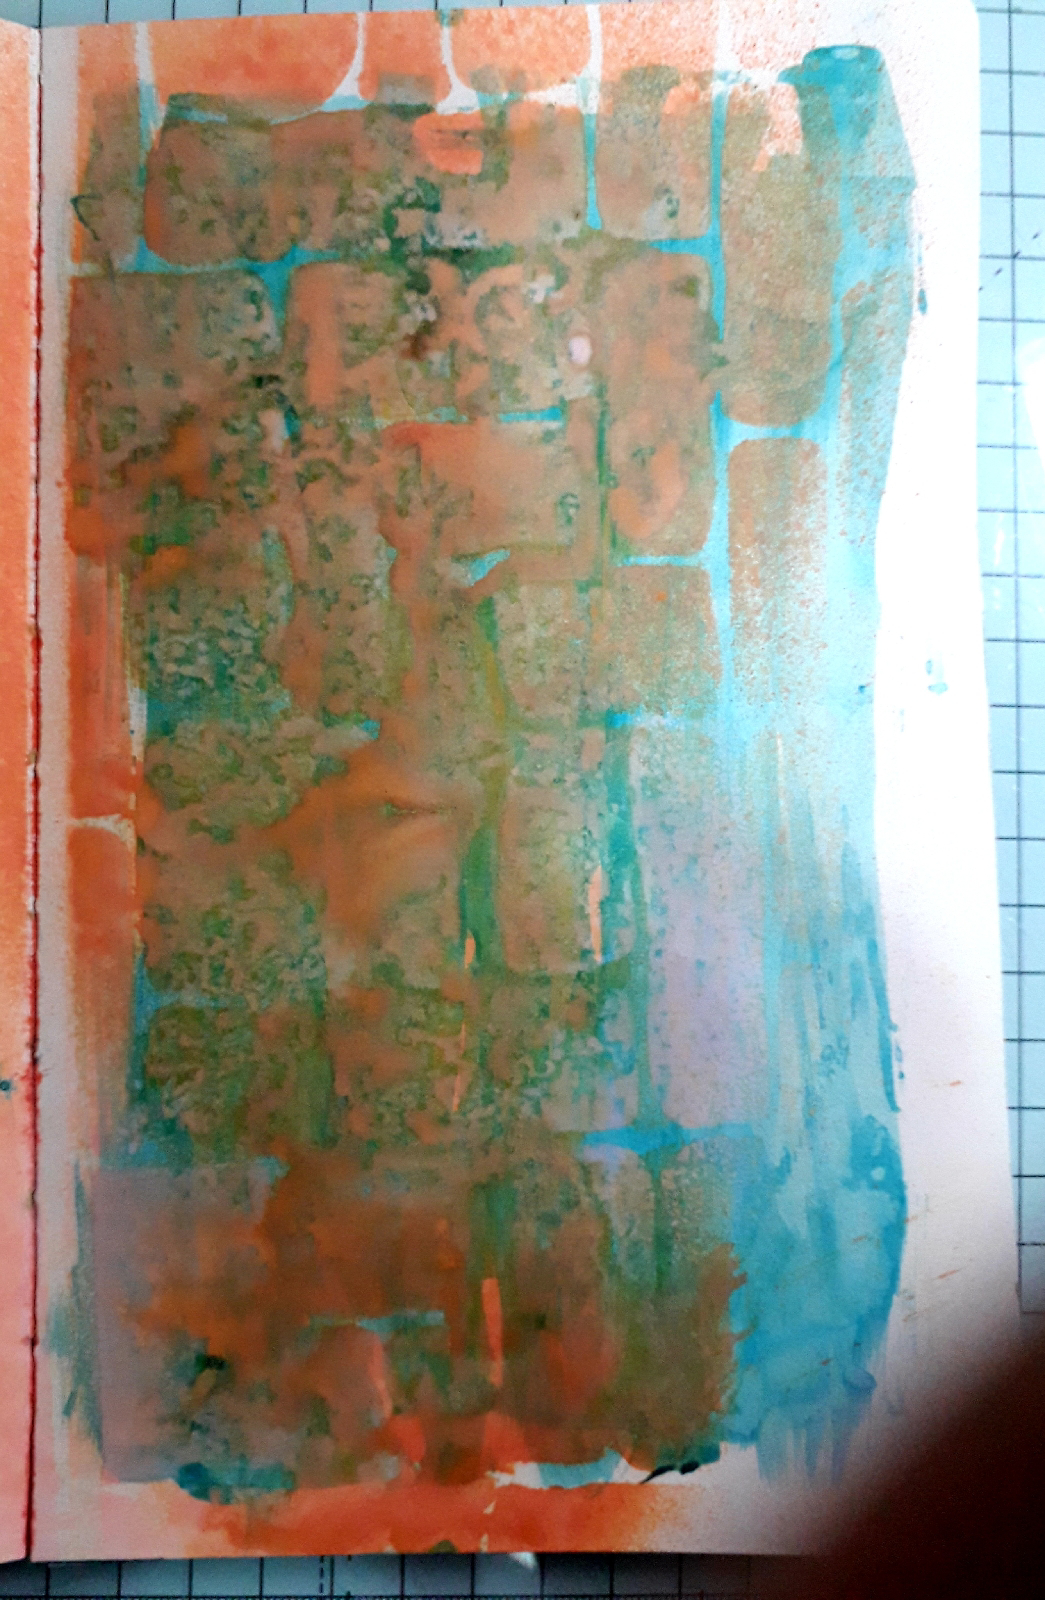
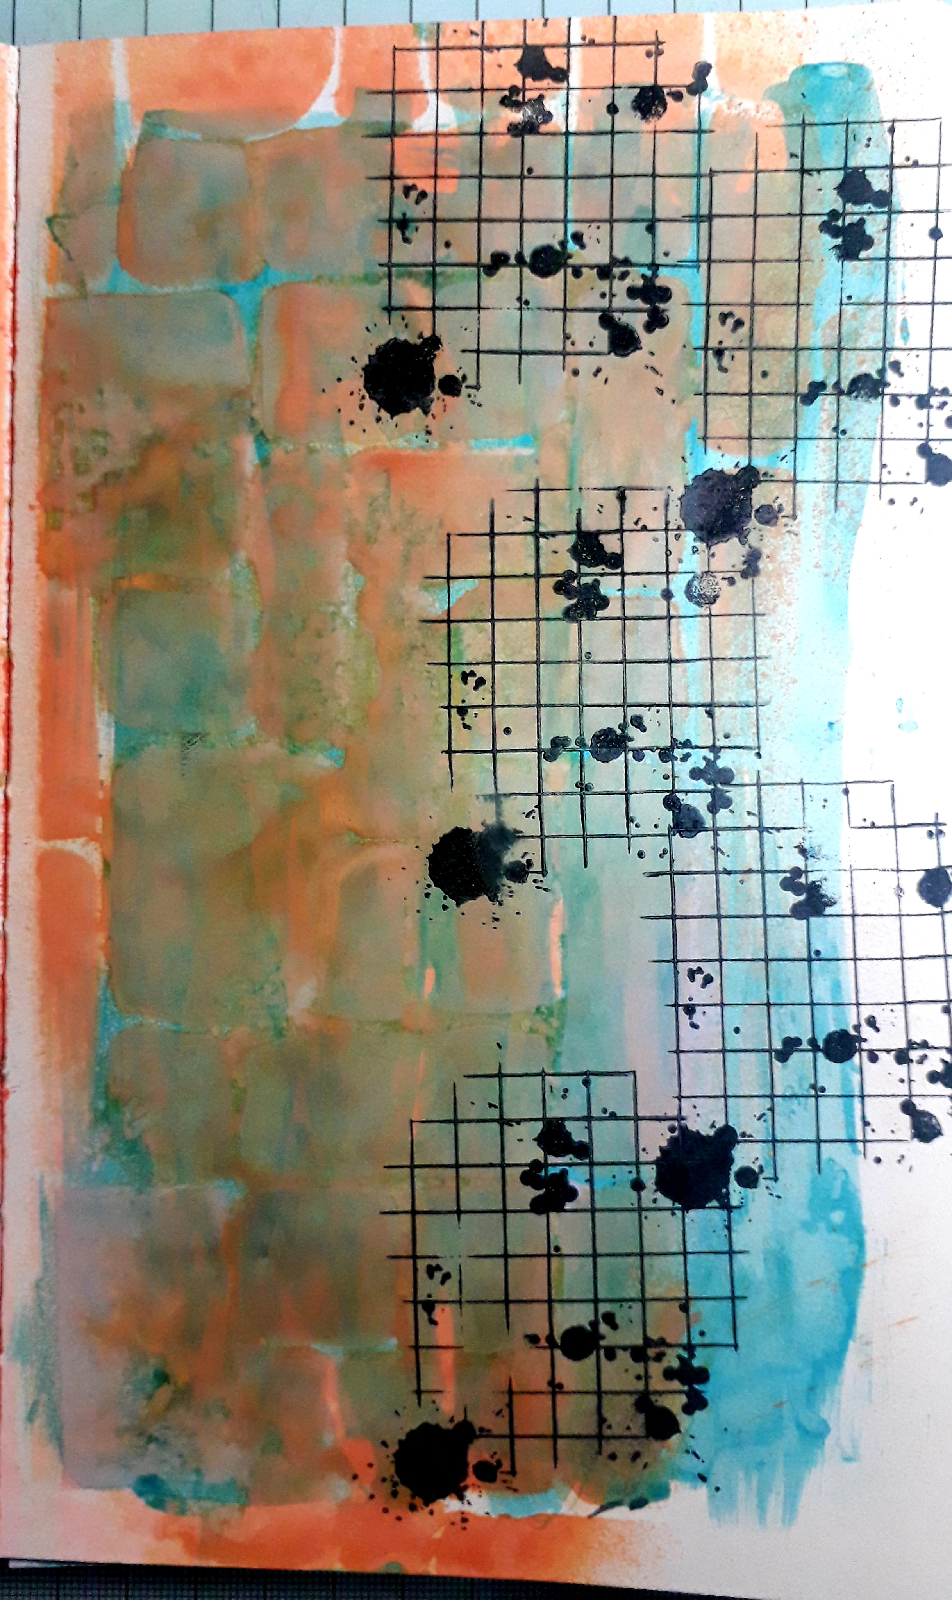
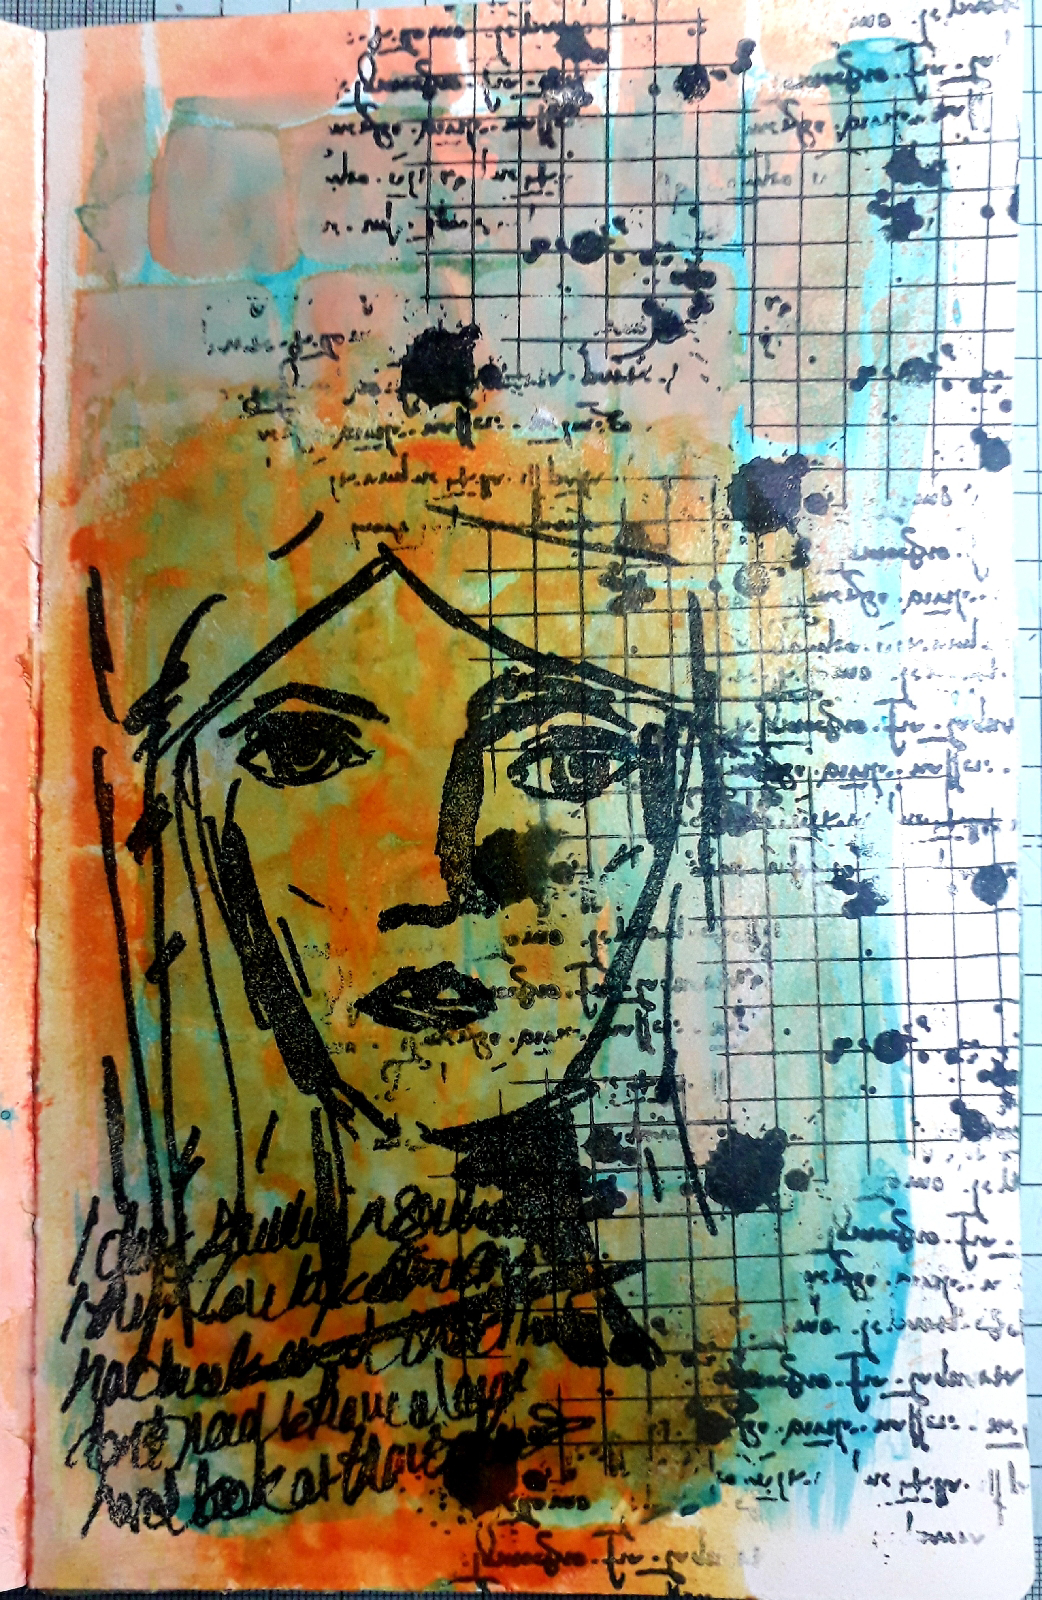
For the third page, after covering it with one of the catalyst cards, I stamped the Ledger using warm breeze versafine clair ink and heat embossed with Salty Ocean distress embossing glaze. 
I stamped the inkwell and nibs, leaves from Journaling Essentials 2, one of the sketchy flowers and dragonfly on to white card. I cut all of these out and coloured the dragonfly.
I then glued everything to the oage and added a few of the squares I had left over from the previous page.
Finally I added a sentiment from the Wordy Stickers 1.
For the fourth page, after covering it with a catalyst card, I stamped the Scripted Bee stamp using spruce versafine clair ink and heat embossed with Peeled Paint distress embossing glaze.
Again, I stamped the Scripted Bee, leaves from Journaling Essentials 2, the large bee and one of the crowns from the Bee Monarchy stamp  and Sketchy Bird.
I cut out some of the hexagons, circles and clock from the Scripted Bee image, the crowns, bee, leaves and sketchy bird. I coloured the bird.
I glued everything to the page. 

For the final page, after covering it with a catalyst card, I stamped the Dragonfly Art stamp using Versafine Clair summertime ink and heat embossed with Saltwater Taffy distress embossing glaze. 
Again I stamped the main image, clock ledger circle and paintbrushes from the Dragonfly Art set,  the ledger circle from Dragonfly set, the leaves from the Journaling Essentials 2 and a Sketchy Bird on to white card.
I coloured the bird and cut out all the images.
I then glued them to the page and added a sentiment from the Wordy Stickers 1.
Products used:

Thank you for taking a look. Don't forget that if you want a 10% discount on orders from Bee Crafty use code BEEALISON10 at checkout.
Alison

Thursday, January 23, 2025

Calee CT -Vivid Leaves


 Hi everyone , its lovely to be creating my first blog post here at Bee Crafty . I have gone with this month's challenge theme ,vivid and created a tag . 


First I took a look through the catalysts papers in pack # 2 and chose this lovely one in grey scale .


Then I cut and mounted a tag on to black card adding a stitched border .


Next it was time to add some more interest to the back ground . Using my dylusions shimmer paint , I painted a couple of bubblegum pink and fresh lime stripes and added a few calypso teal splatters , just for good measure!
Some stamping with this great boarder from journal art elements # 2 and some free hand doodles completed the background .        
                                                                                                  
                    
My next step was to stamp and colour the leaves from the Mixed leaves set , This I did with my Ecoline water colour pens , in similar colours .            


These were then glued on to my tag and a sentiment from the Autumn wordy stickers added , a bit of pink ribbon and my tag was finished . 

Products I use for this tag were :

Catalyst cards A5 #2 Grey Scale 

Art stamps: Journal  Art Elements  # 2

                    Mixed Leaves 

Some black card , a white gel pen  and black fine liner  for detail .

Dylusions shimmer paints : Bubble gum pink 

                                            Calypso Teal 

                                             Fresh Lime 

Some coordinating ribbon from my stash 


I hope you like it , thank you . 

Calee 


Wednesday, January 22, 2025

Sally CT - Go For it!


Hi there! Thought I would show you how I made this card for my blog post today. 

I began by covering a tag inkable in distress oxide ink, giving it a spritz of water then laying it ink side down on a piece of mixed media or watercolour card. I did this three times with the three different colours then dried with a heat tool. 
Once this was dry I added some more colour using the same inks and blending brushes. 
Next I took the innie from the 4" star easy frame and blended black soot distress oxide over it. I did this 3 times too. I also sponged a little black ink around the edges
using the Background Script stamp I added some patches of script randomly around the card using the black soot Distress Oxide ink
Next I added a few patches of Distress Spritz over the panel.
I cut the 3 words from the transparency sheet and added them to the stars using matte medium. 

Finally I attached the whole panel to a DL sized card. I did contemplate adding more to it, like white pen or butterflies but decided it was fine as it was. 
I used:
Mixed media card 9.5 x 20.5cm
DL card
Tag inkables - I used set 2 - Check out the offer on these at the moment
Distress oxide inks - I used Black Soot, Abandoned Coral, Mustard Seed and Lucky Clover
Distress Spritz - I used Worn Lipstick
Transparency Prints - I used Spontaneous words black on clear

There is just over a week left to get your entries into the Vivid challenge over on the Bee Crafty Stamps facebook group. I Hope you can join in and also take advantage of the tag inkables offer!

Thanks for looking! 

Sunday, January 19, 2025

Faces: Look

Hi everyone, today I'm sharing an art journal page created on a background, which initially I hated, but now think really works for image I have used.

The background was created a while ago using ocean gloss spray to paint the page. Then spiced marmalade and spun sugar distress oxide was applied through the Cotswold Stone big one.

Stamp the grid stamp, from Journaling Essentials 3, several times down the right hand side of the page. 

Next stamp areas of the script background using the same black ink.
Stamp the Look stamp onto a piece of Bee Crafty's stamping tissue using Versafine Clair nocturne. 
Use a wet paintbrush to go around the image and then carefully tear out the image.
Use distress collage medium to add it to the page.
Next use a colouring medium to add colour to the eyes and lips.
Finally add a sentiment from the Creative Words Transparency Prints. Colour the back with a white posca pen, so the words stand out against the page. Glue to the page using collage medium. 
Products used:
Versafine Clair Nocturne 
Distress Oxide  - spun sugar, spiced marmalade 

Thank you for taking a look. 
Alison 

Wednesday, January 15, 2025

Sally CT - Beautiful Butterflies!

 Hi There! I am here today with a step by step tutorial for this journal page. 

I began by spreading matte medium over the page and adding scraps of map, music paper and book pages. I also added some tissue that had been used to mop up some distress oxide sprays (Wild Honey and Salvaged patina)
Next I smooshed some cracked pistachio over the whole page. 
Using the Dinkable from set 13, I added some uncharted Mariner Distress Oxide and inked around the edge of the page.
I also added some texture paste through the dinkable from set 2
Once the texture paste was dry I gave it a little spray with uncharted Mariner Distress spritz, tilting the page to make it run, before setting aside to dry.
On a separate piece of card I stamped the doodle art butterfly twice in Memento ink and coloured with alcohol markers. I cut these out.
using the stamp without an acetate block I added the antennae and body of the butterfly to the page twice. I also stamped a couple of one of the small worker stamps by the page edge.
Finally I added the butterflies, some white splatters, a wordy sticker and some gelly roll moonlight pen highlights to the page. 
Here is the page once more...
...and here is a close up of one of the butterflies.

I used:
5x5" notebook
Scraps of book paper, music, map, tissue or catalyst card
Distress Oxide inks - I used Cracked Pistachio and Uncharted Mariner
Distress Spritz - I used Uncharted Mariner
Memento black ink
Alcohol markers
Posca pen for white splats
Wordy stickers - I used 2B

I think this fits the the theme on our bee Crafty Stamps group challenge at the moment, which is Vivid. Hope you can join in! 

Thanks for looking! 
Related Posts Plugin for WordPress, Blogger...