Wednesday, January 18, 2023

Doodle CAS Card

 Doodle CAS Card

By CT Ann

There seems to be a trend for CAS (clean & simple) cards lately. I’ve not done one on my blog spot for a while, until now … 


Stamps: Doodle Art - Ladybird/Small Words

Inkables :  6x6 Distressed Diamonds

Inks: Versafine Clair Nocturne & Tulip 

Distress Oxide Inks: Uncharted Mariner 

Ecoline Pen: Scarlet 334


https://www.beecrafty.net/


Cut a piece of card 14cm x14cm, create an offset panel using Uncharted Mariner (you could use Blueprint Sketch or Chipped Sapphire)  & the Distressed Diamonds… 

Next stamp the Ladybird onto the panel in Versafine Clair Nocturne , this gives you a guide for the rest of your stamping… 

On a separate piece of card stamp the Ladybird again, I stamped two ‘just in case’ , I’ll keep the other in my stash… 

Next use the small element stamps within the Ladybird set to add to your background. First I used the diamonds with Versafine Clair Tulip … 


 Then the circle trial with Versafine Clair Nocturne… 

Colour your ladybird with Ecoline Brush Pens & cut out the body, the legs & antenna are stamped on your card already… 

Stamp a sentiment from The Small Words set… 

Glue the Ladybird on top of the one you stamped

Glue on to another piece of card (I used red card) then onto a 6x6 card blank… 


Thanks for stopping by… Ann xxx


Sunday, January 15, 2023

Alison CT - Freehand background and Doodle Art Stamps

Hello everyone. Today I have taken inspiration from the first Freehand Friday that Bev did on Youtube.

I began by creating a background using three Dylusions ink sprays and different sized paintbrushes and following Bev's inspiration (link above). I then left this to dry completely.
Once it was dry I used my white Posca pen, as suggested in the video, to add marks to the page and some white splatz.
Next I cut out some of the background transparencies and glued them to my background using distress collage medium. 

Whilst this was drying, I stamped two sets of the large mushrooms and the dragonfly on a seperate piece of card and coloured them with my distress watercolour pencils and a paintbrush.

Next I cut out the Go For It Transparency sentiment and coloured the letters with a white Pisca pen on the reverse. I then glued the mushrooms, sentiment and dragonfly onto my background.

Products used:
Dylusions Ink Sprays - crushed grape, vibrant turquoise and cherry pie
Transparencies - Faces 4 and SpOntaNEous words clear on black
Doodle Art Stamps - mushrooms and dragonfly
Versafine Clair - nocturne

Thank you for taking a look
Alison

Saturday, January 14, 2023

Sally CT - Seeing Stars!

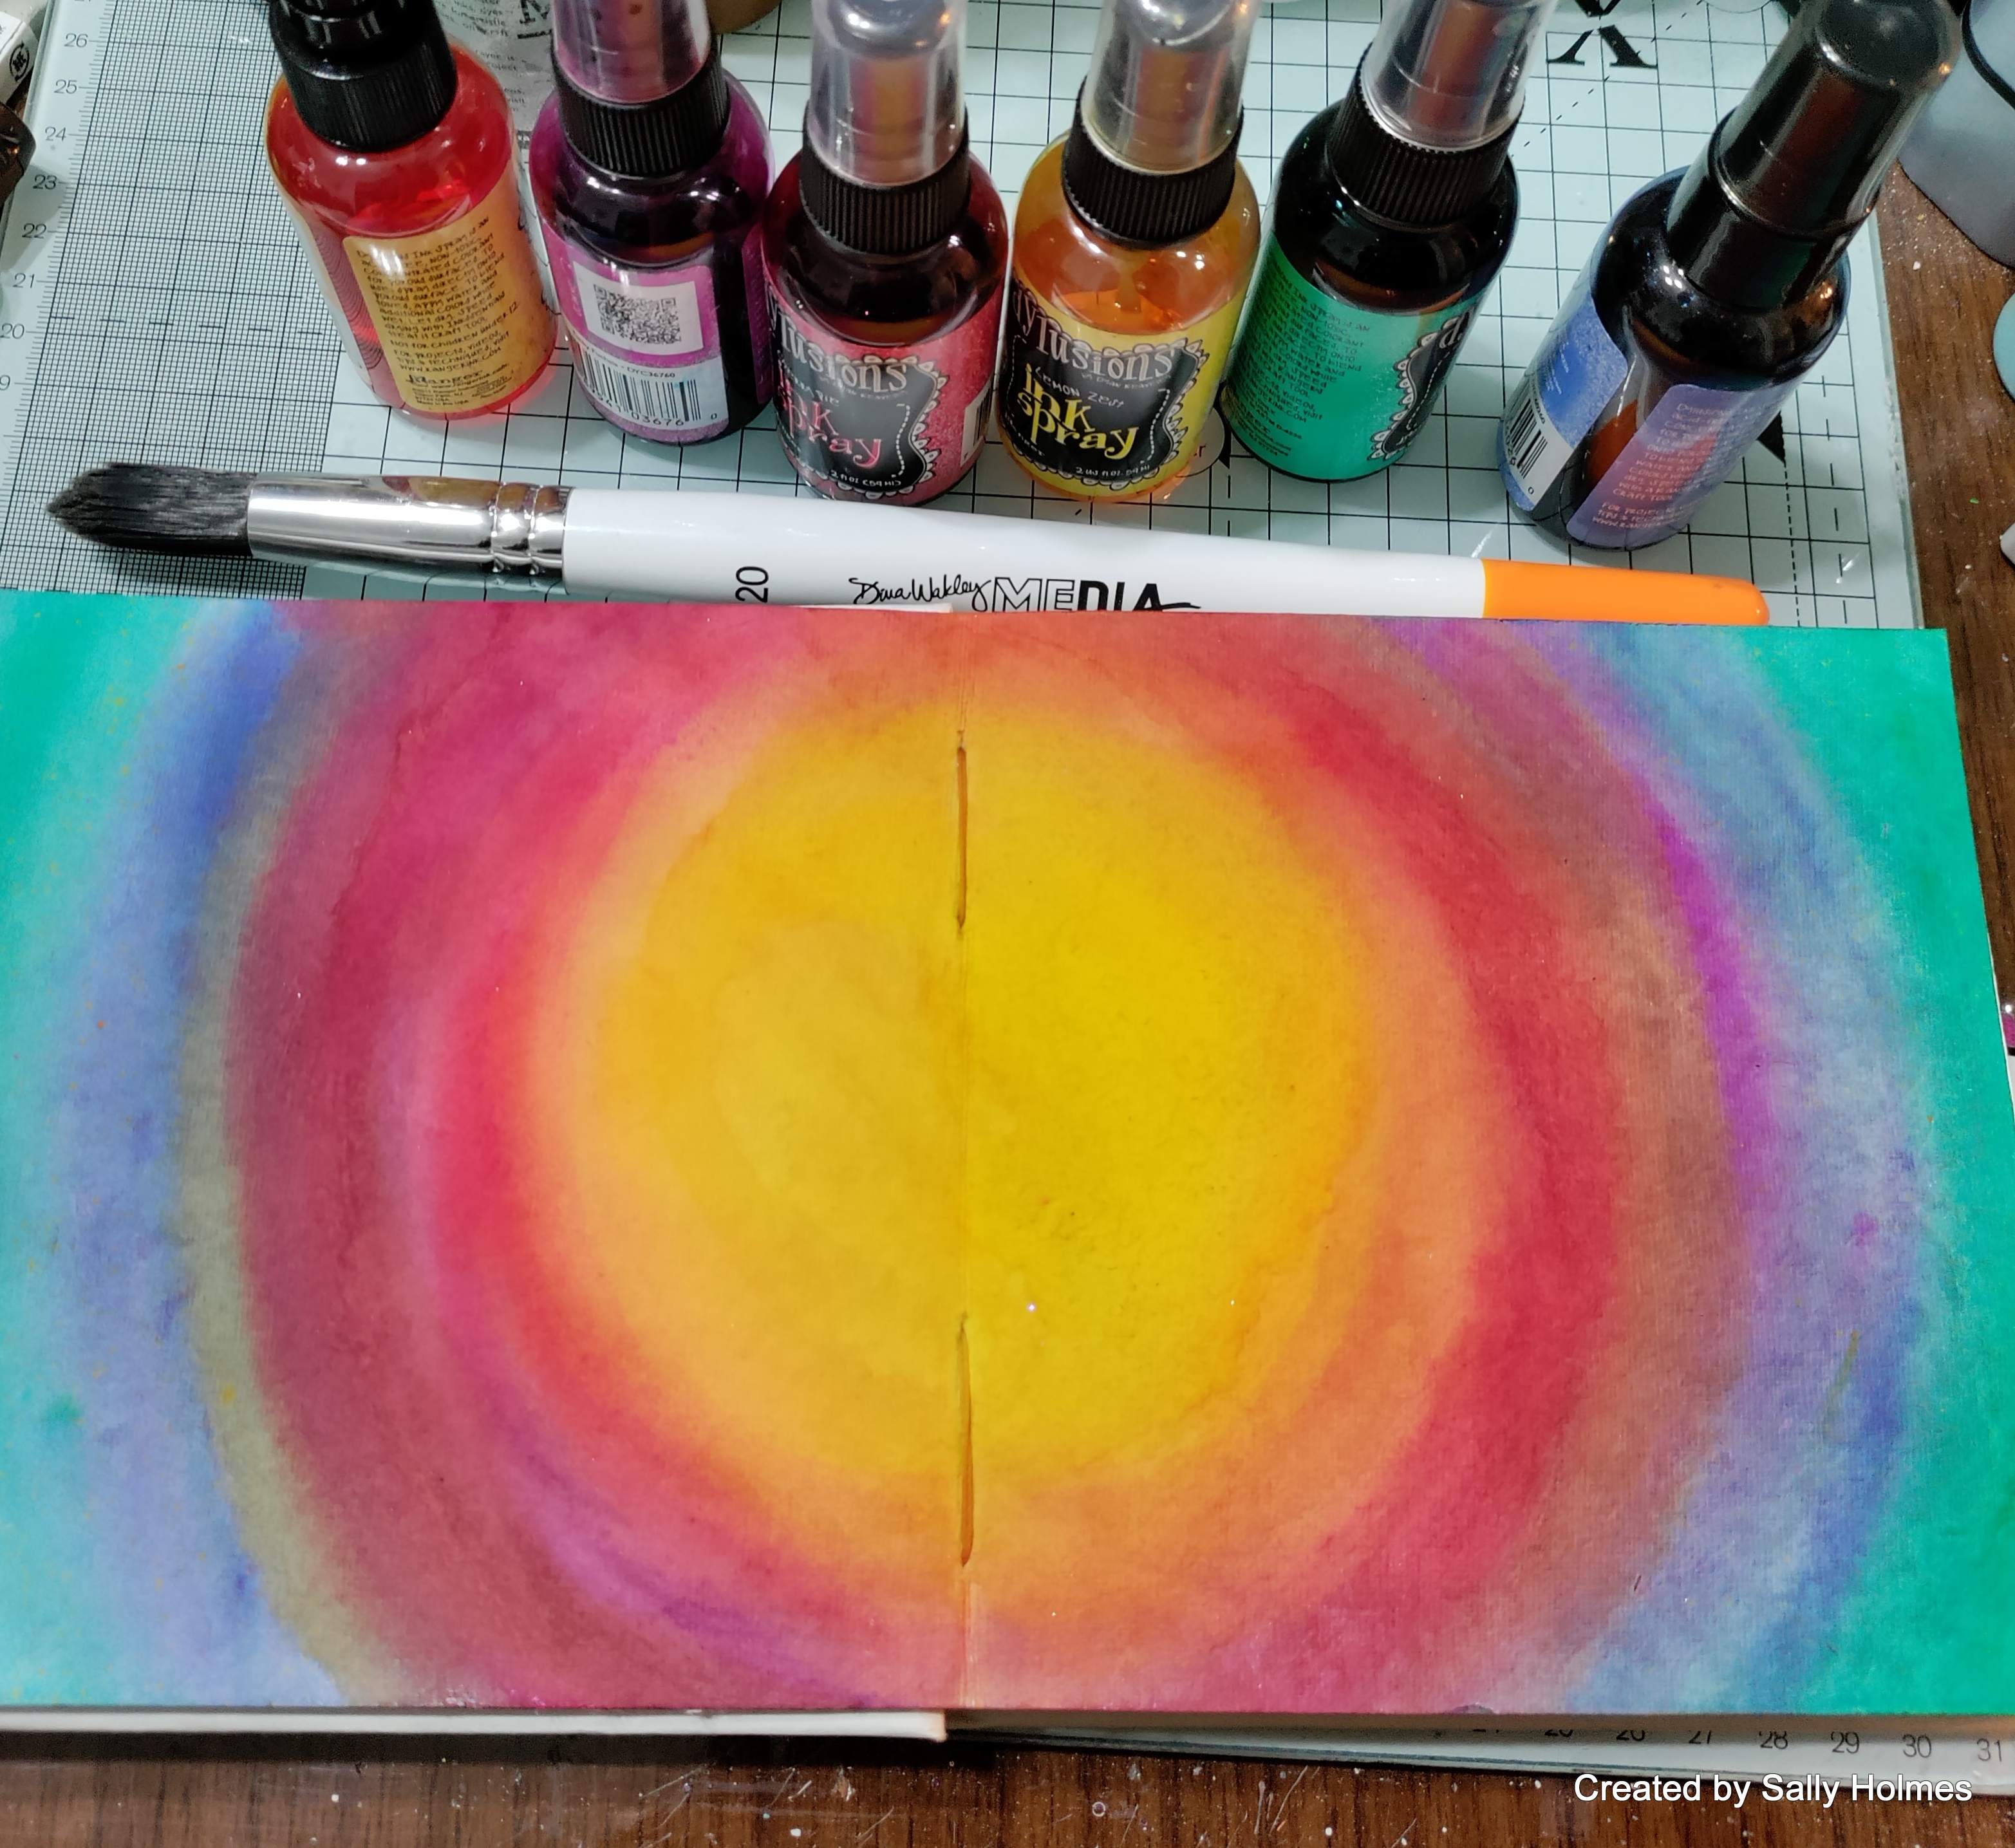
Hi There! I thought I had better follow my own advice and use one of my 3 unused journals! I did my first double page in my Dina Wakely white 6x6" journal. I was also itching to have a go at a freehand inky background like Bev had demonstrated in her Freehand Friday video last week. 

I began by painting circles in dylusions ink onto the double page
Once this was dry I used the dotty border stamp to add detail on the two outer edges
Next I stamped and embossed three of the largest stars and stamped several smaller stars in black ink on Bee Crafty stamping tissue, again inspired by Bev's Try it out Tuesday this week.

I cut them out and used matte medium to add them to the page. 
Finally I chose a sentiment and added that  on stamping tissue in the same way, finishing off with a few splatters of white gloss spray. 
I used:
Dylusions sprays in Lemon Zest, Pure Sunshine, Cherry Pie, Bubblegum Pink, Periwinkle Blue and Polished Jade
Star textures stamp set
Versamark ink
Dina Wakely gloss spray - White 

I really enjoyed working in this journal and I didn't even get any fingerprints on the cover (which was why I had put off using it, lol! Do check out the Bee Crafty You Tube channel for the videos I mentioned at the beginning.
The challenge over in the Bee Crafty Stamps group is to use some of your as yet unused stash on a tag. I do hope you can join us  - you can enter 3 times and are in with the chance to win a £20 stamp voucher! 
Thanks for looking!

Wednesday, January 11, 2023

Colour Burst by CT Ann

Colour Burst

 By CT Ann


As part of the Creative Team reading your comments gives an indication of what you would like to have a go at. The Catalyst Papers provide a fantastic background for you to try mark making. 
•••

Catalyst Papers

Transparency Prints A5

Stamps: Coffee Stains

Inkables Big Ones:  Pebble Pavement & Abstract 1

Scribble Sticks 

Sakura Pens Micron Black / White / Moonlight 

Glossy Accents / Collage Medium 

Hero Arts Ink

Journal 


https://www.beecrafty.net/

•••

Find a paper you like, lay it on top of your journal page & dampen around the edges with a wet paintbrush, using the page as a guide… 


Spread collage medium onto the page & the back of the paper, once it’s on the page apply more medium to the top. Leave to dry or use a heat gun on a low setting… 

Using the Abstract 1 stencil & some Distress Oxide Ink add some of the circles, remember it doesn’t have to be perfectly  stencilled …


 Add some more texture using the Pebble Pavement Inkable, & Scribble sticks. Colour through the stencil & either rub in with your finger or a wet paintbrush… 

Cut out a word from Transparency Prints & glue using Glossy Accents or more collage medium .. 


You could add some stamping, Bee Crafty have some fantastic background stamps, I’ve used the Coffee Stains stamps with Hero Arts Ink (as it dries quickly) …

Now add your marks using different pens, crayons etc. Enjoy the process of creating, it’s your art journal & it’s there for you to experiment & learn… 

Here’s my finished page… 

Thank you for stopping by… Ann xxx


Sunday, January 08, 2023

Alison CT - 3 stamps, 2 inkables and 2 colours.


Hi everyone, some of you were saying that you sometimes struggle for inspiration and I said why not do a lucky dip from your stash, so today I'm sharing a clean and simple art journal page, which uses just three stamps, two inkables and two colours of ink which I chose at random.

I have used a white page in my Dina Wakley blue journal. I began by blending picked raspberry and peacock feathers distress oxide through the circles inkables big one.

I cleaned the inkable by spritzing the excess ink with water and pressing it onto a piece of card. After the ink had dried,  I drew through the six inch inkable easy frame butterfly on to it. I then cut the butterfly out. Keep the larger off cuts for the sentiment.

Next, I stamped the heartbeat style stamp from the Art Background 2 stamp set over the butterfly using peacock feathers distress oxide. I also stamped the script background over the butterfly using picked raspberry distress oxide. 

I then used versafine clair nocturne to stamp the sentiment onto the off cuts from the butterfly. I then cut them out.

Finally I inked the edges of all the pieces using peacock feathers distress oxide, before gluing them to the background.
Products used:

Inkables Easy Frames - 6" Butterfly
Art Stamps - Art Backgrounds 2, Script Background
Wordage - Time flies
Distress Oxide - Picked Raspberry, Peacock Feathers 
Versafine Clair - Nocturne

Thank you for taking a look at this weeks project.

Alison 

Saturday, January 07, 2023

Sally CT - Build a Bridge journal pages


Hi there! I am bringing in the new year with some fresh colours in my journal. Here's what I did to create this journal spread.

I had a page where I had mopped up some inkables that had been used for green inks. I used twisted citron and salvaged patina distress spray to fill in the gaps
once this was dry I used the Bakewell big one inkable and peacock feathers distress oxide to add a little more colour to the page. 
I used the 4inch square easy frame as a template to draw around with a distress crayon.  
after removing the easy frame I painted between the lines using turquoise paint. Once dry I blended the crayon with my finger.
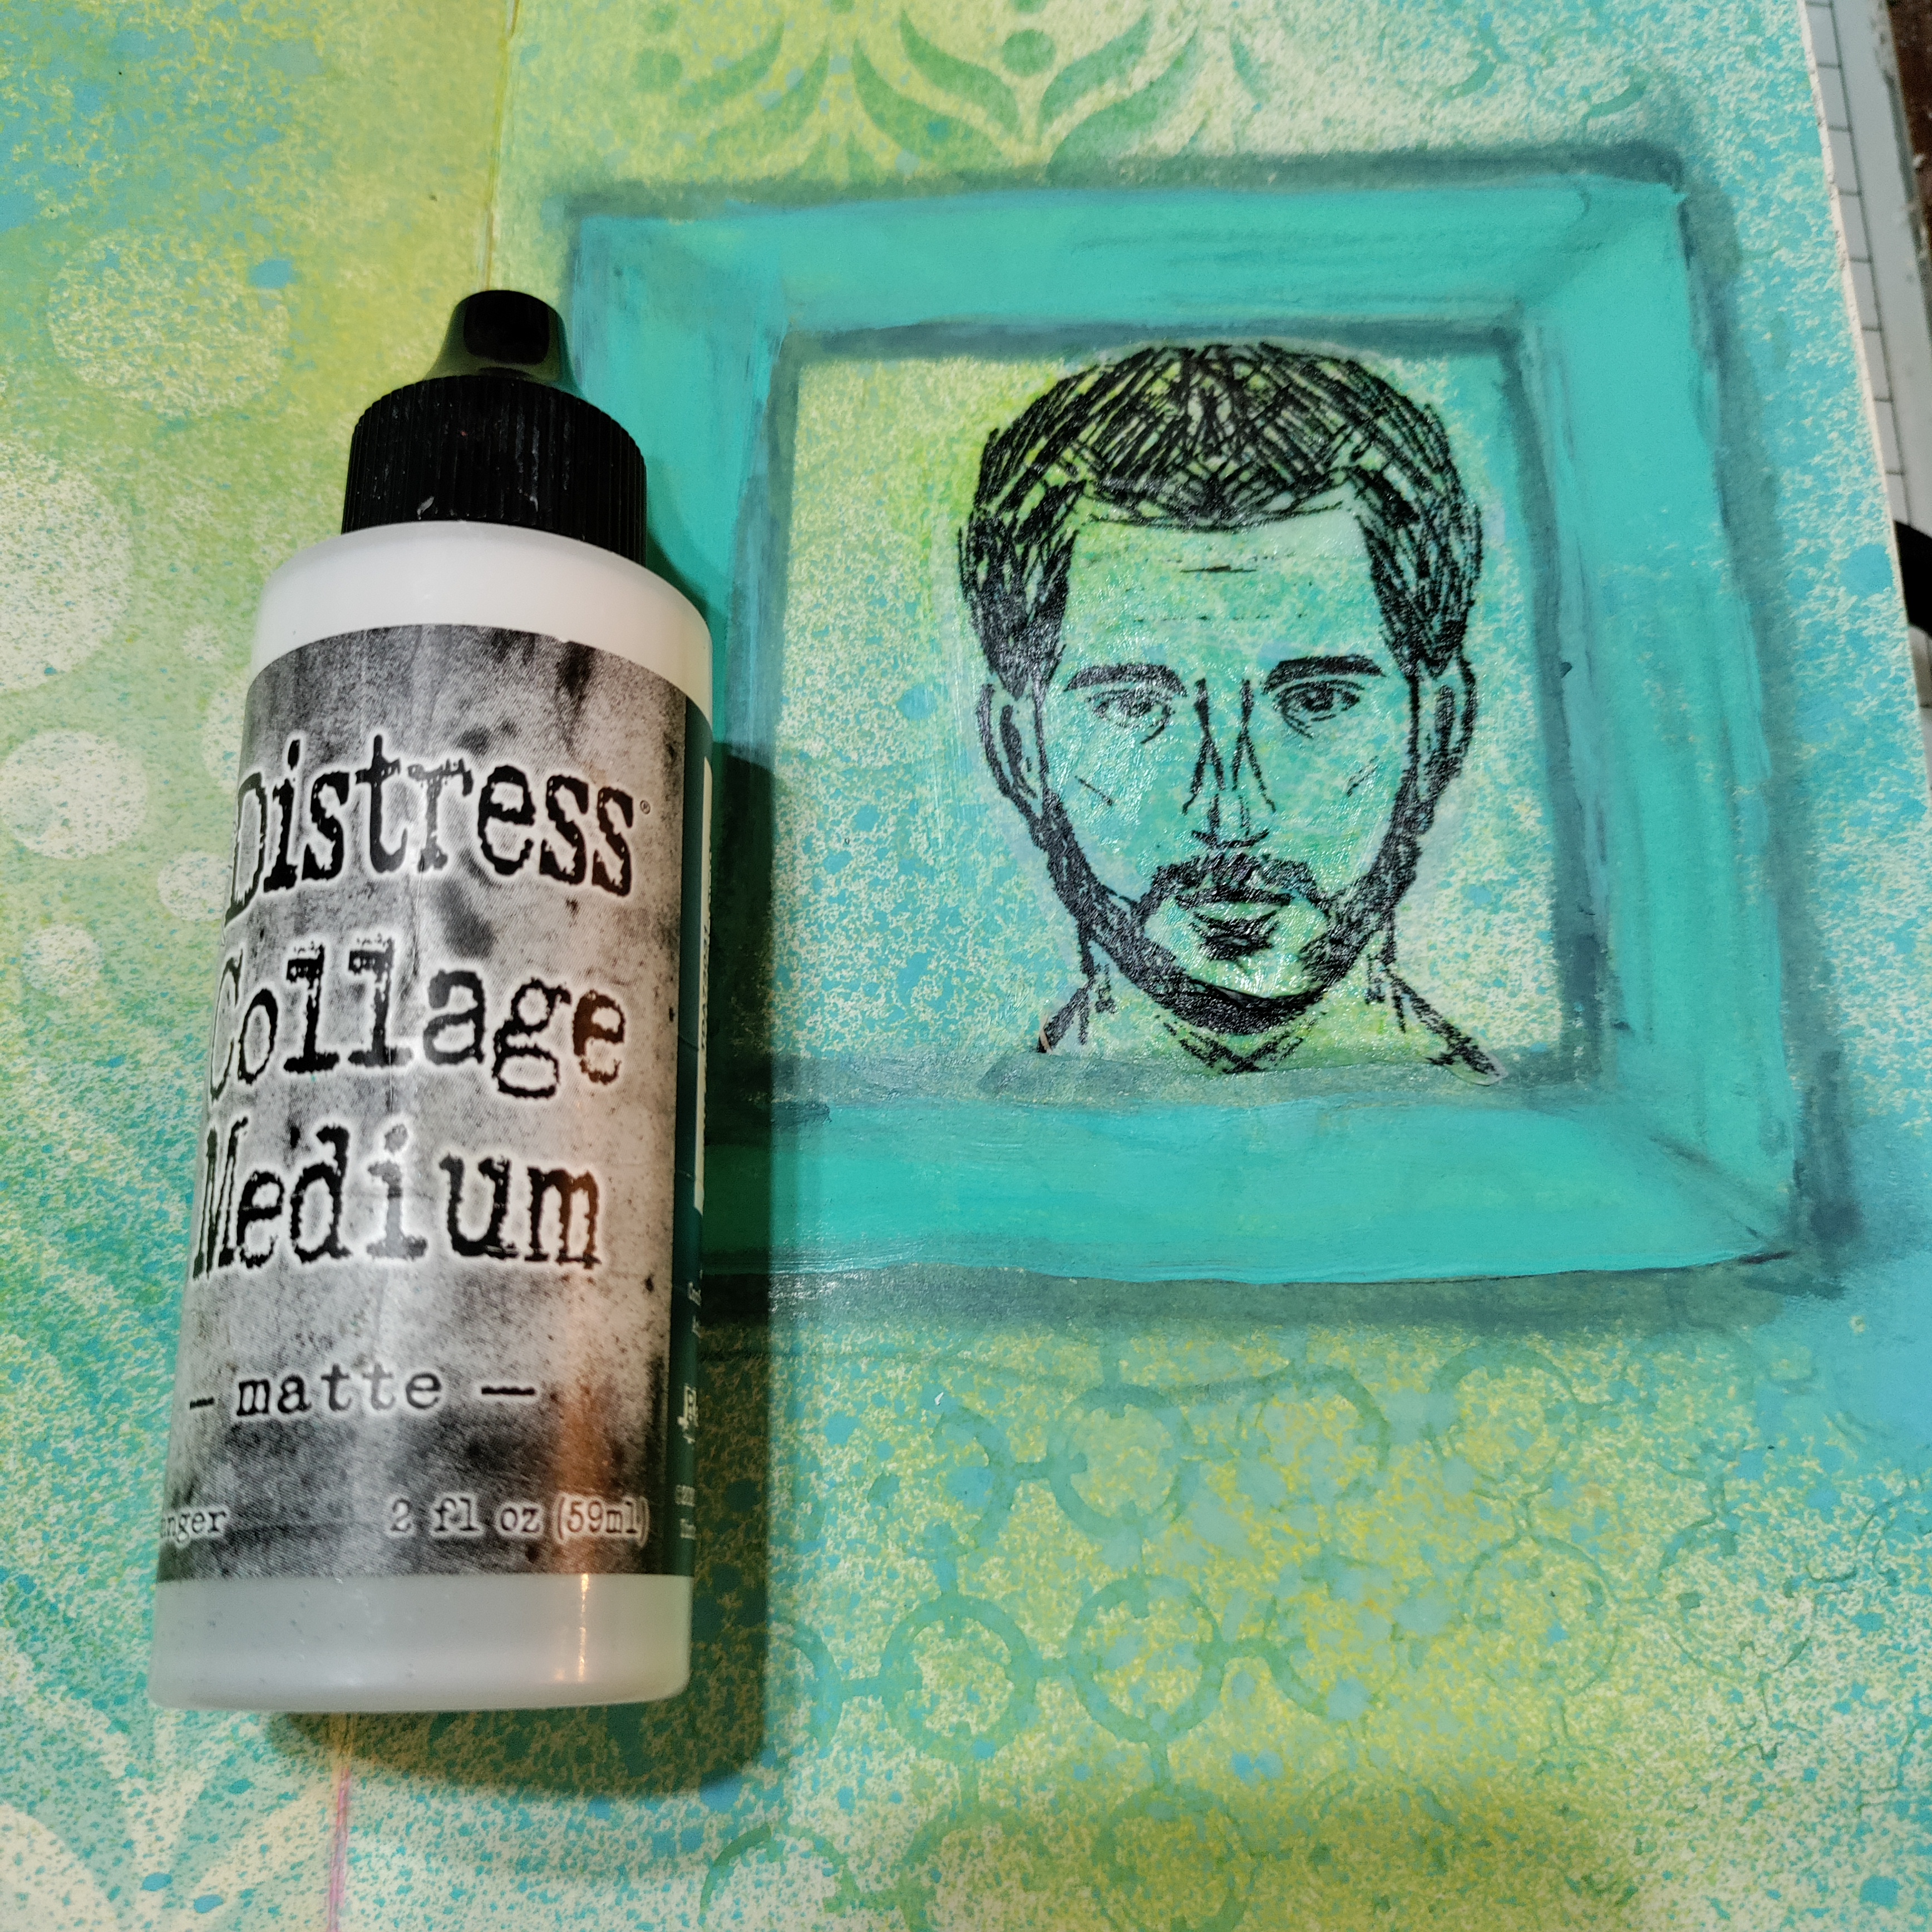
Next I took a piece of Bee Crafty stamping tissue and lay it on top of the smaller face inked stamp. then I flipped it over and inked the stamp again, carefully positioning it to form the other half of the face.
I trimmed the image then stuck it inside the frame using matte medium
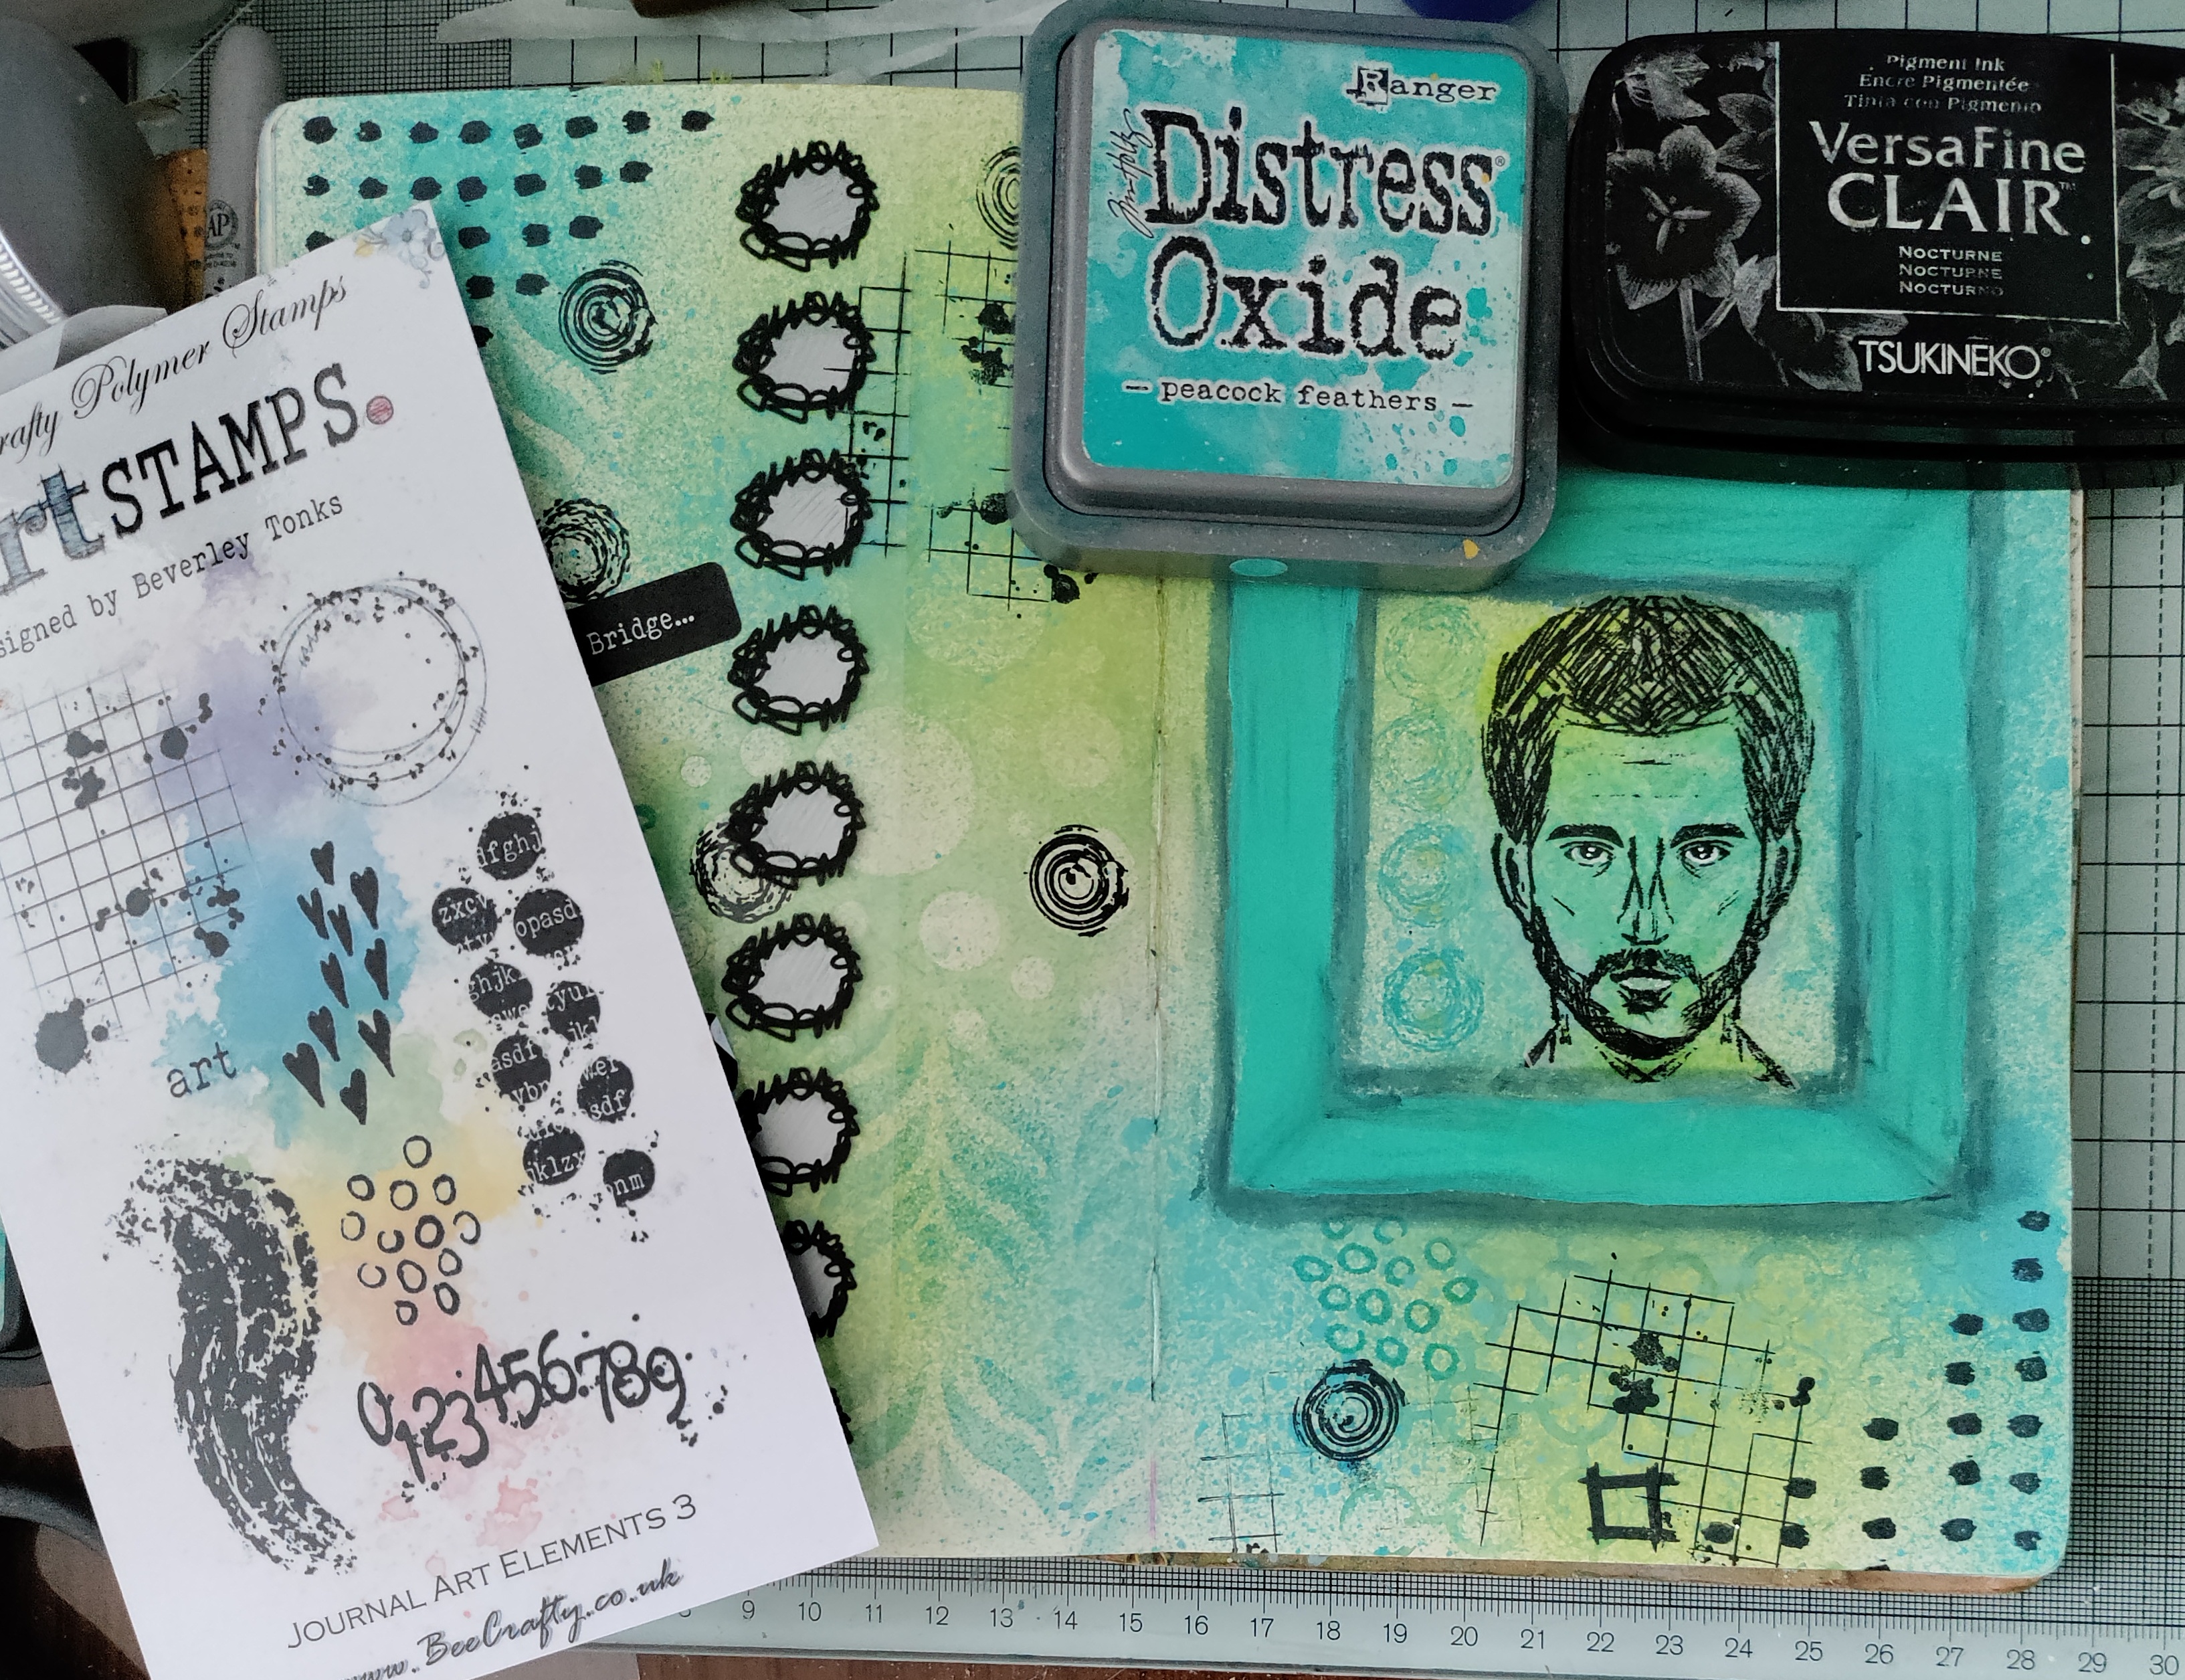
using the worker stamps from the same stamp set I added to the background using black versafine clair.
Next I cut a strip of circles from the transparency and coloured the centres using a silver sharpie, turning it over to show all the black on the transparency.
I added a little more stamping using the journal art elements 3 and attached the strip of transparency using double sided tape under the silver pen. I finished it off  using a couple of wordy stickers. 

Here is the finished page once more. 
I used:
Turquoise paint

Thanks for looking! 

Related Posts Plugin for WordPress, Blogger...