Wednesday, January 11, 2023

Colour Burst by CT Ann

Colour Burst

 By CT Ann


As part of the Creative Team reading your comments gives an indication of what you would like to have a go at. The Catalyst Papers provide a fantastic background for you to try mark making. 
•••

Catalyst Papers

Transparency Prints A5

Stamps: Coffee Stains

Inkables Big Ones:  Pebble Pavement & Abstract 1

Scribble Sticks 

Sakura Pens Micron Black / White / Moonlight 

Glossy Accents / Collage Medium 

Hero Arts Ink

Journal 


https://www.beecrafty.net/

•••

Find a paper you like, lay it on top of your journal page & dampen around the edges with a wet paintbrush, using the page as a guide… 


Spread collage medium onto the page & the back of the paper, once it’s on the page apply more medium to the top. Leave to dry or use a heat gun on a low setting… 

Using the Abstract 1 stencil & some Distress Oxide Ink add some of the circles, remember it doesn’t have to be perfectly  stencilled …


 Add some more texture using the Pebble Pavement Inkable, & Scribble sticks. Colour through the stencil & either rub in with your finger or a wet paintbrush… 

Cut out a word from Transparency Prints & glue using Glossy Accents or more collage medium .. 


You could add some stamping, Bee Crafty have some fantastic background stamps, I’ve used the Coffee Stains stamps with Hero Arts Ink (as it dries quickly) …

Now add your marks using different pens, crayons etc. Enjoy the process of creating, it’s your art journal & it’s there for you to experiment & learn… 

Here’s my finished page… 

Thank you for stopping by… Ann xxx


Sunday, January 08, 2023

Alison CT - 3 stamps, 2 inkables and 2 colours.


Hi everyone, some of you were saying that you sometimes struggle for inspiration and I said why not do a lucky dip from your stash, so today I'm sharing a clean and simple art journal page, which uses just three stamps, two inkables and two colours of ink which I chose at random.

I have used a white page in my Dina Wakley blue journal. I began by blending picked raspberry and peacock feathers distress oxide through the circles inkables big one.

I cleaned the inkable by spritzing the excess ink with water and pressing it onto a piece of card. After the ink had dried,  I drew through the six inch inkable easy frame butterfly on to it. I then cut the butterfly out. Keep the larger off cuts for the sentiment.

Next, I stamped the heartbeat style stamp from the Art Background 2 stamp set over the butterfly using peacock feathers distress oxide. I also stamped the script background over the butterfly using picked raspberry distress oxide. 

I then used versafine clair nocturne to stamp the sentiment onto the off cuts from the butterfly. I then cut them out.

Finally I inked the edges of all the pieces using peacock feathers distress oxide, before gluing them to the background.
Products used:

Inkables Easy Frames - 6" Butterfly
Art Stamps - Art Backgrounds 2, Script Background
Wordage - Time flies
Distress Oxide - Picked Raspberry, Peacock Feathers 
Versafine Clair - Nocturne

Thank you for taking a look at this weeks project.

Alison 

Saturday, January 07, 2023

Sally CT - Build a Bridge journal pages


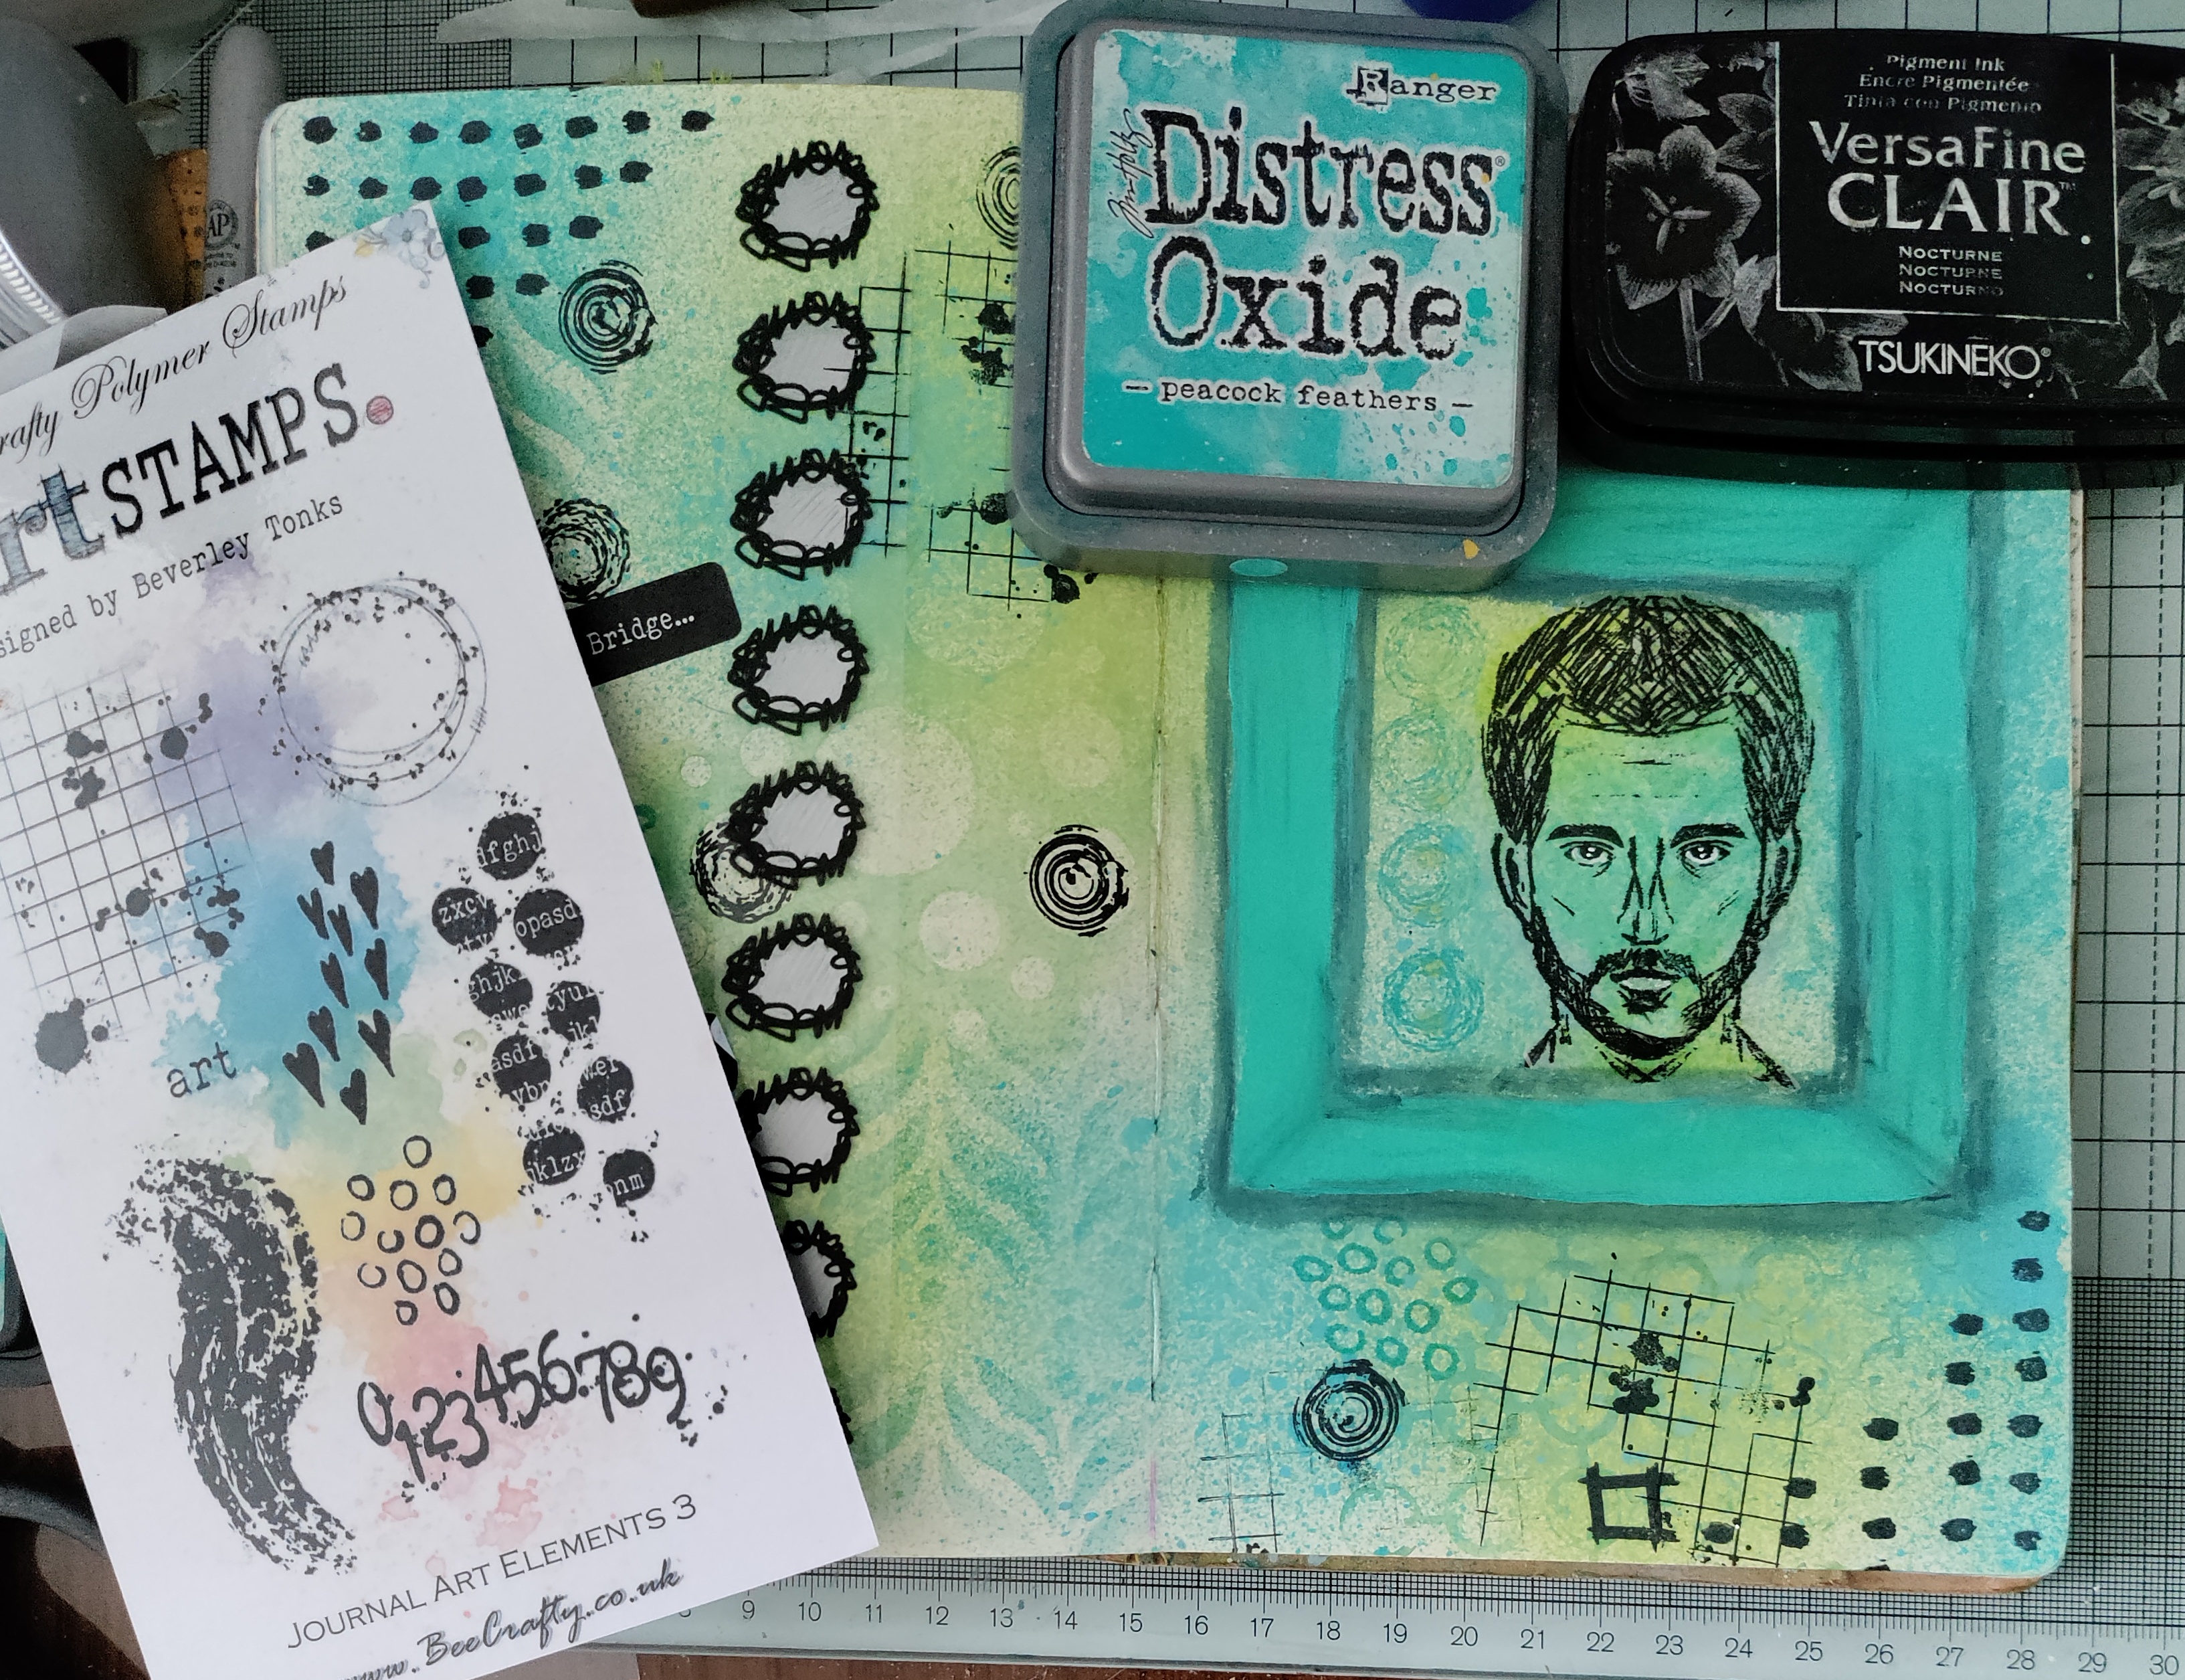
Hi there! I am bringing in the new year with some fresh colours in my journal. Here's what I did to create this journal spread.

I had a page where I had mopped up some inkables that had been used for green inks. I used twisted citron and salvaged patina distress spray to fill in the gaps
once this was dry I used the Bakewell big one inkable and peacock feathers distress oxide to add a little more colour to the page. 
I used the 4inch square easy frame as a template to draw around with a distress crayon.  
after removing the easy frame I painted between the lines using turquoise paint. Once dry I blended the crayon with my finger.
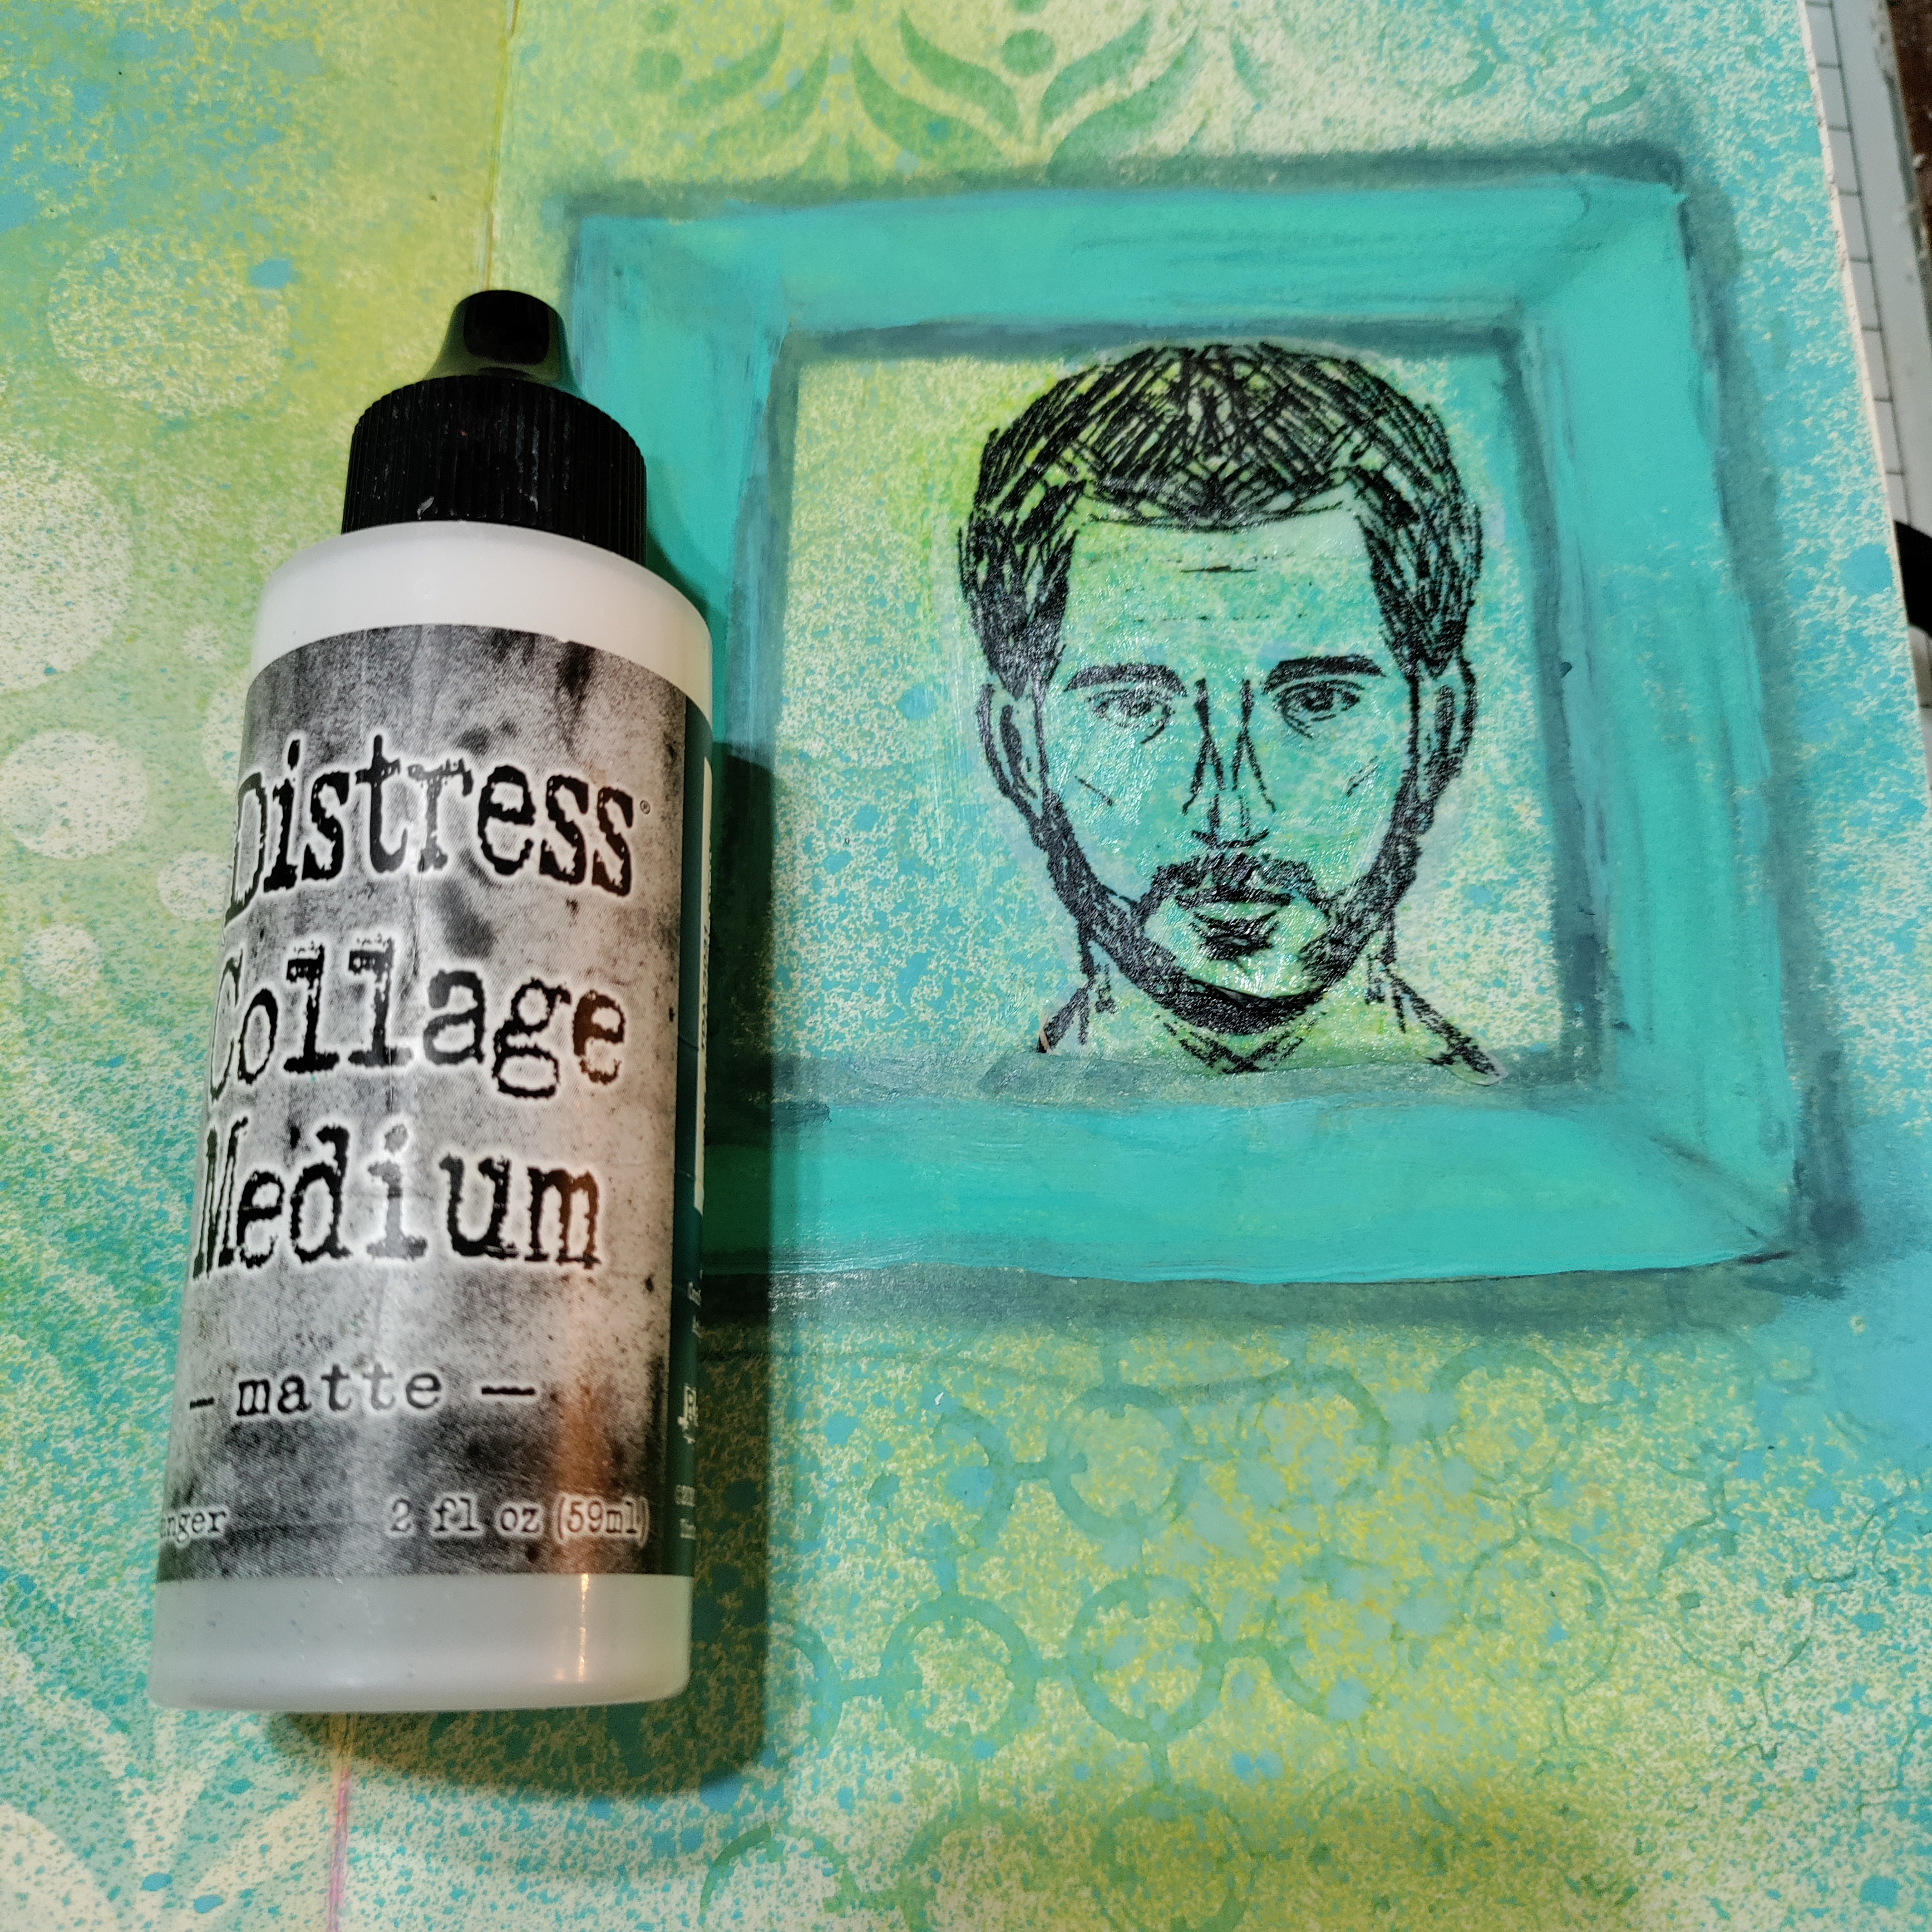
Next I took a piece of Bee Crafty stamping tissue and lay it on top of the smaller face inked stamp. then I flipped it over and inked the stamp again, carefully positioning it to form the other half of the face.
I trimmed the image then stuck it inside the frame using matte medium
using the worker stamps from the same stamp set I added to the background using black versafine clair.
Next I cut a strip of circles from the transparency and coloured the centres using a silver sharpie, turning it over to show all the black on the transparency.
I added a little more stamping using the journal art elements 3 and attached the strip of transparency using double sided tape under the silver pen. I finished it off  using a couple of wordy stickers. 

Here is the finished page once more. 
I used:
Turquoise paint

Thanks for looking! 

Wednesday, January 04, 2023

New Here? Happy New Year! By CT Ann


 New Here? Happy New Year! 
By CT Ann 


Happy New Year to you all… 

This week I finished off a double page spread in my journal, using similar colours & shapes.


Products List: 

Stamps: Birds & Moons • Crackle Background • Script Background • Journal Art Elements 3

Inkables: Triangle Stripes • Easy Frame Hexagon 4” • D’Inkables Set 8 • Texture Disc Set 4 • Queen Bee Bujo Set 1

Distress Oxide Inks: Picked Raspberry & Unchartered Mariner

Versafine Clair Nocturne 

Distress Collage Medium 

Bee Crafty Catalyst Papers 2

Wordy Stickers 1B

Black Pen • White Pen • Scribble Sticks

Journal ( Dina Wakley 8 x 8 )

Brayer

https://www.beecrafty.net/


Brayer two colours of Distress Oxide inks that reflect the colours of the opposite page. I used Picked Raspberry & Unchartered Mariner…

Use the stripes part of the 6x6 Inkable & the blue ink in a vertical pattern across the Journal page… 

Add some more vertical stripes in the deep pink, using one of the D’Inkables from set 8…


 Randomly stamp some Script & Crackle Backgrounds across the page with Versafine Clair Nocturne… 


Add some of the grid, in black ink, from the Journal Art Elements 3 set to your background… 

Use the Hexagon Easy Frame as a guide on a section of Catalyst Papers. Wet around the “inner” & tear out the shape… 

Glue to your journal page using Collage Medium… 

When everything is dry, stamp the line of birds across the hexagon .. 

Add some scribbles in white & black, using the hexagon as a guide again. I added some journaling around the edges using a Sakura Micron Pen…

Using the Texture Disc from set 4, I added a bit more Picked Raspberry around the central hexagon.. 

To reiterate the squares in the opposite page I added some using the Queen Bee Journaling Inkables & a white crayon… 

Then I chose a sentiment from the Wordy Stickers set (1B) & added a few more doodles & splatters… 


Pictures of the page & double page spread… 


Thank you for stopping by… Ann xxx


Sunday, January 01, 2023

Alison CT - Chevrons and Circles

Hi everyone, and a Happy New Year. I thought I would start the new year in a new journal, the Dylusions Classic and I decided to challenge myself by starting on a black page. 

To begin I used a wet paintbrush to help me tear the white edges off of one of the catalyst papers. I then misted the paper with water. Then I applied gel medium to the black page. I carefully placed the catalyst paper onto the glue and added more gel medium to seal it to the page. 
The water makes the catalyst paper more translucent, which muted the colours as I was applying to a black page. If you want brighter colours don't mist the paper. I then dried the page with my heat gun.

Next I sponged lemon zest dylusions paint through the Bakewell big ones. Then I applied texture paste through the chevrons dinkable from set 5. Make sure to clean your stencils imediately after use. Leave the page to dry.

Using black soot distress oxide with the dinkable in the photo I added several areas of chevrons to the page.

Then I used the overlapping circles stamp from the Art Backgrounds stamp set and the small scribbled circle from the Journal Art Elements 3 with black soit distress oxide to add more to the background. I then dried this with my heat gun.

Next I used my white pisca pen to add dots to the thicker circles of the Art Background stamp.

I then cut the excess acetate away from the Seen Transparency and completely covered the back of the image with gel medium, using a brush, and stuck it to the page. The gel medium will dry clear.

Finally, I added a sentiment from the Small Words stamp set, which I had stamped using versafine clair nocturne ink.
 
Products used:
Media Papers - Catalyst 2
Wordage - Small Words stamp set
Art Stamps - Art Elements 1, Journal Art Elements 3
Inkables Big Ones - Bakewell 
Inkables - D'Inkables - Set 5
Dylusion Paint - Zesty Lemon
Distress Oxide - Black Soot
Versafine Clair - Nocturne

Thank you so much for taking the time to read how I created this page. Please share any makes you may be inspired to create in the Bee Crafty Facebook group.  the https://www.facebook.com/groups/1511225329105390/?ref=share

Alison.
Related Posts Plugin for WordPress, Blogger...