

Hi there!
I thought I would share a bit of shrink plastic with you today. It is something that has been around for a long time, but it seems to be one of those things that you don't see much of it unless you seek it out. I thought I would show you how to make a simple key ring, and let you know a bit more about it.
Shrink plastic comes in several different sorts. You can get clear, frosted, black and white. If you wish to colour on it you can sand it with some fine sandpaper, although some comes ready sanded (which feels slightly rough to the touch). You will need to use a permanent ink - one that dries on any surface - I use Archival or Brilliance. The ink will need to air dry for a good amount of time (at least half an hour for Archival and overnight for brilliance) The easiest way to colour your stamped images once dry is with coloured pencils. A sanded surface will help with this. Be aware that as the item shrinks the colour will intensify, so light shading with coloured pencils will give a better result.
I used:
coloured pencils
corner rounder
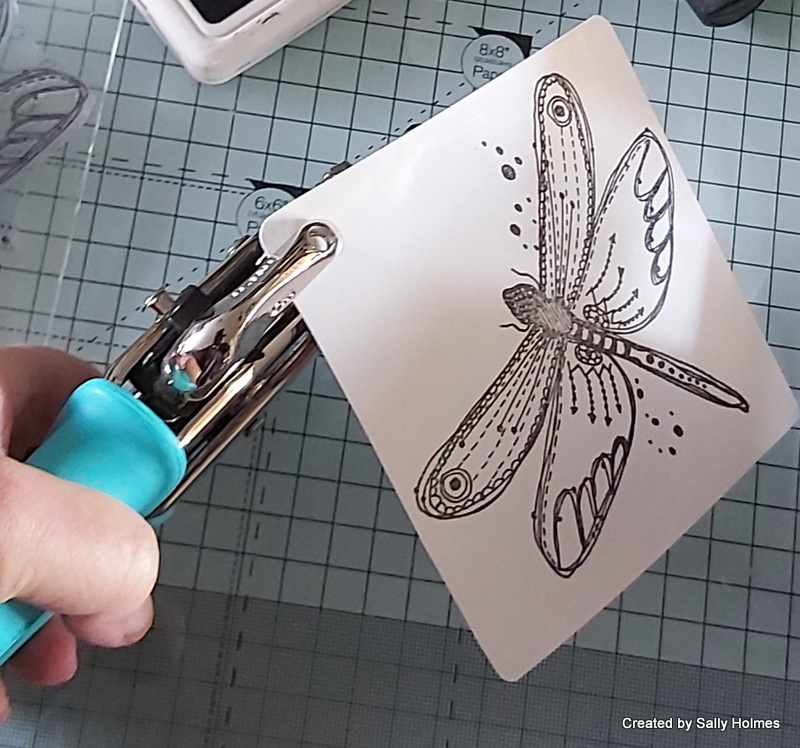
hole punch
Key ring findings

First I sanded the surface of my shrink plastic


Next I coloured the image with pencil crayons - remember paler and lighter is better as it intensifies when shrunk.


No comments:
Post a Comment