Wednesday, December 07, 2022

Countdown to Christmas 3 by CT Ann

 Countdown to Christmas 3

By CT Ann


Last minute Christmas card… if you’re posting cards then they probably need to go this week… 


Stamps : Mandala #2 / Robin

Inkables :  Easy Frames Bauble 3

Distress Embossing Powder Gold

Distress Embossing Pens

Distress Oxide Ink : Evergreen Bough

Super Skinny Slims

Clear Embossing Ink

Sakura Mettallic Pen Gold or Sharpie

Ribbon / masking tape/6x6 card black / smooth card 5.5 x 5.5

https://www.beecrafty.net/


Place the Easy Frame over a piece of smooth card so the bauble sits approximately in the centre, keep in place with masking or low tack tape. Use a brush or dauber & work some Distress Oxide ink from the edges inwards, in a circular motion. leaving a lighter section… 


Using the ‘inner’ of the Easy Frame mask the inked bauble & surround it with the Believe stamp & the same colour of Distress Oxide ink… 


When the ink is dry dust over the whole card top, with an anti-static bag. Ink up the star from Mandala#2 set with a clear embossing ink. Stamp onto the centre of the bauble, sprinkle with gold Embossing Powder, remove excess & heat until molten. Leave to cool… 


Using Distress Embossing pen draw around the edges to create a frame & again sprinkle with the gold Embossing Powder & heat set…


Add a few dots & lines with a gold Sharpie or Gelly Roll pen… 

Finish with a bow & mount onto a card blank… 


All done… why not try a different colour combination like Blueprint Sketch Distress Oxide ink & silver Embossing Powder? 
Here’s one I did a couple of weeks ago using Antique Linen & gold hi lights… 


Thank you for stopping by… Ann xxx


Sunday, December 04, 2022

Alison CT - Silver Branches

Hi everyone, today I'm sharing a clean and simple card that uses very few products.

On a piece of card, draw through the branch part of the inkable twice. One from each side, then cut them out.

Using an embossing knk pad, apply ink all over the reverse side of each branch. I found the easiest way to do this was to press the branch onto the pad. Apply silver embossing powder and gently shake off the excess. Heat with a heat tool until it changes, then leave to go cold.

Using a wet paint brush draw an approximate rectangle, which is six inches by two and a half inches on a piece of the catalyst paper. Carefully tear out the rectangle.

On a seperate piece of card stamp your chosen sentiment using Versafine Clair Nocturne. Cut it out.

 Cut a piece of card to six and three quarter inches by four and three quarter inches and glue the media paper to the left hand side using distress collage medium.
Glue this background piece to a five by seven card blank. Add the silver branches, using PVA glue, so they overlap the edges of the media paper. Use foam pads to add the sentiment, so that it overlaps the bottom of the branches.

Products used:
Card and a card blank
6x6 Inkable - Birdcage and Branch
Embossing ink pad
Bee Crafty Media Paper - Catalyst Papers 2
Wordage - Small Words 1
Versafine Clair - Nocturne

Thank you for taking a look.
Alison

Saturday, December 03, 2022

Sally CT - Keeping it simple

 
Hi there! 
I am trying to get as many Christmas cards made as possible over the next few days now postage dates have changed. Here's a step by step for a quick clean and simple card.
 
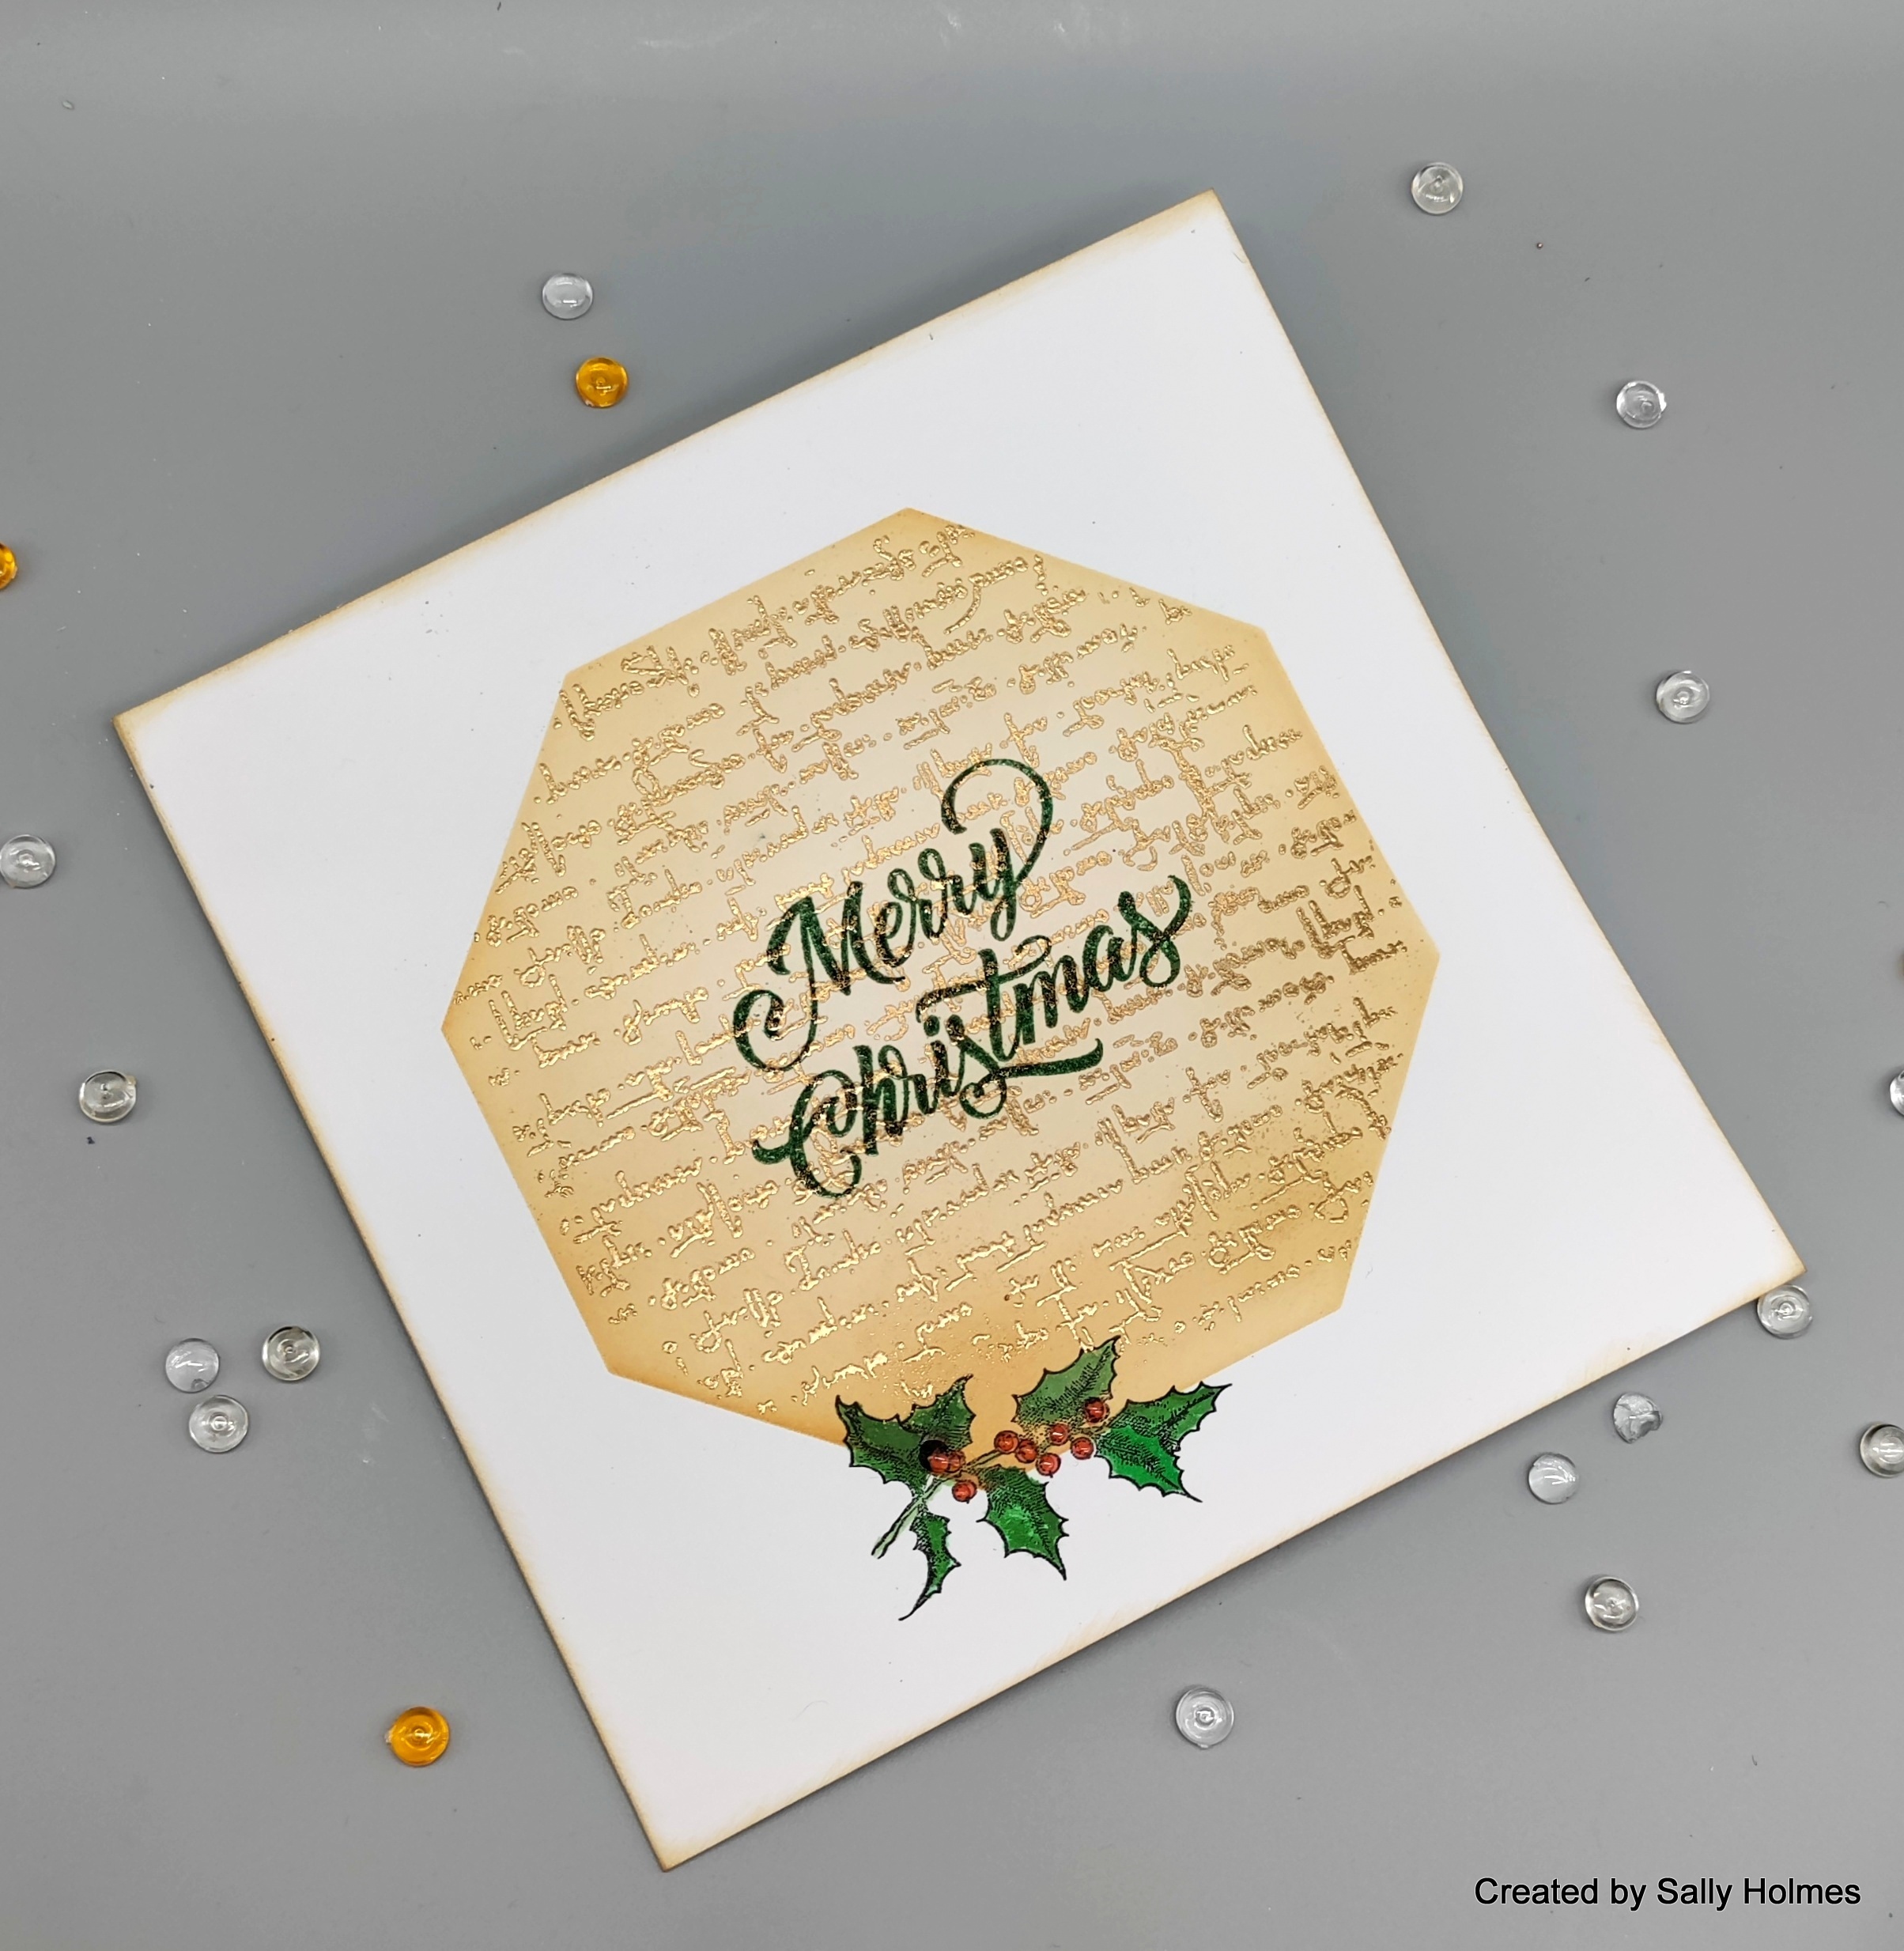
I began by taping the 6x6 octagon easy frame to the front of a 6x6 white card and blended tea dye and vintage photo distress ink into it.

Once this was dry I gave it a quick wipe with an anti static cloth then stamped the script stamp in versamark with the easy frame inkable still in place. I removed the inkable, sprinkled with embossing powder and heat set.
There was a small area bottom left where the embossing ink hadn't reached, so I stamped the Holly stamp from the robin set and coloured using ecolines and a damp paintbrush. 
Next I stamped the Merry Christmas stamp (from the wreath set) in Versamark in the centre of the card. I sprinkled over rustic wilderness embossing glaze and heat set it. I also added glossy accents to the berries on the Holly.
Here's a close up. As you can see the gold is still visible through the embossing glaze. 
I sponged a little vintage photo distress ink around the edges to finish it off. 
I used: 
Versamark ink
Before I go, I did a live on Wednesday over on the Bee Crafty Facebook page and made 3 baubles using the MDF baubles and a variety of stamps. I used red green and gold, which is the new theme for the challenge over in the Bee Crafty stamps group. Here are the baubles 
Thanks for looking!

Wednesday, November 30, 2022

Countdown to Christmas 4 by CT Ann

 Countdown to Christmas 4

By CT Ann 

I love using red, turquoise & silver on Christmas cards. This week I’ve used a stamp set that you would necessarily think of using for a festive card. 


Inkable Snowflakes Multi

Art Stamps: Art Backgrounds 2 & Wreath

Distress Oxide Lumberjack Plaid & Broken China

Versafine Clair Morning Mist & Nocturne 

Pop Outs Stars

 Silver Embossing  Powder

Vellum, sequins, silver card, 5x7 card blank card 4.5” x 6.5” 

https://www.beecrafty.net/

Ink through the Snowflake Multi stencil with Broken China, on to a piece of card a little smaller than the card blank… 

I wanted to diffuse the background so stuck double sided tape to the back of the snowflake card, cut a piece of vellum slightly bigger & covered the front completely…

(it’s difficult to see on the photo, sorry). 


On a separate piece of card ( 2” x 41/4”) cover with the Lumberjack Plaid Distress Oxide.. then stamp the zig zag across it in nocturne (black) ink… 

Cut two more pieces of paper (2” x 41/4”) & stamp the scribble stamp using the Lumberjack Plaid ink… 


Cut three triangles from the inked & stamped pieces… 

Using the off cuts from the red triangle add them to the outer edge of the other triangles… 


From the ‘waste’ cut 3 oblongs to create tree trunks…

Glue the two scribble trees to the vellum the the red tree in between using some foam tape… 

Stamp & heat emboss in silver ‘Merry Christmas’ from the Wreath stamp set, then cut around it… 

Use a small Popout star, cover in Versamark ink & heat emboss in silver…. 

Glue the star to the top of the centre tree & the sentiment, add some sequins to the trees… 

Matt on to some silver card/paper & onto a card blank.. 


Thank you for stopping by… Ann xxx


Sunday, November 27, 2022

Alison CT - Doodle Art Windmill

Hi everyone, today I'm sharing a double journal page spread using the new catalyst papers and the Doodle Art Windmill.
To begin I used a wet paintbrush to create two five and a half squares from one of the catalyst sheets. I then used distress collage medium to glue them to a double page in my Dina Wakely 6x6 inch white journal.
Next I smooshed gathered twigs distress oxide over the inkables big ones into the woods. I then lightly spritsed with water and applied it to both pages.

Next I created hills in the background by using the Hirizon 1 inkables skyline, with gathered twigs distress oxide and a blending tool. To do this place the stencil where required, then begin inking kn the stencil and swiping lightly onto the page.
Next I stamped the windmill, the well and  several trees and tulips using versafine clair pinecone ink on a seperate piece of card. I then used the dies to cut them out. Next I coloured them with Ecoline pens.

Then I stamped the sentiment using the pinecone ink. I cut this into four pieces and inked the edges with gathered twigs distress oxide. Finally I glued all the pieces to the background.
Products used:
Media Paper - Catalyst papers 2
Inkables big ones - Into the Woods
Skyline Inkables - Horizon 1
Doodle Art Stamp - Windmill
Wordage Stamps - Time Flies
Distress Oxide - Gathered twigs
Versafine Clair - Pinecone

Thank you so much for taking a look.
Alison

Saturday, November 26, 2022

Sally CT - A snowy Bauble

 Hi there! I thought I would show you how I decorated this MDF bauble.

I began by painting the back piece with gesso and the rim in gilt acrylic paint.

Whilst this dried I stamped sky terrace onto some shrink plastic and coloured it. On the frosted shrink plastic I thought by colouring it on the back with alcohol markers, it would show through, but it didn't once shrunk. I use stazon very rarely, but I find it is the least likely to smudge on shrink plastic

I shrunk it with my heat gun and added a bit of colour with coloured pencils to rectify my mistake.
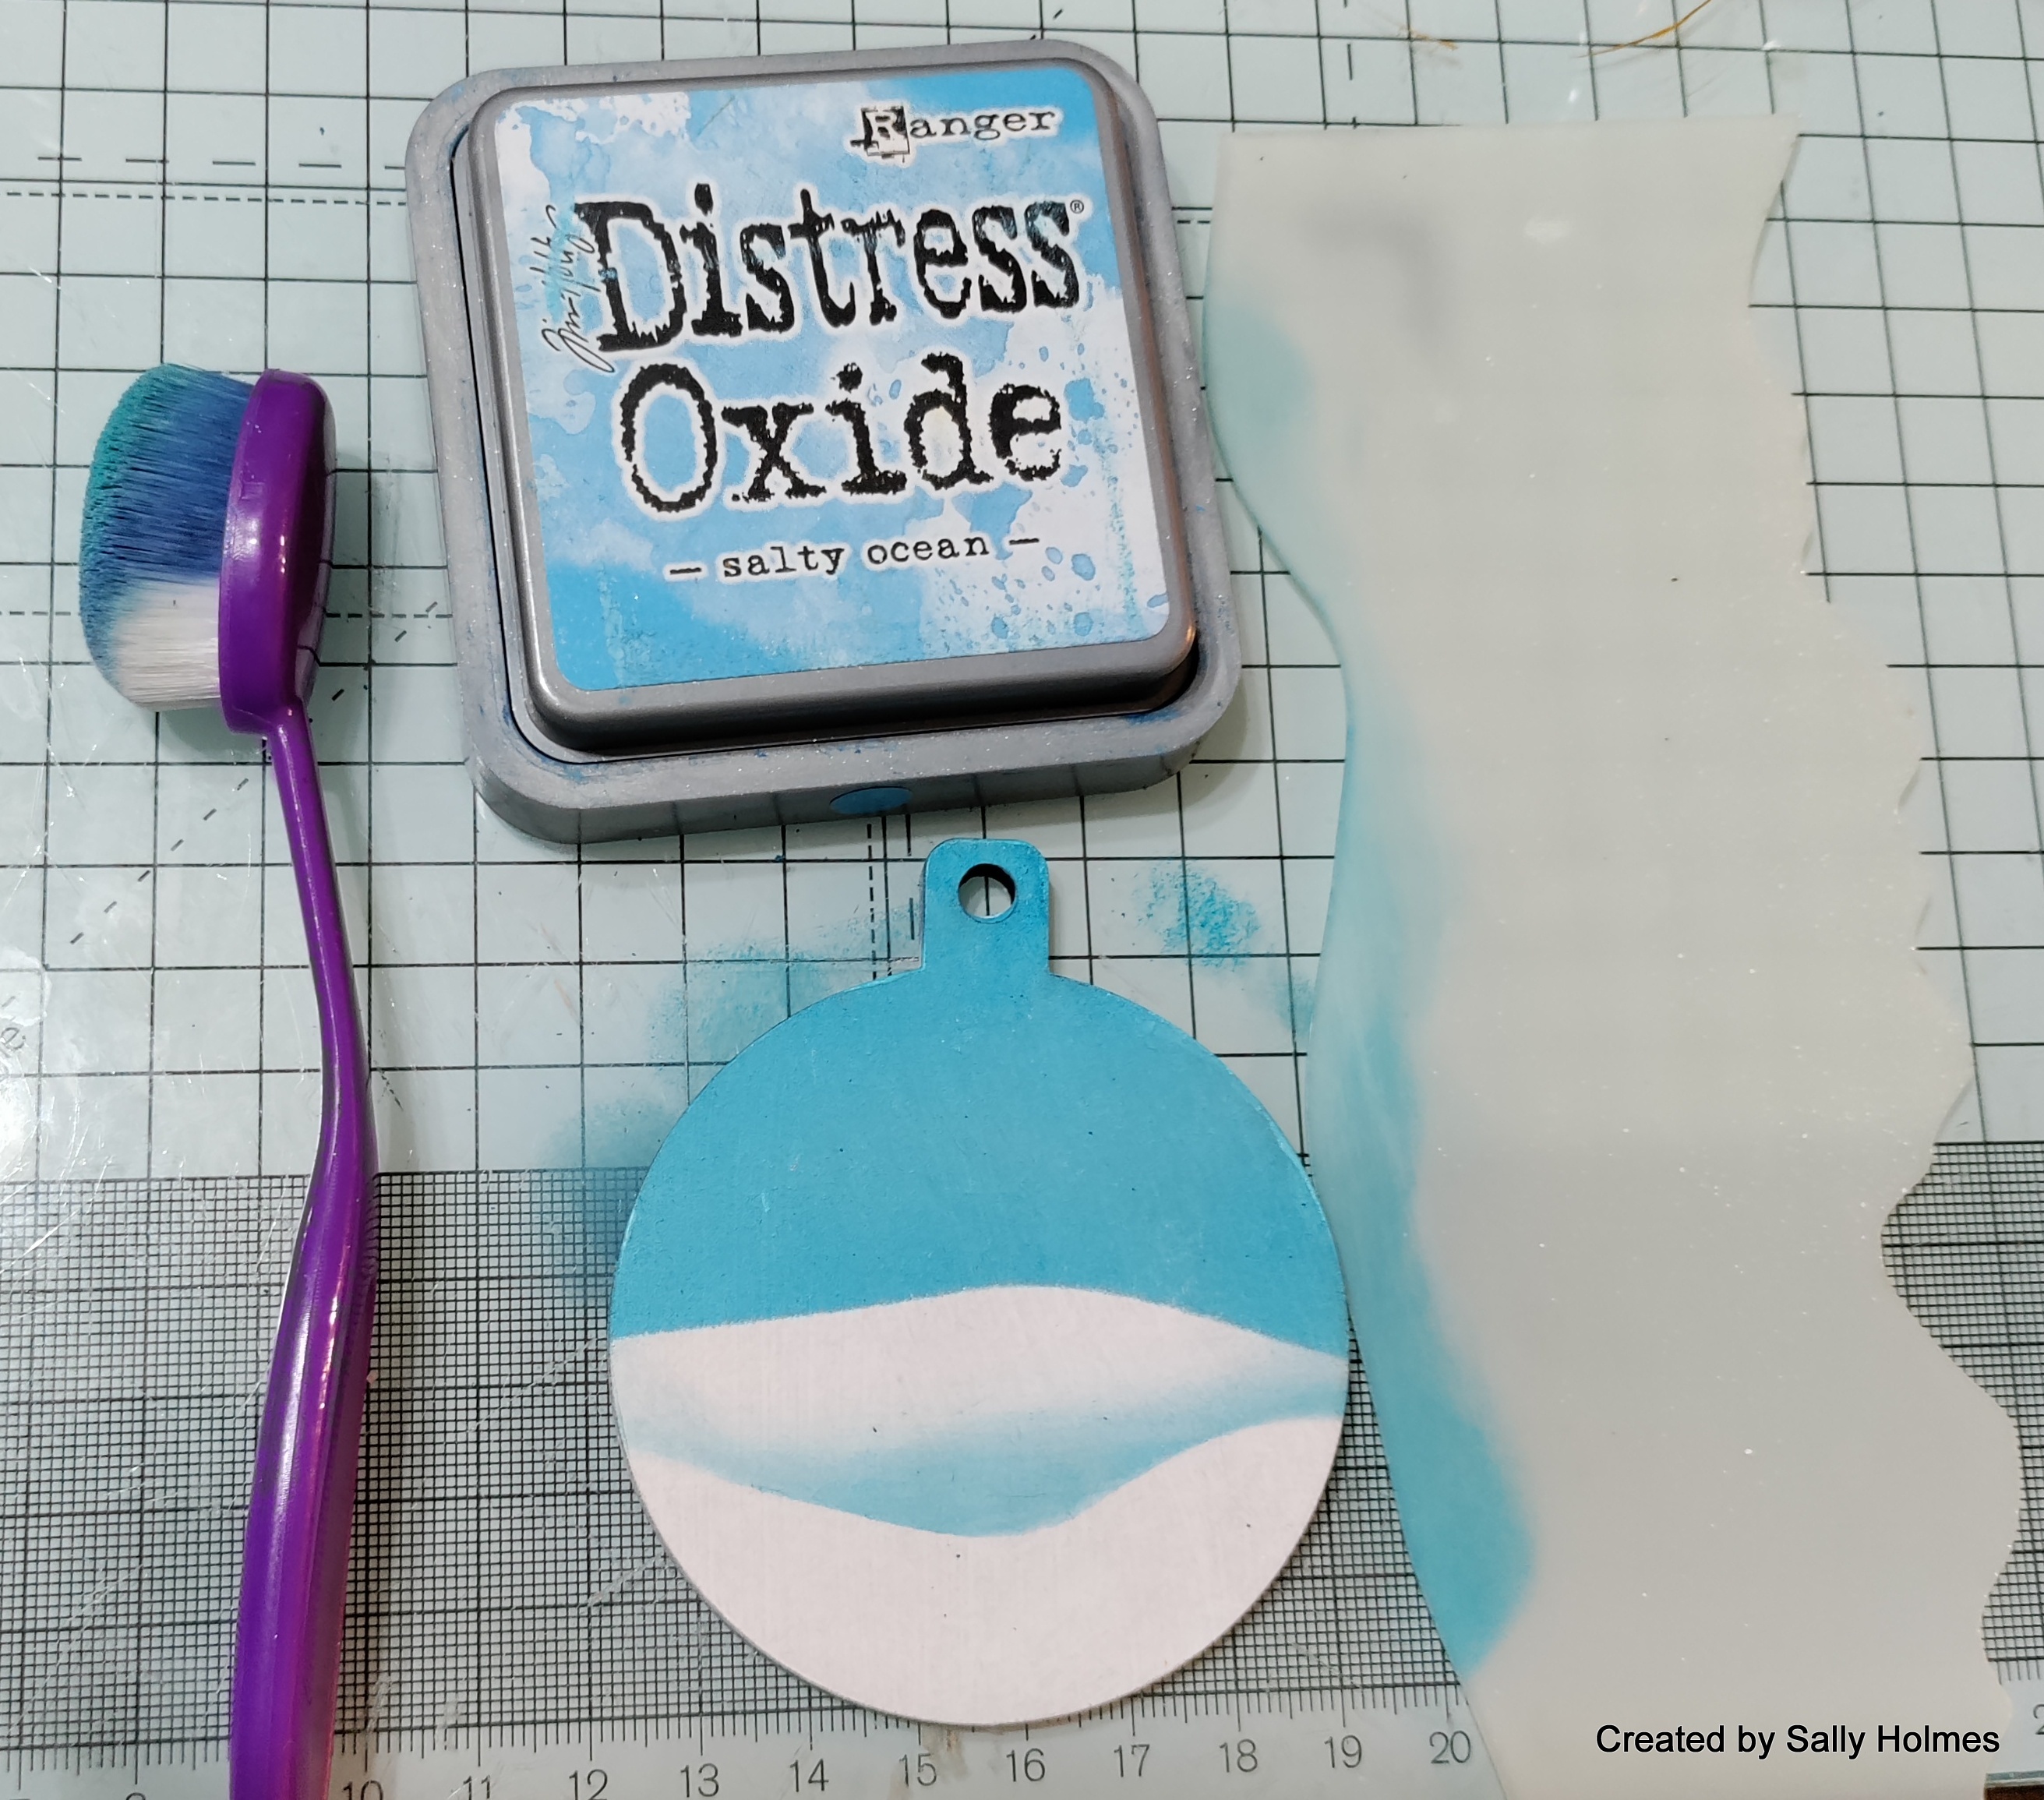
Next I used the horizon 1 skyline inkable to add some snowy hills with salty ocean distress oxide
I added glitter glue to the tops of the hills and some snow
I used gel medium to attach the house, the frame and some super chunky glittery snow stuff I found in my stash (no idea where it came from, sorry!) I think the stickles glitter gel might work well for this too.
finally I added some white pen around the frame
Here is another look at it. 
I used:
Stazon ink
Coloured pencils
glitter glue
Chunky glitter/ fake snow 

If you haven't entered the Bee Crafty Facebook group Challenge yet, we are looking for creations on MDF this month, and you have until Wednesday night to get them done. hope this has given you a bit of inspiration! 
Thanks for looking! 
Related Posts Plugin for WordPress, Blogger...