Monday, April 19, 2010

Ahoy there Captain...

Hiya!

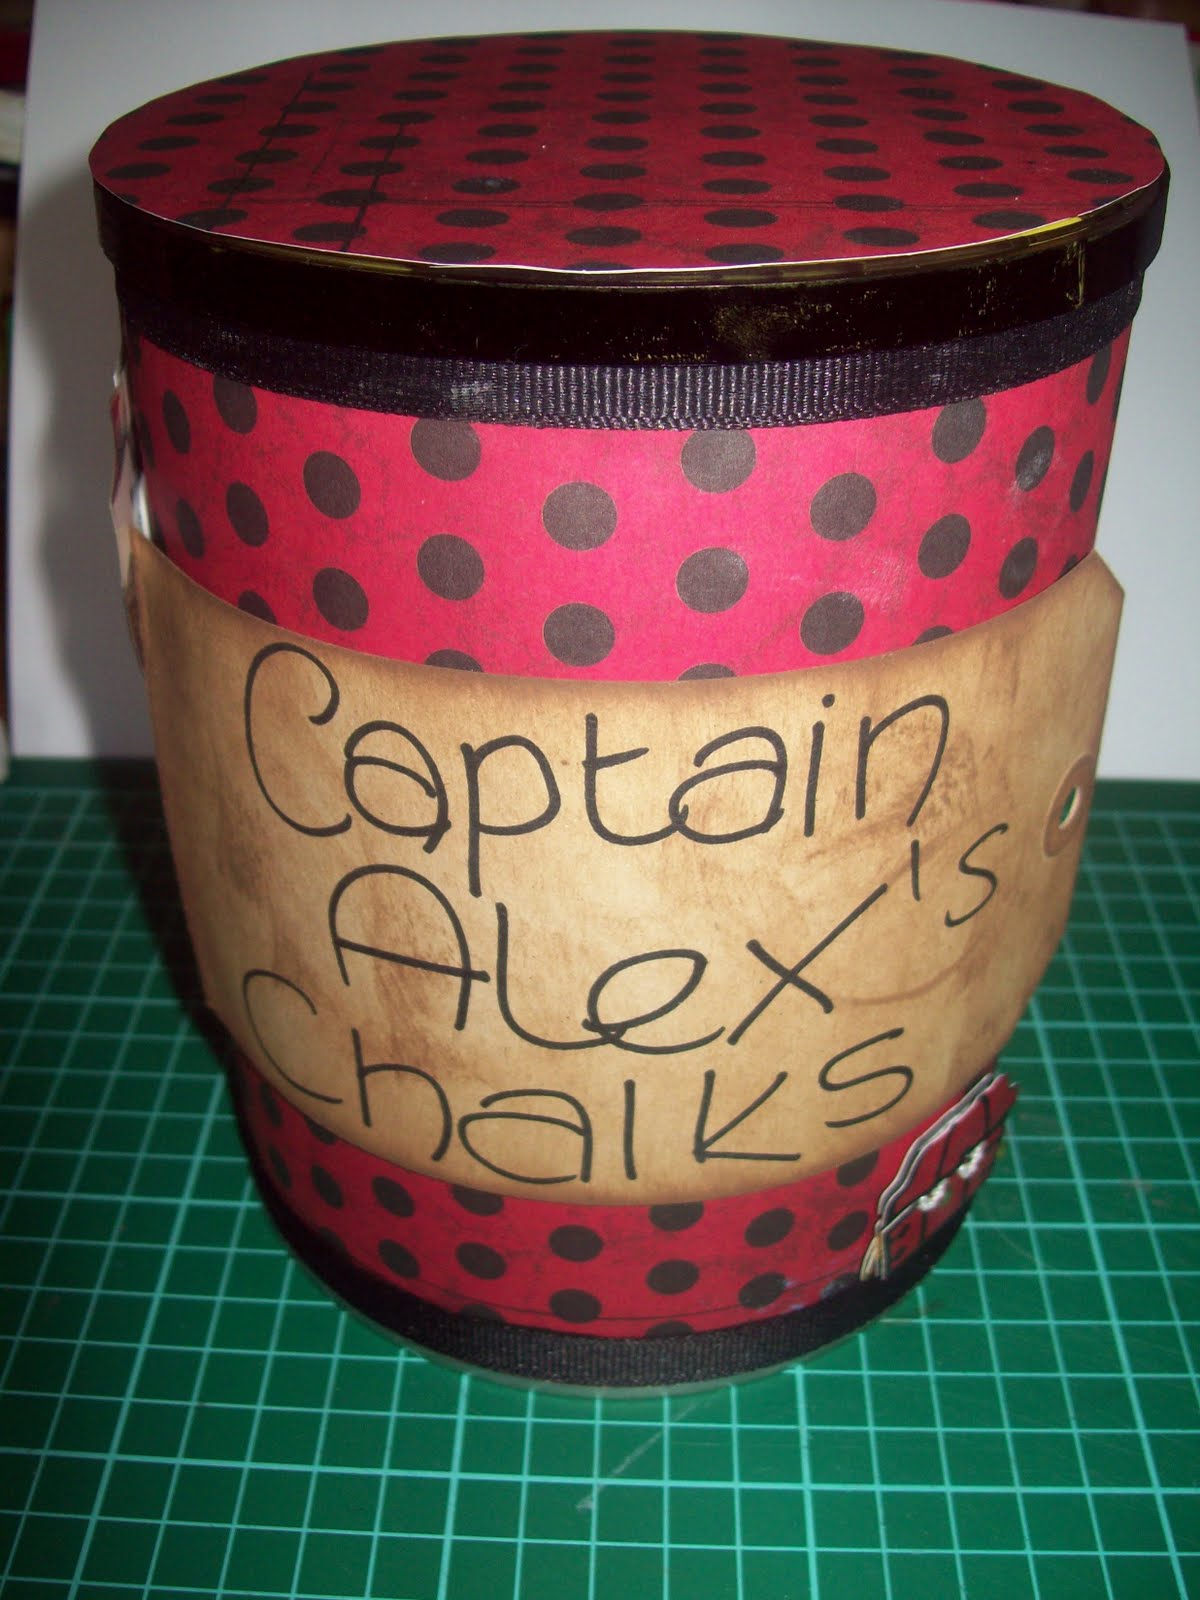
Well today my little man isn't too well so I decided to make something to cheer him up (while he had a nap)and make him a pot for keeping his chalks in (he asked me to do this ages ago and I forgot!).
So how did it begin - well like this
a baby formula tin!!! 
I cut a 12x12 sheet of the Sandylion Pirate Bandana into 2 6x12 strips and then one of them in half.
stick the long one and one of the 6x6 squares together and stick to the outside
(if you have a different size tin/tub you will need to alter the measurements)
I then stuck 2 lengths of ribbon around the top and bottom with the blank side out - I felt it matched the papers better
Then a large tag inked and written on
This is mounted onto the tin with foam pads
I also stuck on a couple of 3d embellishments that I had left on a sheet from a previous project.


And there is just the lid to cover - I used a black marker and some black ink to cover the outside and a thelast square of paper that was left I used to cut out a circle that will be stuck onto the lid.

And thats it!!!!


Hope you like it

Take Care

Sam xxx

Sunday, April 18, 2010

Inky Inky Inky day!!!!

Oh what a day!!!

Well today Mum, Bev and myself have been at a retailers training day and it was fabby!!!

Here they are in the first workshop which was Alcohol Inking and the best ways of using them on card - very good indeed and a big Thankyou to Carol who took that workshop - having us 3 to deal with is a big ask!!!

This is the second - a metal embossing class - this isn't the finished article - but I will go onto more detail another day!!!!  It was great fun and again a big Thankyou to Lynne for this - it's not something we have personally worked with in such close quarters and I have to say - I liked it!!!

Next it was the lovely Sheena - we were actually sat on the floor at this stage!!!
Cosmic Shimmers and Distress inks were the order for this one and we all came away covered in ink!!!
Sheena did ask us that if you were to see her demonstrate a particular product what would it be?  So what I would like you to do is comment below or send us an email and then we can forward all of your suggestions direct to her, 

The Last class was with Karen and this was grungeboard - something we love and have worked with often, very versatile product that can be used in conjuction with everything else I have mentioned so far!!!

All in all it's been a fab day, very messy (brill!!) and now (like all of the instructors) we are zapped!!!!

What this does mean for you is that we saw lots of products that over the course of the next few months will be coming into store (if I get my way!!!)

Hope you've all had a great weekend.

Take Care

Sam xxx

Saturday, April 17, 2010

This is our shop!!!

Afternoon everyone - how's you?

Well I was having a think (don't laugh) earlier and it occurred to me that I rarely show you the shop at all.  Sooooo I decided that I would take some pictures and show you!

The sign!!!

This is the front of the shop - there's actually another window which is part of our shop but I couldn't get that in!!!

This is the picture from the front door, to the left is the A4 paper towers there are more all around the shop but the main A4 is just there.  To the right is the Jolly Nation that is currently on offer.
 
Moving forward you see the counter to the right - that's Bev behind the counter - she is currently putting her Wedding Stationary together!!!  You can find all of our Wedding ranges here

This is just some of our 12x12 papers - these are at the back of the shop but there are a few more located around the shop!

These are the stamp shelves on the back wall of the shop (if you look in the corner then you can just see the 12x12 paper tower)
This is one of the ribbon towers.

Well I hope you liked your little tour of the shop - there really is more to see so if you get the chance please come down and have a look.

Hope you're all enjoying this beautiful weather.

Take Care

Sam xxx

Friday, April 16, 2010

something different!

Afternoon.......

Have we all got that Friday feeling? 

Well I have been having a mess with some different papers from the shop - from the Glitz Gigi range and one from another Glitz range and here's what I made...

It's just one of those things - it would be a hugs and kisses type of thing - something you send "just because".
So how did I make it....
Ingredient number 1 - the inside of a toilet tissue roll!!!!
fold it in half - so that it lies flat - I used my top score multiboard tool as it creases the edges so well.
Then lots of black ink all around the edges - do both sides as it will look a little odd otherwise!
Next stick one end together - to create a pocket I used Hi bond tape - it's just so much stronger!!!
Next using a circle punch (any round shape scalloped or not would work) notch out a half circle at the other end!
Then from the Polka sheet of the gigi range I cut a rectangle that will fit around the edge and notched out the top of that also - at the appropriate stages
Then adhere it to the the pocket and ink around the edges again
Then from the sheet from another Glitz range I have cut a 2 inch strip and black inked the edges
And adhere around the middle of the pocket.
I then stamped the lips and coloured them with Magenta Stickles (and a cocktail stick to help!)
I then adhered some magenta gros grain ribbon and the lips to the front.
Then theres a tag for the inside - I cut a rectangle to fit (depends where you shop for your toilet roll) and stuck some of the paper that was left from the cover on too.
At this point you can add whatever detail - dependant on why you are sending it and pop it in the pocket and this is what you have

Oh and I added some diamante style gems to each corner!

Hope you liked it

Take care

Sam xxx

Thursday, April 15, 2010

Just us!!!

Afternoon all

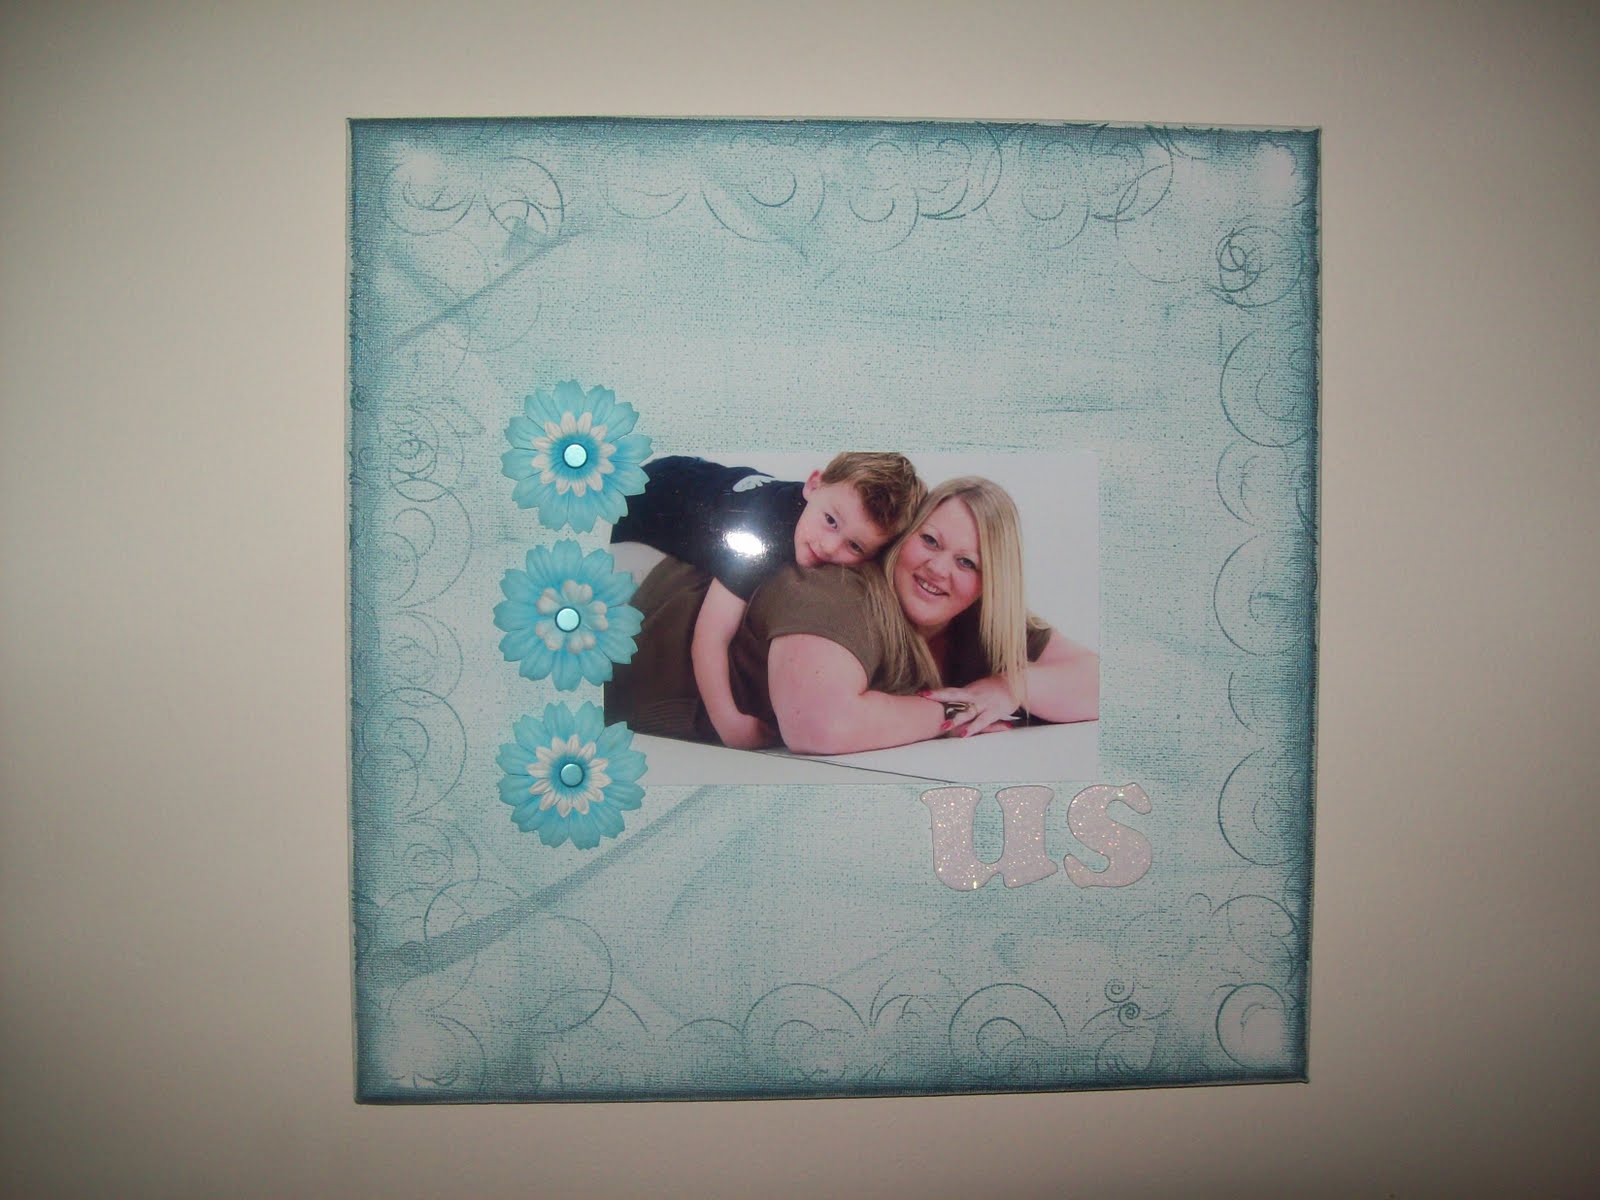
Well yesterday I took all (bar one) of the things that I had been making into the shop - so if you want to go and have a look then feel free.  The one I didn't take into the shop was the canvas - so mum said to make another one - in true Sam style i didn't want to make another one exactly the same though so instead I did this.....

A bit more simple this time but I like it just as much. 
So again we took a blank 12x12 canvas
then I used a Metallic Teal Inkpad and just swirled it across the whole page - nothing magic just sort of rubbed it all over! 
I paid particular attention to the edges to give it that framed effect.
Next I took a swriled stamp and stamped it in the same colour around the edge - this will look darker even though its the same colour - this is because of how much concentration of ink there is in one spot.  Any of the swirls in this range would be perfect for this sort of thing.
So next is the photo - I have used a 6x4 on foam squares just to look a little more 3D.
With just a couple of chipboard letters to say "us" - these ones were already glittered but you could glitter some you already have.
So just before it was hung on the wall I put some of the Bee Crafty Paper Flowers together (mixed up from a couple of the different selections available) and put brads through the middle and thats it!!! Hand it up and enjoy!!


Have Fun

Take Care

Sam xxx

Wednesday, April 14, 2010

Puzzled!

Good Afternoon everyone!!!

So puzzled I am or should I say my boys are....
Once again I have had great fun today in the shop and this is what I made!

So I started with a blank puzzle (these are available in A4 or A5)

and remove a couple of sections...
DONT THROW THEM AWAY - we'll need them later!!!
Next was the inky bit!!!  2 shades of brown just randomly thrown over the puzzle - nothing specific just make it look more brown than white!
So I used some paper to go behind the spaces and then added my photo's to the top of that paper - I also added some metal corners.
Then some chipboard brackets which I had also inked with the same brown as the puzzle.  You will also notice that there is a brown tag that has had the "inking" treatment with a stamp.  The metal heart will be adhered later on
On the sides here I have added some of the card candy circles
Now I have taken one of the sets of 4 pieces we took out and also inked them - slightly darker than before so that they stand out a bit more.  The adhere them with double sided tape and the gold heart has been adhered at the top.
Last job is to punch 2 holes and add some wire/string and then hang from wherever you desire!
And here's what you get!

Hope you liked it

Take Care

Sam xxx

Tuesday, April 13, 2010

a is for?

Alex!!!


isn't he gorgeous!!!  Saying that I am a little byass!  So this is my little door hanger that I covered today - this one is the oval shape following that link and they are just 50p! and come to you looking like this..
so I covered it in red card
and then added a small piece off the TPC Celebration collections Dotted Circle I also added the stamp of "I'm just so proud of you" underneath the patterned section
then I "threw" a black inkpad all over it to give that worn/aged look
Then I added a chipboard letter
and a brilliant picture of my gorgeous Alex
then some small gems adhered to the top of the chip letter and just above the photo
So to finish it I just tied some ribbon around the opposite side of the photo and that was it.

Hope you liked it

Take Care

Sam xxx

Related Posts Plugin for WordPress, Blogger...