Thursday, November 21, 2019

Karen DT - Hochanda Festive Doodle Art samples

Morning xx

I'm up on the Bee Crafty blog today with my Christmas Doodle Art samples for this weeks show. I hope you all got your orders in 😁😁

Products used:
Doodle Art stamps: Snowflakes,  Robin, Baubles, Poinsettia
MDF wreath
MDF Gingerbread
MDF Christmas Embellishments
Dinkables
Dylusions Inks
Distress Oxides
Gilding wax
Sparkle Pens
Inkables: Snowflakes, Baubles


MDF wreath, Tree and Bauble embellishments sprayed with Dylysions sprays. Also used Sparkle pens and Gilding Waxes.


I used Dylusions Sprays through the Snowflake Inkable. 
Doodle Art Snowflake and Sentiment stamp 


MDF Gingerbread sprayed with Dylusions Sprays and coloured in with Oil Pencils 
Gilding Wax added to the edges.


Poinsettia Doodle Art stamp.
White Embossing powder.
Snowflake Inkable 
Distress Oxides 


MDF
Dylusions Sprays 
MDF Bauble embellishments 
Doodle Art stamp sets


MDF Gingerbread Man and stars
Bauble Easy Frame
Distress Oxides
Snowflake Dinkables 


Dylusions Sprays through Snowflakes Inkable 
Doodle Art Tree
Gold embossing powder 


Doodle Art snowflakes
Oil pencils 


Inks
Doodle Art Robin and Snowflakes.
Snowflake Inkable 
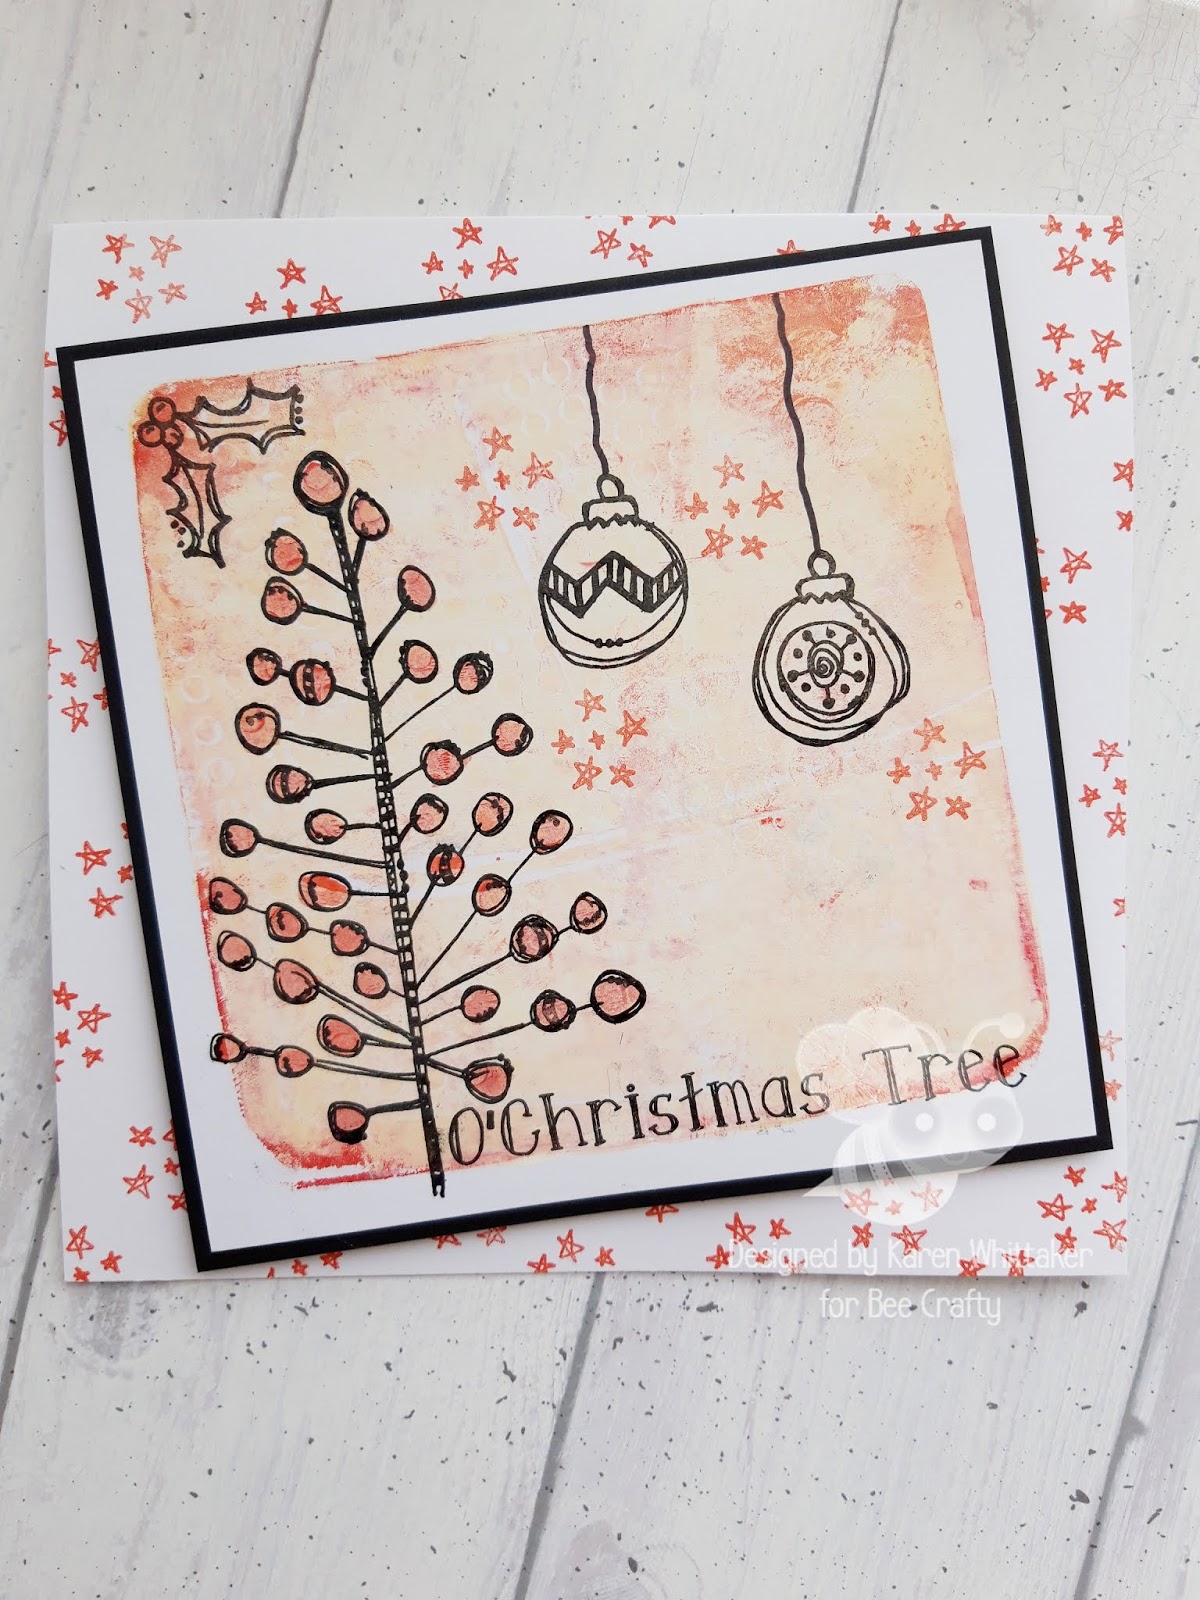

Doodle Art Tree and Baubles
Gelli Plate 
Distress Oxides 

I hope you enjoyed todays post and got some inspiration from my samples. 

Until next time...
Crafty hugs xxx

Wednesday, November 20, 2019

Caz Harwood - Hochanda Yuletide doodle art show samples

Showcasing all the samples I made for this week's Hochanda shows...hope you enjoyed and are inspired by my makes.
❤️

PRODUCTS USED: 
Doodle art stamps: poinsettia, baubles, robin and snowflakes

MDF bauble wreath

MDF Coin holder bauble

MDF gingerbread people 

Ink'able Snowflake template

Bauble template/frame

Distress oxides


Bauble coin holder - painted, holes filled with resin and glitter, ribbon to hang.

Bauble wreath - sprayed with distress oxide sprays, gilding wax added, additional elements glued on, lava paste for snow effect, sentiment stamped and glued on, ribbon to hang.

Snowflake Ink'able card - template placed on card and ink sprayed over top, stamped sentiment and mounted.

Robin card - teal ink spritz, stamped text from snowflake set, snowflakes stamped in grey archival, robin and sentiment fussy cut and stuck on with foam tape.

Snowflake card on Kraft - snowflakes stamped in gesso, snowflake Ink'able sponged gesso through, ink spatters, sentiments added and stickles added for sparkle.

Mixed media poinsettia card - distress ink brayered background, inked baubles, poinsettias fussy cut and coloured with inktense pencils, decorative elements and sentiment added.

Tree card - blended ink background using distress/oxides, stamped tree and decorative elements plus sentiment, mounted. 

MDF robin tag - snowflakes MDF glued on and gilded, nuvo spray to coat, spatters of white gesso for snowy background, lava paste for snow floor, robin fussy cut and coloured.

Gingerbread people garland - decorated MDF with metallic bronze paint, details added with posca pens and 3D Enamels by Dovecraft. 

Bauble card - Ink'able frames used, layered to get this look, then I drew around one and cut it out, heat embossed a design on it and added foam tape to mount, tag from robin stamp set.

Hope you like! 
❤️ 
Thanks for looking. 

Saturday, November 16, 2019

Jane DT - Layered Sunflower Tag

Hello!

This week on the Buzzy Goings on at Bee Crafty blog I am sharing a tag that I have made.  At the moment I am really loving creating lots of layers, often with different materials and textures, but for this project I thought I would create those layers using lots of stamping...


I started by using one of the Dylusions mixed media tags (number 10) and with my brayer added layers of distress inks (Crushed Olive, Wild Honey and Vintage Photo)...


Next I used the same 3 colours of distress ink to add random background stamping - Multi Mini Distressed Diamonds, Texture Circles and Texture Borders...


Using the Ledger Measure stamps, I added some Versamark and then gold embossing powder.  When I first stamped the larger of the stamps along the right hand side it felt a bit too overpowering so I brushed away some of the powder to create a more faded and distressed look, then stamped the other parts more fully...


I am so used to adding stenciling to my projects that I really felt I wanted to use some,  I chose the Circle Lattice d'inkable and applied Vintage Photo distress ink through it with a stencil brush...


At this point I was starting to think about my focal points and after deciding where they would be used a few of the Stitch Borders with sepia Versafine to create a more defined area...


To create more dimension but also echo the linear look, I stamped out the tape measure from the Stitch Border set and coloured them with some distress ink before adhering to the tag...


I wanted one more focal image to contrast with the background and create even more dimension so I chose the Beautanicals Large Sunflower, which I cut out and coloured with the same colour distress inks...


The final touch was one of the Small Words stamps which I stamped onto brown card and embossed with gold powder...


Here are the products used:


I am really loving mixing up my stamp sets to create layers!  If you have made any projects using Bee Crafty products we would love to see them in the Bee Crafty group on Face Book, so please do pop over for a look.

Thank you for looking and happy crafting!

Jane xx

Thursday, November 14, 2019

Karen DT- Hello You

Hi happy crafters xx

Guess what I've been playing with for my weekly Bee Crafty blog post?..  its those fabulous Doodle Art stamp sets again 🤣 I can't get enough of them . So much fun and versatility 😁

For today's make I used:
Doodle Art regular Bird
XL Everyday Sentiments 
Distress Oxides 
Piece of bubble wrap!
Kuretake clean colour pens
Sparkle pens
Gelli plate


I created this background with my Gelli Plate,  Distress Oxides, and a piece of Bubblewrap 🤣
(You can get similar effect by applying the Distress Oxides to an acrylic block and spritzing with water. Press on to card blank, then stamp bits of the bubble wrap, inked up with a contrasting colour Oxide).


I stamped some of the elements randomly around my card, in black onyx Versafine. 


The bird and flowers were stamped in black onyx Versafine, coloured in with sparkle pens and cut out, before adhering with 3d glue gel. 
I also coloured in the leaves and branches of the swirl foliage, with my kuretake clean colour pens.
I stamped the Sentiment in Versafine and finished by drawing a wiggly frame around the inked panel.

And there we go 😁

Thanks for popping by and I'll be back soon 
Crafty hugs xx 


Wednesday, November 13, 2019

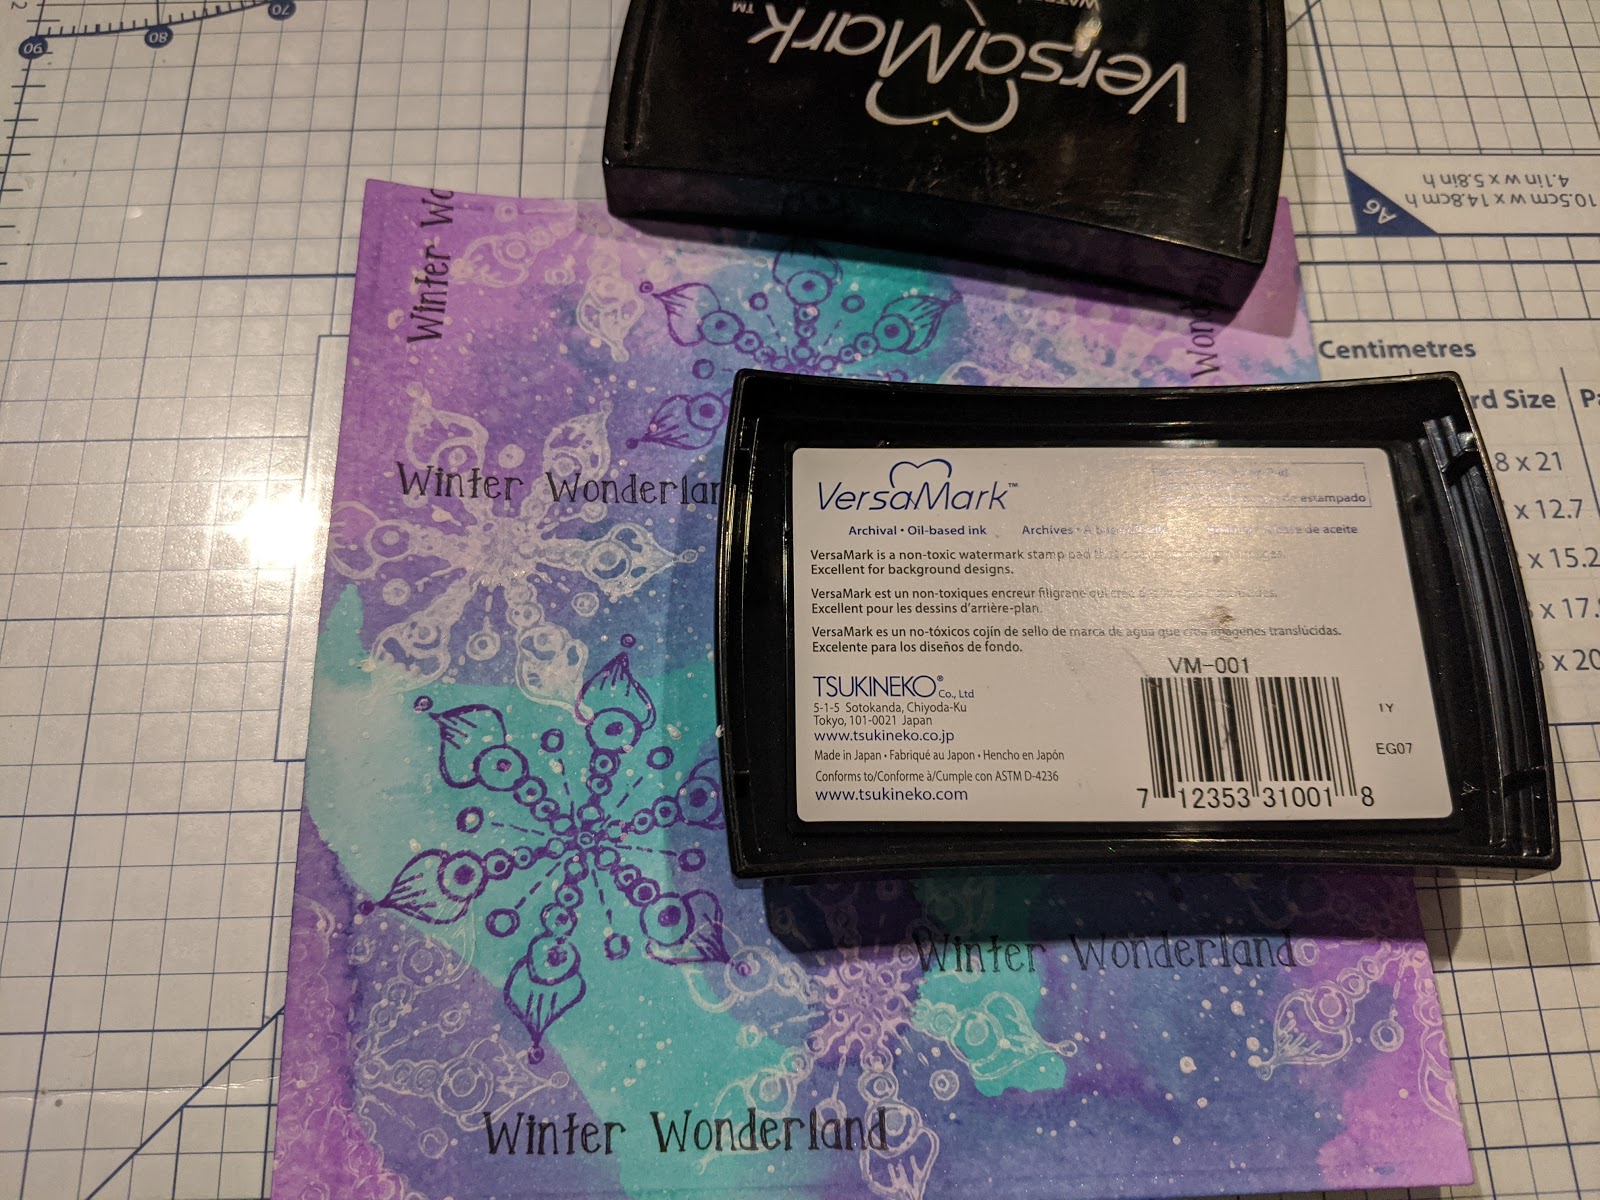
Caz Harwood - Winter Wonderland card


PRODUCTS USED: 

Bee Crafty Doodle art snowflake stamps
Distress oxides 
White gesso
Clear embossing powder
Versamark ink
Archival black ink
6x6 card blank and mat

HOW TO MAKE:

Smoosh some peacock feathers oxide ink onto the card panel

Then go over the top with same technique using wilted violet oxide ink. (Regular distress ink will work also)

Then stamp the snowflake stamp in white gesso staggered over the background

Spritz the remaining gesso with water and use an old messy paintbrush to create spatters (flicking bristles on a tooth brush works too)

Then stamp more snowflakes in wilted violet to add dimension

Stamp the biggest Snowflake onto separate card along with the Winter Wonderland sentiment - fussy cut. Also randomly stamp the sentiment as part of the background too

Swipe a Versamark ink pad over the background - you don't have to fully cover - this will give a glossy, icy feel to it once heat embossed

Add sprinkled sugar stickles to the fussy cut snowflake for an icy look.
Add the snowflake and sentiment onto your card using dimensional foam tape and do a squiqqle border around the card panel...you're done!

Hope you like! 
❤️
Thanks for looking. 


Saturday, November 09, 2019

Jane DT - Gelli Print Butterfly Memory Dex Card

Hello!

This week on the Buzzy Goings on at Bee Crafty blog I created a project that included some gelli printing!  This is a technique that I love when other people use it but that I really struggle with myself, so I decided that I needed to have some more practise and used the plate to create a background for a Memory Dex card.

I also filmed the process which you can link to here...

https://youtu.be/aFy02q73GsI


After creating a background using the gelli plate and acrylic paint I added some extra stenciling with the metal alpha d'inkable.

Then I did some background stamping using the stitch borders set with archival ink pads.

To create the focal points I stamped the film strip onto heat resistant acetate using Versafine and embossed with clear powder on the top.  I stamped the tape measure from the stitch borders and the butterfly from the dragonfly and butterfly set onto a piece of waste card that I had cleaned my brayer on.

When these were all cut out I layered them up using glue gel adding some black cotton thread as well for extra texture.

Finally I used a sentiment from the small words set...


To create this project I used the following products:

* D'inkables - Distressed Harlequin; Metal Alpha; Circles; Circle Lattice, Honeycomb, Chevrons
* Art Stamps - Stitch Borders
* Art Stamps - Texture, Film Strip and Circles
* Art Stamps - Dragonfly & Butterfly
* Wordage - Small Words
* Archival Inkpads
* Clear Embossing Powder

I am certainly going to be getting my gelli plate out more to get extra practise but it was good fun!

Thank you for looking and happy crafting!

Jane xx

Thursday, November 07, 2019

Karen DT - November page

Morning xx
As it's my turn on the Bee Crafty blog I am sharing the November page from a Calendar I made for a friend.
I used the beautiful Bird on a Branch and
Large Branch and Tree set

Also used:
Maple easy frame 
Distress Oxides
Black Versafine


To begin my page I worked out where my Tree was going to go, then I used my easy frame stencil to create the effect of the leaves on the tree. I blended Distress Oxides through them, masking each one off, using the innie.

I stamped the Tree over the top of the inked leaves, in Black Onyx Versafine.

The Bird in the Branch was also stamped,  slightly off the page, in the Black Versafine.

To complete I stamped the sentiment in the same Distress Oxides,  as the leaves.

I love making gifts for friends and I hope you enjoyed todays make.

Crafty hugs xx 

Wednesday, November 06, 2019

Caz Harwood - Courage lies within tag


PRODUCTS USED: 
Bee Crafty Beautanical serendipity daisy stamp
Bee Crafty texture, film and circles stamp set
Bee Crafty small words sentiment stamps
Distress oxides
Ranger tag
Watering can Archival ink
Versafine onyx black ink
3D pearl effects

HOW TO MAKE:
Swipe the oxide ink onto blending mat and mist with water, then smoosh the tag into the puddle of ink to create a background.

Next stamp some details using the circles stamp from the texture/film/circles set -
I used watering can Archival ink as it's subtle.

Then I did a border around the tag using the film strip stamp and versafine onyx black. I only inked the edge.

Focal point is the daisy stamp, which I stamped in versafine onyx black.

Then I added a small word sentiment and some 3D pearl enamel details on the daisy heads.

That's it! 
Hope you like 
❤️
Thanks for looking.


Saturday, November 02, 2019

Jane DT - Bauble Christmas Card

Hello!

This week on the Buzzy Goings on at Bee Crafty blog I have made a fairly quick and easy Christmas card...


I started by using the 6" bauble 2 stencil on a piece of white stamping card.  Using distress inks (crushed olive and peeled paint) through the aperture then adding some doodling around and inside the image.

Then I used the stencil and the mask to add the doodle bauble set tree image inside and behind the bauble, before adding some more of the trees.  These were then coloured using my pens...


Next I added some of the little stars to the bauble then used the border stamp to create strings for the main image and one of the little baubles which I stamped and cut out twice.  After adding a bit more distress ink to the card edges I stamped the sentiment from the doodle robin set and added it to the card as well...


Here are the products that I used:

* Easy Frame - Bauble 2 (6")
* Yuletide Doodle Art Stamps - Baubles (regular)
* Yuletide Doodle Art Stamps - Robin (regular)
* Distress Ink Pads

Thank you for looking and happy crafting!

Jane xx
Related Posts Plugin for WordPress, Blogger...