
The creative team have had so much fun with the new Bee Crafty Stamps which are released today. We adore these new stamps and I bet you can't wait to get your mitts on them too. There's a whole day of fun, demonstrations, special offers and giveaways on the Bee Crafty Stamps facebook page starting at 10am Tues 26th July.
This is one of my favourite samples - the bright white embossing and daisy contrasts with the deep shimmery blue, aqua and purple background

Cut a piece of 300gsm white card 5 1/2" square, spritz a little water on the back and then on the front, then lay it on top of a piece of kitchen paper.
Take 3 colours of pigment paint powder, I used Cosmic Shimmer Pixie Powders in Aqua Lagoon, Midnight Blue and Purple Violet. Tap each one in turn over at least 3 sections of the card.
Spritz the card again to activate the paint - they will explode into life with the water.
Take 3 colours of pigment paint powder, I used Cosmic Shimmer Pixie Powders in Aqua Lagoon, Midnight Blue and Purple Violet. Tap each one in turn over at least 3 sections of the card.
Spritz the card again to activate the paint - they will explode into life with the water.
Dab off any excess puddles with a bit of kitchen roll, use a damp paint brush to activate any dry powder. Heat the back of the card to assist drying. Roll the card to flatten it out.

When the card is completely dry, pat an anti static pad over it.
Take words from the Bee Crafty Wordage - Creativity #2 set, line them up on an acrylic block then stamp down the right hand side of the card with a sticky pigment ink. I used Hero Arts Unicorn White as it stays wet and you can see where you have stamped easily. Heat emboss with white embossing powder.
Remove a couple of the stamps so they fit in the gap left on the card and repeat.
Remove a couple of the stamps so they fit in the gap left on the card and repeat.

Use a blending tool to apply black ink around the edges of the card and create a vignette.

Use pva glue to attach the coloured panel to a matt of black card leaving a 1/4" border.
Fix this to a white 7" square card blank.
Fix this to a white 7" square card blank.

Take the largest daisy with leaves and the daisy on a stalk from the Dandy Daisy stamp set. Stamp these twice onto white card using black versafine ink. Use scissors to fussy cut a complete flower stem and just the flower head for each one. Add a few dots of blue sparkle to the flower heads using a gel pen.
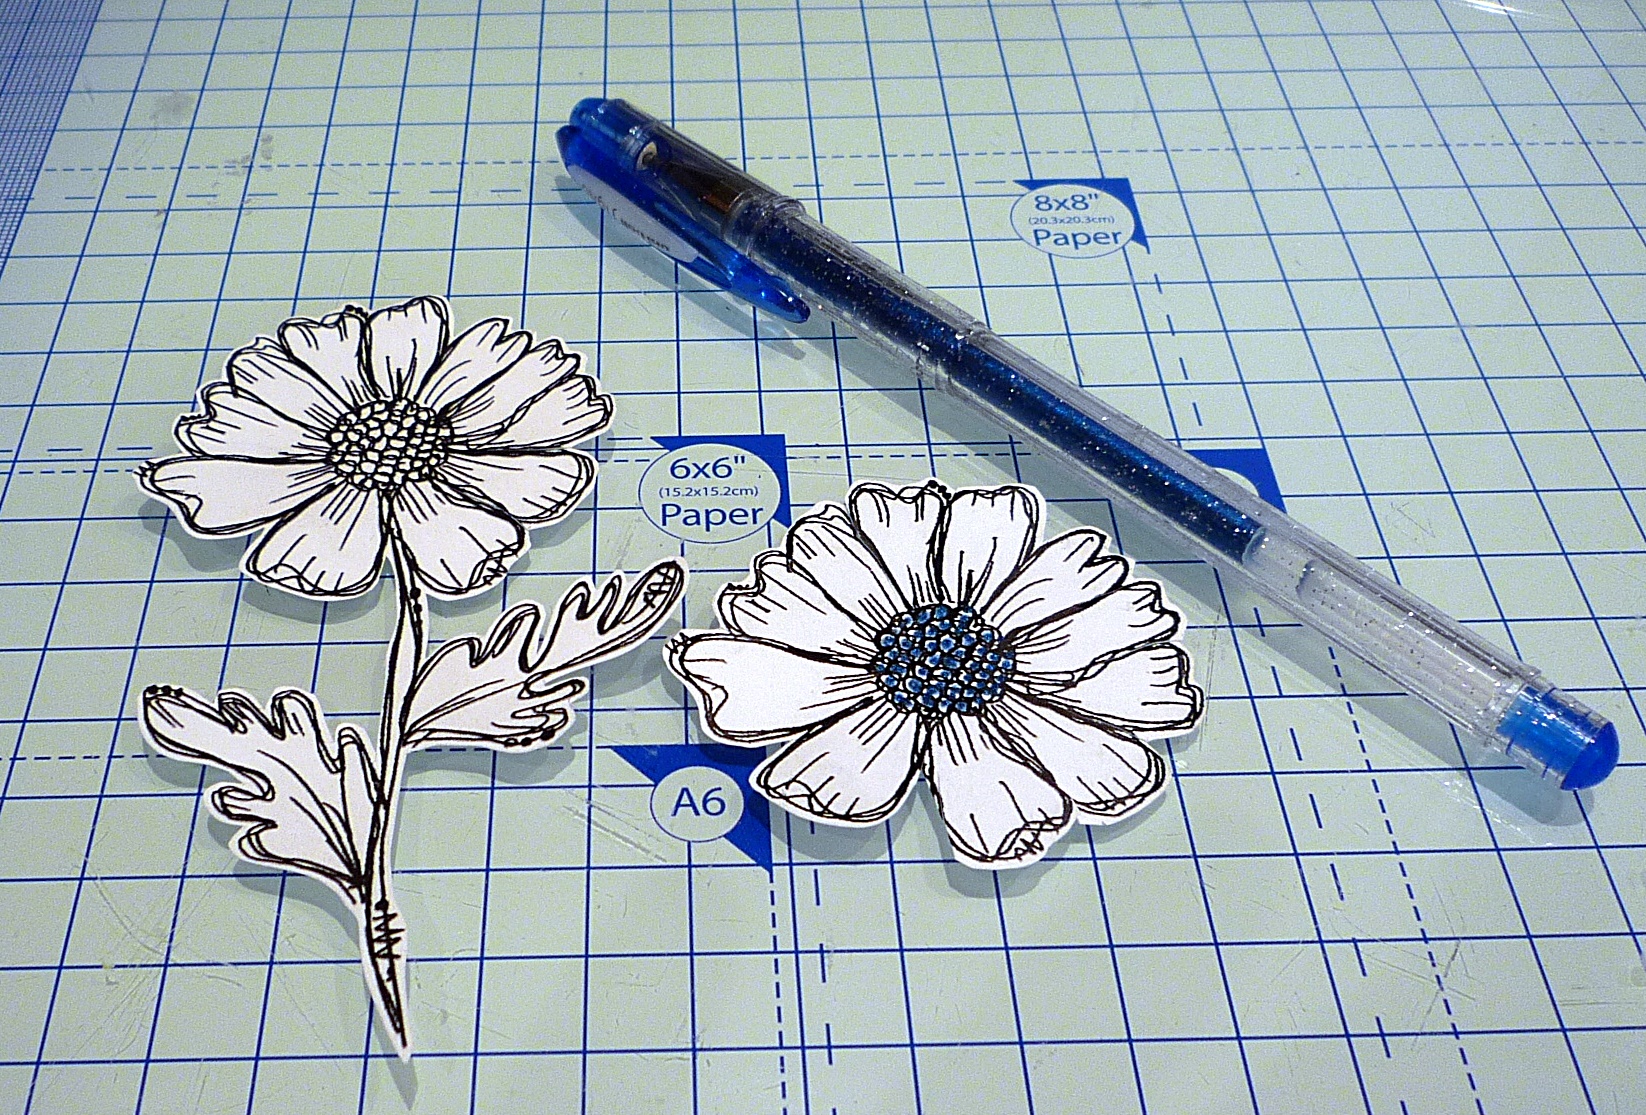
Snip between the petals of the flower head and use a ball tool a foam mat to add movement to the flower petals. Drag the tool down the back of each petal to make it curl then turn over the flower head and press in the centre to flatten the middle out a bit.

Use pva glue to attach the complete large daisy flower on the left hand side so it hangs over the edge of the coloured panel. Use 3d glue gel to attach the flower head so the petals are raised.

Use a black fine liner pen to doodle a line linking the white word at the top of the card, down the left hand side and across the bottom to join the bottom word.

Attach the little daisy stem and flower head to the bottom of the card and admire your finished card.

I hope you have enjoyed my project and thank you for stopping by xxx
Products used
- Bee Crafty Stamps Doodle Art - Dandy Daisy
- Bee Crafty Wordage - Incredible Words
- Cosmic Shimmer Pixie Powders - Aqua Lagoon, Midnight Blue, Purple Violet
- Alternative to pixies Pretty Get Gritty Explosion Powders
- Black Versafine ink pad
- White Ink pad
- Black ink pad & foam pads
- Water spritzer
- Blue Sparkle gel pen
- Black Fine Liner pen
- White embossing powders
- 7" x 7" white square card blank
- Black and White card
- anti static pad, heat tool, scissors, 3d glue gel, pva glue, paint brush, kitchen paper
No comments:
Post a Comment